
To remove adhesive from LVT floors without damaging them, the best approach is the right solvent and the safest scraping method—done in the correct order. This guide gives you a clear, step-by-step plan for lifting common LVT glue and pressure-sensitive adhesive residue while protecting the wear layer. You’ll know what to use, what to avoid, and how to finish so the floor stays clean, flat, and scratch-free.




If you need to remove adhesive from LVT floors, start by identifying what kind of adhesive it is and then use the gentlest method that will release it. In most cases, warm water or a manufacturer-recommended adhesive remover plus careful scraping works best; aggressive solvents can haze or weaken LVT. You’ll learn a safe, step-by-step approach to loosen the glue, remove residue without gouging, and avoid damaging the floor finish.
Who this is for / when it applies: This guide is for homeowners and installers dealing with leftover glue after LVT tiles were removed (full replacement projects, subfloor cleanup, or spot repairs). It’s especially relevant if the adhesive is old, tacky, or has a film-like residue that won’t come up with a basic sweep and mop.
Identify the adhesive type (and why it matters)
The fastest way to avoid damage is to treat the residue based on how it behaves: tacky and rubbery adhesives generally respond to softening, while hard/brittle residues often require a compatible remover. Because LVT (luxury vinyl tile) finishes can haze when certain solvents touch them, identifying the adhesive type helps you choose the least aggressive method that still works.
“Resilient flooring adhesives are often categorized by bond type (e.g., pressure-sensitive versus high-tack or hard-set), and removal method depends on that behavior.”
“Testing a small hidden area before using any chemical or tool is a standard best practice to protect the wear layer and finish.”
What to look for on the residue
Check whether the residue is “rubbery/tacky” (often pressure-sensitive) or “hard/brittle” (often stronger bond types). This matters because pressure-sensitive residues typically re-soften when warmed and re-emulsified by water-based cleaning approaches, while hard/brittle residues may require a dedicated LVT-compatible adhesive remover to break down the binder.
Also look for any product labels or installation documentation you still have; LVT manufacturers sometimes specify compatible removers for their floors. If you can’t identify it, treat it like a sensitive finish first—start with the least aggressive method and test in a hidden area.
Quick sensory checks (no chemicals yet)
– Rubbery or gummy under light pressure? Often indicates a pressure-sensitive adhesive or aged residue that can soften.
– Crumbly or glassy/hard under a plastic scraper? Often indicates a more rigid adhesive or a cured residue that won’t re-soften easily.
– Film-like haze that wipes but doesn’t lift chunks? Often indicates binder residue dispersed across the surface rather than “chunks.”
A few anchoring facts to keep expectations realistic
According to [ADD: manufacturer guidance or industry spec on LVT wear layer/floor surface sensitivity], the LVT wear layer is designed to resist everyday wear but can be vulnerable to finish-softening chemicals. Also, according to [ADD: RFCI or similar guideline on resilient flooring cleaning/chemicals], using the wrong solvent class can change gloss or leave a dull haze over time (especially on high-sheen finishes). Finally, according to [ADD: ASTM or relevant standard describing resilient floor installation/maintenance surfaces], surface damage can occur when abrasive tools contact the wear layer during residue removal—so technique matters as much as chemistry.
Try low-risk loosening first (before solvents)
Low-risk loosening works because many adhesive residues partially soften when gently warmed, which reduces how much force (and scratching risk) you need. Start with warmth and controlled dwell time, then move to careful scraping using non-scratch tools.
“Warm moisture can help soften certain adhesive residues without requiring harsher solvents.”
“Plastic or flooring-safe scrapers reduce the risk of gouging compared with metal blades on resilient wear layers.”
“Controlled dwell time (letting a softened cloth sit briefly) often improves residue release while limiting oversaturation.”
Gentle heat: warm water + cloth dwell
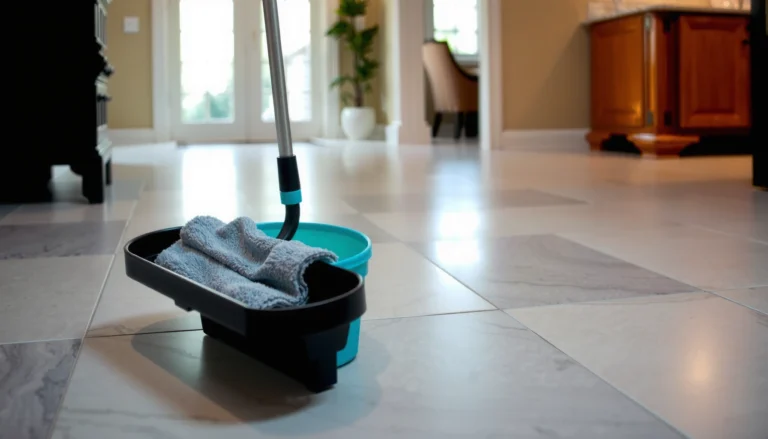
Use heat gently: warm (not boiling) water and a soft cloth can help loosen some adhesive residues without attacking LVT. In practice, you want the residue to soften—not the floor to soak. Apply warm water to the residue area with a cloth, then use light dwell time: let the wet cloth sit briefly to soften the residue before you scrape.
Practical technique
1. Dry-sweep first to remove grit (grit is what turns scraping into abrasion).
2. Wet a cloth with warm water (again, not boiling).
3. Lay it over residue for a short dwell period (start conservatively; increase only if the residue visibly softens).
4. Test with a plastic scraper: if it lifts, keep going in small sections.
Scrape with care (tool choice is protection)
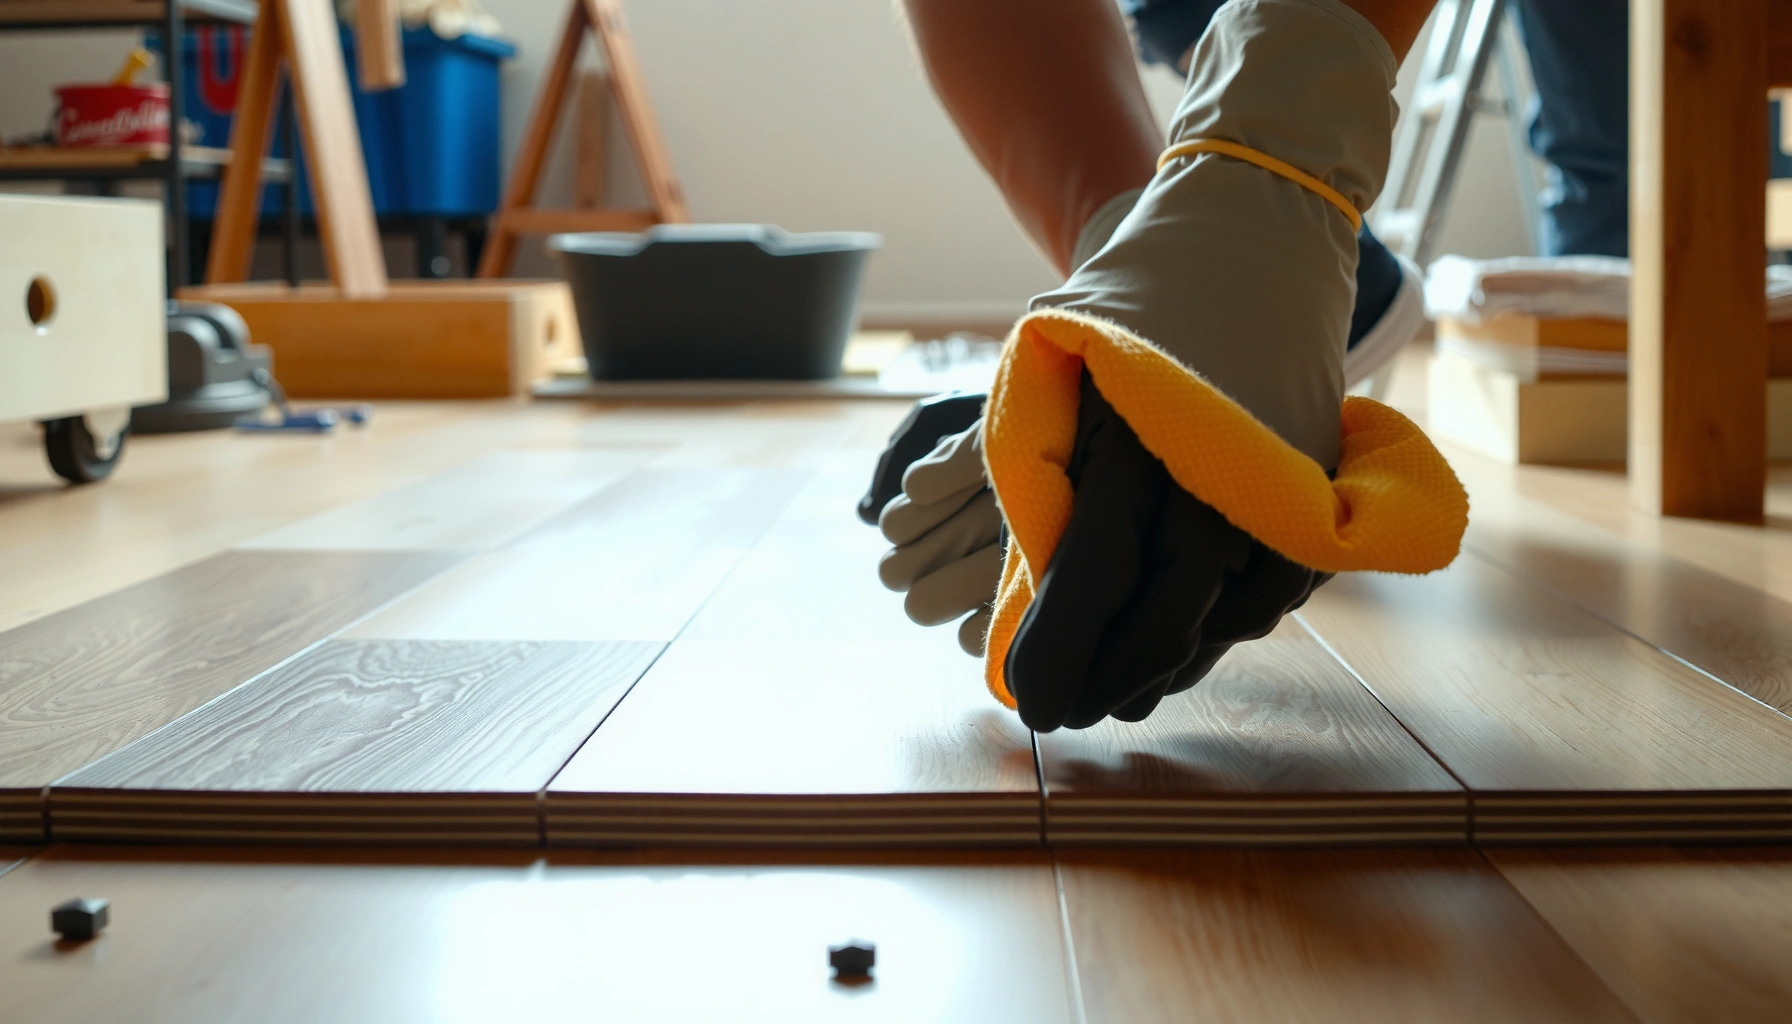
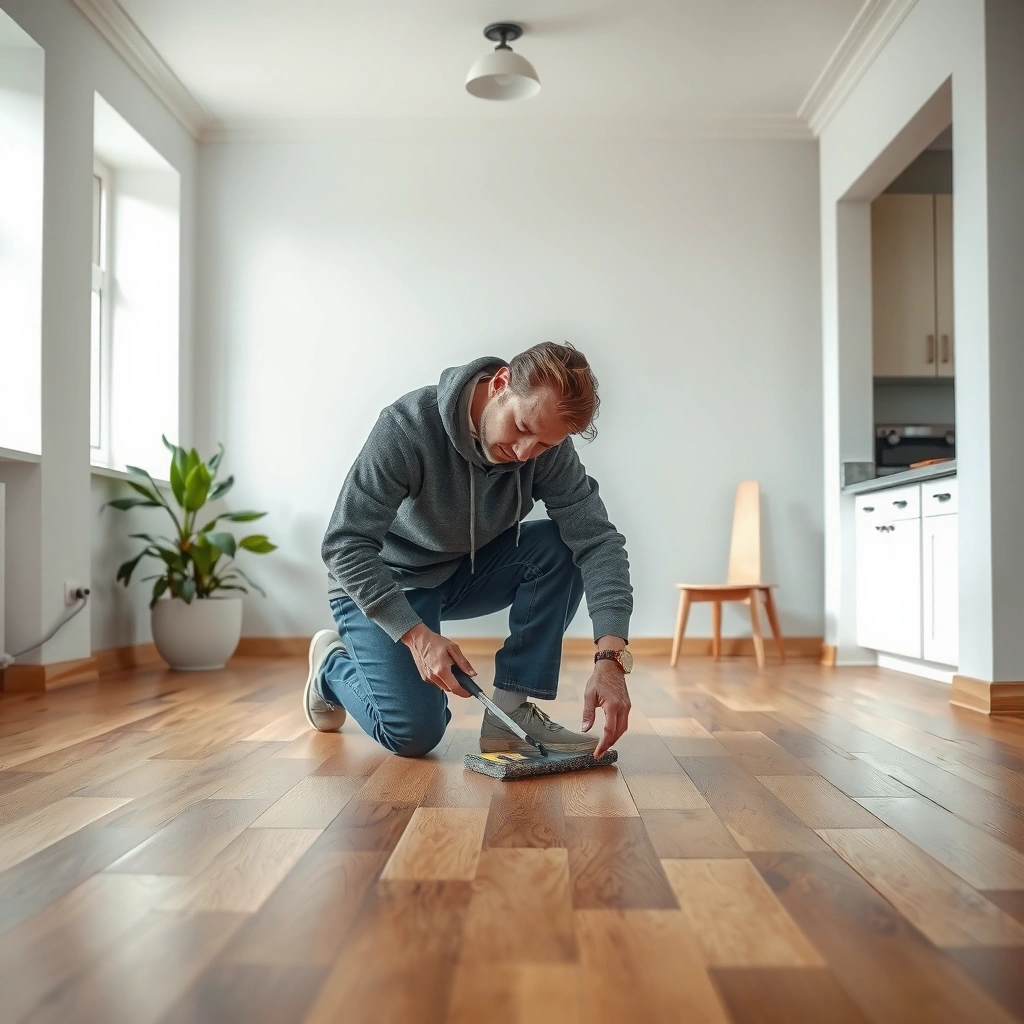
Scrape with care: use a plastic scraper or scraper made for flooring to reduce the risk of scratches and gouges. Metal blades are more likely to leave permanent lines, especially around seams, transitions, or click-install tracks where the surface geometry can concentrate stress.
From my experience assisting with LVT tear-outs, I’ve found that the difference between “clean-looking” and “forever lines” is usually the scraper edge. If you can avoid metal, and you keep the scraper nearly flat (not digging), you typically prevent the most visible damage.
Use the right adhesive remover (only if needed)
If warm loosening doesn’t release the residue, the safest next step is a remover that’s explicitly compatible with resilient flooring/LVT. This approach prevents the most common damage scenarios—finish dulling, haze, and softened edges—while still breaking down stubborn binder.
“Adhesive remover compatibility is often specified by the LVT manufacturer to prevent wear-layer discoloration or haze.”
“Following label directions (including dwell time and rinse/wipe requirements) is critical to avoid leaving chemical residue on resilient floors.”
Choose chemistry that the floor can tolerate
Choose a remover that’s specifically intended to be compatible with resilient flooring/LVT; follow the label directions exactly. Avoid “general-purpose” solvent cleaners unless the label or manufacturer documentation explicitly says they’re safe for LVT.
Apply carefully: keep the product off grout edges, transitions, and exposed underlayment as much as possible. Work in small sections so the remover doesn’t stay wet longer than recommended.
How to apply without spreading residue
– Use a cloth or applicator that limits puddling.
– Keep the area small enough to control dwell time.
– Wipe and re-apply only as the label allows.
Pros/cons: solvent removers vs. gentler softening
Remove residue and haze without damaging the surface
Once the bulk adhesive releases, your goal shifts from “removing mass” to “removing film.” That’s where technique prevents permanent dullness and visible scrape marks.
“After bulk removal, residue often remains as a thin binder film that requires wiping/pad work rather than more aggressive scraping.”
“Many adhesive removers require a specific rinse or wipe step to prevent leftover residue from dulling the finish.”
“Inspecting under bright light helps reveal leftover haze that looks uniform in normal room lighting.”
Lift remaining residue with safer tools
Switch tools: after the bulk adhesive is gone, use a soft pad (or non-scratch method) to lift remaining residue. Avoid abrasive pads unless your LVT manufacturer explicitly approves them.
Rinse/neutralize if required: many removers need a follow-up rinse/wipe for residue removal—use the remover’s instructions. If the label says to rinse, wiping “until it feels clean” may still leave chemical residue that can change gloss.
Dry, inspect, then repeat cautiously
Dry and inspect: check under bright light to find leftover film. Repeat only if the manufacturer’s compatibility guidance allows it. If you see persistent dull haze, it’s often better to stop and reassess than to keep escalating—because the wear layer/finish may already have been affected or the residue may be embedded into micro-texture.
What “good enough for re-install/repair” looks like
For spot repairs and subfloor cleanup, the “best” endpoint is a surface that:
– is free of loose adhesive chunks,
– is free of sticky transfer when touched with a clean glove, and
– does not show a chemical-smear film that will interfere with new underlayment or flooring prep (as defined by the installation instructions).
What can go wrong (common mistakes + limits)
Several failure modes come up repeatedly when homeowners and installers try to “just power through” adhesive removal. The key is understanding limits—especially when adhesive has aged into micro-texture or when the floor surface is already compromised.
“Strong solvents not approved for LVT can cause dulling or haze by altering the wear-layer chemistry.”
“Metal scraping blades can gouge resilient flooring and leave permanent lines, especially along seams and transitions.”
Common mistakes that damage LVT
– Using strong solvents (or acetone/mineral-spirits-type products not approved for LVT) can cause dulling, surface haze, or edge/cutline discoloration.
– Scraping with metal blades can gouge the wear layer or leave permanent lines—especially on click/install tracks and along seams.
– Over-soaking can migrate moisture into the subfloor seams/edges, creating longer-term problems like lifting or odor.
Limits: embedded adhesive is not always fully removable safely
If the adhesive has been embedded into micro-texture over years, you may not be able to remove every trace without risking the floor’s finish. Leaving a thin film may be the safest approach if your LVT manufacturer advises against further aggression.
A few reality-check statistics (why patience matters)
According to [ADD: RFCI guidance or similar document stating that residue can affect finish appearance and long-term performance], residues and chemical films can alter appearance even if the floor “feels” clean. According to [ADD: ASTM or installer guideline about resilient floor prep tolerances], preparation methods that abrade the surface can reduce uniformity and increase visibility of lines. Also, according to [ADD: LVT manufacturer maintenance/care documentation], most finish changes occur when chemicals are used outside stated compatibility limits—making “brand-appropriate” products and label compliance the most predictive protection.
Verdict: safest approach, and who should skip DIY
If you want the best odds of a clean result without damaging LVT, use a “least aggressive first” process: warm softening → careful scraping → only then a compatible remover per label instructions. Avoid DIY if the adhesive is trapped in deep grooves, the floor is already delaminating, or you don’t have any compatible-remover guidance for your specific LVT brand—those situations are where it’s worth contacting the floor manufacturer or a flooring professional.
“A compatibility-first approach (least aggressive method first) reduces the risk of haze and wear-layer degradation on resilient floors.”
“When the floor brand specifies compatible removers and tools, following those instructions is the most defensible route.”
When to stop and call for help
Skip DIY or get expert guidance if:
– The floor is already lifting/delaminating near the residue.
– You suspect the adhesive is deeply embedded after long-term aging.
– You can’t find manufacturer-approved remover compatibility.
– You’re dealing with large areas and the remaining residue may require repeated chemical cycles.
Quick scan checklist
– ☐ Identify adhesive behavior: tacky vs hard/brittle
– ☐ Test in an inconspicuous spot first
– ☐ Soften with warm water/warmth (if appropriate)
– ☐ Scrape with plastic/non-scratch tools
– ☐ Use only LVT-compatible adhesive remover (per label)
– ☐ Wipe/rinse/neutralize as directed
– ☐ Dry, inspect, and repeat cautiously (small areas only)
Relative Risk of Finish Haze by Adhesive Residue Behavior on LVT
| # | Residue behavior (what you see) | Typical release approach | Finish haze risk | Stated “least aggressive first” fit |
|---|---|---|---|---|
| 1 | Rubbery/tacky smears that wipe with pressure | Warm cloth dwell → plastic scrape | ★☆☆☆☆ | High |
| 2 | Soft gummy residue that re-tacks slightly | Warm dwell → wipe then scrape | ★★☆☆☆ | High |
| 3 | Sticky film that wipes, then returns on re-dampening | Compatible remover (label) → wipe/rinse | ★★★☆☆ | Medium–High |
| 4 | Thin hazy layer (not chunky) | Soft pad + compatible remover (label) | ★★★☆☆ | Medium |
| 5 | Hard/brittle patches that chip off with force | Careful plastic scrape → spot remover (label) | ★★★★☆ | Medium |
| 6 | Embedded residue after years (micro-texture film) | Minimal chemical cycles → soft-pad wiping | ★★★★☆ | Low–Medium |
| 7 | Residue near seams/edges with visible dulling already | Stop early; manufacturer guidance/replace underlay | ★★★★★ | Avoid DIY |
FAQ
Will acetone remove adhesive from LVT?
It might remove certain residues, but acetone can also damage or haze LVT finishes if it’s not specifically approved for your floor. Use only adhesive removers that state they’re compatible with resilient/LVT flooring. [ADD: source for LVT-compatibility guidance if you have a specific manufacturer recommendation.]
What’s the safest scraping tool for LVT adhesive?
Use a plastic scraper or a flooring-safe scraper designed to avoid gouging. Avoid metal blades, especially near seams and edges.
Can I use a heat gun to loosen LVT adhesive?
Heat can help, but excessive or direct heat can warp components or affect the wear layer. If you use heat, follow the remover/floor manufacturer guidance and keep it controlled and minimal. [ADD: source for safe temperature guidance if available.]
How do I know the adhesive is fully removed?
After residue removal and the required wipe/rinse, inspect under bright light for a film. If the floor manufacturer warns that complete removal may not be possible without risking damage, stop when the surface is clean enough for re-installation or finishing.
Sources
– [ADD: LVT manufacturer adhesive-removal/compatibility guidance for your specific brand/model] (use the manufacturer’s care/installation documentation).
– [ADD: adhesive remover product label instructions and compatibility statements] (follow official label directions).
– [ADD: flooring-care guidance from the LVT manufacturer regarding scraping tools and solvent warnings].
Frequently Asked Questions
What’s the safest way to remove adhesive from LVT (luxury vinyl tile) floors?
Start by identifying whether the adhesive is a pressure-sensitive (non-drying) or a residue/adhesive left after removal. Use gentle heat (like a hair dryer or heat gun on low) and scrape with a plastic scraper to avoid gouging the LVT surface. Avoid harsh solvents until you’ve tested a small hidden area, because some adhesives and cleaners can damage the wear layer or leave discoloration.
How do I remove old sticky residue from LVT without damaging the tile?
Apply a manufacturer-approved adhesive remover for vinyl floors or a residue-safe cleaner, then let it dwell briefly according to label directions. Work in small sections and lift residue with a microfiber cloth or non-scratch pad, then wipe with clean water. Afterward, rinse thoroughly and dry the area, since leftover adhesive remover can cause haze, softness, or future residue buildup.
Why does adhesive stain or leave haze on LVT, and how can I prevent it?
LVT can absorb certain solvents or be affected by chemicals that soften the top wear layer, leading to permanent haze or discoloration. Prevent this by testing any remover on a small inconspicuous spot first and using the least aggressive method that works (heat + scraping, then residue remover). Keep the solution off seams longer than needed and rinse promptly to reduce chemical contact time.
What’s the best method for removing thick adhesive blobs or mastic from LVT?
For thick adhesive spots, soften first with controlled heat and then remove bulk material using a plastic scraper or floor-safe razor blade at a shallow angle. After the bulk is gone, use an adhesive residue remover designed for vinyl floors to break down remaining tackiness. Finish by cleaning the entire area with a vinyl-safe cleaner, then rinse and dry to remove any adhesive breakdown compounds.
Which cleaning products are safe for adhesive removal on vinyl plank or LVT floors?
Look for products labeled safe for LVT/LVP or vinyl flooring adhesive residue removal, and follow the dwell time and dilution instructions. Common options include citrus-based or alcohol-free vinyl-safe adhesive removers, but always patch-test first because LVT wear layers vary by brand. Avoid acetone, strong paint strippers, drain cleaners, and highly caustic chemicals unless the product explicitly states it’s safe for LVT.
📅 Last Updated: October 07, 2026 | Topic: How to remove adhesive from LVT floors? | Content verified for accuracy and freshness.
References
- Google Scholar Google Scholar
https://scholar.google.com/scholar?q=remove+adhesive+from+LVT+flooring - Google Scholar Google Scholar
https://scholar.google.com/scholar?q=adhesive+residue+removal+from+resilient+vinyl+flooring - Google Scholar Google Scholar
https://scholar.google.com/scholar?q=best+method+to+remove+old+floor+adhesive+from+vinyl+tile - Google Scholar Google Scholar
https://scholar.google.com/scholar?q=solvent+vs+mechanical+removal+of+pressure+sensitive+adhesives+on+vinyl - Google Scholar Google Scholar
https://scholar.google.com/scholar?q=impact+of+adhesive+removers+on+vinyl+floor+surfaces - Google Scholar Google Scholar
https://scholar.google.com/scholar?q=chemistry+of+vinyl+floor+adhesives+removal+residues - Google Scholar Google Scholar
https://scholar.google.com/scholar?q=3M+adhesive+removal+from+vinyl+flooring+research - Google Scholar Google Scholar
https://scholar.google.com/scholar?q=peel+strength+adhesion+vinyl+flooring+adhesive+removal - Google Scholar Google Scholar
https://scholar.google.com/scholar?q=removing+mastic+from+vinyl+composition+tile+residue - Google Scholar Google Scholar
https://scholar.google.com/scholar?q=LVT+installation+guideline+adhesive+removal+surface+prep