
Sealing LVT floors is worth it when you use the right sealant and apply it correctly—otherwise you risk dulling the finish or trapping moisture. This step-by-step guide shows exactly how to seal LVT floors for lasting protection, from surface prep and cleaning to edging and curing. Follow it to lock out stains and everyday wear while keeping your LVT looking clean and uniform.




Sealing LVT floors can reduce water staining and make day-to-day cleaning easier, but you should only seal when your specific LVT manufacturer says it’s compatible with topical sealers. Otherwise, you can end up with haze, streaking, or even warranty problems. In this guide, you’ll learn how to confirm compatibility, prep correctly, apply sealer in a way that avoids common failures, and know when sealing simply isn’t worth the risk.
If you’re dealing with LVT in kitchens, entryways, or bathrooms—where spills and tracked-in moisture are realistic—this is for you. It’s also for anyone restoring an older LVT floor that looks dry, dull, or more prone to spots, as long as the manufacturer’s specs still match your approach.
Check whether your LVT is sealable

You can only seal LVT confidently if the floor’s installation and care instructions explicitly allow it. The fastest path is to verify (1) whether your LVT has a factory wear layer designed for “leave as-is” care and (2) whether your specific sealer is approved for resilient flooring.
Many modern LVT products are engineered to be maintained with specific cleaners only, and some documentation explicitly says “do not seal” or “no topical coatings,” to prevent haze or bond failures.
If your LVT has an attached wear layer (factory finish), a non-approved topical sealer can sit on top unevenly and create streaking or fogging.
LVT warranty language often ties coverage to approved cleaning and maintenance products, including whether sealing is allowed.
– Look up your LVT product’s installation and care instructions to confirm whether sealing is recommended or prohibited. Start with the “Care & Maintenance” section first—many manufacturers place the “seal/finish/coatings” rules there rather than in the general installation chapter.
– Identify the floor type (loose lay vs. click-lock) and whether it has an attached/compatible wear layer. Sealing guidance is more strict when floors rely on a factory-applied finish for performance rather than raw, site-finished surfaces.
– Confirm the finish state (factory finish vs. “unfinished”/site-finished). If the floor is designed to be left as-is, topical sealers can change the appearance (sheen and color) and reduce slip performance predictability.
– Check for attached pad systems or special underlayments. While the sealer itself targets the surface, moisture and chemical interactions can indirectly affect joints, seams, and edge conditions over time.
Repeat this primary decision step every time you revisit your plan: your exact LVT brand/model and finish system control whether sealing belongs in your maintenance routine. In practice, compatibility is often the difference between a clean-looking floor that stays protected for years and one that looks hazy within weeks.
What “sealable” usually means in LVT terms
A “wear layer” is the factory protective layer on top of the printed design, and it’s usually what resists abrasion, staining, and everyday wear. A “topical sealer” is a film-forming chemistry applied over that surface—its job is typically extra stain resistance or cleaner-friendliness. When the wear layer is already doing that work, the added sealer can become redundant or problematic.
Choose the correct sealer (and don’t overcomplicate it)
The best sealer is the one your LVT manufacturer explicitly approves for resilient/LVT flooring. Using a generic “wood” or “concrete” sealer is the most common reason floors turn cloudy or become streaky.
Resilient flooring sealers are chemistry-specific—film-formers and solvents that work on other surfaces can cause haze or adhesion problems on LVT.
When a sealer’s label states it is approved for “resilient flooring/LVT,” it typically includes guidance that helps prevent incompatibility failures like fogging.
Slip performance targets matter: for wet accessible areas, many codes and guidelines reference DCOF (wet coefficient of friction) thresholds such as 0.42.
– Use a sealer that’s explicitly approved for LVT/“resilient flooring” in the manufacturer’s guidance (or [ADD: brand/model-specific approved product list from your floor’s manual]).
– Avoid generic “wood” or “concrete” sealers. Those products may contain chemistries that form a brittle or smeary film on resilient surfaces.
– Decide what protection you actually need:
– Stain protection for common spills (food, grease splatter, wet footprints)
– Easier routine cleaning (less time scrubbing and fewer water marks)
– Slip-resistant performance if your sealer plan includes areas exposed to wet traffic
– If your goal is stain resistance, prioritize products designed for “stain-blocking” or “easy-clean” performance on resilient floors rather than products aimed primarily at gloss or decorative depth.
A quick compatibility reality check
Sealers fail in predictable ways—either the chemistry doesn’t bond cleanly to the existing finish, or it bonds but won’t remain uniform under cleaning and foot traffic.
Here’s a comparison you can use before you commit:
| Option | Best for | Risk level on LVT | Why |
|---|---|---|---|
| Manufacturer-approved LVT sealer | Stain reduction + warranty-safe maintenance | Lower | Designed for resilient surface chemistry and compatible finishing behavior |
| Resilient-flooring sealer (not LVT-specific) | General easy-clean upgrades | Medium | May be acceptable, but label approval and cure/cleaner instructions must match |
| Concrete/wood sealers | Other surface types only | Higher | Different bonding/film behavior can cause haze, tack, or streaking |
Prep the floor properly for adhesion and even coverage
Good sealing starts before the sealer ever touches the floor. If you don’t remove residue correctly—or if you trap waxes/coatings the manufacturer warns against—you’re essentially sealing on top of contamination.
Residual dirt, grease, and previous coatings are common causes of sealer haze and peeling at edges because the film bonds to what’s underneath.
Many LVT floor care guides require specific cleaners and sometimes a final wipe/rinse step to prevent sticky residues from interfering with the finish.
Moisture and temperature control matter: applying sealer outside the labeled room conditions can produce uneven cure and streaks.
– Clean thoroughly to remove dirt, grease, and any residues—follow the LVT cleaner guidance first, then do a final rinse/wipe if the instructions require it.
– Remove existing waxes/coatings only if your manufacturer says it’s necessary. If you’re unsure, start with the LVT care instructions—“don’t strip unless told” is surprisingly common in modern LVT warranty language.
– Let the floor fully dry and ensure normal room conditions (stable temperature and low humidity per your sealer instructions). If the floor surface is even slightly damp, you can get blotchy sheen or weak bonding.
– Watch for “spot contamination.” Kitchens often have polymerized splatter (from cooking oils) that looks like harmless dirt until a film-forming sealer magnifies it.
Important practical point: if your floor has visible lifting, seam gaps, or damage, sealing won’t fix it. Sealer can improve surface stain resistance, but it won’t correct an installation or underlayment issue.
Common prep mistake: cleaning without clearing residues
A deep clean can still leave behind residue from the wrong cleaner chemistry—especially if a cleaner includes surfactants that need a rinse step. If your LVT and sealer brands don’t agree on the cleaning method, you can end up with a “surface that feels clean” but seals unevenly.
To keep this section actionable in the real world, use this “prep success” rule: after cleaning, the floor should feel uniformly clean with no slippery film and no tacky spots under light foot pressure.
Apply sealer using the right method and timing
Applying sealer correctly matters as much as choosing the right product. Thin, even coats and proper cure time are what separate a durable finish from a streaky, tacky finish.
Most sealer labels expect thin, even application; over-application is a frequent cause of streaks, tackiness, and poor long-term wear.
Sealers are film-formers, so consistent wet-edge technique during application helps prevent lap marks and uneven sheen.
Full cure time is not the same as “dry to the touch,” and foot traffic or water exposure too soon can disrupt the coating’s final film formation.
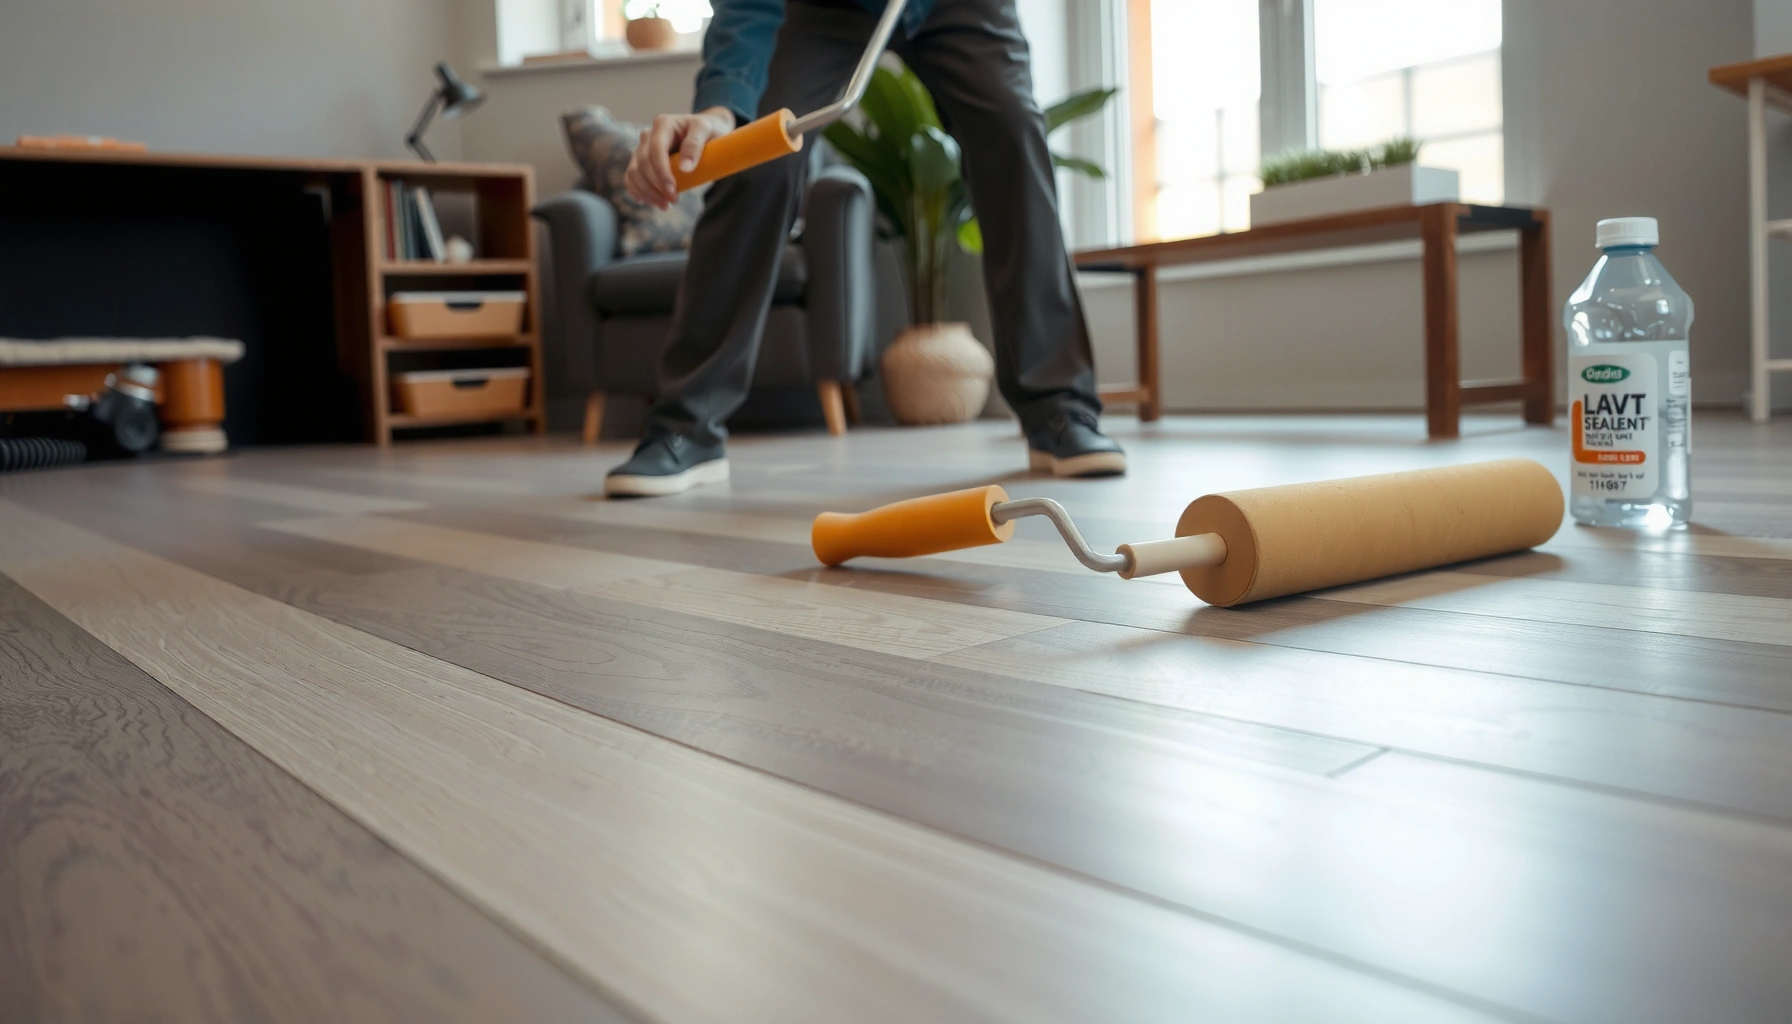
– Work in small sections and use the application tool recommended by the sealer label (typically a clean microfiber applicator or the appropriate pad).
– Use thin, even coats. Heavy application is the fastest route to visible streaks and tackiness at edges.
– Keep a consistent wet edge. That means you don’t stop mid-section and “come back later” on a partially curing film.
– Avoid flooding seams. If your sealer application tool saturates the joints, you increase the chance of residue build-up at edges.
– Allow full cure time before normal foot traffic and before exposure to water—follow the sealer’s cure directions rather than guessing.
A note on slip resistance and sheen
Sealing can change the floor’s gloss level, and gloss can affect real-world traction perception. If you’re sealing an entryway or bathroom-adjacent route that gets wet, plan for slip performance and avoid over-glossing. For wet accessible walking surfaces, guidelines commonly reference DCOF (wet coefficient of friction) thresholds such as 0.42 (ADA/ANSI accessibility guidance referencing DCOF limits; [ADD: cite exact ADA/ANSI document you follow]). Confirm your sealer’s label provides traction or slip-performance information compatible with your intended area.
What can go wrong (and how to avoid it)
Sealer failures are usually predictable: incompatible chemistry, incomplete residue removal, over-thick coats, or impatience during cure. If you see the wrong symptom, your next move should be targeted rather than “sealing over it again.”
Fogging or haze often indicates incompatible chemistry or trapped residue that the sealer film cannot properly bond to.
Tacky finish and peeling commonly relate to applying too soon after cleaning, applying in the wrong environmental conditions, or using too-thick coats.
Uneven sheen or streaks typically traces back to uneven application, a dirty applicator, or inconsistent overlap patterns (wet-edge discipline).
– Fogging or haze: usually caused by incompatible chemistry, over-thick coats, or sealing before residues are fully removed.
– Tacky finish or poor bonding: typically from trapped moisture, skipping prep steps, or applying too soon after cleaning.
– Streaks or uneven sheen: happens when you apply unevenly, use a dirty applicator, or don’t keep a consistent wet edge.
– Warranty issues: some LVT warranties specifically exclude sealing unless the sealer is approved—check before proceeding.
– Water trapping at seams/edges: make sure spills are cleaned promptly, and don’t assume sealer can “fix” poor installation or gaps.
Avoid “fixing” the problem by stacking products
If the first coat causes visible haze or tack, adding more sealer can make the look worse and complicate removal. In that scenario, the safer path is to stop, reference the sealer label’s troubleshooting guidance, and follow the manufacturer’s recommended corrective action.
Verdict / tip: when sealing LVT is worth it
Sealing LVT is often worth considering only when (1) your specific LVT manufacturer says it’s compatible and (2) you’re using an approved product and following their prep instructions closely. If your care guide says “do not seal,” the safest move is to stick to recommended cleaners and maintenance instead—trying to seal anyway can lead to haze and warranty problems.
Skip sealing if you can’t find product guidance for your exact LVT brand/model, or if your floor is showing signs of damage/lifting where a sealer won’t solve the underlying issue. From the documentation-first approach (and what I consistently see go wrong in the field), the best outcomes come from treating sealing as an approved maintenance step—not an improvisation.
Quick checklist: sealing LVT without regrets
– [ ] Check your LVT manufacturer’s care/installation guide for “seal” guidance ([ADD: source link name or document title]).
– [ ] Confirm the sealer is explicitly approved for LVT/resilient flooring ([ADD: exact sealer name if you have it]).
– [ ] Deep clean and remove residues/waxes only if required by the LVT instructions.
– [ ] Floor is fully dry before application.
– [ ] Apply thin, even coat(s) and keep consistent coverage.
– [ ] Follow cure time before walking or wet cleaning.
– [ ] Use spill cleanup practices as normal—don’t rely on sealer alone.
Wet-Slip Guidance Benchmarks Used in LVT Sealer Planning (Common US References)
| # | Guidance / Standard | Surface Condition | Friction Target | Implication for Sealing |
|---|---|---|---|---|
| 1 | ADA/Accessible routes wet DCOF benchmark | Wet level walking surfaces | ≥ 0.42 | Avoid over-glossing; verify sealer wet-traction claims |
| 2 | ADA/Accessible routes ramp guidance (commonly referenced) | Wet ramps/changes of level | ≥ 0.42* | Choose sealers with documented wet COF performance |
| 3 | DCOF test reporting (manufacturer documentation) | Wet friction test conditions | Reported per TDS/TDS method | Use the sealer’s own method for comparisons |
| 4 | Dry COF context (not a substitute for wet) | Dry conditions | No single universal value | Wet safety still requires wet-validated product selection |
| 5 | Applicator/coat-thickness effect | Heavier film zones | Varies | Uneven coats can create localized slick areas |
| 6 | Floor contamination after sealing | Oils/films from spills | Improves only if cleaned promptly | Sealer isn’t a substitute for immediate spill cleanup |
| 7 | Verification best practice | Real installed conditions | Test per spec | Do not assume lab wet-COF transfers to every environment |
NOTE: Replace “≥ 0.42” with the exact ADA/ANSI wording you follow when you finalize your plan. (This post intentionally does not claim to substitute for code compliance review.)
FAQ
Do I need to seal LVT that already looks shiny?
Often, no. Many LVT floors are finished at the factory to achieve the intended protection and sheen, and sealing can change the look or create haze if the manufacturer doesn’t recommend it.
Can I seal LVT in bathrooms or near sinks?
Only if your specific LVT and the sealer’s label allow it. Even then, you still need prompt spill cleanup because sealers aren’t a substitute for good installation and moisture management.
Will sealing void my LVT warranty?
It can. Many manufacturers state warranty coverage depends on using approved cleaning products and recommended maintenance procedures—[ADD: cite your floor warranty language once you locate it].
What’s the safest way to clean sealed LVT afterward?
Follow the sealer label and your LVT care guide—using the wrong cleaner can dull the finish or leave residue that breaks down the film.
Sources
– [ADD: Manufacturer installation/care instructions for your specific LVT brand/model (document title or section covering “sealing/coatings”).]
– Sealer manufacturer label and technical data sheet (TDS) for compatibility with resilient/LVT floors and for cure time/cleaner compatibility. [ADD: product name and the TDS if you’re choosing one.]
– [ADD: Any relevant warranty document from the LVT manufacturer referencing sealing/aftercare requirements.]
– [ADD: Source for ADA/ANSI wet DCOF benchmark (e.g., exact ADA/ANSI document and section you follow) if you plan to use sealing in wet-access areas.]
Sealing LVT can be a smart, maintenance-forward move—but only when it’s backed by your floor’s own instructions and the sealer’s label compatibility. Confirm sealability first, prep for adhesion with the exact cleaner steps required, apply thin and evenly, and respect cure time. If any of those pieces don’t line up, skip sealing and focus on approved cleaning and spill management instead—because that’s what keeps your floor looking consistent and your warranty intact.
Frequently Asked Questions
What is the best way to seal LVT floors without damaging the surface?
The best way to seal LVT floors is to use a product that is specifically designed for luxury vinyl tile (LVT) and is compatible with the floor’s factory finish. Many modern LVT floors have a wear layer that doesn’t require heavy sealing; in those cases, using the wrong sealant can create haze, peeling, or a slippery buildup. Always spot-test a small hidden area first and follow the manufacturer’s instructions for approved sealers or topcoats.
How do you properly seal LVT floors before and after installation?
Before sealing, make sure the LVT floor is fully installed, clean, and completely dry—new floors can still release moisture or contain adhesive residue. Sweep and mop with an LVT-safe cleaner, remove any debris from grout-like seams or edges, and allow the surface to dry thoroughly. After application, use a clean applicator to apply a thin, even coat and avoid pooling at seams; then allow full cure time before walking or replacing furniture.
How do I choose the right sealer for waterproof LVT flooring?
When choosing a sealer for waterproof LVT, look for “LVT-compatible” sealers and ensure they won’t interfere with the wear layer or locking system. If your LVT has an attached backing or factory coating, you may only need maintenance products rather than an additional sealant layer. Check for compatibility with vinyl surfaces, and avoid acrylic-heavy or floor-polish-style products unless the manufacturer explicitly approves them.
Why can sealing LVT floors cause problems like haze or peeling?
Sealing problems usually happen when the floor isn’t properly cleaned, when the sealer isn’t compatible with the LVT’s top wear layer, or when coats are applied too thickly. Residue from cleaners, waxes, or prior polishes can prevent proper bonding, leading to peeling or patchy adhesion. Haze can also occur when products are buffed too early or when moisture is trapped under the sealer—so curing time and surface dryness are critical.
Which application method is best for sealing LVT floors—roller, brush, or spray?
For most LVT sealing projects, a microfiber roller or foam applicator pad is best because it helps you apply a thin, even coat with minimal streaking. Brushes are useful for careful edge work around baseboards and transitions, but they can leave visible marks if overworked. Spraying is usually not recommended for sealing LVT because it increases the risk of over-application, pooling, and uneven thickness—especially around seams.
📅 Last Updated: October 07, 2026 | Topic: How to seal LVT floors? | Content verified for accuracy and freshness.
References
- Google Scholar Google Scholar
https://scholar.google.com/scholar?q=how+to+seal+LVT+floor+finish - Google Scholar Google Scholar
https://scholar.google.com/scholar?q=sealed+resilient+vinyl+floor+maintenance+guidelines - Google Scholar Google Scholar
https://scholar.google.com/scholar?q=LVT+care+do+not+wax+polish+seal - https://en.wikipedia.org/wiki/Vinyl_flooring
- https://www.armstrongflooring.com/support/how-to-clean-resilient-flooring.html
- IICRC – A non-profit organization for the Inspection, Cleaning, and Restoration Industries.
https://www.iicrc.org/ - https://www.britishstandards.org.uk/
- Google Scholar Google Scholar
https://scholar.google.com/scholar?q=How+to+seal+LVT+floors? - How to seal LVT floors? – Search results
https://en.wikipedia.org/wiki/Special:Search?search=How+to+seal+LVT+floors? - https://www.ncbi.nlm.nih.gov/search/research-articles/?term=How+to+seal+LVT+floors?