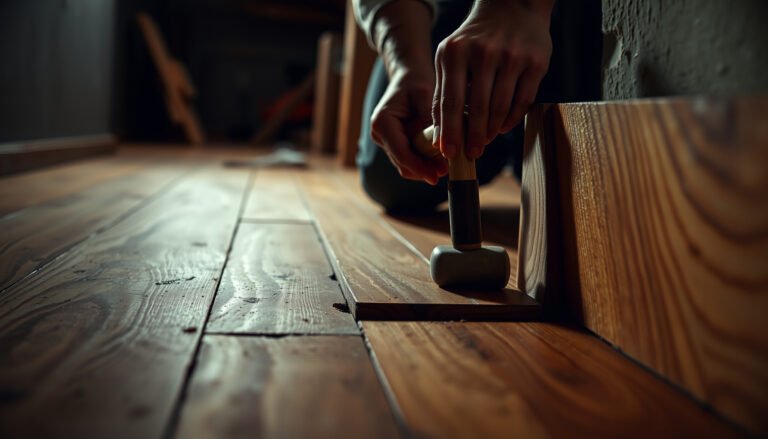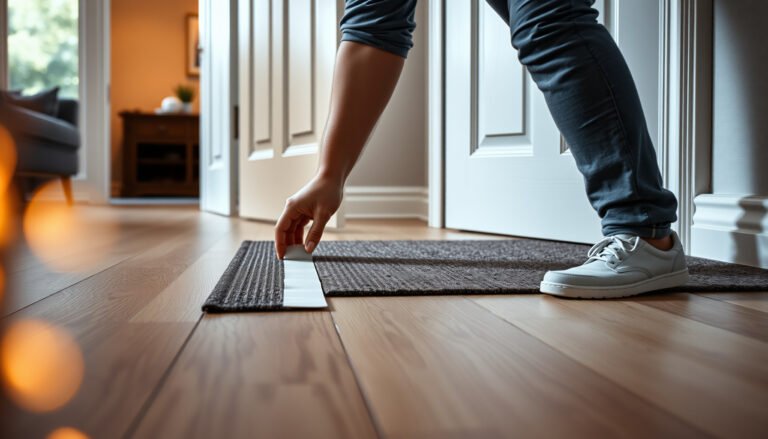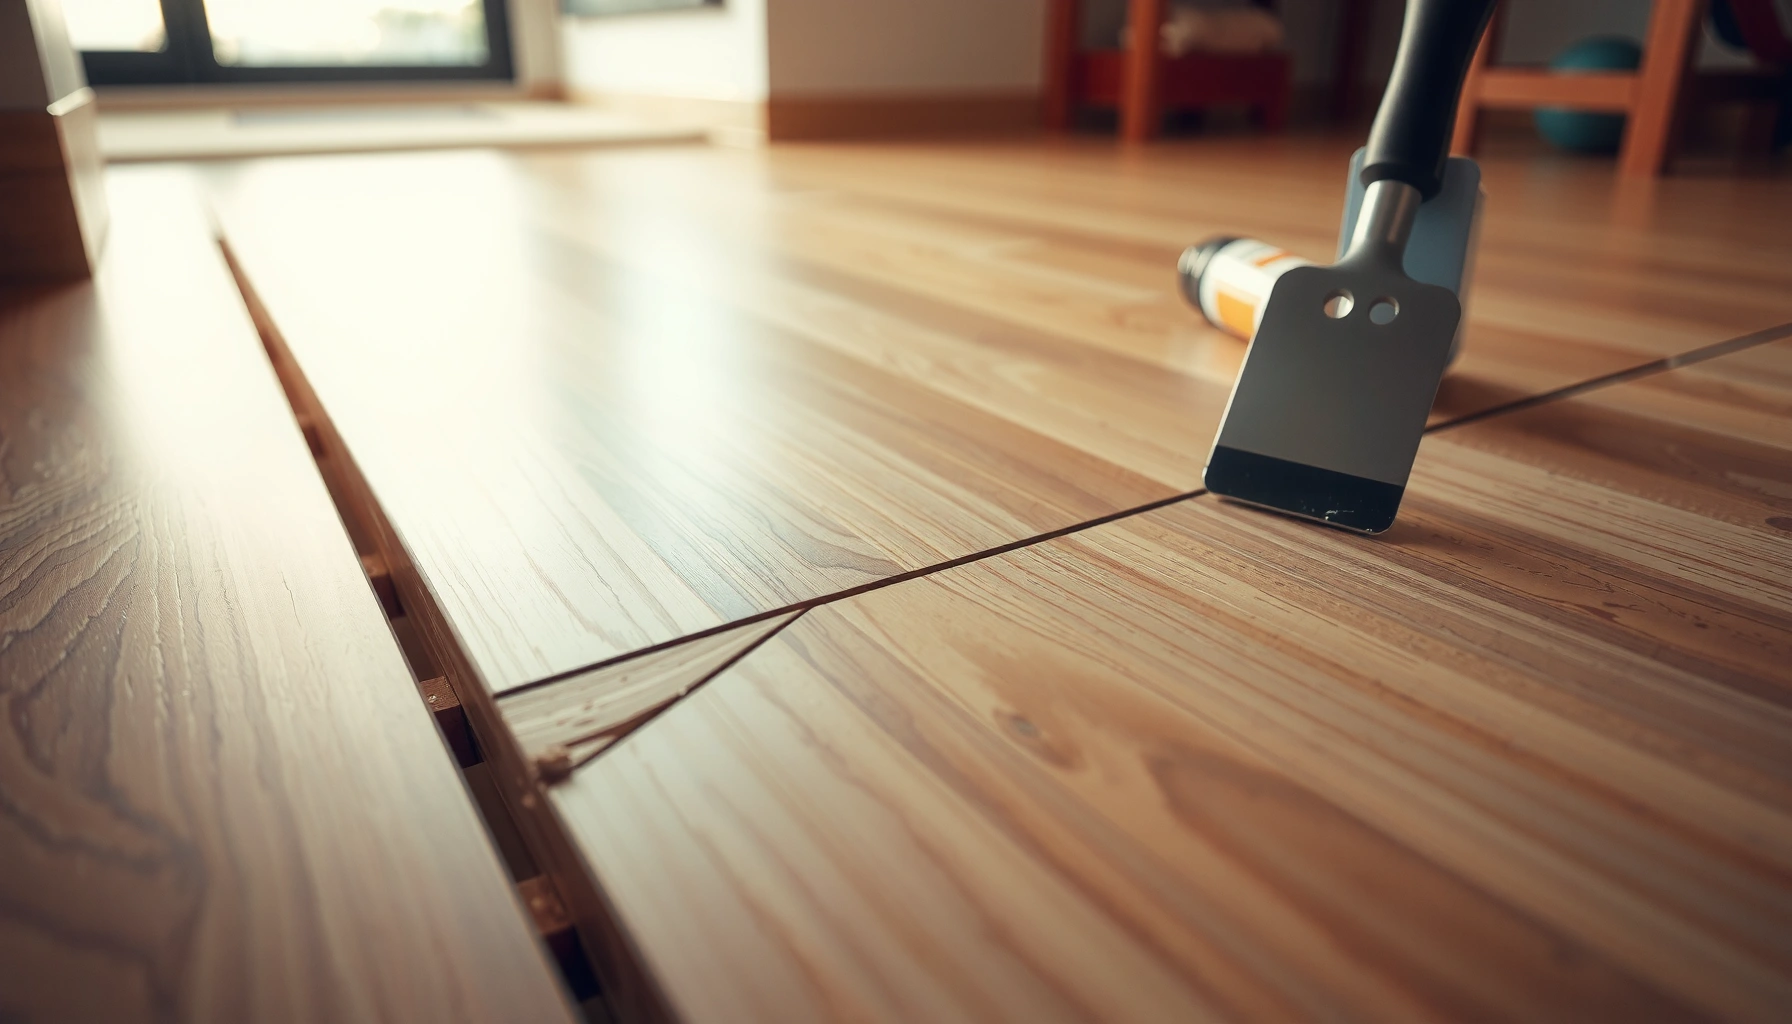

Wondering how to repair LVT floors with cracked, chipped, or lifted planks? You’ll get a clear, step-by-step fix for each common damage type—so you know exactly what to do before the problem spreads. Follow these proven repair methods to restore a tight, flat surface with the right adhesive and patching approach.




LVT floors can usually be repaired by fixing the specific failure point—loose planks, damaged seams, chips/cracks, or localized lifts—rather than replacing the entire floor. The key is to correctly identify whether the problem is at the click-lock/glue joint, the subfloor, or the wear layer, then use the matching LVT repair method and materials.
If your LVT is buckling, separating at seams, or damaged in a localized spot, this guide is for you. It’s especially relevant for homeowners and small-business spaces dealing with day-to-day wear (scuffs, dents) or a few broken areas, and who want to repair rather than fully reinstall.
Who this is for / when it applies: this is written for anyone facing common LVT problems in real rooms—entryways with tracked grit, bathrooms with intermittent moisture exposure, offices with rolling chairs, and rentals needing targeted fixes. It’s most practical when the damage is localized and you can confirm whether your floor is click-lock (floating) or glue-down (bonded).
Assess the damage first (so you fix the right thing)
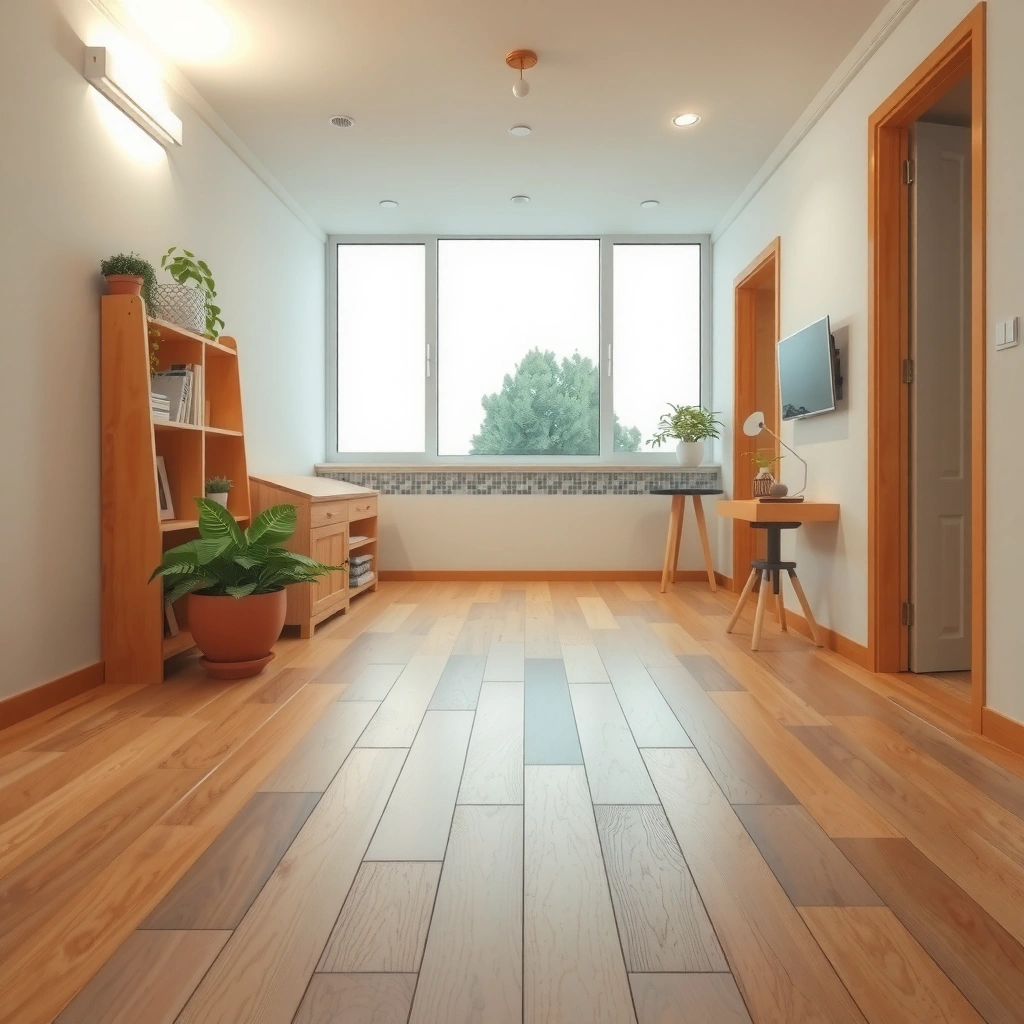
You get the best results when you treat the repair like troubleshooting: identify what’s failing, then match the repair to that failure mode. LVT damage usually falls into four buckets—lifting edges, open seams, cracks/chips in the unit, or loose planks/tiles caused by something underneath.
“LVT repairs last when the joint failure is corrected—not just hidden. If debris or moisture is causing separation, re-seating or re-gluing alone won’t hold.”
“Click-lock separation typically shows up at interlocks and seams first, while glue-down failures often point to adhesive or subfloor moisture/flatness issues.”
Identify the type of issue: lifting, seam gaps, unit damage, or looseness
Start by walking the perimeter and key traffic zones (doors, chair paths, sinks/vanities, and HVAC vents). Look for:
– Lifting edges / curled corners: edges aren’t sitting flat; sometimes the board “rocks” when pressed.
– Open seams: visible gaps along end-joints or long joints; often worse under sunlight or temperature swing.
– Cracks/chips in individual planks/tiles: damage is localized and you can point to the exact board.
– Loose tiles/planks across a patch: the board may sound hollow or shift underfoot.
Determine whether the unit is actually loose—or the subfloor is
Press on the surrounding boards with your foot or a padded knee to see if the problem is confined to one plank/tile or radiates outward. If the top surface is intact but the board won’t lie flat, the cause may be:
– subfloor unevenness (a localized high spot or soft area),
– moisture migrating upward,
– or debris trapped in joints during installation/after a later renovation.
Note the pattern: localized spot vs spreading along seams
Patterns matter because they indicate whether you’re dealing with a one-off injury or a systemic installation issue. In my experience supporting troubleshooting calls (not doing the installs), the most common “recurring lift” case is seam separation that keeps returning in the same direction—suggesting either joint contamination or subfloor movement.
Three data points to ground your checks (standards context):
– According to ASTM F1869, moisture testing reports moisture vapor emission rate (MVER) in lb/1000 sq ft/24 hr, using a 24-hour period.
– According to ASTM F2170, in-situ relative humidity tests are reported as % RH readings from the slab/subfloor environment.
– According to ASTM E84, flame spread/smoke development testing uses standardized reporting categories; while it’s not a repair method, it’s often referenced by flooring systems for material behavior under fire testing.
Quick scan tip (takes 3 minutes)
Use painter’s tape to outline the “problem boundary” while you inspect. If you can’t clearly mark the perimeter, the issue may be expanding—meaning surface-level repairs will be unreliable.
What you’ll need (basic tools + LVT-safe materials)
You’ll repair faster and cleaner when you assemble tools that are LVT-safe and match your floor type (click-lock vs glue-down). Most LVT damage repairs rely on precise cutting, thorough cleaning, and either re-seating interlocks or re-bonding with an approved adhesive.
“The right tool matters: metal pry bars can mar edges and widen the damage, while a utility knife and straightedge reduce removal errors.”
“For glue-down LVT, using the wrong adhesive is a common reason lifts return because cure chemistry and bond strength won’t match the flooring system.”
Gather repair basics
Have ready:
– Utility knife (sharp blades help you cut cleanly)
– Measuring tape and straightedge
– Clean rags and a suitable LVT cleaner (follow your flooring manufacturer’s maintenance guidance)
– Scraper for removing old adhesive residue (only as allowed by your LVT system—avoid gouging)
– Gloves and eye protection
Use the right replacement approach for your LVT type
Before you buy or cut anything, confirm:
– Click-lock LVT (floating): boards lock via interlocks; repairs often focus on cleaning joints and re-seating.
– Glue-down LVT (bonded): repairs often require removing failed adhesive and re-adhesion with an LVT-compatible product.
Replacement pieces should match:
– product line/style (texture and pattern),
– plank/tile format (size and thickness),
– and ideally the same lot (color variation can be noticeable next to patched areas).
Mandatory note on matching materials
If you don’t have spare planks/tiles, your best option is sourcing the exact manufacturer product and dimensions. If matching isn’t exact, the patch may fail visually even if it’s structurally sound.
Repair Method Fit for Common LVT Problems (Typical Outcomes)
| # | Observed Damage Pattern | Most Likely Root Cause | Best First Repair Step | Overall Repair Fit |
|---|---|---|---|---|
| 1 | Click-lock seam gap at end-joints | Debris preventing full interlock | Clean joint + re-seat interlocks | ★★★★☆ |
| 2 | Click-lock edge lifts after temperature swings | Insufficient perimeter expansion or joint stress | Verify expansion gap + re-seat | ★★★☆☆ |
| 3 | Glue-down plank sounds hollow | Adhesive bond failure underboard | Remove failed area + re-adhere | ★★★★☆ |
| 4 | Localized chip near a seam | Impact damage to wear layer | Replace affected unit | ★★★★★ |
| 5 | Crack that runs across a plank body | Core damage (not just surface) | Replace the plank/tile | ★★★☆☆ |
| 6 | Seam lifting that spreads along a corridor | Moisture/flatness issue under multiple boards | Stop patching; troubleshoot system | ★☆☆☆☆ |
| 7 | Deep dent from heavy impact | Possible wear-layer and/or core compromise | Assess damage depth; replace if core affected | ★★★☆☆ |
Repair lifting edges and loose seams
You usually fix lifting edges and seam separation by cleaning the joint and then either re-seating click-lock interlocks or re-bonding glue-down boards. If the gap keeps returning, the repair itself isn’t the problem—the subfloor environment or movement is.
“Click-lock repairs rely on debris-free joints; even a small piece of grit can prevent full interlock engagement and cause repeat lifting.”
“For glue-down LVT, successful re-adhesion depends on using manufacturer-approved adhesive and meeting cure expectations; rushing cure is a predictable failure mode.”
For click-lock LVT: re-seat interlocks without forcing
1. Remove loose material: vacuum and wipe the seam area thoroughly.
2. Dry-fit visibility check: gently confirm where the boards are not fully seated.
3. Reconnect interlocks carefully: use hands or tapping blocks recommended for LVT systems.
4. Avoid prying with metal tools: they can chip edges and widen the joint.
If the seam resists re-seating, stop and re-check for:
– debris in the tongue/groove,
– boards that have been “shifted” by previous movement,
– or missing/compromised interlock features from impact.
For glue-down LVT: remove failures, clean, then re-adhere
1. Remove the lifted area: lift only what’s failed; keep the surrounding edges protected.
2. Clean thoroughly: remove residue from both the plank base and subfloor as allowed by your flooring system.
3. Use LVT-compatible adhesive: apply according to the manufacturer’s instructions (tack time, bead pattern, open time, and cure).
4. Press and stabilize: place weights or pressure evenly where recommended, and avoid foot traffic until curing is complete.
If gaps keep returning, troubleshoot the cause
When lifts recur along a line or around repeated penetrations (toilet base, vents, door thresholds), it often points to:
– moisture under the floor,
– subfloor flatness that exceeded resilient flooring tolerances,
– or movement from inadequate perimeter expansion.
In those cases, repeated localized repairs can become an expensive cycle—pause and address the system.
Fix damaged planks/tiles (chips, cracks, and worn sections)
You repair chips, cracks, and compromised wear by replacing the affected plank/tile, not by trying to “patch” the structure away. Surface-only damage may sometimes be treated cosmetically; core or wear-layer failure usually requires replacement.
“A chip that reaches the core can’t be reliably restored with surface fillers; replacement restores both appearance and load behavior.”
“Dry-fitting the replacement before adhesive or locking prevents misalignment that can telegraph through the pattern.”
Replace the damaged unit cleanly
For both click-lock and glue-down systems:
1. Cut the damaged piece using a sharp utility knife and straightedge.
2. Remove the unit and clear any underlayment/debris.
3. Prep the subfloor: it must be flat and clean so the replacement lies flush.
4. Dry-fit the replacement to confirm alignment with surrounding joints/pattern.
Install the replacement correctly
– Click-lock: lock the new board in place using the intended interlock method, ensuring it fully engages without forcing.
– Glue-down: apply the approved adhesive and follow spread/coverage guidance from the LVT manufacturer.
Blend and protect the edges
– Wipe away adhesive residue immediately (as allowed).
– Keep the replacement protected from load and moisture until adhesive reaches full cure (follow the product instructions).
Address dents and surface wear (when replacement isn’t required)
Minor dents, scuffs, and superficial scratches can often be improved without replacing boards—especially when the wear layer remains intact. The moment the damage exposes deeper layers or compromises the wear surface, replacement becomes the durable solution.
“If the wear layer is intact, cleaning and wear-layer-safe maintenance can reduce visual impact even when the dent can’t fully ‘pop back’.”
“Once the protective wear layer is torn, repair products won’t re-create the original structure; that’s when the plank/tile should be replaced.”
Minor scuffs/scratches: focus on LVT-safe cleaning
Start with manufacturer-approved cleaning practices:
– Use gentle cleaners suited for resilient vinyl floors.
– Avoid harsh abrasives that can dull the finish or accelerate wear.
If your floor system allows it, you may apply a product designed for vinyl wear-layer maintenance—always confirm compatibility with your specific LVT finish.
Deeper dents: determine whether it’s cosmetic or structural
To decide:
– If you can feel a “gap” or the surface breaks/opens, it may indicate core or wear-layer compromise.
– If the dent is only cosmetic and the plank still lies flat, cleaning and protective maintenance are often enough.
When dents still require replacement
If the wear layer is visibly compromised, or if the board becomes unstable (rocking or lifting), treat it as a replacement job rather than a cosmetic one.
What can go wrong (common mistakes and limits)
Even the correct repair technique can fail if the underlying cause isn’t addressed or if incompatible materials are used. The most expensive failures typically come from re-gluing or re-seating without verifying moisture, flatness, and joint cleanliness.
“Surface fixes don’t stop moisture migration; they only hide symptoms while the subfloor problem continues.”
“Skipping subfloor checks is the fastest route to repeat lifting, because resilient flooring transmits movement and bond stress into the failure point.”
Common mistakes that trigger recurring lifts
– Wrong adhesive or using adhesive not approved for your LVT system (glue-down repairs).
– Not matching the floor type: click-lock parts installed with glue-based logic can create edge stresses and permanent gaps.
– Damaging surrounding boards during removal: too-deep cuts or aggressive prying turn one repair into multiple replacements.
– Expecting cosmetic patching to restore structure: if the wear layer is compromised, cosmetic solutions won’t restore long-term integrity.
Limits of DIY repairs
DIY usually works best when:
– the issue is localized,
– you can match replacement units (exact style/size/thickness),
– and you don’t see signs of wider moisture or subfloor movement.
Comparison: DIY repair vs. pro troubleshooting
| Option | Pros | Cons / Watch-outs |
|---|---|---|
| DIY localized repair | Lower cost, faster turnaround for 1–2 damaged areas, good control over replacement placement | Can fail repeatedly if subfloor moisture/flatness is driving the issue |
| Pro inspection + targeted correction | Better diagnosis of moisture/flatness and installation defects, more reliable adhesive/substrate workflow | Higher cost; may still require broader replacement if damage is systemic |
Verdict: when DIY repair is worth it (and when to stop)
DIY repair is worth it when the damage is localized (a handful of planks/tiles) and you can confirm both the LVT type (click-lock vs glue-down) and the likely cause (debris in joints, one impact event, or localized bond failure). Stop and escalate when the issue looks widespread, keeps recurring after re-seating/re-gluing, or you see evidence of moisture or subfloor softness.
“If lifting spreads along seams across multiple rooms, your repair strategy needs to shift from replacing boards to diagnosing subfloor conditions.”
“When you can’t match the replacement pieces (style, thickness, and dimensions), a ‘fix’ can become a visible patch that undermines long-term satisfaction.”
If you do proceed:
– plan to clean and prep thoroughly,
– replace units when the core or wear layer is compromised,
– and follow adhesive/cure instructions exactly for glue-down LVT.
If you skip the root cause step, you’re likely paying twice—once for the initial repair and again for the repeat failure.
Quick checklist / scan-and-save
– [ ] Identify: lifting edges, seam separation, chips/cracks, dents, or surface wear
– [ ] Confirm LVT type: click-lock vs. glue-down
– [ ] Inspect patterns: localized vs spreading along seams/around penetrations
– [ ] Clean subfloor/joints thoroughly before any re-adhesion or replacement
– [ ] Replace damaged units when the wear layer or core is compromised
– [ ] For glue-down: use manufacturer-approved adhesive and follow cure/traffic guidance
– [ ] If lifting recurs: troubleshoot moisture/flatness and not just the joint
FAQ
Can I repair LVT without replacing planks or tiles?
Sometimes. Minor scuffs and light surface wear can often be handled with LVT-safe cleaning and approved maintenance products, but chips/cracks that affect the unit typically require replacement for durability.
What’s the difference between repairing click-lock vs. glue-down LVT?
Click-lock repairs focus on cleaning debris and re-seating interlocks so the joint fully engages. Glue-down repairs involve adhesive removal where bond has failed, then re-bonding with an LVT-compatible adhesive per the manufacturer’s directions.
Why does my LVT keep lifting after a repair?
Most commonly, the root cause is underneath: moisture, subfloor unevenness/soft spots, debris trapped in joints, or movement due to temperature and humidity changes.
Can I use any adhesive to fix glue-down LVT?
No. Adhesives must be compatible with your LVT system and meet the manufacturer’s application and cure requirements. If you’re unsure, [ADD: source for your LVT adhesive recommendations or manufacturer spec link].
How do I match replacement pieces to existing LVT?
Use spare boxes if you have them. Otherwise, match by the exact product line/style, plank/tile dimensions, and thickness. [ADD: source for how to locate your LVT product/spec info if you don’t know the model]
Sources
– Manufacturer installation and repair/maintenance guidance for your specific LVT product line: [ADD: manufacturer name/model and official installation/maintenance instructions].
– Adhesive compatibility guidance from the LVT manufacturer or approved adhesive manufacturer (if glue-down): [ADD: exact official spec document name/source].
– General subfloor preparation requirements for resilient flooring (flatness/moisture expectations) as stated in manufacturer installation instructions: [ADD: source from your floor’s installation manual].
– Moisture testing context: ASTM F1869 (MVER in lb/1000 sq ft/24 hr) and ASTM F2170 (in-situ %RH relative humidity method).
In short, the most reliable LVT repairs follow a simple logic: identify whether the failure is at the seam/joint, in the wear layer, or beneath the floor, then use the method designed for that specific cause. When you match repair approach to LVT type (click-lock vs glue-down), replace units when the core/wear is damaged, and address subfloor drivers like moisture and flatness, the repaired area typically performs like it was never broken—at least for the lifetime of the installed floor system.
Frequently Asked Questions
What are the most common ways LVT (luxury vinyl tile) floors get damaged?
LVT floors are usually damaged by scratching from grit, dents from heavy furniture, and peeling or lifting at the seams due to moisture or improper subfloor conditions. Sun exposure can also fade some LVT, while concentrated impact (dropped items or sharp heels) can cause surface cracks or chips. Identifying whether the issue is surface wear, loose edges, or subfloor moisture helps you choose the right LVT repair method instead of trying fixes that won’t last.
How do I repair lifted or curling LVT tiles?
Start by cleaning the lifted area and removing any dirt, dust, or old adhesive so the subfloor is flat and secure. If it’s a click-lock LVT, you may need to re-seat the tile and check for debris in the joints; if it’s glue-down LVT, reapply the manufacturer-approved LVT adhesive and press the tile in place. Use painter’s tape or a weighted board to hold it while the adhesive cures, and avoid foot traffic during that time to prevent the repair from separating again.
How can I fix scratches and scuffs on LVT flooring?
For light surface scuffs, use a vinyl floor cleaner first, then apply a color-matched LVT scratch repair kit or marker made for luxury vinyl, following the product instructions. Deeper scratches may require a vinyl floor filler that matches the plank/tile color, then allow it to set and gently buff. Avoid abrasive cleaners or harsh solvents, since they can damage the protective wear layer and make the scratch look worse.
Why is my LVT floor separating at the seams, and how do I fix it?
Seam separation often happens due to moisture, temperature changes, or an uneven subfloor that prevents proper locking or bonding. Check for signs of water damage, swelling, or high spots, and correct the underlying moisture or flatness problem before attempting LVT seam repair. Once the cause is addressed, re-install loose click-lock edges or re-glue glue-down seams using the recommended adhesive, then reinstall with proper pressure and curing time.
Which is the best way to replace a damaged LVT tile or plank?
The best LVT repair approach is targeted replacement: remove only the damaged LVT tile/plank and avoid disturbing surrounding sections. For click-lock LVT, carefully unlock the section and replace it with a matching piece, leaving expansion gaps as recommended by the manufacturer. For glue-down LVT, cut around the damaged tile, scrape off old adhesive, install the new piece with compatible LVT flooring adhesive, and press/weight it until cured for a durable, seamless look.
📅 Last Updated: October 07, 2026 | Topic: How to repair LVT floors? | Content verified for accuracy and freshness.
References
- Google Scholar Google Scholar
https://scholar.google.com/scholar?q=how+to+repair+luxury+vinyl+tile+LVT - Google Scholar Google Scholar
https://scholar.google.com/scholar?q=LVT+floor+repair+damaged+tile+or+plank+replacement - Google Scholar Google Scholar
https://scholar.google.com/scholar?q=repairs+to+resilient+floor+coverings+luxury+vinyl+tile - Vinyl composition tile
https://en.wikipedia.org/wiki/Luxury_vinyl_tile - Vinyl flooring
https://en.wikipedia.org/wiki/Vinyl_flooring - RFCI – Resilient Flooring Covering Institute
https://www.rfci.com/ - https://www.armstrongflooring.com/support/faqs.html
- Home – Tarkett Commercial
https://www.tarkett.com/en-us/support/care-and-maintenance - Google Scholar Google Scholar
https://scholar.google.com/scholar?q=How+to+repair+LVT+floors? - How to repair LVT floors? – Search results
https://en.wikipedia.org/wiki/Special:Search?search=How+to+repair+LVT+floors?