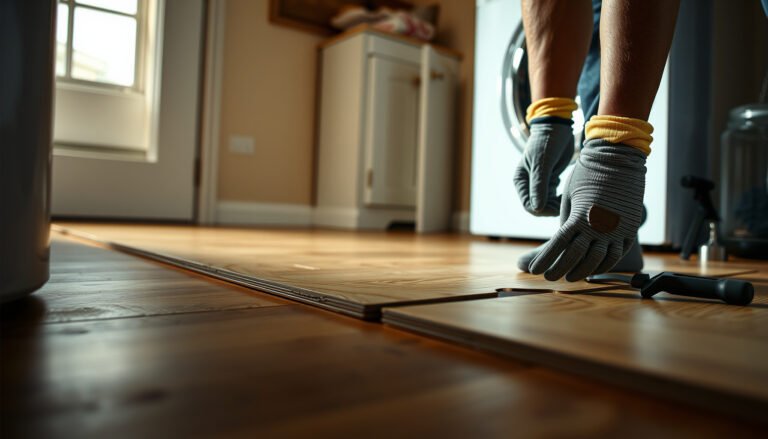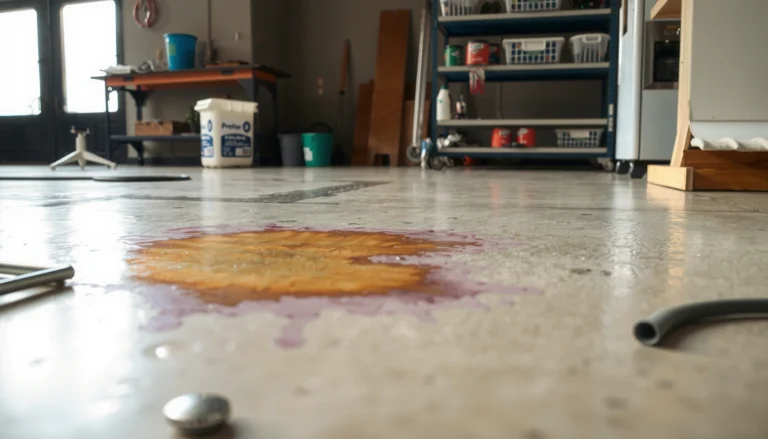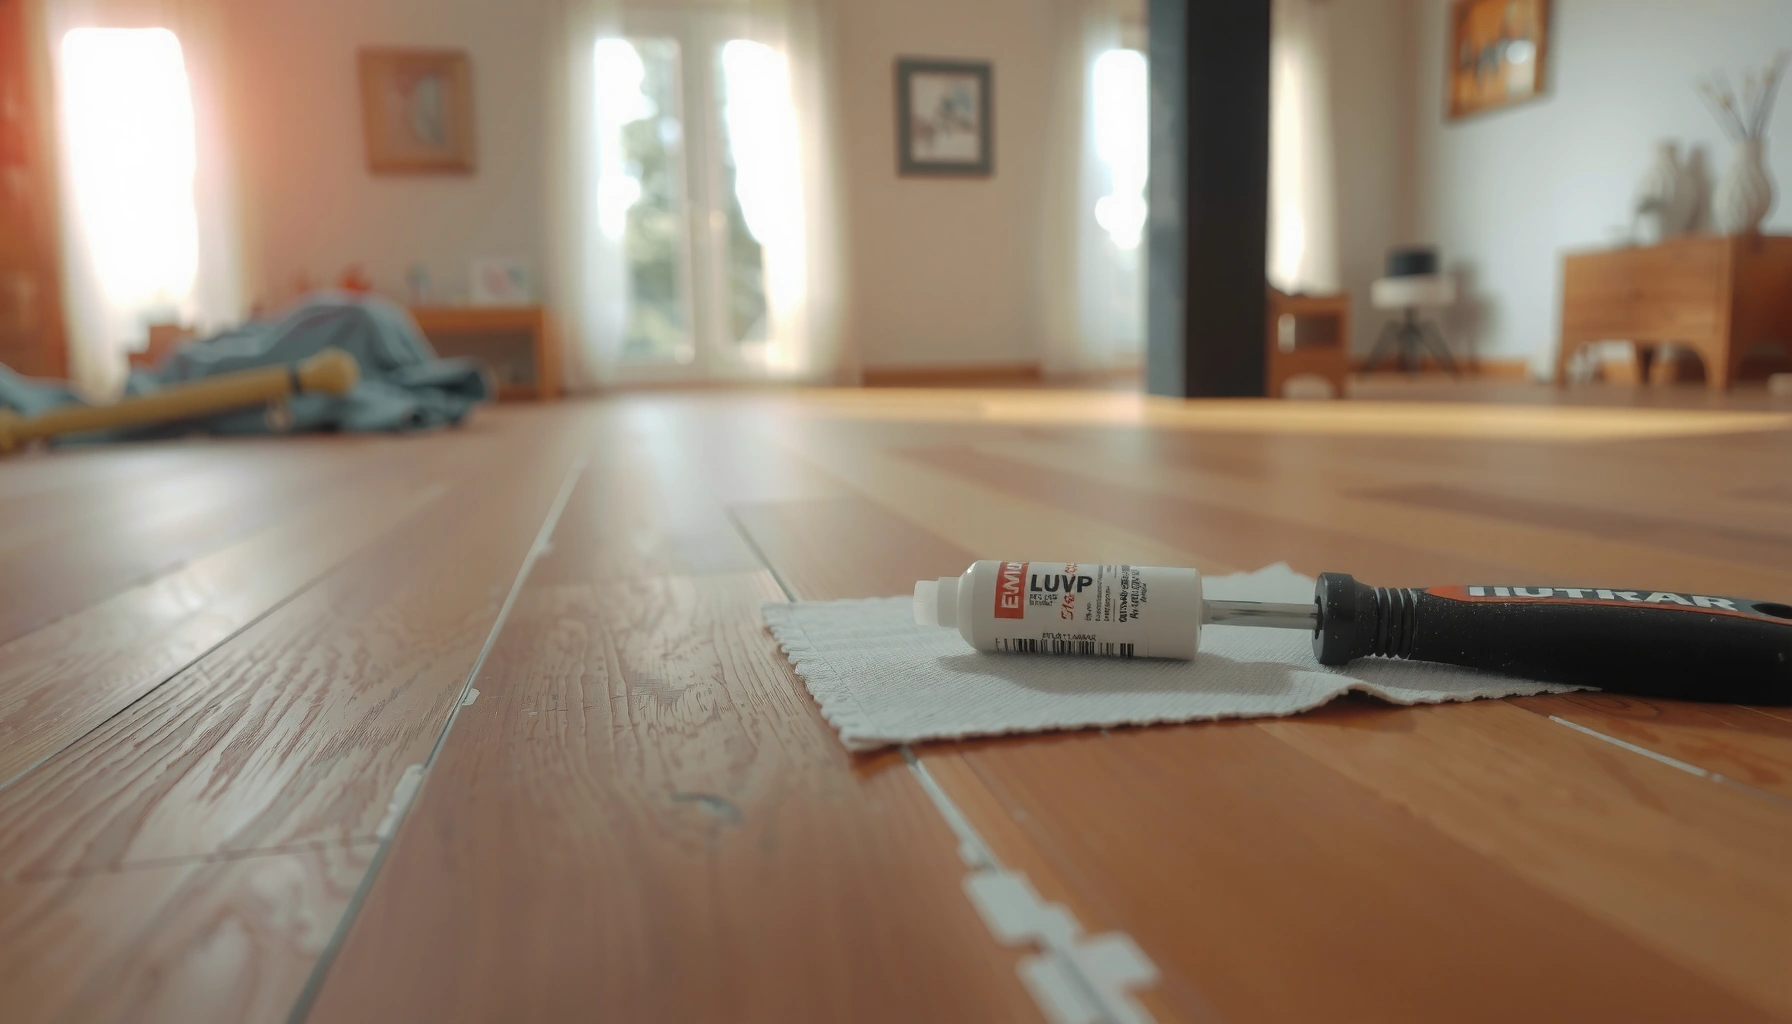

Fixing peeling on LVP floors is usually a straightforward repair if the problem is localized to loose edges or failed sections. This guide tells you exactly what to check—moisture, subfloor prep, and installation gaps—then walks through the fastest, most reliable repair steps to stop the peeling from spreading. Follow these instructions and you can restore a clean, locked-in finish without unnecessary full-floor replacement.




If your LVP is peeling, the fix usually comes down to stopping the real cause first—most commonly moisture intrusion, subfloor/prep problems (including failed adhesive for glue-down), or movement due to inadequate acclimation/installation. Once the root issue is corrected, the most reliable repair is removing the affected planks, cleaning/scraping thoroughly, and reinstalling with the correct method and materials for your LVP type (click-lock vs glue-down).
Peeling on luxury vinyl plank (LVP) can be frustrating because it can spread from edges/joints into larger areas, and it can also mask deeper subfloor or moisture issues. This guide is for homeowners who want a safe, practical repair path that prioritizes stopping recurrence—especially when edges lift, corners curl, or layers separate after spills, humidity swings, or a recent install.
1) Confirm what’s peeling (and where)
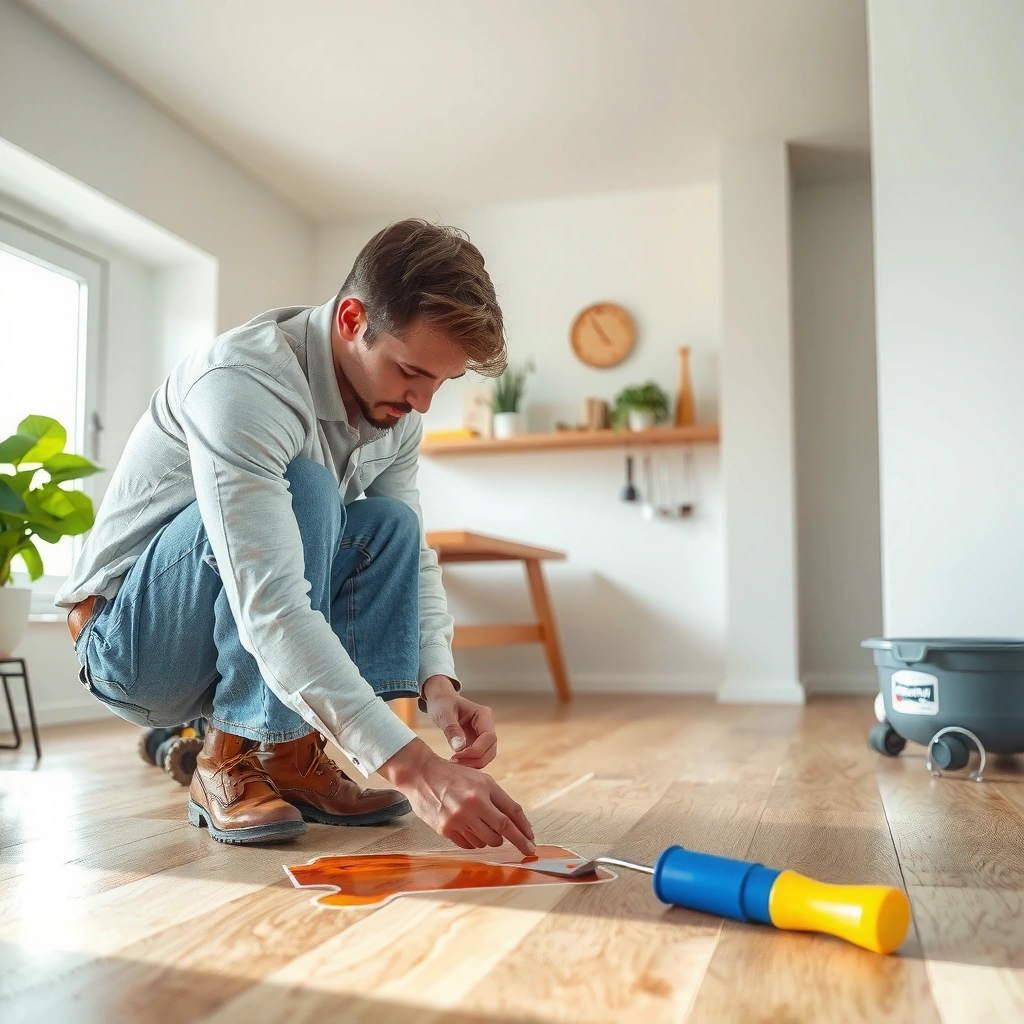
Edge lifting and “layer separation” can look similar, but the repair approach is different. Your first step is identifying whether the plank is coming apart at the seams/locking system or whether the top wear layer is delaminating from the core.
Peeling near the perimeter, doorways, or plumbing transitions often points to bond failure, debris, or moisture at the subfloor interface. In contrast, peeling “on the surface” (where the printed/decor layer looks like it’s separating) usually indicates a different failure mode—often delamination that replacement resolves more reliably.
Edge lifting on LVP typically indicates the plank/joint is losing support or bond—often linked to moisture, debris, an uneven substrate, or installation tolerance issues.
Surface-layer delamination (wear layer separating from the backing) usually behaves differently than seam lifting and is less likely to be solved by re-gluing a spot.
The “where” matters: moisture-related failures are commonly localized near bathrooms, sinks, exterior doors, or areas with recurring spills.
Quick checks you can do right now
– Edges/joins lifting: Look at plank ends, long seams, and corners. If the joints separate or the floor feels “springy” along the seam, focus on subfloor flatness, cleanliness, moisture, and (for glue-down) adhesive system failure.
– Surface delaminating: If you can lift only the top film/printed layer or see bubbles/peeling directly from the surface without obvious seam separation, replacement is often the durable fix.
– Localized vs widespread: Localized peeling suggests a specific trigger (leak, spot of high moisture, a contaminated patch of subfloor, or a localized prep/leveling defect). Widespread issues suggest acclimation, broad subfloor conditions, or systemic installation mismatch.
Data anchor (standards thresholds you can test against): According to ASTM F710, resilient flooring installations commonly require the substrate to meet flatness tolerances (commonly 3/16 in over 10 ft) to reduce stress at seams and joints (ASTM F710).
2) Find the most common causes behind LVP peeling
Most LVP peeling traces back to one of three root causes: moisture, prep/adhesive failure (glue-down), or movement from thermal/acclimation/installation issues (often click-lock). This section helps you narrow which category you’re in before you remove anything.
When you don’t find the cause first, you can “fix” the visible peeling and still get repeat lifting within weeks—especially if the subfloor is damp or contaminated with dust, curing residue, or adhesive failure remnants.
Moisture exposure can break the bond between LVP and the substrate (or allow dimensional movement), leading to lifting and recurring separation.
For glue-down LVP, using the wrong adhesive system—or not following substrate prep requirements—creates conditions for bond failure.
For click-lock LVP, inadequate acclimation or installation tolerances can contribute to gapping and eventual lifting at joints.
Moisture exposure (the most common “why”)
Look for:
– Past spills that soaked beyond the surface (especially at seams)
– Leaks under sinks, around toilets, or from HVAC condensate
– Wet mopping or leaving standing water
– High humidity environments where the floor isn’t adequately acclimated
Moisture matters because it can:
– Affect adhesive cure and adhesion strength (glue-down)
– Cause subfloor movement that stresses click-lock joints
– Promote swelling or contamination that prevents re-bonding
Moisture testing anchors: According to ASTM F2170, many resilient flooring adhesive/installation practices use a relative humidity limit around 75% RH for concrete slabs (always confirm product/manufacturer limits) (ASTM F2170). According to ASTM F1869, many specs use MVER limits commonly around 3 lb/1000 sq ft/24 hr for moisture-sensitive floor systems (verify with your LVP/adhesive manufacturer) (ASTM F1869).
Installation/prep issues (glue-down especially)
Subfloor prep failures that lead to peeling include:
– Uneven subfloor (even small high/low areas increase joint stress)
– Dust/debris left behind after grinding or patching
– Old adhesive residue not fully removed or incompatible with the new adhesive
– Wrong primer (where required by the adhesive/patch system)
– Using the wrong underlayment or omitting one when the system requires it
Thermal movement / poor acclimation (often click-lock)
With click-lock LVP:
– Boards can expand/contract with temperature changes.
– If the floor wasn’t acclimated to the room conditions or if there isn’t proper spacing at walls, the joints can work loose.
– Some floors are more sensitive than others—always follow your product’s installation tolerances and spacing requirements.
Visual guide: common failure modes and their “test-to-repair” focus
Moisture & Substrate Limits Commonly Referenced for Resilient Flooring (Standards-Based)
| # | Substrate factor (test method) | Typical acceptance limit used in practice | Source | Repair impact if out of spec |
|---|---|---|---|---|
| 1 | Concrete moisture (RH test, ASTM F2170) | ≤ 75% RH | ASTM F2170 | High risk of bond failure |
| 2 | Concrete moisture (MVER test, ASTM F1869) | ~ ≤ 3 lb/1000 sq ft/24 hr | ASTM F1869 | High risk of recurring lifting |
| 3 | Subfloor flatness tolerance (resilient flooring substrate) | Commonly 3/16 in over 10 ft | ASTM F710 | Joint stress → seam lift |
| 4 | Surface contamination (dust/curing residue) | “No contamination” prerequisite | ASTM F710 | Moderate–high bond loss |
| 5 | Adhesive compatibility (glue-down system) | Manufacturer-approved adhesive only | LVP/adhesive specs | Frequent re-lift after repairs |
| 6 | Subfloor integrity (delamination/soundness) | Solid, not friable | ASTM F710 | Repair won’t hold long |
| 7 | Moisture mitigation (if needed) | Use approved barrier/primer system | Moisture product specs | Prevents recurrence |
Note: Manufacturers can be stricter than these standards-based thresholds. Always follow your specific LVP, adhesive, and underlayment documentation—especially for moisture limits and compatibility.
3) Decide whether you can repair or must replace planks
Not every peeling case is a “patch and re-glue” problem. You can often re-secure edge lifting after correcting moisture and prep, but you usually need to replace when the wear layer is delaminating or the plank is physically damaged.
The durability of a repair depends on what failed: bond/joint performance (often correctable) vs material-layer integrity (often not). If you skip this step and glue something that’s already delaminating, the problem typically returns—sometimes faster than the first time.
If the core is intact and only the edges/joints have lifted, careful re-installation after substrate correction is often the most stable DIY path.
If the wear layer or printed film is delaminating from the backing, replacement is typically the durable repair because that failure is material-level.
Any repair performed over contaminated or damp substrate is likely to fail again because adhesion depends on substrate cleanliness and dryness.
Use this decision rule
– Repair/rehang candidate (often):
– Edges or joints lifting, with no visible plank cracking or swelling
– No surface delamination
– Subfloor is dry and meets flatness/cleanliness requirements once cleaned and inspected
– Replace (usually):
– Warped or swollen planks
– Cracked core
– Noticeable wear-layer delamination
– Re-lifting immediately after reinstallation (repeat failure)
Comparison: repair vs replace at a glance
| Option | Best for | What you must fix first | Likely outcome |
|---|---|---|---|
| Reinstall lifted planks | Edge lifting on otherwise intact boards | Moisture source, flatness, debris removal, correct method (click-lock or glue-down) | Often stabilizes the floor and stops spread |
| Replace affected planks | Delaminating wear layer, warped/swelled boards | Moisture/prep corrections still required | Most durable fix; prevents repeat “layer lift” |
| Full-area redo | Widespread failure or substrate compromise | Moisture mitigation + system-verified installation | Highest cost, lowest long-term risk |
4) Step-by-step: fix peeling on click-lock vs glue-down LVP
The correct repair steps depend on whether your LVP is click-lock (floating) or glue-down. In both cases, start by stopping the source of moisture, then remove affected planks, clean the substrate meticulously, and reinstall using the manufacturer’s required method and materials.
This is the safest order of operations: stabilize conditions → remove → inspect → prep → reinstall. Skipping any step—especially cleaning/scraping and subfloor flatness—turns a one-time repair into repeated failures.
For glue-down LVP, the repair usually fails if you do not remove failed adhesive residue and use the adhesive system recommended by the LVP manufacturer.
For click-lock LVP, forcing joints or trapping debris under planks increases joint stress and can worsen lifting.
First: stop the source and prepare the area
1. Dry the area fully and address the trigger (leak, spill, humid conditions).
2. Remove traffic from the room so the planks aren’t stressed while you work.
3. If you can, test moisture in the affected area using the method recommended by ASTM F1869 (MVER) or ASTM F2170 (RH), and compare against your LVP/adhesive limits (ASTM F1869, ASTM F2170).
Step-by-step for click-lock LVP
1. Remove the affected planks:
– Lift carefully to avoid damaging locking tongues/grooves.
– Remove adjacent boards if they won’t sit flat after substrate cleaning.
2. Clean and inspect the subfloor:
– Vacuum thoroughly; remove any grit, drywall crumbs, or old debris.
– Check for high spots or hollow areas—flatness drives seam stability.
3. Reinstall per instructions:
– Follow spacing requirements at walls and around fixed objects (critical for expansion/contraction).
– Lock joints without forcing; confirm alignment before seating.
Step-by-step for glue-down LVP
1. Remove lifted planks:
– Work slowly to avoid gouging the subfloor.
2. Scrape failed adhesive residue completely:
– Residue can prevent new adhesive from bonding (especially if it’s contaminated with dust or has partially cured).
3. Use only the adhesive system recommended by the LVP manufacturer:
– Glue-down repairs commonly fail due to adhesive mismatch.
4. Reinstall and allow stabilization:
– Keep traffic light and allow the adhesive/install conditions to stabilize.
– [ADD: exact cure/rolling-traffic restriction time only if your product instructions specify it.]
Pros/cons: click-lock vs glue-down repair workflow
- Click-lock (floating) repair
- Pros: Often quicker to remove/reinstall; fewer adhesive variables.
- Cons: Still fails if subfloor moisture/debris/flatness isn’t corrected.
- Glue-down repair
- Pros: Can feel more rigid when installed correctly.
- Cons: More sensitive to adhesive compatibility and residue removal; cure timing matters.
5) What can go wrong (avoid these mistakes)
Most peeling repairs fail for predictable reasons: moisture wasn’t truly corrected, the subfloor wasn’t prepped to spec, or the wrong system was used. If you avoid these errors, you’ll reduce the chance the problem reappears.
Also remember: LVP is a system. Even when one plank looks like the culprit, the stress usually starts at the substrate or installation environment.
Gluing over damp or contaminated subfloor typically leads to fast recurrence because adhesion depends on a clean, dry surface.
Skipping subfloor leveling can create repeated seam stress, turning a small edge lift into a larger separation area.
Common DIY mistakes
– Re-gluing over moisture: If the slab/subfloor is still damp, the bond weakens again.
– Using the wrong adhesive or underlayment: Glue-down LVP often requires a specific adhesive/primer/underlayment compatibility package.
– Skipping leveling/flatness work: Even small humps/valleys can create joint stress.
– Trimming/forcing locks on click-lock floors: Forcing tongue/groove connections can damage them and worsen separation.
– Wet cleaning immediately after repair: Excess water can undermine any new bond or trapped moisture situation.
Edge cases to take seriously
– Recurring lifting in the same spot: Likely a persistent moisture source (even if you can’t see an active leak).
– Spongy or cracked subfloor patches: Structural compromise can’t be fixed by plank reinstallation alone.
– Large areas lifting at once: That often signals systemic substrate moisture/flatness issues, not a one-plank problem.
6) Verdict / tip: what usually works best
The most reliable path is: identify whether you’re dealing with edge/joint lifting or wear-layer delamination, correct moisture/prep issues, then remove and reinstall the affected planks using the correct method for your LVP type. If you see wear-layer delamination or the boards are swollen/warped, replacement is usually the most honest and durable solution.
From a practical standpoint, I recommend treating “peeling” as a symptom, not a defect. When you correct the underlying moisture or installation mismatch, many localized peeling issues can be stabilized without tearing out the entire floor.
Correcting moisture and substrate flatness before reinstalling is what prevents repeat lifting in both click-lock and glue-down LVP systems.
Wear-layer delamination usually indicates a material-level failure mode where adhesive patches rarely provide long-term stability.
When the subfloor may be compromised (e.g., prolonged leaks or swelling), professional assessment is often the safest decision.
When to skip DIY and call in help
Skip DIY (or get professional assessment) if:
– You suspect prolonged leaks or ongoing water intrusion
– You see widespread subfloor swelling, soft spots, or persistent moisture readings
– The floor was installed recently and multiple planks are lifting (warranty and correct install documentation matter)
Quick checklist (scan before you start)
– [ ] Identify: edge lifting vs surface delamination
– [ ] Locate: near water sources or random areas
– [ ] Verify moisture is resolved and subfloor is dry (use ASTM F1869/F2170 approach if needed)
– [ ] Confirm install type: click-lock vs glue-down
– [ ] Clean/scrape fully before reinstalling (glue-down: remove failed adhesive residue)
– [ ] Use only manufacturer-approved adhesive (glue-down)
– [ ] Reinstall with correct spacing/locking method (click-lock)
– [ ] Avoid wet mopping until fully stable
FAQ
Why is my LVP peeling at the edges?
It’s commonly caused by moisture exposure, inadequate subfloor prep (including insufficient flatness or surface cleanliness), or stress at seams from movement/installation tolerances. For glue-down, adhesive incompatibility or failure near joins can also be a driver.
Can I just glue down the peeled spot?
Sometimes, but only if the subfloor is fully dry, clean, properly prepared, and you use the adhesive system your LVP manufacturer specifies. If the peeled area is due to moisture or a material-level delamination, localized gluing usually won’t hold.
What if the surface layer is peeling instead of the plank lifting?
Surface-layer delamination (wear layer separating) usually points to a material-level failure mode. Replacement of the affected planks is typically the most reliable approach.
How do I prevent peeling from coming back?
Control moisture, follow the correct installation method for your LVP (click-lock vs glue-down), verify the substrate is flat and clean, and use cleaning methods that do not leave excess water. [ADD: your LVP manufacturer’s exact cleaning guidance and “no-wet-mop” instructions.]
Sources:
Facts based on general LVP installation principles should be verified against your specific product documentation. Use these primary sources:
– [ADD: Manufacturer installation guide for your exact LVP model/type (click-lock or glue-down)]
– [ADD: Manufacturer care/maintenance guide for cleaning instructions and moisture guidance]
– [ADD: Manufacturer warranty terms for delamination vs lifting and any required repair procedures]
– ASTM F710 (standard practice for preparing concrete subfloors for resilient flooring installations, including substrate flatness/conditions)
– ASTM F1869 (standard test method for measuring moisture vapor emission rate of concrete subfloor using anhydrous calcium chloride)
– ASTM F2170 (standard test method for determining relative humidity in concrete using in-situ probes)
Peeling on LVP is usually fixable—but only when you treat it as a system problem. Confirm whether it’s edge/joint lifting or wear-layer delamination, correct moisture and substrate prep, then reinstall the affected planks using the right method for your flooring type. If moisture issues or repeated failures are present, prioritize diagnosing the substrate and consider professional help to prevent the problem from coming back.
Frequently Asked Questions
What causes LVP floors to peel, and how can I identify the problem?
LVP peeling is usually caused by moisture intrusion, improper subfloor preparation, or adhesive failure (for glue-down LVP). Look for signs like bubbling, lifting edges, gaps, or visible glue residue to determine whether the problem is moisture-related or installation-related. If the peeling started after spills, wet mopping, or humidity changes, moisture under the planks is often the culprit. In contrast, peeling across many planks soon after installation often points to an incomplete adhesive bond or uneven subfloor.
How do I fix peeling on glue-down LVP floors step by step?
Start by removing any lifted planks carefully and cleaning both the subfloor and the back of the LVP so the surface is free of dust, debris, and old adhesive. Check the subfloor flatness and dryness, because re-bonding won’t last if there’s moisture or high spots. Use the manufacturer-recommended LVP flooring adhesive, then press and weight the plank for the time specified on the product label. Finally, wipe away excess adhesive and avoid walking on the area until the bond fully cures.
How can I repair peeling edges on floating LVP without replacing the whole floor?
Begin by checking whether the plank edges lifted due to expansion gaps being too small or the floor being exposed to heat and humidity swings. If the locking system is intact, you can often re-seat the planks by gently aligning the click joints and pressing them down, sometimes using a tapping block to avoid damaging the edges. If the core or locking tabs are cracked or permanently warped from moisture, those planks may need replacement to stop recurring peeling. After repair, ensure proper LVP expansion gaps around walls and fixtures to reduce future lift.
Best way to prevent LVP peeling after the repair?
Preventing LVP floor peeling starts with controlling moisture and using the right cleaning methods—avoid soaking the floor and skip steam mops unless the manufacturer specifically allows them. Use pH-neutral LVP-safe cleaners and dry-cleaning tools like microfiber mops to keep adhesive joints and the surface from breaking down. Maintain indoor humidity and temperature within the recommended range, especially in basements or areas exposed to seasonal swings. Also, protect the floor from grit and heavy impact using felt pads and doormats to prevent edge damage that can lead to lifting.
Which adhesive is safe for fixing peeling LVP, and when should I replace planks instead?
Use only the adhesive type and brand recommended for your specific LVP installation method (glue-down vs. click-lock), since the wrong glue can fail or damage the plank backing. If the plank is swollen, the click-lock is broken, or the surface feels permanently warped or detached despite re-adhesion attempts, replacement is usually the best option for a durable fix. Before applying adhesive, confirm the subfloor is dry and properly flat, because moisture or unevenness will cause the LVP flooring to peel again. When in doubt, check the LVP manufacturer’s repair guidelines or consult a flooring professional for moisture testing and correct materials.
📅 Last Updated: October 07, 2026 | Topic: How to fix peeling on LVP floors? | Content verified for accuracy and freshness.
References
- Google Scholar Google Scholar
https://scholar.google.com/scholar?q=how+to+fix+peeling+LVP+flooring - Google Scholar Google Scholar
https://scholar.google.com/scholar?q=LVP+peeling+delamination+causes+moisture - Google Scholar Google Scholar
https://scholar.google.com/scholar?q+resilient+vinyl+floor+flooring+delamination+subfloor+moisture - Google Scholar Google Scholar
https://scholar.google.com/scholar?q+vinyl+plank+flooring+lifting+edges+installation+problems - Google Scholar Google Scholar
https://scholar.google.com/scholar?q+luxury+vinyl+plank+repair+peeling+what+to+do - Google Scholar Google Scholar
https://scholar.google.com/scholar?q+water+intrusion+under+resilient+floor+covering+effects - Google Scholar Google Scholar
https://scholar.google.com/scholar?q+vinyl+flooring+adhesion+failure+causes+remediation - Google Scholar Google Scholar
https://scholar.google.com/scholar?q+flooring+moisture+mitigation+resilient+floor+coverings - Google Scholar Google Scholar
https://scholar.google.com/scholar?q+ASTM+resilient+flooring+moisture+installation+guidelines - Google Scholar Google Scholar
https://scholar.google.com/scholar?q+RFCI+resilient+floor+covering+installation+recommendations+moisture