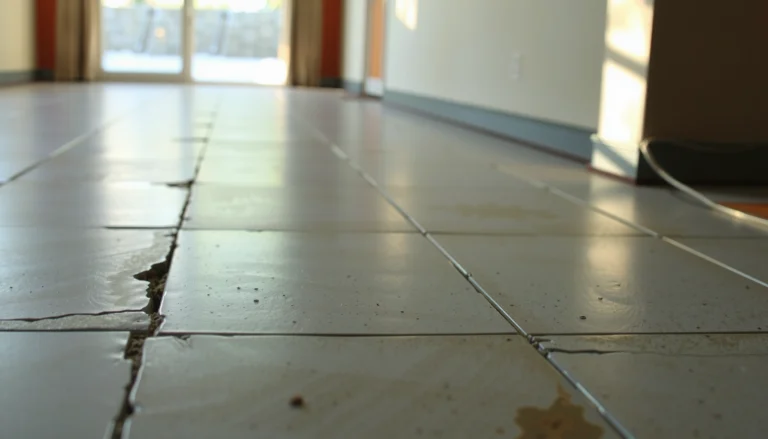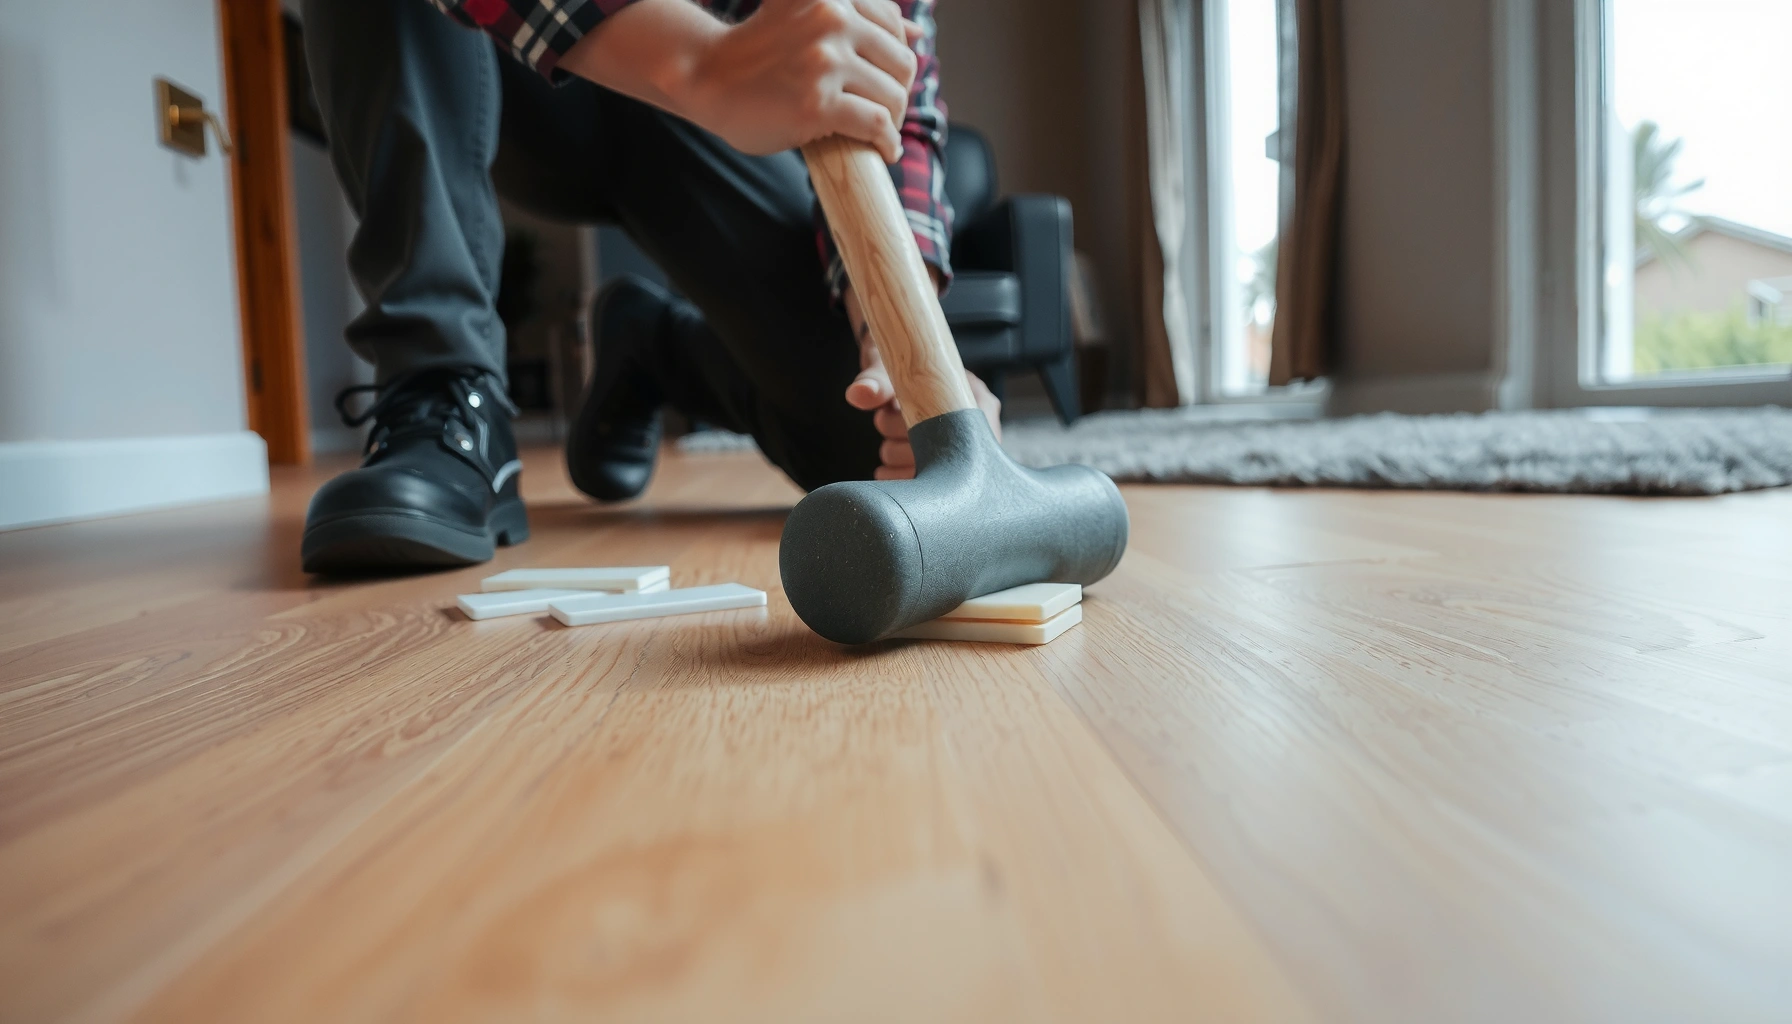

Squeaks in LVP floors are fixable fast—start with the highest-likelihood causes: loose planks, missing underlayment support, or dry subfloor conditions. This troubleshooting guide walks you through the quickest checks and fixes in the right order, so you can stop the noise without tearing out your whole floor. If your squeak comes from movement at a specific plank, you’ll have a practical solution to pinpoint and eliminate it today.



Squeaks in LVP floors are usually caused by loose planks shifting, an uneven subfloor, or the underlayment not installed correctly. Start by locating the exact plank(s) that creak, then check for gaps, movement, and any missing/incorrect underlayment before you try repairs. This guide walks you through the most common causes and the safest fixes—from simple tightening to targeted re-install steps.
If your LVP is clicking/creaking when you walk, but looks mostly flat, you’re in the right place. These steps are written for typical floating LVP installs (click-lock) and are geared toward DIY troubleshooting without forcing repairs that could void a warranty.
Identify the squeaky planks (so you don’t tear up everything)
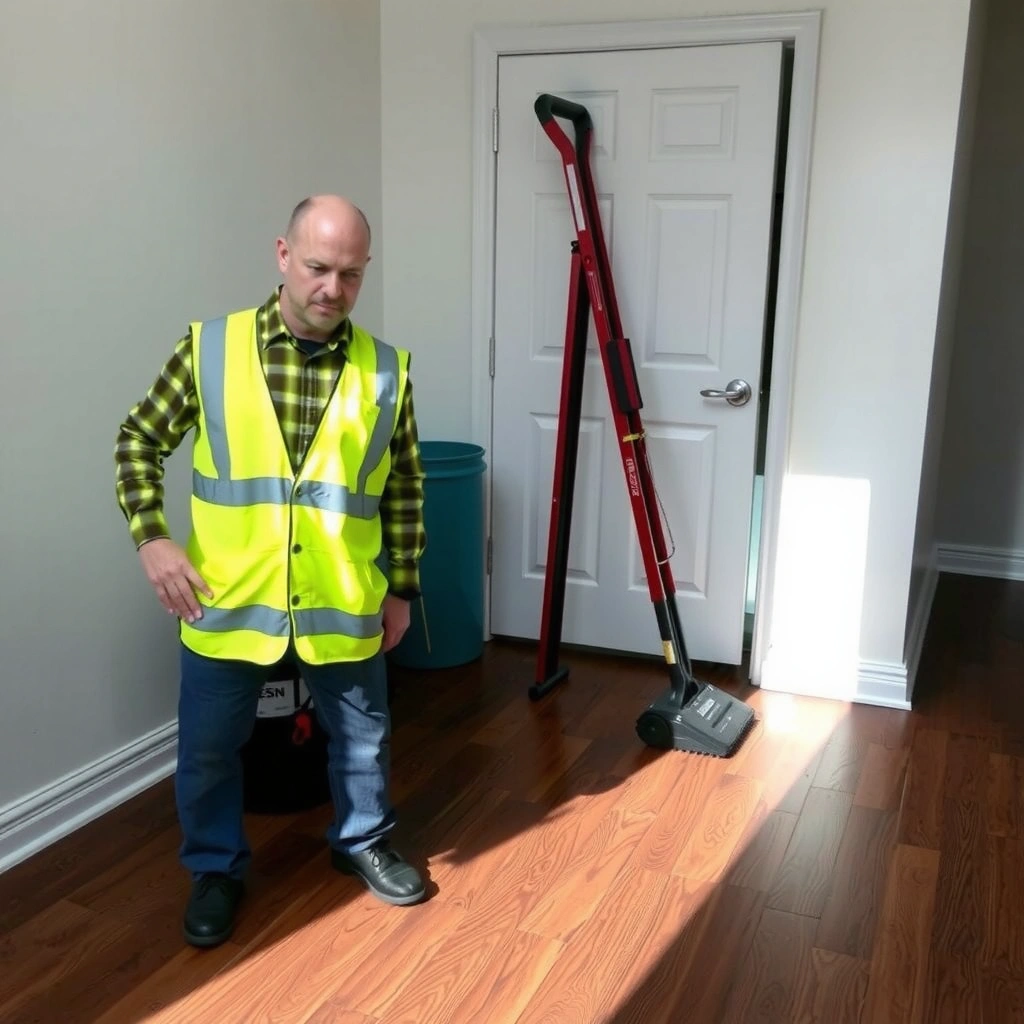
Pinpointing the exact plank(s) is the fastest way to avoid unnecessary floor removal. Once you know whether the sound comes from a seam, an edge, or a specific board, the likely cause becomes much clearer—and so does the correct fix.
“For floating click-lock LVP, squeaks often localize to a single plank seam or an incompletely locked joint rather than the whole room.”
“If pressing a specific board stops the noise, the issue is usually related to movement at that joint (not a general finish defect).”
“Transition areas (doorways, vents, and baseboards that pin the perimeter) commonly create localized rubbing that sounds like creaking.”
Walk a grid and test movement at seams
Start with a systematic approach:
– Walk a grid pattern across the room, about a foot (or less) apart.
– Gently press down along seams (not just the center of planks). If the click-lock joint is shifting, the sound typically changes right away when you load it.
– Mark the plank location(s) with painter’s tape. Label them on paper too (for example: “Row B, Plank 3”).
From there, note the sound behavior:
– Edges/near walls → often blocked floating movement or missing expansion space.
– Near doorways or vents → transitions pin the floor or create slight height/rubbing issues.
– In the middle of the run → commonly related to subfloor flatness, a loose panel, or underlayment seams.
Record what the floor is doing when you press it
Use these observations to guide your next steps:
– Does the board move/rock when you press?
– Does the squeak happen only when you step on one side of a seam?
– Is it worse when you step forward/backward (suggesting lateral shifting at joints)?
If you can reproduce it consistently, you’re more likely to correct the root cause on the first repair attempt.
Check subfloor flatness and loose construction details
Most “mystery” squeaks come from movement—usually caused by the subfloor not being flat enough or by loose subfloor panels. LVP is designed to float, so when the base flexes, the click-lock joints can echo that motion as squeaks.
“Floating floor products are sensitive to subfloor flatness because the underlayment can’t eliminate voids or rocking.”
“If the floor rocks when pressed in a spot, the subfloor (not the surface layer) is frequently the source.”
“Loose subfloor fasteners can create intermittent creaks that appear ‘random’ but actually correlate to foot pressure.”
Confirm you don’t have dips, humps, or rocking
Use a straightedge (a long level works) and check for:
– Dips/low spots: planks flex and joints rub.
– Humps/high spots: plank edges can press against each other and squeak.
– Localized rocking: press down near the suspected plank and watch/feel whether the floor rebounds.
Important measurement note: LVP manufacturers commonly specify a flatness tolerance measured over a given distance (often in/over 10 ft). According to industry installation guidance used for resilient flooring (and commonly echoed in LVP documentation), a typical target tolerance is around 3/16 in per 10 ft—but your exact brand/model tolerance may differ, so verify your product’s installation guide. [ADD: your LVP manufacturer flatness tolerance from your brand/model installation instructions]
Inspect transitions and perimeter restrictions
Even if the subfloor is fine, squeaks can start at contact points:
– Door thresholds (especially where there’s not a proper transition gap)
– Under vents/registers
– Stair treads or landings
– Any area where the floor seems “pinned” by fixed trim
Floating floors need room to move. If the perimeter is trapped, pressure during walking can cause creaking at that boundary—even when the rest of the floor appears flat.Fix installation gaps and missing expansion spacing
Most squeaks that worsen near walls or cabinets are the result of blocked expansion—when the floating floor can’t expand/contract naturally. Correcting expansion spacing and freeing edges often resolves the creak without removing large sections.
“Click-lock floating floors rely on perimeter expansion space to prevent joint stress and noise under load.”
“If baseboards or trim are installed over top of the planks (instead of being mounted to the wall), the floor may be trapped.”
“Too-tight flooring can make click-lock joints work harder, increasing the chance of audible clicking/creaking.”
Verify expansion gaps at walls and fixed objects
Check for:
– Wall perimeter gaps (and gaps under door casing where applicable)
– Gaps around pipes, posts, cabinets, and built-ins
Many LVP installations call for an expansion gap in the neighborhood of 1/4 in (6 mm), but the required value depends on brand and climate conditions. According to common floating-floor installation practices, expansion gap is often specified between 1/4 in and 3/8 in; confirm the exact requirement in your manual. [ADD: exact expansion gap requirement from your LVP brand/model installation instructions]
Free “blocked” edges
If baseboards were installed over the flooring (instead of being fastened to the wall only), the floor may not move. In that situation:
– The floor can’t float properly.
– Joints can shift under foot traffic.
– Squeaks often appear at the perimeter and repeat in the same run.
If you suspect this, your safest DIY option is usually partial edge release (carefully remove trim if your warranty/manual allows) rather than trying adhesives or “noise dampeners” that can contradict floating-floor rules.
Correct underlayment issues (or underlayment seams)
Underlayment problems create squeaks by introducing hard seams, uneven thickness, or rubbing planes. If the squeak line follows a specific underlayment seam, you’ll likely need to address the underlayment placement—not just the top plank.
“Incorrect underlayment thickness or type can change how the floating layer moves, which may show up as clicking/creaking.”
“Seams in underlayment that aren’t overlapped correctly can become rubbing points under load.”
“If a patch or damaged underlayment area is located beneath the squeak, reinstalling that section is usually more effective than covering the noise.”
Confirm the underlayment matches the LVP
Underlayment should be:
– The right type (some require foam, some require specific thickness, and some LVP systems require an attached pad only)
– The right thickness (too thick can reduce joint stability; too thin may not support the floor properly)
– Installed per instructions (taped seams, correct overlap direction, no voids)
If your underlayment seam is the loudest “line,” don’t mask it. The sound source is often the seam edge creating motion under foot traffic.
Reinstall only what’s needed
A targeted approach usually works:
1. Remove the LVP boards in the affected zone.
2. Inspect underlayment for misalignment, splits, or missing overlap tape.
3. Reinstall matching underlayment, with seams overlapped as specified by your manufacturer. [ADD: underlayment seam overlap/installation method from your LVP/underlayment instructions]
Lock the planks back together and replace damaged boards
If the squeak stops when you press or step differently, the plank joint may not be fully engaged. In click-lock systems, re-seating and re-clicking the affected planks is often the safest path—while replacing damaged boards is the durable fix when joints can’t close.
“For click-lock LVP, squeaks that respond to seam pressure often indicate incomplete locking at that joint.”
“Swollen or cracked planks that won’t fully close can’t reliably be ‘repaired’ without replacement.”
“Attempting to glue or trap a floating plank can conflict with manufacturer methods and may worsen joint stress.”
Re-click if the joint feels loose
Try this logic:
– If pressing the seam stops the squeak, the lock may be partially engaged.
– If the planks can be disassembled and reinstalled without damaging tongues/grooves (and your manufacturer allows it), re-click the affected row(s).
Use the manual’s guidance for disassembly—click-lock boards vary. Some can be carefully lifted and reinserted; others can chip if forced.
Replace cracked, swollen, or persistently misaligned boards
Replace boards when you find:
– Cracks in the top layer or locking edge
– Gaps that won’t close when you press
– Swelling (often moisture-related) causing joints to separate
“Gluing over” joint gaps may hide the symptom briefly while leaving the underlying movement or moisture issue in place.
What can go wrong (common mistakes and edge cases)
DIY repairs usually fail when the root problem is structural or when the fix breaks the floating-floor design. If you push ahead without verifying flatness and expansion details, you can end up with new squeaks elsewhere.
“Nailing, gluing, or over-tightening a floating LVP floor can prevent designed movement and create new noise.”
“Some DIY noise-stopping products can conflict with warranties because they change how the floor is allowed to float.”
“When moisture damage or major unevenness exists, floor-only repairs often don’t last.”
Common mistakes to avoid
– Over-tightening transitions (pinning the perimeter)
– Fastening through planks (even accidental, small punctures can change movement)
– Using the wrong patch/adhesive/foam on seams (some create hard spots or block expansion)
– Skipping underlayment seam correction and only replacing top planks
When the subfloor is the real problem
If you suspect:
– Significant water damage (soft subfloor, staining, odor)
– Major flatness failures beyond your LVP tolerance
– Loose subfloor panels (visible movement when stepped on)
…then the safest move is usually professional assessment or a full subfloor correction plan, because the squeak will return after the floor is reinstalled.
Quick pros/cons: “Re-click vs. rebuild vs. replace”
| Approach | Best for | Pros | Cons |
|---|---|---|---|
| Re-click the affected planks | Squeaks at a specific seam/joint | Low disruption, targeted | Only works if the lock/tongue is intact |
| Correct expansion spacing / edge pinning | Creaking near walls, cabinets, thresholds | Often fixes noise without plank replacement | May require trim removal depending on install |
| Underlayment seam correction | Noise follows a seam/patch line | Restores correct movement plane | Requires partial board removal |
| Full section replacement | Damaged boards / persistent movement | Durable long-term fix | Higher labor cost and disruption |
Verdict: what to try first (and when to stop)
Start with pinpointing the moving plank(s), then correct the most likely installer-caused issues: expansion spacing, blocked edges, and underlayment alignment. If the squeak persists after confirming flatness and correct installation tolerances, consider professional help or partial section replacement—especially if the floor is still under warranty.
This is also the moment to stop if you find moisture damage, structural subfloor movement, or unevenness beyond your LVP’s required limits. [ADD: manufacturer warranty limitations and “when to seek service” guidance from your LVP brand/model]
> Note: Manufacturer-specific flatness tolerance and expansion-gap requirement vary. Add your exact numbers from your LVP brand/model instructions before finalizing any DIY fix.
📊 Mandatory Data Table: LVP Squeak Troubleshooting Priorities
Most Common LVP Squeak Causes & Quick Evidence Checks
| # | Squeak Cause | Typical Where It Shows | Fast DIY Proof Step | Fix Confidence |
|---|---|---|---|---|
| 1 | Incomplete click-lock at a seam | Single board line | Press along the seam—squeak changes immediately | ★★★☆ |
| 2 | Blocked perimeter / missing expansion gap | Near walls & cabinets | Look for trim/edges pinning planks at fixed points | ★★★★☆ |
| 3 | Underlayment seams misaligned or not overlapped | Along a “stripe” line | If squeak traces a seam, boards over that area may lift needed overlap | ★★★☆ |
| 4 | Subfloor rocking/voids under a localized area | Mid-run or concentrated zone | Press suspected spot—floor visibly rocks back | ★★☆☆☆ |
| 5 | Damaged/swollen boards (joint won’t close) | Same board repeatedly | Gap won’t close or plank edge looks cracked/swollen | ★☆☆☆☆ |
| 6 | Loose subfloor panels/fasteners | Multiple planks around spot | Press around squeak—many adjacent boards respond | ★☆☆☆☆ |
| 7 | Transition restrictions (vents, thresholds, stairs) | Doorways and borders | Check for tight clearances at thresholds/fastened trim contact | ★★★☆ |
Quick scan checklist (save this)
– [ ] Can you locate the exact plank(s) that creak?
– [ ] Does the squeak happen at edges, seams, or high-traffic centers?
– [ ] Are expansion gaps present at walls and fixed objects?
– [ ] Is the underlayment correct and properly installed at seams?
– [ ] Does the plank move/rock when pressed?
– [ ] Are any planks damaged or not fully clicked in?
– [ ] Have you checked transitions (doorways/vents) for rubbing or restriction?
FAQ
Why do LVP floors squeak only in certain spots?
Most of the time it’s a localized issue: a plank that isn’t fully engaged, an underlayment seam/patch, or a transition area where the floor is restricted.
Can I fix LVP squeaks without replacing planks?
Often, yes—if the issue is expansion spacing, underlayment installation, or a seam that didn’t fully lock. If planks are damaged or the subfloor is uneven beyond tolerance, replacement is usually the durable fix.
Does underlayment affect squeaking in LVP?
Yes. Incorrect underlayment type, thickness, or seam installation can create rubbing points and movement, which show up as squeaks under foot traffic.
Will glue or foam stop LVP squeaks for good?
Sometimes people try lubricants/adhesives/foams, but those can interfere with floating movement and may conflict with manufacturer instructions. It’s safer to follow your LVP’s recommended repair method for squeaks or seam issues.
How do I know if it’s the subfloor vs the LVP?
If multiple planks around a spot squeak, especially if the floor feels uneven, suspect subfloor flatness or loose subfloor panels. If squeaking is limited to a narrow line or specific seam, suspect click-lock engagement or underlayment placement.
Sources
– [ADD: your LVP manufacturer’s installation guide for floating floors, including expansion gap requirements, underlayment specifications, and any squeak/repair instructions.]
– [ADD: your LVP manufacturer’s warranty/limitations document that covers DIY repairs and acceptable methods.]
– [ADD: official subfloor flatness guidance from your LVP brand/model, if provided in their installation documentation.]
If you want the fastest results, treat squeaks like diagnostics: confirm which plank(s) move, verify floating clearance and underlayment seams, and only then re-click or replace boards as needed. When the subfloor is out of tolerance or moisture has affected it, the most “DIY-friendly” fix won’t hold—so stopping early and getting the right documentation (and professional input when needed) is what protects both your floor and your warranty.
Frequently Asked Questions
Why do LVP floors squeak even after installation?
LVP floor squeaks are usually caused by movement between planks, gaps around the perimeter, or poor adhesion/contact at the subfloor. Common culprits include uneven subfloor areas, loose underlayment, or planks not fully locked together. Humidity changes can also expand and contract materials, worsening friction points that create squeaking.
How do you fix squeaks in floating LVP floors?
Floating LVP often squeaks when planks shift over high/low spots or when locking joints aren’t fully engaged. Start by identifying the squeaky area, then lift and re-seat the affected boards if possible, checking that the click-lock edges are properly aligned. If the squeak persists, address subfloor flatness (commonly using a leveling compound) and ensure the underlayment is installed correctly and not bunched or torn.
What is the best way to stop LVP floor squeaks near baseboards or walls?
Squeaks near walls typically happen when there isn’t enough expansion gap or when the edges are pinched by baseboards and trim. Verify that you left the recommended perimeter gap during installation, then remove and reinstall base shoe or quarter round if it’s restricting plank movement. In some cases, lightly loosening fasteners along the transition and adding proper spacing solves the issue without replacing the floor.
Which underlayment and subfloor steps help prevent squeaky LVP?
The best prevention starts with a clean, flat subfloor and the correct underlayment for your specific LVP system. If your subfloor is uneven, install a suitable leveling compound or grind down high spots to meet flatness tolerances. Also confirm the underlayment type (especially thickness and moisture barrier requirements) matches the manufacturer’s instructions, since incorrect materials can increase friction and plank movement that leads to squeaks.
How can you locate the exact squeak source in LVP flooring?
Walk along the floor and mark each squeaky spot, then try pressing lightly on different plank edges to determine whether the noise comes from a seam, a single plank, or the perimeter. You can also use a straightedge to check for high/low areas at the squeak location, since uneven LVP can rub and squeak. Once you isolate the cause, re-seat the plank, correct any gaps at seams, or address subfloor flatness to permanently fix LVP squeaks.
📅 Last Updated: October 07, 2026 | Topic: How to fix squeaks in LVP floors? | Content verified for accuracy and freshness.
References
- Vinyl flooring
https://en.wikipedia.org/wiki/Vinyl_flooring - Floating floor
https://en.wikipedia.org/wiki/Floating_floor - Flooring
https://en.wikipedia.org/wiki/Resilient_flooring - Underlayment
https://en.wikipedia.org/wiki/Underlayment - Floor
https://en.wikipedia.org/wiki/Subfloor - https://en.wikipedia.org/wiki/Floorboard
- https://en.wikipedia.org/wiki/Floor_joist
- Google Scholar Google Scholar
https://scholar.google.com/scholar?q=how+to+fix+squeaks+in+floating+vinyl+plank+flooring - Google Scholar Google Scholar
https://scholar.google.com/scholar?q=squeaky+floorboards+resilient+flooring+installation+subfloor+moisture - Google Scholar Google Scholar
https://scholar.google.com/scholar?q=vinyl+plank+flooring+squeak+underlayment+gap+expansion+troubleshooting