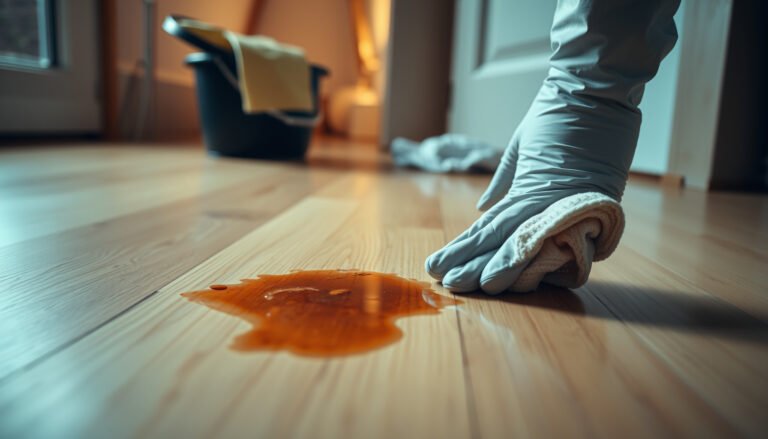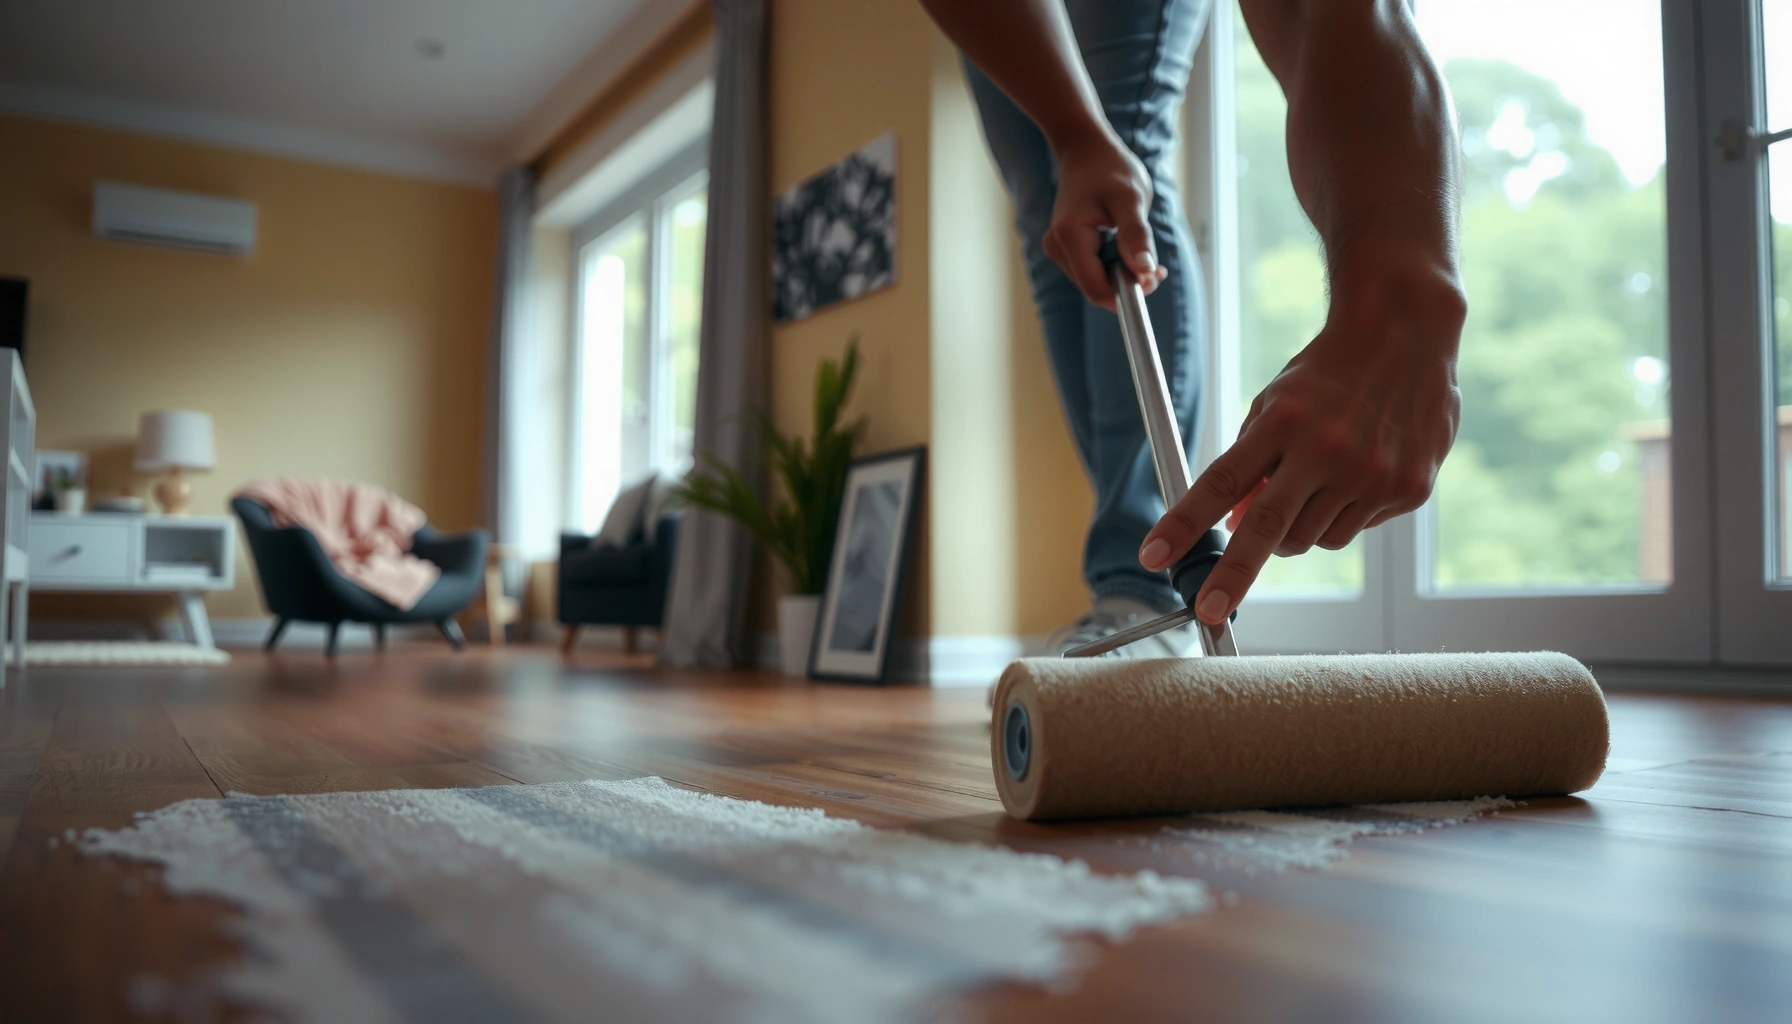

Refinishing LVP floors is worth doing when your planks are scuffed or dulled but the core is still sound—follow this step-by-step process to restore a factory-like finish without guesswork. You’ll learn exactly how to clean, prep, repair, and apply the right refinishing topcoat so the surface bonds correctly and wears evenly. If your LVP is loose, water-damaged, or already peeling at the seams, the method will quickly tell you to stop and replace.




Refinishing LVP usually isn’t a true “refinish” the way hardwood floors are—most LVP can’t be sanded and re-coated without damaging the wear layer. The safest path is a careful deep clean, targeted surface repair, and (only if manufacturer-approved) a compatible restoration/coating system for your exact LVP type.
If your floor is showing scuffs, dullness, or minor surface wear, you can often make it look dramatically better without replacing planks. The key is matching your approach to your LVP’s construction (click-lock vs. glue-down) and confirming whether your brand allows any kind of coating or surface restoration in the first place—this is what prevents expensive, permanent haze, peeling, or streaking.
Check Your LVP Type (Read This First)
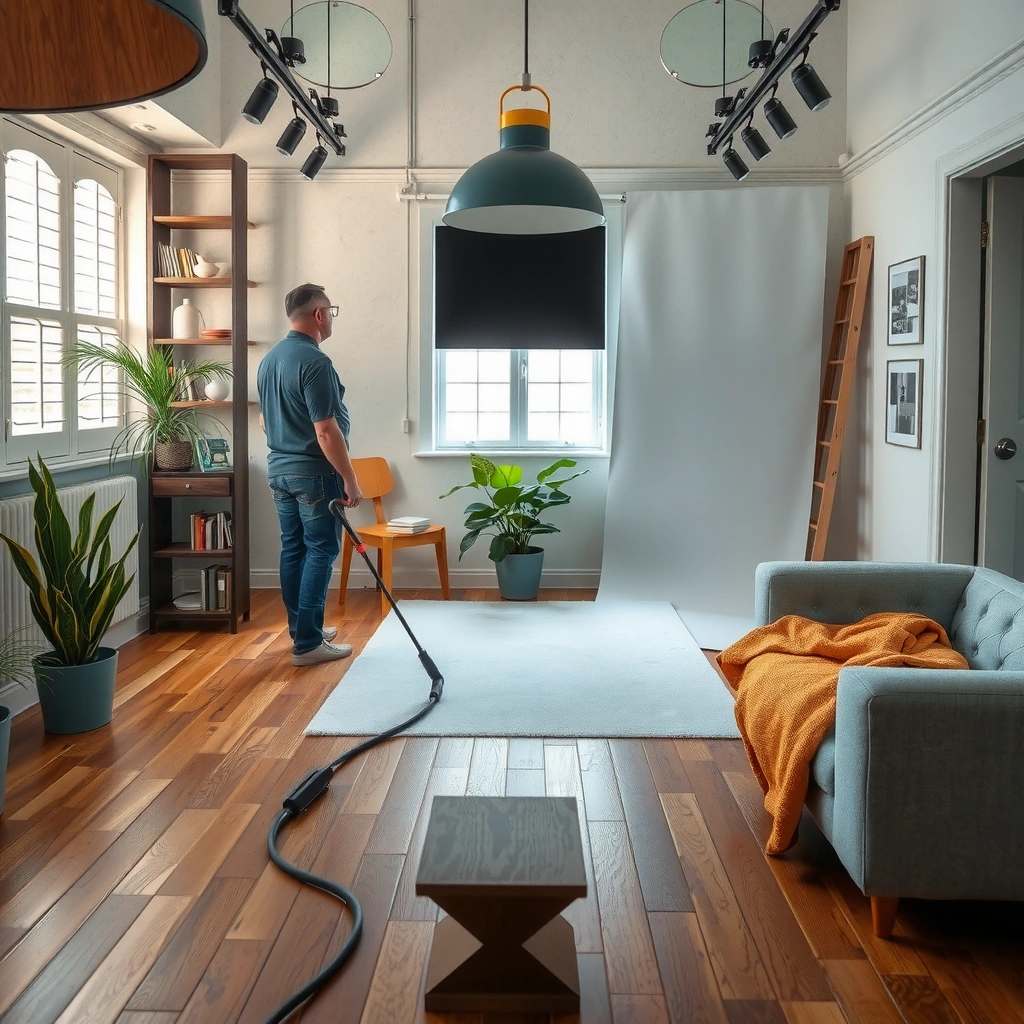
You’ll get the best outcome when you treat LVP as a system, not a surface. “Refinishing” strategies differ sharply depending on whether your planks are click-lock floating or glue-down, and whether the visible top layer is a sealed wear layer that can’t be mechanically abraded.
Here’s what to verify before buying any cleaner, pad, or “floor restore” product—because the wrong chemistry or technique is the most common reason results disappoint.
Click-lock LVP and glue-down LVP have different installation failure points, so surface-only “refinishing” won’t correct underlying moisture or adhesive problems.
If the wear layer is not explicitly designed to accept coatings/restorers, abrasive methods can permanently damage the finish and leave dull patches.
Manufacturer care guidance is the controlling rule for what cleaners, pads, and restorative products are compatible with your specific LVP wear layer.
Identify click-lock vs. glue-down
– Click-lock (floating): Planks lock together and “float” over the subfloor (often over an attached or separate underlayment/pad). If edges lift, it can be tied to moisture at seams, improper expansion gaps, or underlayment issues—surface products won’t fix that.
– Glue-down: Planks are adhered to the subfloor. If the floor is lifting or bubbling, adhesive failure or subfloor moisture issues are common root causes, and you’ll need to address those before appearance treatments.
Confirm pad + wear-layer system
Look for:
– Attached pad (common on click-lock): This affects how water spreads and how much the floor “tolerates” wet cleaning.
– Wear-layer type: Many LVP products use a sealed wear layer that’s meant to be cleaned, not sanded. Even if the floor “looks like” it could be finished, sanding can cut into or compromise the protective layer.
Decide your end goal first
Your plan changes based on what you’re trying to solve:
– Clean + refresh appearance
– Fix isolated dents/scuffs
– Repair seams or lifting edges
– Replace some planks for a uniform look
As of 2025, most consumer LVP “restoration” expectations should be framed as appearance improvement, not true refinishing.
Quick comparison: what typically works by symptom
| Symptom you see | Safest first approach | Why it usually helps | When you should stop |
|---|---|---|---|
| Light scuffs / dull patches | Deep clean + non-abrasive spot treatment | Removes residue that changes sheen | If scuffs are in the wear layer (not just residue) |
| Hazy film | Correct cleaner + rinse steps | Residue creates cloudy sheen | If haze persists after correct dilution/contact time |
| Seams separating / edges lifting | Moisture + installation diagnosis | Root cause is often moisture/spacing | If planks are already moving—plan replacement |
| Dents or gouges | Targeted plank replacement or compatible patch (if allowed) | You restore the damaged area | If damage penetrates visible wear layer |
Deep Clean and Surface Prep (This Is Where Results Start)
If the floor is dirty, “restoring” it rarely looks uniform. Start with prep that removes grit and film—because residue and embedded dirt will interfere with any surface treatment you apply afterward.
This step is also where you protect your wear layer from becoming more scratched, because most LVP damage from DIY “refinishing” comes from particles dragged across the surface.
Dry vacuuming with a hard-floor attachment first helps prevent grit from being dragged into LVP during wet cleaning.
Many LVP cleaners require an exact dwell/contact time, and skipping it can leave behind residue that later shows as haze.
Fully drying after cleaning is essential—especially near seams—because trapped moisture can worsen edge lifting and dull spots.
Remove grit before wet cleaning
– Vacuum first: Use a vacuum with a hard-floor attachment (soft bristles, no aggressive beater bar).
– Spot sweep: Pay special attention to entryways and under furniture edges.
Use an LVP-appropriate cleaner (and follow contact time)
– Use the specific cleaner recommended by your LVP manufacturer if possible.
– Follow the label’s dwell time/contact time exactly (this is not a “spray and wipe instantly” process for many products).
– Avoid:
– All-purpose “degreasers” that leave residue
– Waxing or “polishing” products designed for other floor types
– Abrasive powders or aggressive pads unless explicitly approved
Rinse and dry properly
Even when a cleaner is “safe,” residue can still remain if you don’t remove it correctly.
– If your cleaner requires rinsing: do it.
– Dry fully: Use clean microfiber towels and allow airflow.
Inspect like a contractor
After drying:
– Check for waxy residue (often shows as a slick feel or cloudy look)
– Look for embedded grit at seam lines
– Evaluate whether dullness is actually film vs. wear-layer damage
Repair Damage Without Destroying the Wear Layer
Target repairs to the type of damage you have. Scuffs often respond to cleaning and careful spot methods; lifted edges or cracks usually require plank-level correction, not coating.
The safest repairs are the ones that respect what LVP is: a resilient surface with a protective wear layer that generally isn’t designed to be sanded or chemically “re-bonded” like wood.
If planks are lifting, surface coatings typically won’t fix the cause and can trap moisture or further stress seams.
For localized wear, replacing individual LVP planks is often more reliable than trying to blend a coating over damaged areas.
Non-approved abrasives can cut through or mar LVP’s wear layer, creating permanent dull patches that cleaning can’t remove.
Dents, cracks, and lifting edges
– Isolated damaged planks: Replace them if your floor system allows.
– Lifting edges/seams: Treat this as a diagnostic issue:
– Moisture intrusion near baseboards or bathrooms
– Subfloor flatness or improper prep
– For click-lock: expansion gaps and temperature movement
– For glue-down: adhesive failure and/or moisture from below
Scuffs and surface marks
Start with the gentlest approach your manufacturer permits:
– Try cleaning first (often residue exaggerates the appearance of scuffs)
– Use soft microfiber and minimal pressure
– Avoid abrasive pads unless your specific LVP guidance approves them
Address moisture issues first
If you skip moisture:
– The floor can keep moving or separating
– Any “refreshed” appearance may fade quickly as seams reopen or the surface dulls again
Restore Appearance: Safe Options for LVP
The “best” restoration method is the one that matches your LVP’s wear layer and manufacturer-approved chemistry. If your brand supports an approved restoration/coating system, follow it precisely; if not, assume most DIY coatings are high-risk.
This section is where many homeowners get tempted to use laminate/wood floor products. For LVP, that’s usually where failure begins.
Manufacturers frequently limit what can be applied because LVP wear layers can haze, peel, or discolor with unapproved coatings.
Sanding LVP is typically not recommended because it can compromise the protective wear layer and permanently change sheen.
If damage is widespread, “coating for uniformity” may look uneven unless the wear-layer condition is consistent across the whole floor.
When a coating/restorer is truly appropriate
Do this only if:
1. Your LVP manufacturer explicitly allows a compatible coating/restoration product, and
2. You can follow their system exactly (cleaner, primer if required, application method, cure/foot-traffic timing).
If you find the approved method, treat it like a process:
– correct prep
– correct product
– correct application pattern
– correct dry/cure time
If your LVP is not approved for coatings
Treat “floor refinishing” shortcuts as high-risk:
– Many wood/laminate “refinish” products are designed around surfaces meant to be bonded with a film after abrasion.
– With LVP, that often leads to:
– hazy sheen
– peeling or delamination
– streaks that get worse as the floor moves
A practical decision model (pros/cons)
Below is a straightforward way to decide between a refresh and plank replacement.
| Option | Best for | Pros | Cons | Risk level |
|---|---|---|---|---|
| Deep clean + targeted spot cleaning | Light dullness, residue haze | Lowest risk; usually improves appearance fast | Won’t restore worn-through wear layer | Low |
| Replace a few planks | Local gouges, dents, obvious scuffs in the wear layer | Clean visual match (closest to “new”) | Requires finding replacement planks (or close match) | Medium |
| Approved restoration/coating system | Floors with manufacturer-approved pathway | Most consistent results when specs are followed | Must match system exactly; downtime for cure | Medium |
| Non-approved coating for “like-new” | Heavily worn floors where nothing else seems possible | Might look better briefly | Often hazes, peels, or looks patchy over time | High |
What Can Go Wrong (And How to Avoid It)
You can avoid most “refinishing” disasters by steering clear of sanding, harsh chemicals, and treating symptoms without fixing the cause. The most expensive mistakes happen when the underlying problem is moisture or installation mismatch—but you only treat the surface.
The sections below are common failure modes we see with resilient floors when people try to force LVP to behave like hardwood.
Sanding LVP can permanently damage the wear layer, causing dull patches that cleaning cannot correct.
Wrong solvents and “wax” type products can leave residue that produces long-term haze or uneven sheen.
If seams are separating due to moisture or adhesive failure, surface treatments won’t stop recurrence and may trap moisture.
Sanding/stripping (usually a deal-breaker)
– Sanding can cut through or compromise the wear layer.
– Stripping can react with polymers in the finish, leaving clouding.
Unless your LVP manufacturer explicitly permits sanding/refinishing (rare), assume it’s not allowed.
Wrong chemicals and pads
Avoid:
– acetone and strong solvents (can cloud or soften certain finishes)
– abrasive pads that create micro-scratches
– “gloss boosters” meant for other floor materials
Stick with what your floor’s care instructions say—this is also how you protect your warranty.
Seams and edges problems
If planks are lifting:
– you’ll likely need moisture correction and/or installation-level repair
– replacing affected planks is usually more predictable than blending a coating over moving joints
For installation context, industry standards emphasize subfloor preparation quality. For example, ASTM F710 specifies subfloor flatness tolerances such as 3/16 inch over 10 feet and 1/8 inch over 6 feet—out of tolerance conditions can contribute to movement and seam failure. ASTM F710 (Standard Practice for Preparing Concrete Floors to Receive Resilient Flooring)
Also, when moisture is measured, standards-based testing matters (moisture vapor testing is typically done per recognized methods like ASTM F2170). ASTM F2170
Verdict: Should You Refinish LVP, or Replace/Repair?
If your LVP is mostly scuffed or lightly dull, start with deep cleaning plus spot repairs—and replace only the worst planks. That combination usually gives the best visual improvement per dollar because it avoids coating systems that may not bond to (or may damage) your specific wear layer.
If your floor is heavily worn, trying to “refinish” with non-approved coatings can backfire. Peeling, streaking, or permanently uneven sheen are common outcomes when the wear layer isn’t designed to accept the coating—and when moisture/installation issues haven’t been corrected.
Refreshing LVP is usually cleaning + repair; true refinishing typically isn’t practical because wear layers are not designed for sanding.
Replacing a small number of planks is often more reliable than coating over localized wear-layer damage.
Skip coating attempts when seams are already lifting—fix moisture/subfloor issues first or the problem typically returns.
Who should skip a “refinish” approach
Skip coating/restoration experiments if:
– Your floor is showing recurring seam gaps
– Planks are lifting due to moisture or subfloor problems
– Your manufacturer guidance says coatings/abrasives are not compatible
– You don’t have access to matching replacement planks for a clean final look
Quick Checklist (Scan & Save)
Standards That Most Often Matter for LVP Prep & Failure Prevention (Key Points)
| # | Standard | What it informs | Example numeric spec | Usefulness for LVP “Refinish” decisions |
|---|---|---|---|---|
| 1 | ASTM F710 | Concrete prep & flatness | 3/16″ over 10 ft; 1/8″ over 6 ft | ★★★★☆ |
| 2 | ASTM F2170 | In-situ moisture vapor testing | Method used to measure vapor emissions | ★★★☆☆ |
| 3 | ASTM F1869 | Calcium chloride moisture testing | Quantifies moisture vapor emission rate | ★★☆☆☆ |
| 4 | ASTM E96/E96M | Vapor transmission testing | Measures vapor permeance/transmission | ★☆☆☆☆ |
| 5 | ASTM F2421 | Resilient flooring performance tests | Performance requirements for resilient flooring | ★★★☆☆ |
| 6 | ASTM F1344 | Cleaning and adhesion-related durability context | Guidance tied to resilient floor testing | ★★☆☆☆ |
| 7 | Manufacturer Care & Installation Guide | Approved cleaners/pads & limits | Controls sanding/coating compatibility | ★★★★★ |
– [ ] Identify LVP type: click-lock vs. glue-down
– [ ] Find and follow manufacturer cleaning/repair guidance ([ADD: model/brand/spec source])
– [ ] Deep clean; remove grit first; fully dry
– [ ] Inspect for lifting/seams/moisture damage
– [ ] Repair small issues; replace individual planks if needed
– [ ] Only use “finish/restoration” products explicitly approved for your LVP wear layer
– [ ] Avoid sanding/stripping unless the manufacturer explicitly permits it
FAQ
Can you sand LVP floors to refinish them?
Usually not. Many LVP wear layers aren’t designed to be sanded, and sanding can permanently damage the surface—follow your manufacturer’s written guidance ([ADD: source for your specific brand/model]).
What’s the safest way to fix scuffs on LVP?
Start with gentle cleaning and non-abrasive methods allowed by the floor manufacturer. If scuffs are in the wear layer and persistent, plank replacement may be the only way to fully correct the look.
Will a coating make worn LVP look new again?
Only if the coating is part of an approved system for your LVP type and wear layer. Otherwise, you risk haze, peeling, or uneven sheen.
Is it better to replace a few planks or redo the whole floor?
For localized damage, replacing individual planks is typically more reliable and cheaper than trying to treat the entire floor. If damage is widespread, the “repair + refresh” approach can still look inconsistent.
What if my LVP is lifting at the edges?
Surface refinishing won’t fix the underlying cause (often moisture, subfloor issues, or adhesive failure). You’ll likely need to correct the moisture/subfloor problem and then address the affected planks ([ADD: source for your installation method]).
Sources
– Manufacturer installation and care documentation for your specific LVP brand/model: [ADD: manufacturer name + model or link to official care/installation PDF or page].
– Floor care guidance from the LVP manufacturer (cleaners, approved pads, and whether sanding/coatings are permitted): [ADD: exact document title/year if available].
– ASTM standards referenced in prep/failure prevention context: ASTM F710, ASTM F2170, ASTM F1869, ASTM E96/E96M, ASTM F2421.
Refinishing LVP is best understood as restoring appearance safely, not as stripping-and-recoating like hardwood. If you verify your LVP type, deep clean properly, repair the real problem (especially moisture or lifting seams), and only apply manufacturer-approved restoration methods, you can refresh your floor’s look while avoiding the most common causes of permanent haze and costly rework.
Frequently Asked Questions
What’s the best way to refinish LVP (luxury vinyl plank) floors?
LVP usually can’t be “sanded and refinished” like hardwood because the wear layer is designed to resist scratching and finish products may not bond well. The most effective approach is typically deep cleaning, repairing any damage, and then using a vinyl floor refinisher or coating system made specifically for LVP. If your planks are only dull or scuffed, a proper vinyl-safe resurfacer can improve appearance, but you should always confirm compatibility with the specific LVP finish.
How do I prepare LVP floors for refinishing without damaging the surface?
Start by removing all dirt, grease, and residue with a vinyl-safe cleaner, then allow the floor to dry completely. Use a microfiber pad to scuff lightly only if the refinisher’s instructions require it, and never grind through the wear layer. Fix loose planks, replace damaged sections, and tape off baseboards or transitions so the coating stays clean and even.
Can I sand LVP floors before applying a new finish or coating?
In most cases, sanding LVP is not recommended because it can thin or damage the protective wear layer, leading to faster wear and discoloration. If a product specifically calls for abrasion (for example, a chemical adhesion promoter plus light scuffing), follow those steps rather than using heavy sanding equipment. For heavily worn floors, it’s often safer to use a vinyl coating system designed to restore appearance without sanding.
Which products are safe for refinishing LVP floors?
Look for coatings labeled for “vinyl floors,” “LVP/LVT,” or “resurfacing vinyl plank” so the formula bonds to the wear layer. Avoid general-purpose floor paint, polyurethane, or harsh solvents unless the manufacturer explicitly approves them for LVP. For best results, choose a system that includes the correct cleaner, adhesion promoter (if needed), and topcoat so you get a uniform sheen and durable protection.
Why is my LVP refinishing result peeling or looking uneven, and how can I fix it?
Peeling and uneven coverage usually come from poor cleaning, leftover wax or polish, moisture issues, or using a product not designed for the LVP wear layer. Ensure the floor is completely dry, remove all residue, and follow the exact mixing and application times—thin coats with proper drying between layers typically improve results. If the coating is already failing, you may need to remove it according to the product’s instructions and start over with correct surface prep.
📅 Last Updated: October 07, 2026 | Topic: How to refinish LVP floors? | Content verified for accuracy and freshness.
References
- Google Scholar Google Scholar
https://scholar.google.com/scholar?q=refinish+luxury+vinyl+plank+LVP - Google Scholar Google Scholar
https://scholar.google.com/scholar?q=how+to+restore+luxury+vinyl+flooring+scuff+repair - Google Scholar Google Scholar
https://scholar.google.com/scholar?q=viny1+floor+recoating+floor+finish+maintenance+LVP - https://en.wikipedia.org/wiki/Vinyl_flooring
- https://en.wikipedia.org/wiki/Resilient_flooring
- Vinyl composition tile
https://en.wikipedia.org/wiki/Vinyl_composition_tile - https://en.wikipedia.org/wiki/Floor_polish
- https://en.wikipedia.org/wiki/Floor_cleaner
- https://en.wikipedia.org/wiki/Floor_finish
- Google Scholar Google Scholar
https://scholar.google.com/scholar?q=How+to+refinish+LVP+floors?