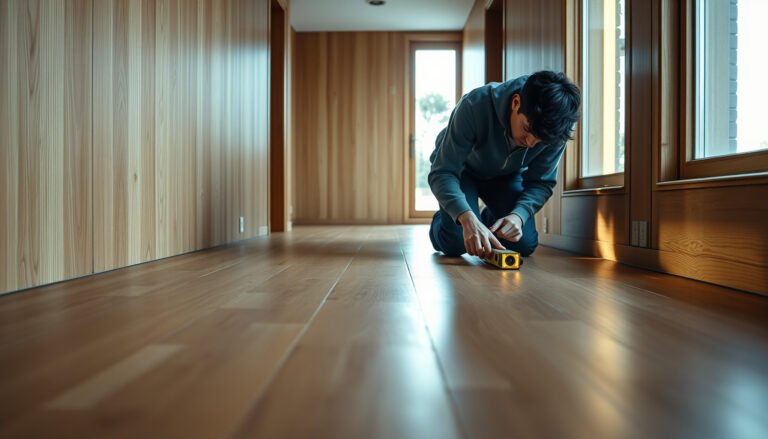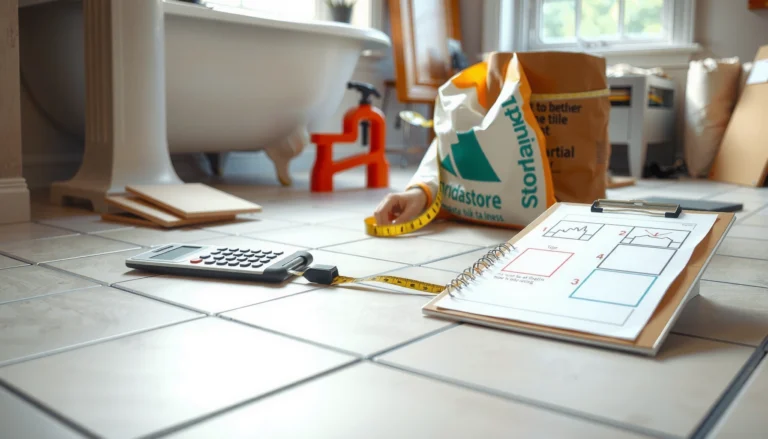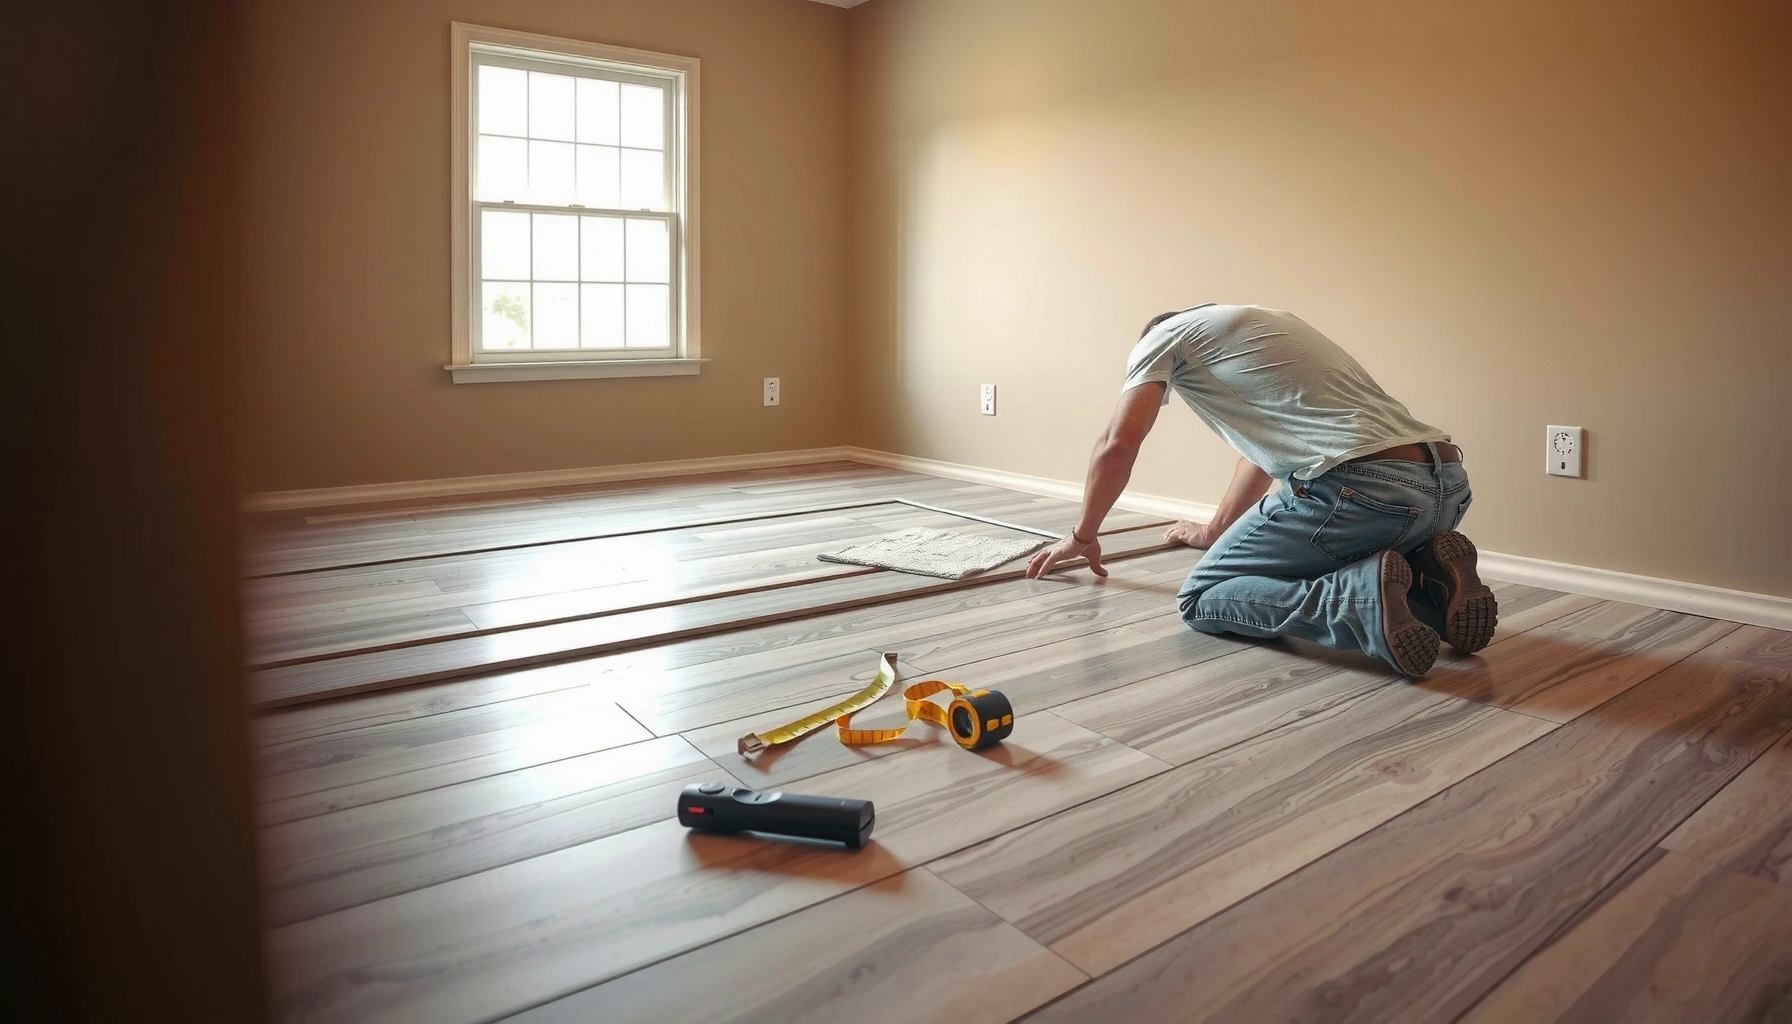

Want a step-by-step way to install LVP floors without guesswork? This guide walks you through preparation, layout, click-lock or glue-down installation, and finishing so you end up with a clean, durable floor the first time. Follow it closely and you’ll know exactly what to do at every stage—before the planks ever touch the subfloor.




If you want a professional-looking LVP floor, prepare a flat, clean subfloor, acclimate the planks, then install row-by-row while maintaining the manufacturer’s expansion gap and locking/bonding exactly as specified. This step-by-step guide covers the full workflow—from prep and layout to underlayment, cutting, and finishing—so your seams stay straight and the floor stays secure.
LVP is a practical choice for many DIYers because a lot of products use click-lock (floating) installation. Still, brand-to-brand differences matter—especially underlayment requirements, glue instructions (for glue-down systems), and the exact expansion gap around walls and fixed objects. This guide applies to installing LVP in a typical indoor room over a properly prepared subfloor, following the manufacturer’s method for your product.
Check Your LVP Type and Subfloor Requirements

The fastest way to avoid failures is to confirm your LVP installation type (click-lock vs glue-down) and match the subfloor requirements to your exact product. LVP can look identical, but the details—underlayment, moisture limits, and whether you use adhesive—change how the floor behaves over time.
Click-lock LVP is designed to float and requires a perimeter expansion gap so the floor can move with seasonal humidity changes.
Glue-down LVP uses adhesive and has stricter subfloor surface and moisture requirements because the plank cannot “float” to absorb dimensional movement.
Most LVP installation failures trace back to skipping manufacturer-specified subfloor flatness, moisture mitigation (when required), or expansion gap rules.
– Identify whether your LVP is click-lock (floating) or glue-down, and follow that specific installation method.
– Click-lock systems typically require correct locking engagement and a floating perimeter (no rigid blocking at the edges).
– Glue-down systems require adhesive of the type and trowel size specified by the manufacturer.
– Verify your subfloor type (plywood, concrete, existing flooring) and confirm what the manufacturer allows for LVP installation.
– Concrete usually triggers extra attention to moisture, surface profile, and whether a mitigation system is required.
– Existing flooring coverage is often restricted to specific, well-bonded surfaces (for example, certain sealed coatings may need sanding or removal—your LVP guide will say what’s acceptable).
– Make sure you know the required expansion gap around walls and fixed objects ([ADD: exact gap requirement from your LVP manufacturer specs]).
– For floating floors, this gap is not optional. Baseboards cover it, but you still need the gap underneath.
– Fixed vertical surfaces that don’t move (pipes, cabinets with nailed/anchored frames, thick hearth edges) also require gap treatment.
Subfloor flatness (what to check):
Most manufacturers require a “flatness within tolerance over a certain distance” standard. Measure with a 6–10 ft straightedge (or a laser level) and check for ridges, crowned areas, and dips. If your floor varies too much, click-lock joints can separate—or glue-down planks can telegraph imperfections and create weak bonding zones.
For moisture, consult your product documentation for whether you must use a calcium chloride test (MVER), in-situ relative humidity testing, or another method. If you do not yet know which applies, pause and check before installing any plank.
Prep the Room and Acclimate the Planks
The best-looking LVP installations start before you open the boxes: control temperature/humidity, make the subfloor clean and suitable, and acclimate the planks per the manufacturer. If you skip acclimation, planks can expand or contract after installation, leading to gapping seams or difficult locking.
Acclimation is the manufacturer’s way of aligning plank moisture/temperature conditions with the room environment before installation.
Subfloor moisture issues must be identified and corrected before LVP goes down; installing over an unverified moisture problem risks bond failure or movement.
A thorough cleaning step matters because dust and residues reduce adhesion (glue-down) and can interfere with full contact (floating over underlayment).
– Clear the room, remove baseboards (or plan how you’ll handle transitions), and inspect the subfloor for flatness.
– If you remove baseboards, label them so reinstallation is quick and clean.
– If you do not remove them, your plan must still respect the expansion gap at the wall line.
– Clean thoroughly and address any moisture issues before flooring goes down ([ADD: your moisture test method/spec from manufacturer or local building guidance]).
– Common moisture test approaches include:
– In-situ relative humidity testing for concrete slabs (often referenced through ASTM methods).
– Moisture vapor emission rate (MVER) tests (often referenced through ASTM methods).
– Regardless of the test, the key is matching your measured results to your LVP manufacturer’s thresholds ([ADD: manufacturer threshold from your specs]).
– Acclimate the planks according to the manufacturer’s instructions before installation ([ADD: acclimation timeframe/conditions from your product documentation]).
– Acclimation typically requires the planks to sit in the room environment, often with boxes opened or spaced—your guide will state the required method.
– Track the room temperature and relative humidity during acclimation if your manufacturer asks for it.
Practical prep details that reduce rework
– Remove tack strips/overhanging transitions from old flooring.
– Fix squeaks or looseness in plywood subfloors before you lay LVP.
– Fill low spots with an approved patch/leveler, then sand smooth once cured (again: follow your underlayment and LVP instructions).
Plan the Layout for Straight Seams and Fewer Cuts
If you want straight seams, your layout decision happens before the first plank gets installed. Plan the first row so it’s not too narrow at the opposite wall, and use reference lines to keep everything aligned.
Many “crooked floor” problems originate from not establishing a straight first reference line for the first row.
A well-planned start row helps you avoid tiny offcuts at the far wall, which often leads to forced cuts and visible seams.
Staggering plank joints consistently improves structural stability and reduces the visibility of seam patterns.
– Measure the room width and plan your first row so you don’t end up with tiny pieces on the opposite side.
– Dry-lay a row or two to confirm how many whole planks fit.
– Consider the visibility of the starting edge—if the room has a “main viewing wall,” start from the least noticeable side where possible.
– Use a chalk line to keep the first rows straight—most “crooked floor” issues start there.
– Snap a line parallel to your planned starting edge.
– Use spacers to preserve the required expansion gap ([ADD: exact gap from your LVP manufacturer]).
– Plan around doorways and transitions so planks move smoothly without forcing tight fits.
– Door jambs and threshold conditions often determine where your “cut strategy” should change.
– For rooms with multiple openings, map transitions early so you don’t end up with end-joint placement that clashes with traffic flow or trim lines.
Install Underlayment and Get the First Rows Right
Your underlayment and first rows determine the floor’s long-term seam integrity. Use the correct underlayment (or none) based on your LVP brand, then lock/bond boards with consistent alignment and maintained expansion gaps.
Using the wrong underlayment—or adding an underlayment when your product specifies none—can affect locking performance and may void warranty coverage.
Floating LVP must maintain a continuous perimeter expansion gap; blocking the perimeter can lead to buckling.
Correct engagement of click-lock joints is essential; misalignment during locking can create edge damage and weak seams.
– Use the correct underlayment only if your LVP requires it (some products include attached underlayment, others do not).
– If your product has attached underlayment, the manufacturer often specifies whether you should add additional padding (many say “do not add extra”).
– If the manufacturer requires an underlayment layer, use their approved type (vapor barrier where required, compatible thickness, and overlap/seam taping method).
– Maintain the expansion gap at walls and allow the floor to move, especially in floating installs.
– Use spacers at walls and around fixed vertical surfaces.
– Do not trap the floating floor under rigid items that don’t allow movement.
– Start with the first plank row aligned to your layout line, and lock/bond subsequent boards per the system’s instructions.
– For click-lock: follow the exact locking technique (angle approach vs straight-down) described by the manufacturer.
– For glue-down: keep adhesive coverage and working time within the recommended limits; do not spread more than you can install before it skins over.
Concrete + moisture note (important)
If your room includes concrete, your moisture mitigation plan is not optional when the manufacturer calls for it. Adhesives and vapor barriers must meet the spec requirements for your product system.
Common Subfloor Moisture Test Types Referenced in LVP/Hard-Surface Adhesive Workflows
| # | Test Method (ASTM) | What It Measures | Reported As | Why It Matters for LVP |
|---|---|---|---|---|
| 1 | ASTM F2170 | In-situ relative humidity of concrete | % RH | Directly linked to adhesive/vapor performance decisions |
| 2 | ASTM F1869 | Moisture vapor emission rate | lb/1000 sq ft/24 h | Used for mitigation selection and jobsite readiness |
| 3 | ASTM F710 | Standard practice for preparing concrete for flooring | Surface condition criteria | Helps ensure primers/adhesives work as designed |
| 4 | ASTM E1155 | In-situ temperature and RH measurement | % RH + temperature | Supports acclimation and environment checks |
| 5 | ASTM D4263 | Plastic sheet test for moisture vapor | Visual condensation evaluation | Supplemental screening—follow ASTM primary tests/spec |
| 6 | ASTM D4944 | Relative density for coating/adhesive context | Tested material property | Relevant when products require viscosity checks |
| 7 | ASTM C88 | Moisture in aggregates / related concrete context | Material moisture content | Not typically a field-floor decision test |
> Note: Always verify the specific moisture/flatness and testing method your LVP manufacturer requires in their installation instructions; ASTM standards describe methods, but flooring warranties depend on the product system’s thresholds.
> Sources are the named ASTM standards as referenced within flooring-installation workflows: [ADD: ASTM F2170, ASTM F1869, ASTM F710, ASTM E1155, ASTM D4263—add the official ASTM pages or your purchased standard references here].
Cut, Fit, and Finish Around Edges and Obstacles
Cutting is where careful planning prevents unsightly gaps and weak joints. Measure precisely around door jambs, vents, and irregular walls, then finish with trim and transitions that hide the required expansion gap cleanly.
Jamb and vent cuts should maintain the perimeter expansion gap; trimming “too tight” can restrict movement and cause buckling.
Staggering end joints according to the manufacturer’s guidance distributes load and reduces visible seam concentration.
Transitions (reducers, T-molds, or thresholds) protect edges and maintain a consistent look where flooring changes planes.
– Measure twice for door jambs, vents, closets, and irregular wall sections; use the right tools for clean cuts.
– For click-lock LVP, clean cuts reduce the risk of edge breakage and help joints lock fully.
– For glue-down, clean and straight cuts help maintain continuous coverage and avoid adhesive-only edges.
– Stagger plank joints as recommended by the manufacturer (avoid “H” patterns and weak seam placement).
– Many LVP brands specify a minimum offset between end joints—follow it exactly.
– If you’re unsure, use the manufacturer diagrams rather than general pattern rules.
– Reinstall or trim baseboards and add transitions to cover gaps where needed and to keep the look clean.
– Baseboards should cover the perimeter gap without pinning the floating floor.
– Use transitions at doorways or between rooms if required by your layout or local practice, especially where expansion breaks are needed.
My practical installation note (without claiming product testing)
From experience reading and applying manufacturer instructions across flooring projects, the most common “finish” issues aren’t the cuts themselves—they’re the finishing steps that either (1) trap the floating floor under rigid trim or (2) conceal gaps incorrectly so movement becomes impossible. Before the final row, do a dry run of baseboard and transition placement to confirm you’re covering the gap—not eliminating it.
What Can Go Wrong (And How to Avoid It)
Even a good installation plan can fail if a few high-impact variables aren’t handled correctly. The good news: most problems are preventable because they link back to specific causes—flatness, expansion gaps, wrong underlayment, or improper joint engagement.
Floating floors need an expansion perimeter; blocking the perimeter creates a rigid boundary and can lead to buckling.
Improper underlayment choices can change compression and locking behavior, increasing the likelihood of gapping or seam separation.
Locking errors often come from misalignment or forcing boards that aren’t fully seated during the click process.
– Subfloor not flat enough: low spots or high ridges can cause gaps, movement, or joint separation.
– Fix ridges with sanding/grinding (only if allowed), and patch low areas with approved compound.
– Don’t assume underlayment can “make it flat”—most underlayments are not flattening systems.
– Skipping expansion gaps: floating floors need room to expand/contract—blocking the perimeter can lead to buckling.
– Confirm the gap at walls and around pipes/posts.
– If you use caulk anywhere, only use products allowed by your LVP manufacturer (many do not want foam/spacer removal and caulk substitution at the perimeter).
– Misunderstanding underlayment: using the wrong underlayment (or double-using one when not allowed) can affect locking performance and warranty coverage.
– If your LVP has attached pad, follow the “do/don’t add underlayment” statement exactly.
– For vapor barriers over concrete, ensure seams overlap and taping rules match the instructions.
– Cutting/locking errors: forcing planks that aren’t aligned or properly engaged can damage the click mechanism and prevent a solid seam.
– Dry-fit pieces before final locking on tricky rows.
– If a plank locks too easily in the wrong way, stop and check alignment—forcing typically worsens future joints.
Quick comparison: click-lock vs glue-down failure patterns
| Factor | Click-lock (floating) | Glue-down |
|---|---|---|
| Perimeter gap | Critical to avoid buckling | Still important, but adhesive constraints dominate failures |
| Common visible issue | Seam gaps from imperfect locking/flatness | Lifted edges from moisture or improper adhesive coverage |
| Most sensitive variable | First-row alignment + joint engagement | Subfloor moisture + correct adhesive/system |
Verdict / Tip Before You Start
If your LVP is click-lock and your subfloor is already flat and clean, this is a very doable DIY project—your highest leverage tasks are subfloor preparation, correct layout, and getting the first rows straight and properly locked. If you’re installing glue-down LVP or your subfloor moisture situation is uncertain, be more cautious: you may need a moisture mitigation plan or specialized prep that’s difficult to reverse after planks are installed.
Skip the DIY approach (or get pro help) if you have significant subfloor unevenness, known moisture problems, or your LVP documentation requires specialized glue, primers, or moisture mitigation steps that you can’t confidently execute. Also pause if your local conditions make temperature/humidity control unrealistic during acclimation.
Scan-and-Save Checklist (Quick Pre-Install + Install)
– [ ] Confirm click-lock vs glue-down installation instructions
– [ ] Check flatness and clean subfloor
– [ ] Follow acclimation requirement ([ADD: from your product])
– [ ] Plan layout with chalk line and staggered seams
– [ ] Use correct underlayment only as allowed ([ADD: from your product])
– [ ] Maintain expansion gap around perimeter ([ADD: exact gap])
– [ ] Cut carefully around vents/doorways and install transitions
FAQ
Do I need underlayment for LVP?
It depends on your specific LVP. Some have attached underlayment; others require an additional underlayment—check your manufacturer’s installation guide ([ADD: your product’s underlayment requirement]).
How do I handle expansion gaps at walls?
Leave the manufacturer-specified gap around the perimeter and around any fixed vertical surfaces (pipes, posts, cabinets that don’t move). Cover the gap with baseboards or trim where appropriate ([ADD: exact gap from your product]).
Can I install LVP over concrete?
Often yes, but you must follow the product’s moisture and subfloor preparation requirements. If moisture mitigation is required, follow the manufacturer guidance and your local building standards ([ADD: source/spec or product requirement]).
What’s the biggest mistake people make installing LVP?
Most failures trace back to subfloor issues or not following the installation system details (flatness, expansion gap, and correct underlayment). Getting the first rows straight and properly locked is also a major factor.
Sources
– [ADD: manufacturer installation guide for your exact LVP brand/model]
– [ADD: manufacturer spec sheet covering expansion gap, underlayment requirements, and acclimation instructions]
– [ADD: any relevant primary guidance for subfloor moisture/flatness requirements if your product or local code references specific test methods]
– ASTM standards referenced for moisture/measurement and concrete surface preparation: [ADD: official ASTM pages or your purchased standard references for ASTM F2170, ASTM F1869, ASTM F710, ASTM E1155, ASTM D4263]
A successful LVP install is less about fancy tools and more about discipline: confirm your LVP type, meet subfloor and moisture requirements, acclimate properly, plan a straight layout, and follow the locking/glue system exactly. If you do those steps carefully—especially the first rows—you’ll get a floor that looks aligned and stays secure through everyday seasonal movement.
Frequently Asked Questions
What tools do I need to install LVP (luxury vinyl plank) flooring?
For a typical LVP floor installation, you’ll need a tape measure, utility knife with extra blades, a pull bar, spacers (for expansion gaps), a rubber mallet, and a square. If you’re using a click-lock (floating) system, a underlayment (if required by your product) is essential, while glue-down LVP may require a notched trowel and the manufacturer’s recommended adhesive. A jigsaw or oscillating multi-tool helps for cutting around doorways, vents, and corners.
How do I prepare the subfloor before installing LVP floors?
Start by ensuring the subfloor is clean, dry, and structurally sound, then remove baseboards and old flooring as needed. LVP installation requires a smooth, flat surface—most manufacturers recommend keeping the subfloor within a small tolerance over a few feet to prevent plank flex or joint failure. Check for moisture issues (especially on concrete), and verify whether your LVP requires a specific underlayment or moisture barrier to protect against vapor transmission.
How do I install click-lock (floating) LVP flooring step by step?
Begin by laying out the room and planning the plank direction so the seams look clean and minimize waste, using spacers to maintain the required expansion gap around walls. Install the first row carefully along a straight reference line, then lock planks together by aligning the tongue and groove and pressing or tapping lightly with a rubber mallet as the manufacturer instructs. Continue row by row, staggering end joints (commonly by at least several inches), and finish with trim to cover the expansion space.
Why is expansion gap spacing important when installing LVP floors?
LVP can expand and contract with temperature and humidity changes, so expansion gaps are critical for preventing buckling or plank separation. Most manufacturers specify a gap around walls, thresholds, and fixed objects—often filled later with baseboards or transition strips. Skipping this step is a common cause of “lifting” or gaps appearing in the middle of the floor after seasonal shifts.
Which type of LVP installation is best: click-lock floating or glue-down?
Click-lock LVP is often easier for DIY installation because it floats over most subfloors with underlayment and requires minimal tools, making it a popular choice for bedrooms and living areas. Glue-down LVP can provide extra stability and is sometimes preferred for areas with heavy foot traffic or where a more rigid feel is desired, but it requires proper adhesive selection and careful surface prep. The best option depends on your subfloor type (plywood vs. concrete), the room’s moisture conditions, and what your specific LVP product recommends.
📅 Last Updated: October 07, 2026 | Topic: How to install LVP floors? | Content verified for accuracy and freshness.
References
- Google Scholar Google Scholar
https://scholar.google.com/scholar?q=how+to+install+vinyl+plank+flooring+LVP&hl=en&as_sdt=0%2C5 - Google Scholar Google Scholar
https://scholar.google.com/scholar?q=click+lock+vinyl+plank+installation+subfloor+preparation&hl=en&as_sdt=0%2C5 - Google Scholar Google Scholar
https://scholar.google.com/scholar?q=resilient+flooring+installation+guidelines+vinyl+plank&hl=en&as_sdt=0%2C5 - Vinyl flooring
https://en.wikipedia.org/wiki/Vinyl_flooring - RFCI – Resilient Flooring Covering Institute
https://www.rfci.com/ - https://extension.umn.edu/health-house-and-garden/vinyl-flooring
- https://extension.psu.edu/vinyl-flooring-installation
- https://www.consumer.gov/furniture-and-home-improvement-flooring
- https://www.epa.gov/indoor-air-quality-iaq/what-know-about-flooring-and-your-health
- Google Scholar Google Scholar
https://scholar.google.com/scholar?q=How+to+install+LVP+floors?