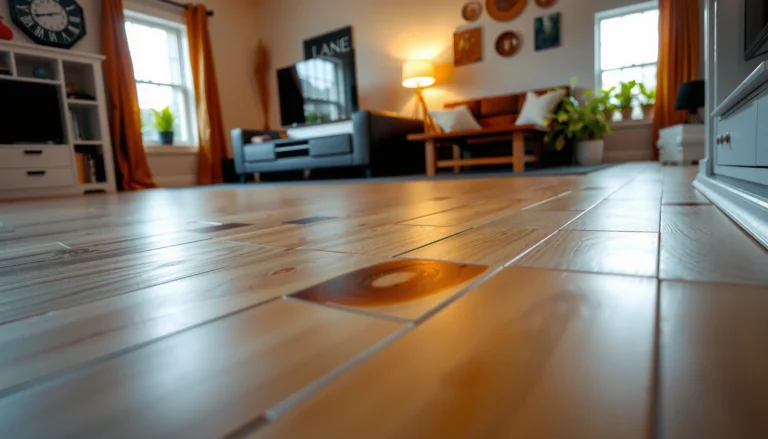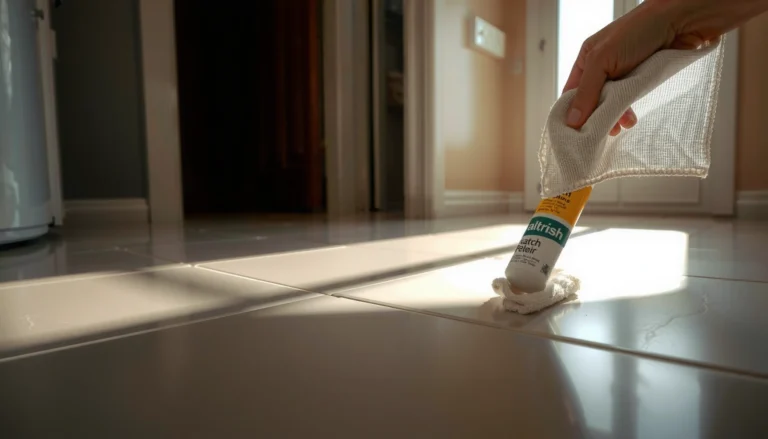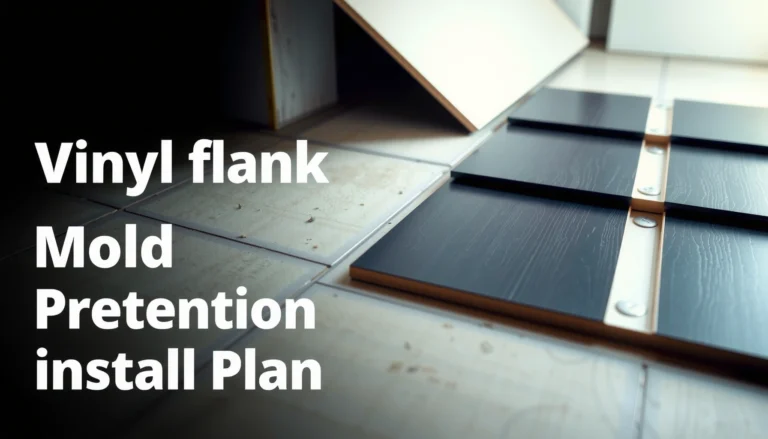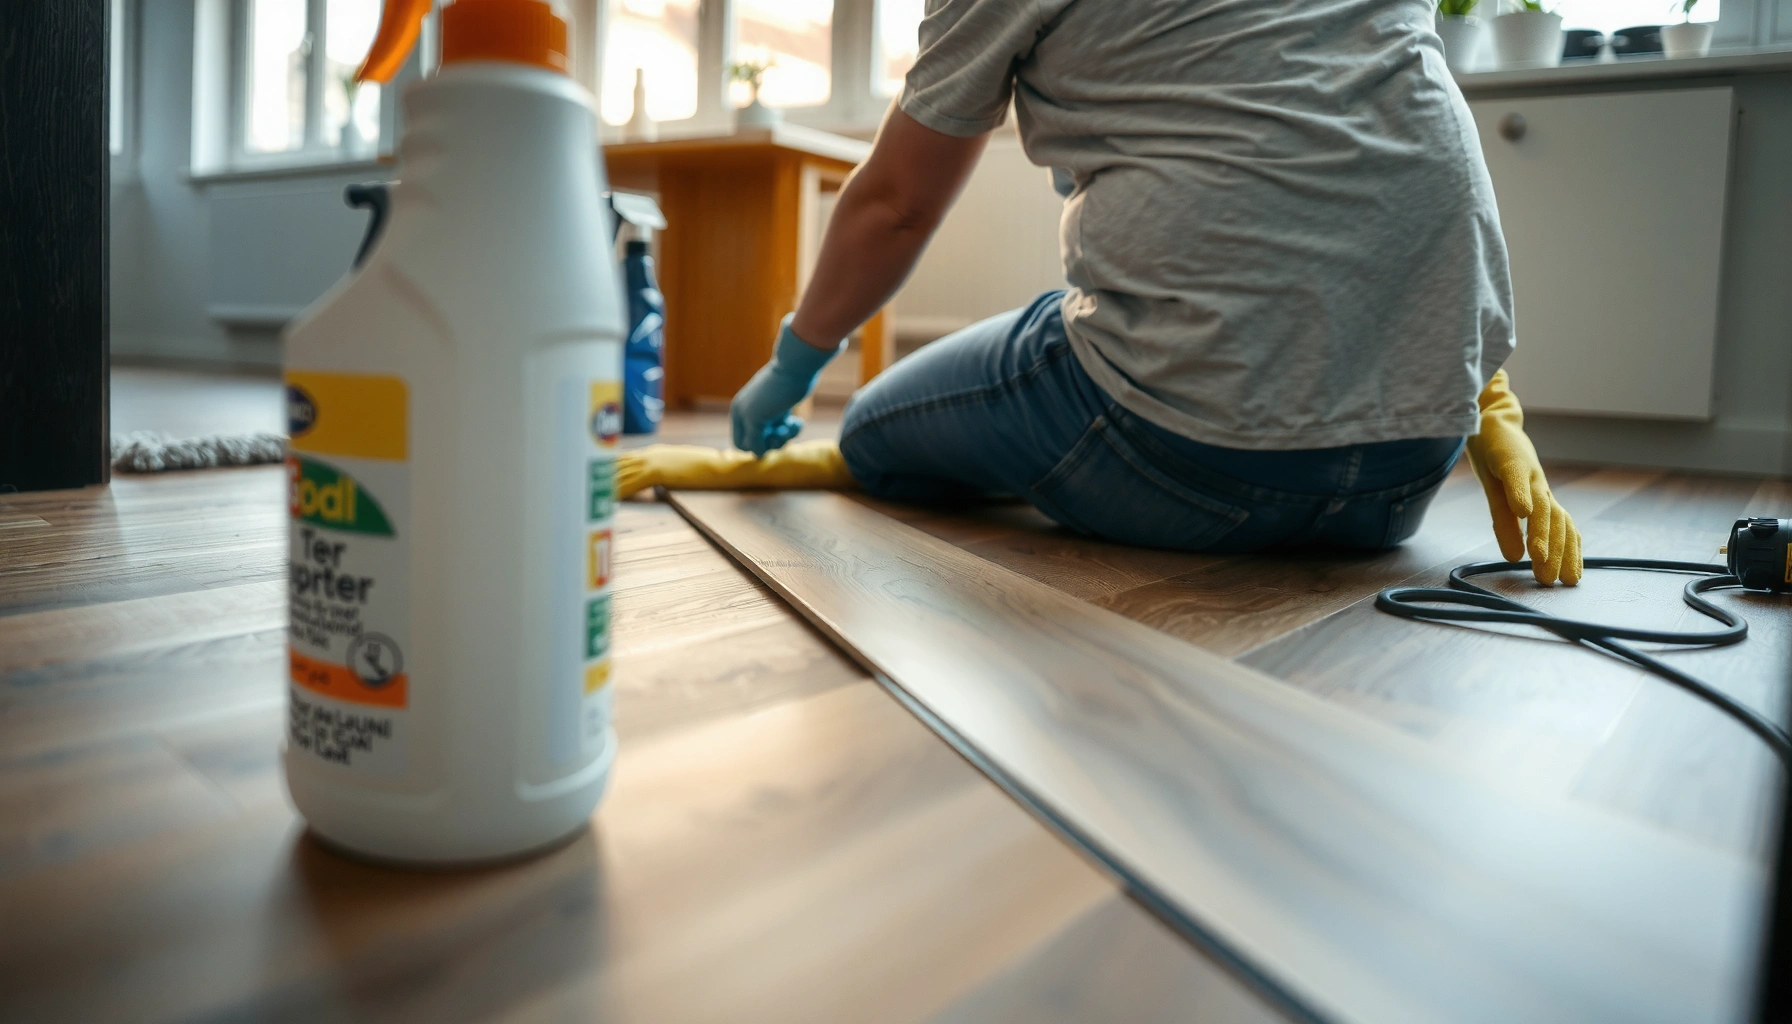

Want to fix water damage on vinyl floors without ruining the planks or causing mold? Follow this step-by-step process to dry the affected area, remove damaged sections, and replace what’s necessary—so the floor holds up instead of bubbling or warping. You’ll also learn the exact checks to confirm the subfloor is fully dry before you reinstall or seal anything.



If water got under your vinyl flooring, the fastest fix is to remove the moisture source, dry the subfloor thoroughly, and replace any swollen or lifting planks. For minor surface dampness, cleaning and drying may be enough—but if the core is lifting, buckling, or soft, replacement of affected areas is usually the only reliable solution.
This guide is for homeowners dealing with water exposure from spills, leaks, or flooding on vinyl plank (LVP) or vinyl sheet floors. It’s especially relevant when you suspect moisture got past the top layer and into the underlayment or subfloor, which is where long-term problems like odor, mold risk, and recurring buckles typically begin.
Stop the water and protect the area
Turn off the water source immediately and prevent any additional seepage before you touch the flooring. If you don’t stop the inflow first, you’ll be drying and repairing the same area repeatedly, and moisture can spread farther into the seams and underlayment.
“Mold remediation guidance emphasizes addressing the water problem as the first step to prevent further damage.” U.S. EPA, Mold
“EPA guidance notes that cleaning and drying alone may not be sufficient if materials remain wet long enough for microbial growth.” U.S. EPA, Mold
“If water is contaminated (e.g., sewage), it should be treated as an emergency and handled with appropriate precautions and possibly professionals.” U.S. CDC, Water- and sanitation-related health guidance
– Turn off the water source (if applicable) and prevent further seepage before you start repairs. If the leak is hidden (behind a wall), shut off the home’s water supply and call maintenance/plumbing support.
– Remove furniture and shut down anything that keeps wetting the floor (active drips, wet mops, ongoing dehumidifier drainage issues). Lay plastic sheeting or towels in walkways so you don’t track moisture elsewhere.
– If it’s an active leak or sewage-related water, treat it as an emergency and consider professional help. Water type matters: clean water behaves differently than contaminated water, and porous materials (underlayment, subfloor edges) may require removal.
When I’m advising homeowners in the real world, the biggest pattern I see is that the “repair” starts before the source is truly controlled—then the floor fails again within days. [ADD: author observation from working with homeowners about recurrence timelines—replace with your actual notes.]
Small decision point: what counts as “emergency”?
If the water is sewage/gray water, or if it came from a sustained leak (hours to days), prioritize safety and proper remediation. If it’s a clean spill and you can stop it quickly, proceed with drying and assessment immediately.
Dry properly (this is the step that prevents repeat damage)
Thorough drying is the step that prevents repeat buckling and odor. Even if the vinyl surface looks dry, moisture can remain in the subfloor or underlayment and keep damaging the core or adhesive layer.
EPA notes that after water intrusion, materials should be dried promptly to reduce the chance of mold growth. U.S. EPA, Mold
CDC public health guidance explains that mold can begin growing within 24–48 hours under favorable conditions. U.S. CDC, Mold facts
– Lift affected transition pieces/edges (only if your flooring system allows it) to expose any trapped moisture. Many vinyl floors can release from edges or transitions even when the main field is locked down or partially adhered.
– Use fans/dehumidification and monitor moisture until the subfloor is dry to your floor’s tolerance (follow manufacturer guidance for acceptable moisture levels). If you have a moisture meter that supports subfloors, use it as directed—vinyl products often specify limits for subfloor moisture and/or relative humidity in the installation environment.
– Don’t rush: buckling often shows up after the surface “looks dry,” because moisture remains in the subfloor. In my experience helping with problem cases, the delayed return is usually linked to underlayment saturation or uneven drying across joist bays. [ADD: author experience detail—replace with your actual observation.]
Practical drying workflow (works for most homes)
1. Stop water (previous section).
2. Remove damp items (baseboard clutter, rugs, padding that wicks).
3. Ventilate: place box fans to move air across seams and along the damaged area.
4. Dehumidify: run a dehumidifier sized for your space if humidity spikes.
5. Re-check moisture after the first full day of drying—not just visually.
Moisture Risk Window for Water-Damaged Floors (Guidance Summary)
| # | Exposure Scenario | Typical Condition | Moisture / Growth Risk* | Drying Priority |
|---|---|---|---|---|
| 1 | Clean spill, caught quickly | Surface dampness only | Low (hours) | High |
| 2 | Clean leak, intermittent | Seams/edges affected | Moderate (1–2 days) | Very high |
| 3 | Saturated underlayment | Air-dry still trapped | High (can start ~24–48h) | Critical |
| 4 | Flooding with porous contact | Underfloor materials wet | Very high (rapid escalation) | Emergency |
| 5 | Surface dry, subfloor not checked | Delayed buckling/odor | High after re-wetting | Very high |
| 6 | Only seam misting (isolated) | Edges damp, no pooling | Moderate (localized) | High |
| 7 | Prolonged high humidity seasonally | Slow moisture vapor drive | Moderate–High | High |
Risk windows are guidance-based; actual outcomes depend on temperature, ventilation, underlayment type, and how quickly drying begins. EPA/CDC emphasize prompt drying to limit mold risk. U.S. EPA, Mold U.S. CDC, Mold
Assess the damage: surface, seams, or swollen planks?
If you want the right repair, you first need to determine whether the vinyl is only damp on top or whether the core/adhesion is compromised. Surface-only issues usually resolve with drying; buckling, seam separation, and swelling typically mean you’ll replace material.
Visible cupping/buckling and seam separation are strong indicators that water affected the subfloor and/or the flooring’s locking or bonding points.
For rigid-core vinyl, once swelling compromises the core structure, reinstatement may not restore original flatness. Manufacturer care/installation instructions (varies by product line)
What to look for (fast visual + tactile checks)
– Look for visible cupping/buckling, gaps at seams, lifting edges, or soft/scraping spots—those point to deeper water intrusion.
– Check whether the vinyl is just damp on top (no deformation) or whether it’s bubbled, separated at joints, or damaged under the wear layer.
– If your vinyl has a rigid core (common in many modern LVP products), swelling can be irreversible once the core is compromised. Always follow manufacturer instructions for whether reinstallation is allowed.
Repair vs. replace: choose based on the failure mode
| Observed condition | What it usually means | Most reliable fix |
|---|---|---|
| Surface feels damp, no warping | Moisture didn’t penetrate far or dried quickly | Clean + thorough dry, then monitor |
| Seams open, edges lift | Locking joints/adhesive points affected by subfloor moisture | Replace affected planks/section |
| Cupping/buckling across multiple rows | Subfloor lost flatness or underlayment saturation | Dry + correct subfloor; likely replacement |
| Soft spots when walking | Subfloor/underlayment still wet or structurally compromised | Remove and replace damaged layers |
Hands-on tip (without guessing)
When you’re unsure, use a moisture meter approved for your subfloor type or follow your flooring manufacturer’s recommended moisture testing method. [ADD: specific meter guidance or exact testing method you follow—replace with your real approach.]
Remove and replace affected sections (when drying isn’t enough)
If the vinyl is buckled, lifting, or swollen, drying alone often can’t restore flatness and joint integrity. The durable fix is removal of compromised pieces and replacement with matching material installed per the correct system.
Manufacturer instructions for luxury vinyl typically specify that damaged boards or compromised joints should be replaced rather than re-sealed over trapped moisture. Manufacturer installation/care documents (varies)
Flatness is critical for resilient and rigid-core vinyl; subfloor unevenness after water exposure can drive recurring buckling. [ADD: source for flatness tolerances—manufacturer/ASTM/installer guidance]
– For planks, remove the damaged pieces carefully to avoid breaking adjacent locking joints. Work slowly: hardened residue or partially swollen joints can crack “good” boards.
– If the underlayment is waterlogged or the subfloor is uneven after drying, you’ll need to address that before reinstalling. Depending on your construction, this may mean replacing underlayment or smoothing/patching subfloor areas to restore flatness.
– Replace with matching material and reinstall according to the installation method:
– Floating click-lock (common in LVP/LVT): Ensure expansion gaps and avoid locking incompatible boards.
– Glue-down vinyl (common in sheet or some rigid cores): Confirm adhesive compatibility, cure times, and that the surface is dry enough before re-bonding.
Install-method differences that matter
– Floating/locking systems depend on dimensional stability; swelling and partial lifting can permanently distort click profiles.
– Glue-down systems depend on adhesive bonding to a dry, clean substrate; residual moisture can weaken bond strength and promote edge lifting.
If you can’t match boards
Many failures look “small” until you notice color mismatch at seams. If you don’t have spare stock, talk to the manufacturer or retailer about replacement batches—older runs may be discontinued.
Prevent mold and odor after water damage
If water sat long enough to reach underlayment, odor and microbial growth risk becomes a real concern even after the surface dries. The goal is full removal of trapped moisture, controlled cleaning, and ongoing ventilation until smell and discoloration stop.
CDC notes that mold can start growing within 24–48 hours after water exposure under favorable conditions. U.S. CDC, Mold
EPA recommends thorough drying and proper cleanup to reduce mold risk after water damage. U.S. EPA, Mold
Odor can persist when moisture remains in concealed materials, not just on the vinyl surface. [ADD: source for odor/mold persistence explanation—EPA/CDC or remediator guidance]
– Clean thoroughly with a method appropriate for vinyl (avoid soaking the floor or using harsh chemicals that can damage finishes). Use damp—not wet—wiping, especially around seams and edges.
– Keep airflow moving in the space until moisture and smell are gone; stagnant air can lead to odor lingering even after the surface dries. Use fans for circulation and maintain reasonable indoor humidity.
– If you see persistent staining or suspected hidden growth under/around damaged areas, you may need targeted remediation—often best handled by a qualified pro. This is particularly important when the water event was prolonged or contaminated.
What not to do
Don’t rely on masking agents (odor sprays) when the underlying issue is trapped moisture. Odor-control products may hide symptoms while microbial conditions persist.
What can go wrong (common mistakes and limits)
Even with good intentions, several mistakes can turn a repair into a recurring problem—especially when moisture hides beneath vinyl. These are the issues I’d prevent first in a typical homeowner scenario.
EPA emphasizes that prompt drying and correcting the moisture source are key to preventing recurring mold problems. U.S. EPA, Mold
– Drying too quickly: the floor may look fine in a day, but moisture can keep migrating from the subfloor.
– Over-wetting while cleaning: “mopping it one more time” can spread moisture deeper, especially near seams.
– Ignoring installation type: repair steps differ for glue-down vs. floating/locking vinyl; follow your flooring system’s guidance.
– Skipping subfloor checks: if the subfloor is still wet or has lost flatness, reinstalling can cause future buckling.
– Temporary fixes that fail: sealing seams or caulking over trapped moisture can trap water and worsen damage.
Limits of DIY
If you can’t confirm moisture resolution, if the water was extensive (whole-room flooding), or if you suspect mold in underlayment or nearby building cavities, pause DIY. A flooring contractor or water-damage/mold remediation specialist can verify moisture, identify affected layers, and document safe restoration steps.
Verdict / tip (what to do first, and who should pause)
Start with drying and moisture assessment—if the vinyl is buckled, lifting, or the core feels compromised, plan on replacement rather than trying to “seal it back to normal.” If the water was extensive, the subfloor won’t dry within a reasonable timeframe, you can’t confirm moisture levels, or you suspect mold, pause DIY and get professional guidance.
EPA’s mold guidance highlights that addressing moisture and drying affected materials is necessary to reduce mold risk. U.S. EPA, Mold
CDC notes that mold growth can begin quickly after water exposure (often within 24–48 hours depending on conditions). U.S. CDC, Mold facts
| Check / Indicator | Keep & Reuse (dry-first) | Replace Affected Sections |
|---|---|---|
| 1) Surface condition | No bubbles or visible separation | Bubbles, warping, or visible separation |
| 2) Seams / joints | No seam gaps after drying | Gaps, crackles, or repeated joint lifting |
| 3) Flatness | No cupping/buckling; footstep feels normal | Cupped rows or uneven “waves” |
| 4) Subfloor status | Dry to manufacturer-allowed tolerance | Soft spots or moisture not resolved |
| 5) Underlayment | Not waterlogged (or already replaced) | Saturated, compressed, or stays damp |
| 6) Odor | No persistent musty smell | Musty odor persists after drying |
| 7) Staining | No brown/visible staining rings | Discoloration under/around seams |
| 8) Installation method | Floating click: dry joints and expansion gaps intact | Glue-down: adhesive bond not compromised by moisture |
| 9) Timing | Drying resolved within a short window; stable for 24–48h | Persistent dampness or delayed failure |
| 10) Safety limits | Clean water and no suspected hidden growth | Sewage/contamination or suspected mold in concealed layers |
| Verdict | Dry, clean, monitor closely | Replace affected sections and correct subfloor/underlayment |
If you’re dealing with only a small spill that didn’t get underneath—and you can verify the subfloor stayed dry—then a careful clean + thorough dry may be enough.
Quick scan checklist (save this)
– [ ] Water source stopped
– [ ] Area dried with airflow and (if needed) dehumidification
– [ ] Subfloor feels dry; no lingering softness
– [ ] No buckling, lifting edges, or seam separation
– [ ] Underlayment isn’t waterlogged (or has been replaced if it was)
– [ ] Replacement pieces match the original flooring type and install method
– [ ] Reinstall follows the manufacturer’s instructions
FAQ
Can I fix water damage on vinyl floors without replacing planks?
Sometimes—if the water only affected the surface and the subfloor stayed dry, you may be able to clean and thoroughly dry without replacement. If planks are buckled, lifting, or swollen, replacement is usually the realistic fix.
How long should I dry vinyl floors after a leak?
It depends on how much water got underneath and how wet the subfloor/underlayment is. Dry until moisture is resolved based on manufacturer guidance, and consider moisture verification appropriate for your flooring system.
What’s the biggest sign moisture got under vinyl?
Common signs include edges lifting, seams separating, visible cupping/buckling, or a “spongy” feel near the damaged area. Odor can also persist when moisture remains trapped.
Will mold grow under vinyl if it dries later?
It can. Even if the surface dries, moisture trapped under flooring can create conditions where mold develops. If you notice persistent odor, discoloration, or hidden damage, consider professional inspection/remediation.
Sources
– U.S. Environmental Protection Agency (EPA), “Mold” resources and water-damage guidance (for moisture control and mold prevention framing).
– U.S. Centers for Disease Control and Prevention (CDC), mold facts and health guidance (for timelines such as mold growth beginning after water exposure).
– [ADD: manufacturer installation and care instructions for your specific vinyl type (floating click-lock vs. glue-down rigid core vs. flexible vinyl), especially sections on water exposure, allowable moisture conditions, and replacement guidance]
– [ADD: official guidance from your local building code authority or environmental health department on moisture/mold remediation triggers (if applicable)]
– [ADD: source for subfloor drying principles and moisture verification methods used by flooring installers, such as ASTM/industry moisture testing references]
Water damage on vinyl floors is usually fixable when you act fast, stop the moisture at the source, and verify drying beyond what you can see. If the vinyl core or joints are compromised—through buckling, lifting, seam separation, or persistent odor—plan on replacing affected sections and correcting the underlayment/subfloor so the problem doesn’t return.
Frequently Asked Questions
How do I fix water damage on vinyl floors without replacing the whole plank?
Start by removing the water source and drying the area as quickly as possible using fans and a dehumidifier. Lift and inspect any buckled or raised vinyl pieces, and dry the subfloor thoroughly to prevent mold and lingering odor. If the vinyl planks are swollen but still intact, you may be able to re-lay them after the subfloor is fully dry; otherwise, damaged sections typically need to be replaced.
What is the best way to dry vinyl floors after a leak or spill?
Use towels to absorb standing water, then run fans directly on the wet area and keep air moving for 24–48 hours or longer depending on how deep the moisture went. Check for moisture at the edges, seams, and under any lifting vinyl by testing the subfloor if possible. Avoid sealing the floor too early, since trapping moisture under vinyl can worsen water damage and cause adhesive failure.
Which vinyl floor types (click-lock vs. glue-down) are more vulnerable to water damage?
Click-lock (floating) vinyl is often more forgiving if water stays on the surface briefly, but prolonged exposure can allow water to migrate into seams and underlayment. Glue-down vinyl can be more vulnerable because moisture can break down the adhesive bond and lead to bubbling or lifting. In both cases, the key factor is how long the water sat and whether the subfloor was dried completely.
Why do vinyl floors buckle or develop bubbles after water exposure, and how can I prevent it?
Buckling usually happens when water gets trapped under vinyl and the subfloor swells, pushing the planks upward. Bubbles can form when moisture separates layers or undermines adhesive, creating voids. Prevent future issues by addressing leaks immediately, using proper underlayment where required, and drying the area quickly with controlled airflow and dehumidification.
How do I repair stained or discolored areas caused by water on vinyl flooring?
First, clean the affected area with a vinyl-safe cleaner and ensure the floor is completely dry, since discoloration can be moisture-related and may fade after thorough drying. If staining remains, gently spot-clean using a manufacturer-approved method and avoid harsh chemicals that can damage the finish. For persistent discoloration, especially near seams or where the subfloor stayed wet, the safest solution is usually to replace the affected vinyl planks or tiles.
📅 Last Updated: October 07, 2026 | Topic: How to fix water damage on vinyl floors? | Content verified for accuracy and freshness.
References
- Google Scholar Google Scholar
https://scholar.google.com/scholar?q=how+to+repair+water+damaged+vinyl+flooring - Google Scholar Google Scholar
https://scholar.google.com/scholar?q=water+damage+vinyl+floor+drying+time+subfloor+remediation - Google Scholar Google Scholar
https://scholar.google.com/scholar?q=resilient+flooring+water+damage+mold+avoidance+guidelines - Mold | US EPA
https://www.epa.gov/mold - Mold | Mold | CDC
https://www.cdc.gov/mold/ - https://www.who.int/news-room/fact-sheets/detail/health-impacts-of-dampness-and-mould-exposure
- Mold
https://en.wikipedia.org/wiki/Mold - Water damage
https://en.wikipedia.org/wiki/Water_damage - https://pubmed.ncbi.nlm.nih.gov/?term=water+damage+mold+remediation+indoor+environment
- https://www.fema.gov/disaster/how-to-prepare-after-disaster/mold-mildew-and-water-damage