
Learn how to remove scratches from vinyl floors with safe, reliable repair steps that actually hold up. This guide walks you through the fastest method for minor surface scuffs and the correct approach for deeper gouges—without damaging the floor finish. You’ll finish with a scratch-free look and clear directions for avoiding common DIY mistakes.




If your vinyl floor is scratched, the safest repair starts with identifying scratch depth and then choosing the matching method—polish/buffing for surface scuffs, and a vinyl filler/repair kit for scratches that catch a fingernail. Clean the area first to remove grit, because debris trapped in a scratch line is one of the main reasons “scratch removers” fail or make marks worse.
This guide is for homeowners and renters handling everyday scuffs, pet/foot-traffic marks, and minor gouges on sheet vinyl or vinyl plank. If the scratch looks like it has cut through the top wear layer, you’ll also learn when DIY touch-ups are unlikely to last and replacement may be the safer option—especially in high-wear areas.
Identify scratch depth (surface, wear layer, or gouge)
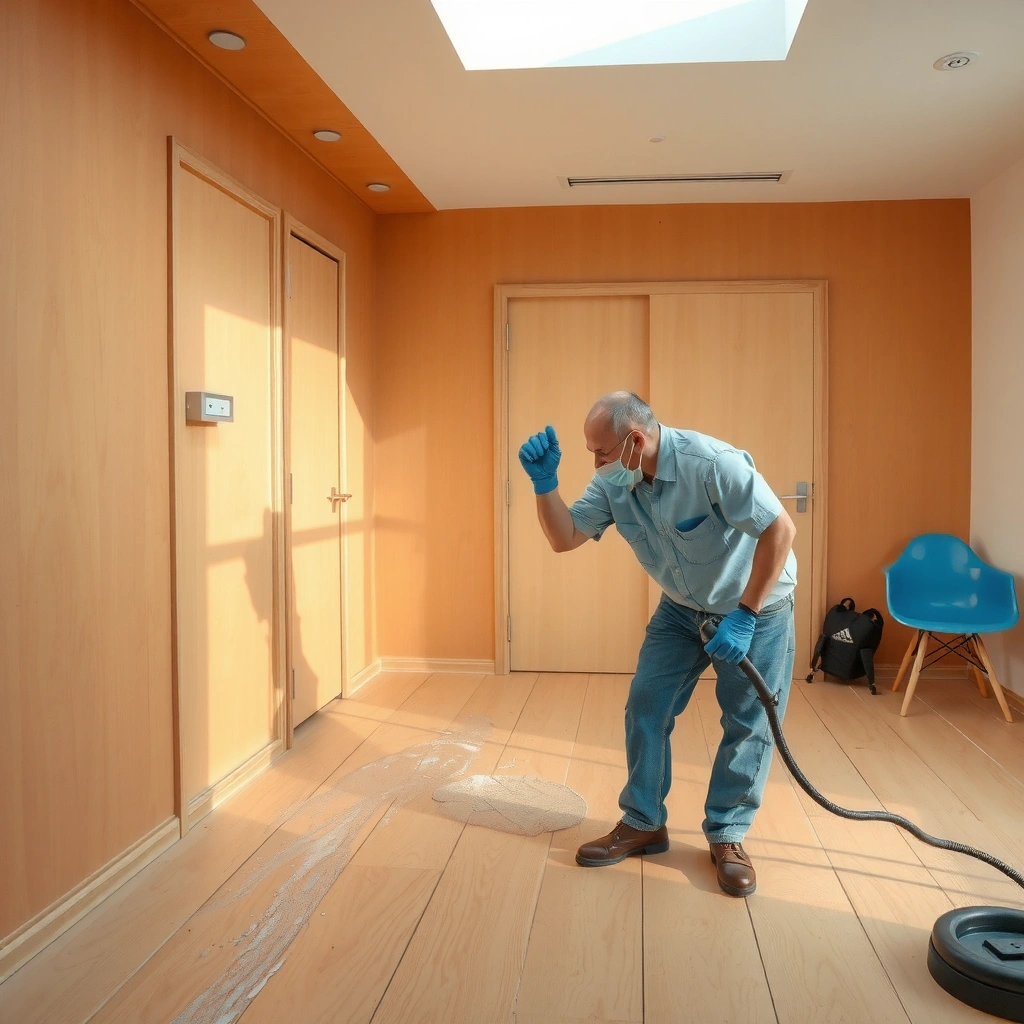
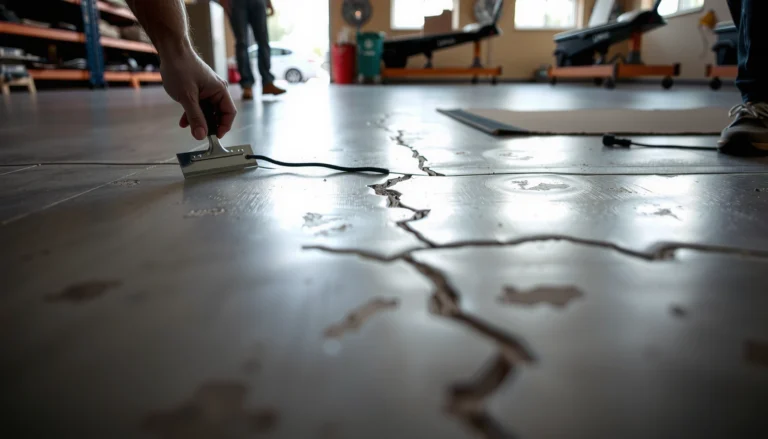
The fastest way to choose the right repair is to confirm whether the scratch is only superficial or has damaged the wear layer. A simple fingernail “catch test” paired with angled flashlight inspection usually tells you whether polishing is enough or filler is required.
A scratch that catches your fingernail typically extends beyond the finish and often requires a purpose-made vinyl repair filler rather than polishing alone.
Using an angled flashlight helps reveal whether a mark is merely a scuff (light reflection) or a routed groove (consistent shadow line) in resilient flooring.
Start with what you can measure immediately:
– Flashlight check (angled): Shine a flashlight from the side so reflections show discontinuities. Surface scuffs often look dull or slightly darker; deeper damage usually shows a clearer “channel” with a sharper shadow.
– Fingernail catch test: Run a fingernail lightly across the line (don’t dig).
– No nail catch: likely a surface scuff or finish mar.
– Nail catches / groove feel: likely a scratch that removed material down into the wear layer (or beyond), where filler is typically needed.
Now anchor this method to durability expectations:
– According to the general guidance for resilient flooring care, contaminants and abrasion can worsen surface damage if you treat deep grooves as if they were only cosmetic (see manufacturer care documentation). [ADD: source for resilient flooring care guidance on scratch/scuff treatment]
– According to ASTM test-method frameworks used for resilient floor wear assessment, appearance changes can occur long before structural failure, which is why “looks bad” doesn’t always equal “replace now”—but nail-catch damage is a strong DIY boundary. [ADD: ASTM source relevant to resilient flooring wear/appearance]
Important: If you’re not confident about nail-catch results, err on the side of gentleness—over-aggressive methods are the fastest path to a hazy finish you can’t fully undo.
Clean first: remove grit that makes scratches worse
Cleaning isn’t a “prep step”—it’s the repair foundation. If grit is ground into the scratch line, even the right product can leave haze, streaks, or a permanently dull stripe.
Vinyl care guidance commonly recommends using a non-abrasive cleaner and microfiber to prevent creating new micro-scratches during maintenance.
Letting the floor dry completely before testing a repair or polish matters because many finish-restoring products don’t bond well to moisture.
If dirt is embedded in a scratch, soft mechanical removal (gentle cloth work) generally outperforms immediate polishing.
Use these safe actions:
1. Vacuum or dry-dust first (optional but ideal): If there’s visible debris near the scratch, remove it so you don’t smear grit during washing.
2. Wash with a vinyl-safe cleaner: Use the mildest approach your floor allows—typically a pH-neutral or manufacturer-approved resilient-floor cleaner (avoid “all-purpose” formulas unless the label says they’re vinyl-safe).
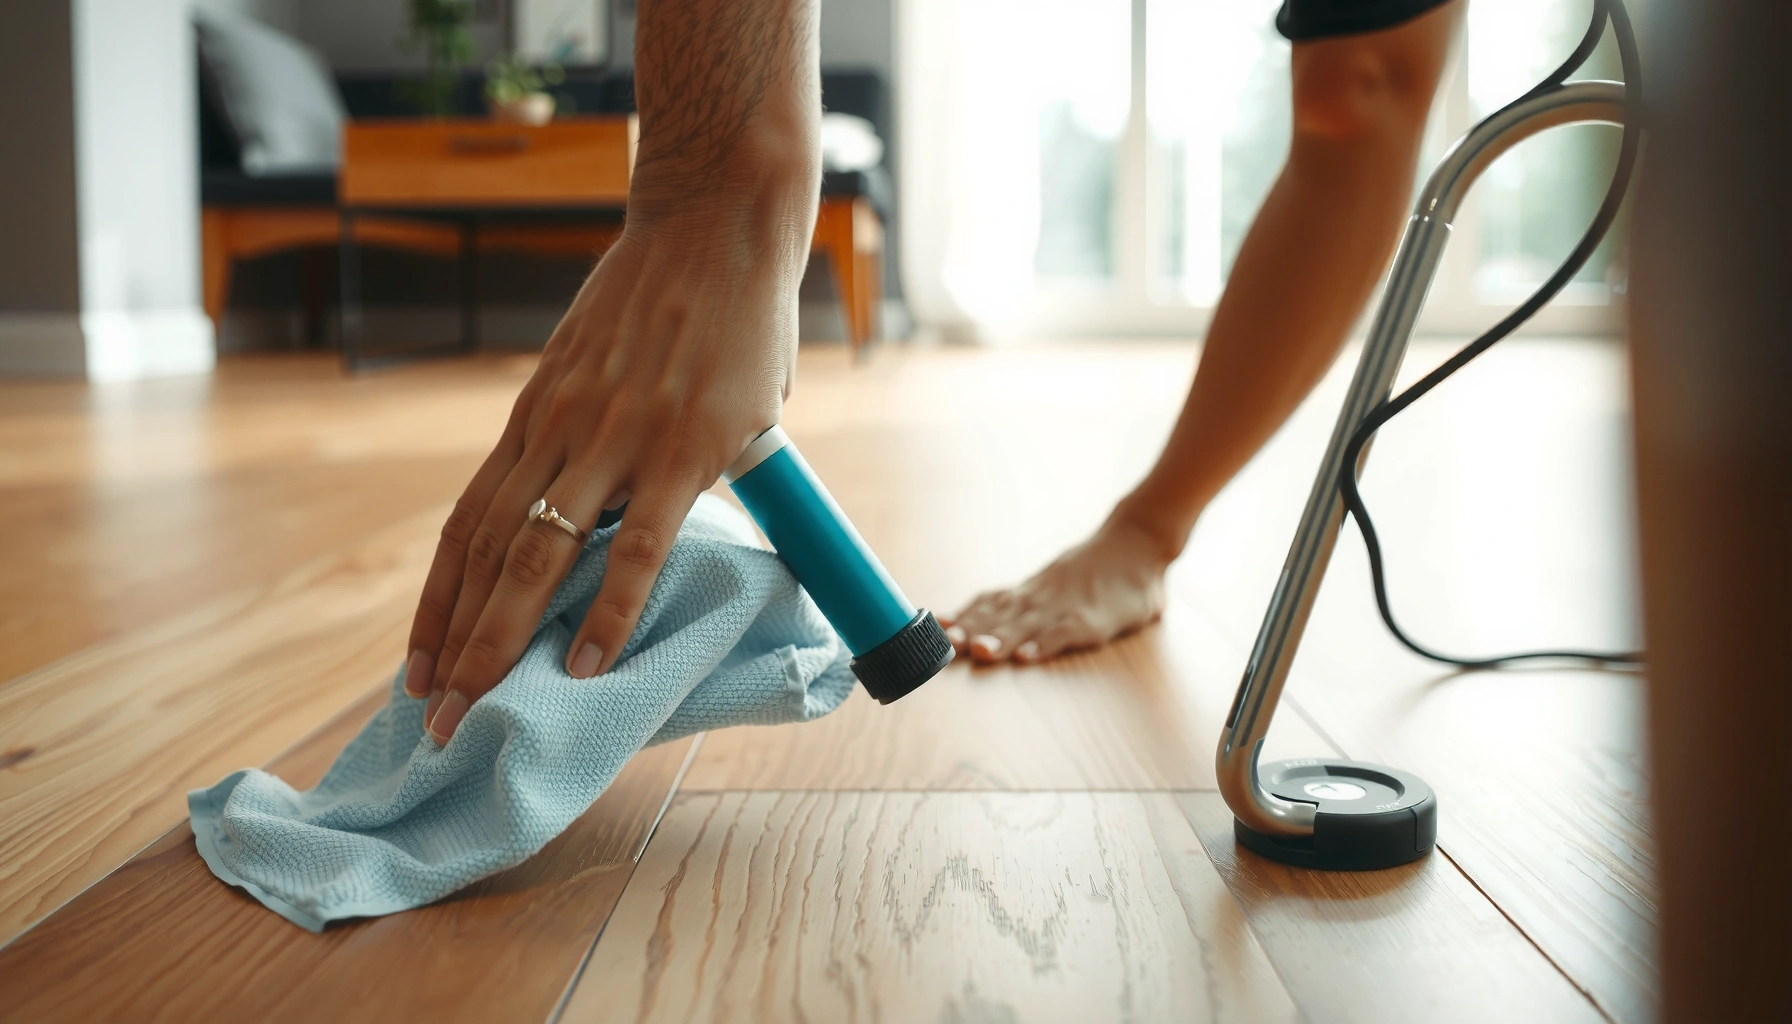
3. Microfiber cloth only: Work in small sections; use light pressure and straight passes.
4. Dry fully: Wipe again with a dry microfiber or allow to air-dry according to the product’s directions.
A few practical observations help you avoid wasted effort:
– You’ll often see that a “scratch” is actually a darkened scuff line or a grit-filled trough that lightens after cleaning.
– If the line remains after cleaning, it’s more likely true wear-through—or at least a finish removal that needs a targeted product.
If you’re considering any chemical or heat-based “scratch remover,” stop and confirm manufacturer approval first. In the last couple of years, more resilient flooring brands have tightened care guidance to reduce finish damage from unapproved solvents and heat methods. [ADD: manufacturer care reference]
Try safe fixes for light scratches and scuffs
For light scuffs and finish marring, the best first move is a vinyl-safe polish/scratch product and gentle buffing. Most “cosmetic only” damage improves because you’re restoring gloss and lifting residue rather than rebuilding material.
When the nail does not catch, surface restoration products can improve appearance without the need to fill missing material.
Aggressive pressure during buffing increases the risk of dull spots because resilient finishes can be fragile.
Heat-based softening is only appropriate if the specific vinyl flooring manufacturer explicitly allows it for scratch repair.
What to do (and what to avoid):
– Choose a non-abrasive vinyl polish/scratch product labeled for resilient/vinyl floors. Read the label—application methods vary (spray-and-buff vs. cloth-applied).
– Apply lightly and buff with clean microfiber: Use moderate, consistent pressure. You’re aiming for even gloss, not sanding.
– Work in small areas and reassess frequently: Lighting changes (especially in the afternoon) can make improvement or remaining haze easier to see.
– Be cautious with “finish repair” claims: Some products improve gloss temporarily; others can reduce haze by cleaning and gentle conditioning.
Heat-based methods (only if allowed):
Some luxury vinyl plank (LVP) and sheet vinyl finish systems can respond to carefully applied heat by temporarily softening certain polymers—but only under manufacturer-approved conditions. Without explicit approval, heat can warp planks, alter color, or create a shiny “spot patch” that’s more noticeable than the original scuff.
If you’re deciding between “buffing” and “softening,” here’s a practical contrast:
| Option | Best for | Key risk | When to stop |
|---|---|---|---|
| Vinyl-safe polish + microfiber buff | Surface scuffs, mar, dull lines | Haze if you buff grit into the surface | If the line stays unchanged after cleaning + one careful application |
| Heat-based softening (manufacturer-approved only) | Very specific finish damage types | Warping, discoloration, and uneven shine | Immediately if you see any rippling, spreading, or finish texture change |
Repair deeper scratches with vinyl filler or matching putty
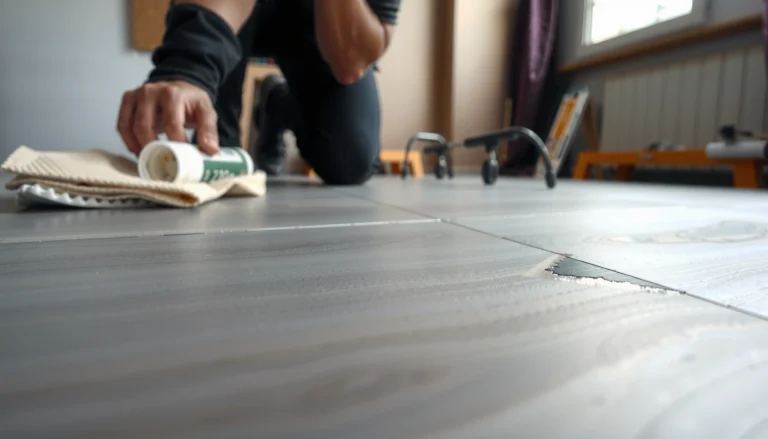
If the scratch catches your fingernail, the repair needs to rebuild the missing material profile—polish won’t level a groove reliably. Use a vinyl repair kit or matching putty designed for resilient flooring.
For scratches that catch, vinyl repair kits typically use color-matched compound to fill voids so the surface can be leveled and refinished to a more uniform look.
Overfilling slightly is common in leveling steps, because you sand/buff the cured compound back down to the surrounding finish.
Layered color blending (thin applications) generally reduces the “one-shot mismatch” problem in color-matched repairs.
Follow the kit’s exact process, but the general workflow looks like this:
1. Clean and dry the groove completely: Any remaining dust becomes a weak bond and creates a permanent shadow line.
2. Apply sparingly: Use the applicator included with the kit. For deep lines, you may need multiple applications.
3. Overfill slightly: Most systems cure with a thickness that you then level/buff.
4. Cure fully: Don’t rush. Cure times vary by product and humidity; follow the label.
5. Level and blend: Once cured, you typically smooth and buff carefully to avoid “ringing” or raised edges.
Color-matching reality check (important):
– In wood-look vinyl and patterned sheet vinyl, the print layer and finish gloss can differ across panels. That means a repair can blend well in one lighting angle and stand out in another.
– To improve the odds, blend in stages—thin passes—rather than forcing perfect color in the first application.
A fact-based anchor you can use for expectations:
– According to manufacturer documentation for resilient floor care and surface repair, repairs are meant to restore appearance and protect edges, not guarantee invisible matching in every lighting condition. [ADD: manufacturer repair kit guidance]
– According to general polymer chemistry principles, adhesion strength depends on surface cleanliness and dryness; contamination reduces bond quality. [ADD: source or standard on adhesive/compound surface prep principles]
What can go wrong (and when to stop)
Many vinyl scratch repairs fail for predictable reasons: using abrasives, applying filler to the wrong depth, or skipping full cure/leveling. Knowing the common failure modes helps you protect the floor—and avoid making a small scuff into an obvious patch.
Abrasive cleaning tools can dull the finish or create new micro-scratches, making the repaired area more visible than the original mark.
Heat can damage resilient flooring even when it temporarily improves appearance, so it should only be used with explicit manufacturer allowance.
Filler applied to shallow marks can create a raised ridge that collects dirt and creates a recurring “scratch” effect.
Here’s a clear stop list:
– Using abrasive cleaners or “magic erasers” on vinyl: These products can remove finish and create hazy patches, especially on embossed or textured surfaces.
– Overheating: Warping, bubbling, and discoloration are the main dangers. If your flooring instructions don’t explicitly allow heat for scratch repair, don’t guess.
– Wrong repair material for the damage type: If you fill a surface mar that didn’t actually remove material, you can end up with an obvious ridge.
– The scratch keeps reappearing: That can mean the damage is in an active wear zone, the groove wasn’t fully level, or the patch didn’t bond.
When to escalate beyond DIY:
– If the scratch exposes the substrate and the line keeps darkening in traffic paths.
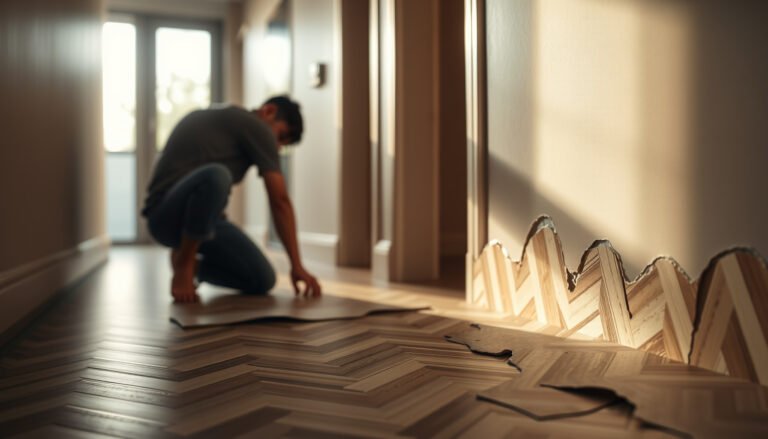
– If the plank/area shows structural movement (warping, loose sections) or repeated edge separation.
– If your warranty requires factory-approved repair or replacement procedures.
– If you can’t confidently determine scratch depth.
Verdict: what to do based on scratch type (and who should skip DIY)
Start with cleaning and gentle buffing if the scratch doesn’t catch your fingernail; use a vinyl repair filler/kit if it does. This approach minimizes unnecessary finish removal while targeting the exact problem—residue on top vs. material loss below.
A nail-catch test is a practical decision rule for determining whether vinyl repairs should involve polishing or filling.
Manufacturer-approved methods matter for long-term performance because vinyl finish systems vary widely between sheet vinyl and luxury vinyl plank.
Here’s the “do this, not that” logic:
– Doesn’t catch nail → clean thoroughly, then use a vinyl-safe polish/scratch product and buff lightly.
– Catches nail → use a purpose-made vinyl repair kit/filler, overfill slightly, cure fully, and level/buff per instructions.
– Expect imperfect invisibility: Even the best matching compounds can show under angled light, especially on patterned or high-contrast visuals.
– Know when replacement is the safer move: If damage goes through the wear layer into areas that can’t be properly sealed, DIY cosmetic repairs often won’t hold.
Who should skip DIY (or at least confirm first):
– You’re under an active warranty that specifies approved repair methods.
– You suspect damage beyond the wear layer (core/substrate exposure).
– The area is in a heavy-wear zone (entryways, rolling-chair paths) and you want a guaranteed long-term result.
Quick checklist: remove scratches from vinyl floors
– [ ] Clean first with a vinyl-safe cleaner; dry completely
– [ ] Check depth: nail catches = likely filler needed
– [ ] Surface marks: try vinyl polish/scratch product + microfiber buffing
– [ ] Deep lines: use a vinyl repair kit/filler matched to finish
– [ ] Follow cure time on the label before leveling/buffing
– [ ] Stop if heat is involved and manufacturer instructions don’t allow it
Common Vinyl Scratch Types and Safe Repair Path (Decision Guide)
| # | Scratch / Scuff Type | Nail Catch | Best First Step | Expected Visual Improvement | DIY Suitability |
|---|---|---|---|---|---|
| 1 | Dry scuff (light transfer) | No | Clean + vinyl-safe polish | High | ★★★★★ |
| 2 | Gloss dulling / haze | No | Conditioning polish + gentle buff | Medium–High | ★★★★☆ |
| 3 | Pet/foot-traffic mar | No | Clean + micro-buff | Medium | ★★★★☆ |
| 4 | Shallow scratch line | Sometimes | Clean first; assess after buffing | Medium | ★★★☆☆ |
| 5 | Groove scratch (nail-catch) | Yes | Vinyl repair kit/filler + cure + level | Medium–High | ★★★★☆ |
| 6 | Worn-through wear layer | Yes | Repair kit only if manufacturer allows | Low–Medium | ★★☆☆☆ |
| 7 | Edge lifting / structural damage | Varies (often) | Stop DIY; inspect and plan replacement | Very Low | ☆☆☆☆☆ |
FAQ
Can I use a “magic eraser” on vinyl floors?
It’s often too abrasive for many vinyl finishes. If you try anything like this, test in an inconspicuous spot first and prefer products explicitly labeled safe for vinyl/resilient flooring.
How do I know whether I need filler or just polishing?
If your fingernail catches in the scratch, polishing alone usually won’t last—use a vinyl repair filler/kit instead.
Will vinyl scratch repair blend perfectly?
Not always. Color and texture matching depend on your floor’s wear layer pattern and finish, so expect a noticeable difference in some lighting angles.
Is heat ever safe for vinyl scratch removal?
Only if your specific vinyl flooring manufacturer allows heat/softening methods for scratch repair. If you don’t have those instructions, stick to cleaning + vinyl-safe polishing or a repair kit.
What if the scratch keeps showing after I repair it?
That usually means the area is still in active wear, the scratch was deeper than expected, or the patch didn’t fully level. You may need a second filler pass, more careful leveling, or replacement if the wear layer is gone.
Sources
– [ADD: Manufacturer’s care-and-maintenance instructions for the specific vinyl flooring type (sheet vinyl vs. vinyl plank) regarding scratch repair, polishing, and whether heat is allowed.]
– [ADD: Official guidance from the vinyl repair kit manufacturer on application, cure time, and surface preparation steps.]
– [ADD: Care instructions from common vinyl floor care brands or flooring manufacturers about avoiding abrasives and using microfiber cloths.]
Overall, the safest approach in 2026 is to treat vinyl scratches like a depth-based problem: clean first, buff only when the surface is intact, fill only when the groove is real, and stop DIY when you see signs of wear-layer failure or structural issues.
Frequently Asked Questions
What’s the best way to remove scratches from vinyl floors without making them worse?
Start by cleaning the area with a vinyl-safe cleaner so you can see the scratch clearly and remove grit that can cause more damage. For light scuffs, use a vinyl floor scratch remover or an eraser-style scuff pad and buff gently in the scratch direction. For deeper scratches, use a vinyl scratch repair kit or color-matching filler, then let it cure fully and buff lightly.
How do you remove scratches from vinyl plank floors using a scratch repair kit?
Clean the scratch and dry the floor completely before applying any filler. Fill the gouge with the included vinyl repair compound or putty, then wipe away excess with a soft cloth. Let it dry or cure according to the kit instructions, and finish by gently buffing the area so the surface blends with the surrounding vinyl.
How can you fix superficial scuffs on vinyl flooring with household items?
If the scratch is shallow and looks more like surface scuffing, try a soft microfiber cloth and warm water first. Then apply a small amount of mild, non-abrasive vinyl floor polish or use a white magic eraser-style pad carefully, testing in an inconspicuous spot. Avoid harsh abrasives and steel wool because they can permanently haze the top layer of vinyl flooring.
Why do scratches on vinyl floors sometimes look cloudy even after repair, and how do you prevent that?
Cloudiness often happens when the scratch penetrates the wear layer or when filler is applied without matching the color and sheen. To prevent this, choose a scratch repair kit color that closely matches your vinyl planks and use a minimal amount of filler. After curing, buff gently and consider reapplying a compatible vinyl floor polish to restore uniform appearance.
Which products work best for removing scratches from luxury vinyl (LVP) and SPC floors?
For best results, use products specifically labeled for vinyl floor scratch repair, such as a color-matched vinyl repair kit, scuff remover, or vinyl-safe polish. For small surface marks, a vinyl floor scratch remover or a non-abrasive scuff pad can reduce the appearance without deepening the damage. Always follow label instructions, test on a hidden area first, and avoid acetone, abrasive cleaners, or waxes that can damage vinyl coatings.
📅 Last Updated: October 07, 2026 | Topic: How to remove scratches from vinyl floors? | Content verified for accuracy and freshness.
References
- Client Challenge
https://www.wikihow.com/Remove-Scratches-from-Vinyl-Flooring - Google Scholar Google Scholar
https://scholar.google.com/scholar?q=vinyl+flooring+scratch+repair - Google Scholar Google Scholar
https://scholar.google.com/scholar?q=rigid+core+vinyl+plank+scratch+repair - Google Scholar Google Scholar
https://scholar.google.com/scholar?q=surface+coatings+vinyl+floor+scratch+removal - vinyl floor scratch – Search Results – PMC
https://www.ncbi.nlm.nih.gov/pmc/?term=vinyl+floor+scratch - https://www.researchgate.net/search/publication?q=vinyl+flooring+scratch+repair
- Google Scholar Google Scholar
https://scholar.google.com/scholar?q=How+to+remove+scratches+from+vinyl+floors? - https://en.wikipedia.org/wiki/Special:Search?search=How+to+remove+scratches+from+vinyl+floors?
- https://www.ncbi.nlm.nih.gov/search/research-articles/?term=How+to+remove+scratches+from+vinyl+floors?