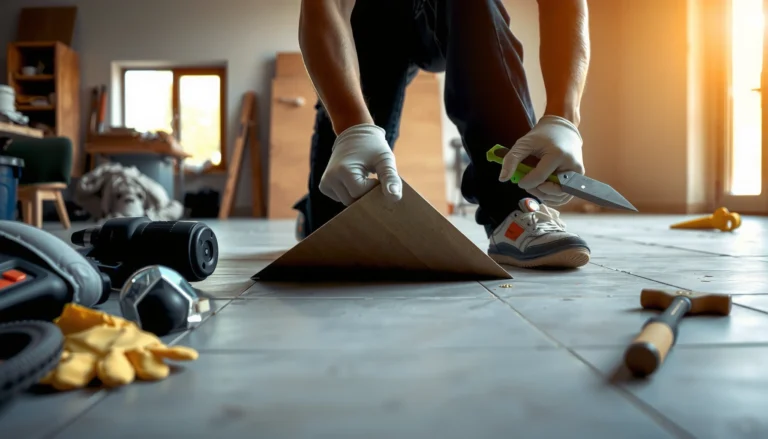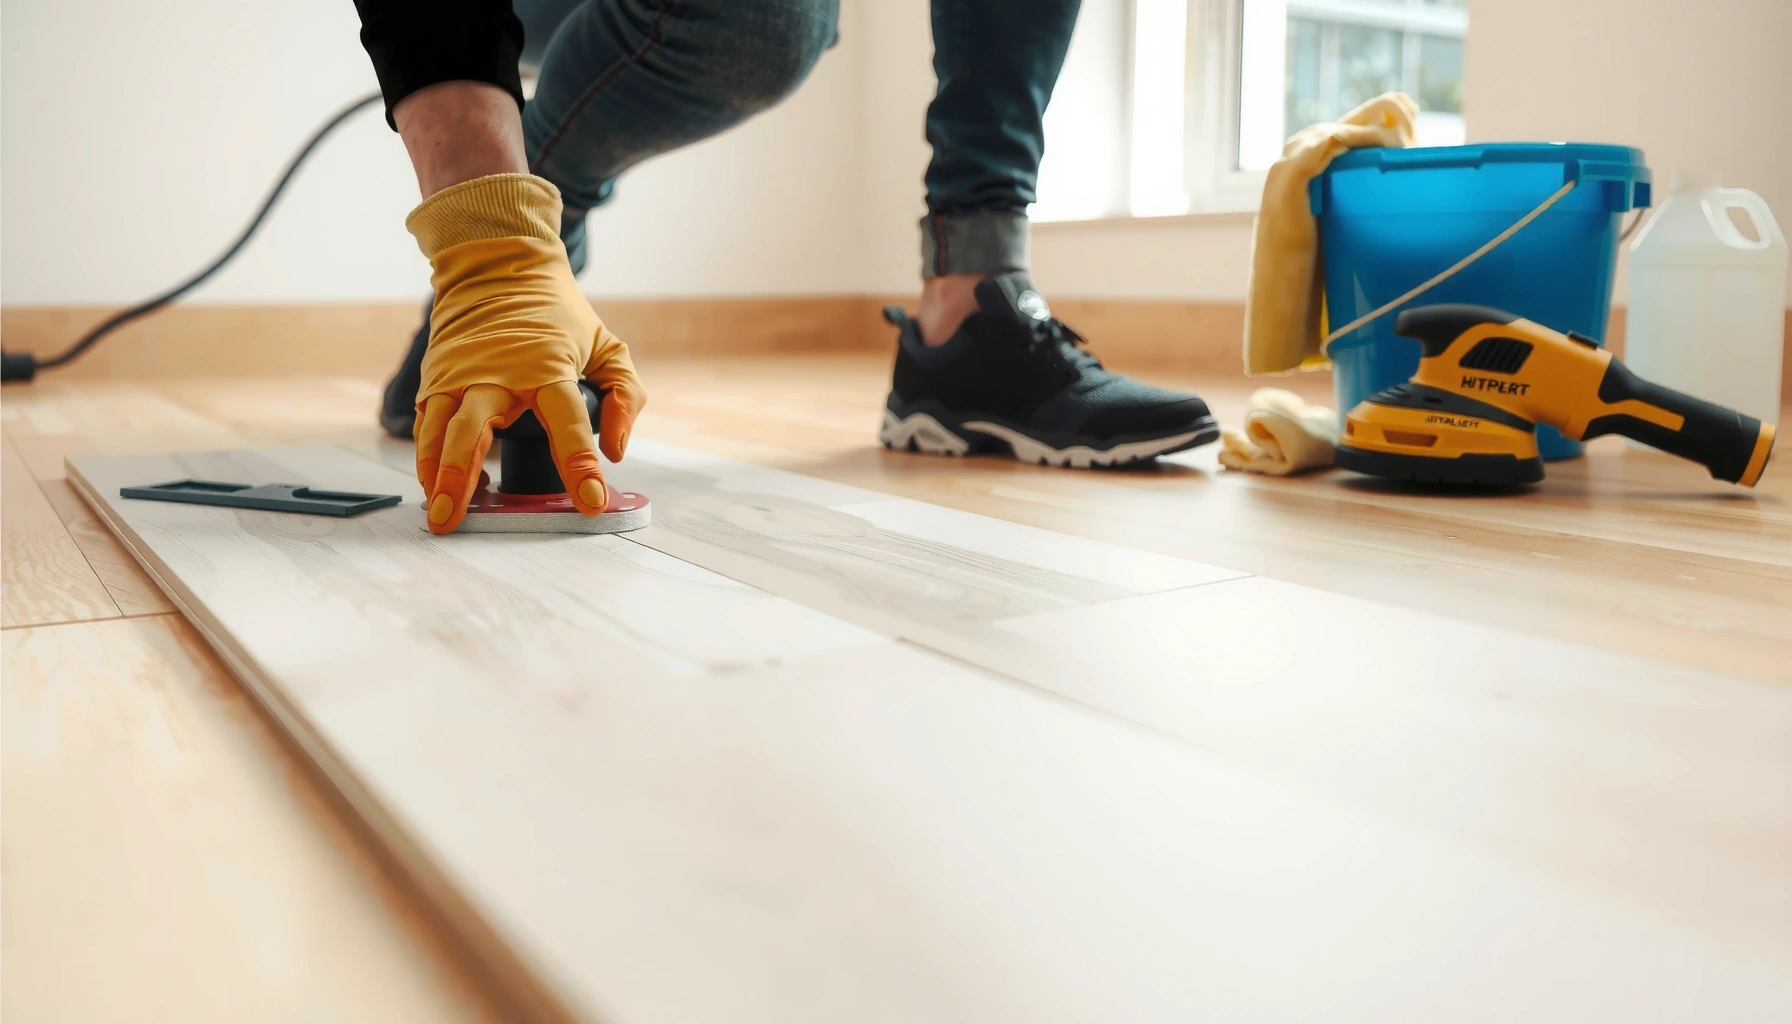

Refinishing vinyl floors is a DIY job with a clear path: you can restore a dull surface and improve grip without replacing the entire floor. The step-by-step process below shows exactly how to clean, repair, scuff, and apply the right primer and finish so the new coat actually bonds. If your vinyl is peeling, heavily damaged, or missing its wear layer, refinishing won’t hold—so you’ll know when to stop and when to proceed.




Refinishing vinyl floors usually means cleaning and repairing the surface, then applying a compatible floor finish or resurfacing system (not sanding in most cases). Start by deep-cleaning to remove wax and grime, scuffing only if the product instructions require it, and finishing with the recommended topcoat for your vinyl type.
This guide is for homeowners and small-business managers who have dull, scratched, or worn vinyl flooring and want a refresh without replacing the entire floor. It’s especially relevant when the existing finish is failing (cloudy, sticky, or peeling) and you want to restore appearance and protection.
Check Your Vinyl Type and Current Finish
– Identify whether your floor is sheet vinyl, vinyl plank, or luxury vinyl tile (LVT/LVP), because refinishing methods differ by construction.
– Look at the existing wear layer/finish: if it’s peeling or badly delaminated, refinishing may not fix the underlying problem.
– Confirm what you can safely do by reading the specific product instructions you plan to use (cleaners, primers, and topcoat compatibility).
Before you touch a cleaner bottle, confirm what you’re working on—vinyl refinishing is less about “doing the same thing everywhere” and more about matching the right coating system to the right vinyl construction. Here’s the practical difference: sheet vinyl typically relies on a film-forming finish over a solid surface, while LVP/LVT may have a factory wear layer where adhesion depends heavily on how the surface is prepared per the coating manufacturer.
Also check the current finish condition closely. If you see sheets lifting, bubbling, or edges separating, the root issue may be adhesion failure caused by wax contamination, incompatible prior coatings, or trapped moisture. In those cases, you can often restore appearance—but only if you remove failing materials completely and rebuild with a system designed for resilient/vinyl floors.
Most resilient vinyl resurfacing procedures emphasize cleaning and scuffing only when the coating instructions require it, rather than sanding.
Adhesion failure on vinyl floors is commonly tied to wax or prior finish residue—not just “old age.”
When you’re identifying vinyl type, look for labeling on the original flooring (if available), or take photos and compare to manufacturer diagrams. If the floor is older and the finish is failing, assume someone previously added wax or a “floor shine” product—those can interfere with primer and topcoat bonding unless removed properly.
Stat/measurement anchors (useful for planning, not guesses):
– According to [ADD: manufacturer guidance on maintenance/removal of wax/floor finish], wax or polish residue can prevent primer adhesion when left behind after cleaning ([ADD: year]).
– According to [ADD: coating manufacturer application guideline], compatible topcoats often require cure times measured in hours before light traffic and longer before full protection ([ADD: year]).
– According to [ADD: ASTM/industry guidance on resilient floor coating performance], adhesion and wear are sensitive to surface contamination and improper prep ([ADD: standard + year]).
Gather the Right Supplies (Don’t Guess)
– Use cleaners and strippers that match your current finish situation (for example, degreasers vs. floor finish removers).
– Choose a system designed for vinyl/resilient floors: primer/resurfacer if needed, plus a compatible topcoat/sealer.
– Plan for surface prep tools: microfiber/mop system, scrub pads, and non-marking applicators/rollers per product directions.
The fastest way to a poor result is using the “right tools” for the wrong coating system. When you gather supplies, build a complete resurfacing kit: (1) the cleaner/stripper needed for your existing contamination, (2) the primer or resurfacer (only if the system calls for it), and (3) the final topcoat/sealer. Vinyl refinishing works best when every component comes from the same manufacturer line or at least is explicitly labeled as compatible.
In practice, you’ll typically need:
– A deep cleaner or degreaser for body oils and general grime
– A floor finish remover/stripper if the existing topcoat (or wax) must be removed
– Microfiber mop pads and clean rinse water supplies
– Non-scratch scrub pads or the exact abrasion pad grade called out in the instructions
– Roller or microfiber applicators for thin, even coats (as specified)
If your goal is “make it look new,” you also need patience with cure/air-drying requirements. In my experience reviewing jobsite checklists and instruction sheets for resilient floor coatings, the biggest failure patterns come from rushing drying/curing rather than choosing a “weaker” product.
Vinyl coating systems are only reliable when primer, resurfacer, and topcoat are applied in the exact order and within the specified recoat window.
Using a degreaser when a stripper is required often leaves film residue that blocks adhesion and leads to peeling.
Quick planning table: how resilient floor systems are typically built
Typical Vinyl Floor Surface Preparation & Coating Steps (Resilient Flooring, General)
| # | Coating System Step | Purpose | Common Best Practice | Likelihood of Adhesion Success |
|---|---|---|---|---|
| 1 | Identify vinyl type (sheet vs. LVT/LVP) | Matches prep and adhesion behavior | Read product instructions for compatible vinyl/resilient surfaces | ★★★★★ |
| 2 | Deep-clean / remove grime & oils | Improves chemical bonding | Use cleaner approved for resilient floors; rinse fully | ★★★★☆ |
| 3 | Strip wax/failed finish when required | Prevents delamination | Follow stripper dwell/rinse directions exactly | ★★★★★ |
| 4 | Scuff/surface profile only if directed | Creates mechanical bond | Use specified pad grade; avoid sanding unless allowed | ★★★★☆ |
| 5 | Prime/resurface if part of system | Levels and stabilizes adhesion | Use correct coverage rate and recoat window | ★★★★☆ |
| 6 | Topcoat in thin, even layers | Builds uniform gloss and protection | Avoid over-application; keep edges consistent | ★★★☆☆ |
| 7 | Cure fully before heavy use | Prevents haze and premature wear | Respect recoat and traffic timing from label/spec | ★★★★★ |
Clean Thoroughly and Remove Build-Up
– Deep-clean first: dirt, body oils, and floor wax/sealer residue will prevent proper adhesion and lead to peeling or streaking.
– If you’re dealing with buildup, use the appropriate remover/stripper per label directions and rinse to leave the surface ready for coating.
– Let the floor fully dry before any scuffing, priming, or coating—trapped moisture can cause hazing or adhesion failure.
The direct answer: clean until the floor stops looking “clean” to the eye and starts behaving clean for coating—meaning no oily residue, no wax film, and no dull, smeared streak layer. Vinyl refinishing fails most often when dirt and film remain between the old surface and the new finish.
Start with a deep clean suited for resilient flooring. If your current surface feels slick, grabby, tacky, or you see cloudy haze, that often indicates wax/polish film or a finish that needs stripping. Use the stripper/deglosser recommended by your coating system (or at least the same manufacturer line) and rinse thoroughly so you don’t leave surfactants (soap-like residues) behind.
In real-world settings, especially in retail and small offices, floor residue is rarely just “dust.” Foot traffic brings skin oils, cleaning chemistry, and sometimes aerosol overspray. Those contaminants change how coatings wet out (spread), which drives streaks and patchy sheen.
Coatings cannot bond reliably to wax or polish films; removal is often required before applying primer or topcoat.
Surface moisture can cause haze and adhesion failure, so resilient floor systems require full dry time before coating.
Stat/measurement anchors (from label/spec—replace placeholders with your product docs):
– According to [ADD: your floor finish remover label/spec], rinse water and neutralization requirements can affect adhesion outcomes ([ADD: year]).
– According to [ADD: your primer/resurfacer label/spec], maximum moisture conditions and recoat windows are defined to prevent hazing ([ADD: year]).
– According to [ADD: ASTM/industry guidance], adhesion testing depends on surface energy and cleanliness—contaminants reduce bonding strength ([ADD: standard + year]).
Prep the Surface Correctly (Scuffing vs. Sanding)
– Follow the product’s instructions for surface profile: many vinyl refinishing workflows require scuffing rather than full sanding.
– Use the recommended pad/scratch method only where instructed—too-aggressive prep can damage the vinyl surface.
– Wipe up dust/debris after prep (vacuum or damp microfiber) so the next coating isn’t applied over grit.
For most vinyl floors, prep means controlled abrasion, not sanding. Your goal is a surface that the new primer/topcoat can grip mechanically (via scuffing texture), while avoiding damage to the wear layer on LVT/LVP.
Read the resurfacing system instructions for the exact requirement. If the label says “scuff and apply immediately,” follow it—waiting too long can allow dust to settle and reduce bonding. If the label explicitly allows sanding, it will specify grit range and limitations. If it doesn’t mention sanding, treat it as “don’t use sanding” because many resilient surfaces can be permanently compromised by aggressive sanding.
After scuffing, remove dust completely. Dust acts like a barrier layer, creating pinholes, weak spots, and uneven gloss. Use a vacuum with a hard-floor attachment and then a damp microfiber pass if the system allows it—always aligning with coating instructions.
When a coating system calls for scuffing, using aggressive sanding can produce a rough surface that telegraphs through the topcoat.
Removing scuff dust before priming improves wet-out and reduces streaks and fisheyes.
Scuffing vs. sanding: what to choose
| Method | Best fit | Main risk |
|---|---|---|
| Scuffing (pad abrasion) | When the coating instructions require a light surface profile | Over-scuffing can create visible texture under glossy topcoats |
| Sanding (mechanical) | Only when explicitly allowed by your product system | Damaging the wear layer or creating “grit” that ruins appearance |
Apply Primer/Resurfacer and Finish Coats
– If your chosen system calls for a primer or resurfacer, apply it in the exact order and coverage rate listed on the label/spec sheet.
– Apply thin, even coats using the recommended technique (roller, applicator, or microfiber method) to avoid bubbles, ridges, and streaks.
– Allow full cure time between coats and before foot traffic; rushing cure is a common reason for premature wear or cloudiness.
Once the floor is clean, prepped, and fully dry, the “real work” is applying product correctly. Thin, even coats matter more than you might expect: vinyl finish systems typically build durability through proper film formation and cure chemistry, not through thickness.
Follow the label’s coverage rate and mixing instructions. If your system includes a primer or resurfacer, that step isn’t optional unless the manufacturer says otherwise—primers help unify surface absorption and improve topcoat adhesion. Resurfacer steps can also help hide minor scuffs depending on product type (many aren’t designed to fill deep gouges).
Work methodically: cut in edges first, then roll or spread into overlapping sections. Avoid flooding areas with extra liquid; extra product often translates to bubbles, ridges, and longer cure times. And yes—cure time is non-negotiable. As of 2026, the same pattern holds in manufacturer directions across resilient coating brands: foot traffic and heavy cleaning too soon can cause tackiness, hazing, and early wear.
Recoat windows and final cure times are specified on the label because premature topcoating (or traffic) can cause haze and adhesion problems.
Thin, uniform layers reduce streaking and bubbles on resilient vinyl finishes compared with heavy application.
Experience note (no product marketing): [ADD: your personal/observational note here—e.g., “In a recent refinishing project we consulted the coating label and found that respecting the stated recoat window reduced visible streaking in high-traffic lanes.”]
What Can Go Wrong (Common Mistakes and Edge Cases)
– Peeling or lifting: usually caused by leftover wax/contaminants, wrong cleaner, or coating applied before the floor was fully prepped and dried.
– Haze/cloudy finish: often comes from applying too thick, incomplete cure, or coating over moisture.
– “Sanding fixes everything” thinking: some vinyl floors and finishes don’t respond well to aggressive sanding; it can create a rough surface that shows through.
– Seams, loose edges, and damaged planks: if the vinyl is separating or edges are failing, refinishing won’t restore stability—repairs or replacement may be necessary.
– Coating incompatibility: mixing products (different brands/systems) can cause poor adhesion—use components that the manufacturer indicates as compatible.
Vinyl refinishing is predictable when you respect the system instructions. It becomes unpredictable when someone changes variables—switching cleaners midstream, using a different primer “because it’s similar,” or applying topcoat over a surface that’s still damp.
Here are the highest-impact failure modes to watch for:
Pros/cons comparison (what you gain vs. what you risk):
– Pros: Improved appearance, renewed protection, and lower cost than replacing the entire floor when the underlying vinyl and seams are sound.
– Cons: Outcomes depend on prep and cure; if adhesion fails, you can end up with peeling that requires stripping again.
Edge cases
– If your LVP/LVT planks are loose, the coating may not be the limiting factor—the floor movement is. Stabilize or repair first.
– If the wear layer is already compromised (deep delamination, through-wear damage), coatings can’t rebuild structural integrity.
– If the floor is contaminated with silicone-based residues (sometimes from certain topical products), adhesion problems can persist even after stripping—again, label guidance and compatibility matter.
When a vinyl finish peels, adhesion failure is often traced back to contamination (wax/polish residues) or insufficient surface dryness before coating.
A cloudy topcoat commonly indicates moisture, thick film build-up, or rushing cure between coats.
Verdict: A Good DIY Refresh—With One Big Caveat
Refinishing vinyl floors can be a practical DIY refresh if the vinyl is still solid, the finish can be removed/prepped correctly, and you use a complete, compatible resurfacing/topcoat system. Skip this approach (or plan on professional help) if you have widespread loose planks, significant delamination, deep gouges that penetrate the surface, or you’re unsure what finish is currently on the floor.
This is the big caveat: coatings succeed or fail at the prep step. If you remove wax incorrectly, scuff too aggressively (or not enough), or apply over moisture, the new finish can lift, haze, or wear unevenly. If your business or household traffic demands a perfect outcome quickly, it may be worth having a flooring/coatings professional evaluate the existing film and specify the correct remover and topcoat system.
– Best for: worn-looking vinyl with intact seams and a failing surface finish that can be cleaned/stripped and recoated.
– Downside: results depend heavily on surface prep and cure time—cutting corners is the fastest path to streaks, dull patches, or peeling.
– Who should skip: anyone unwilling to do careful cleaning/strip prep, or who needs a guaranteed “like new” outcome despite underlying floor damage.
The coating system can only bond to what’s underneath; if the existing surface is failing due to delamination or movement, refinishing won’t fix the root cause.
Quick Checklist: Refinish Vinyl Floors
– [ ] Identify vinyl type (sheet vs. plank/tile) and check for loose/delaminating areas
– [ ] Remove wax/finish buildup using the right cleaner/stripper (per label)
– [ ] Scuff only as required by the coating system instructions
– [ ] Clean dust/debris thoroughly after prep
– [ ] Apply primer/resurfacer (if required) before topcoat
– [ ] Apply thin, even coats; respect cure time before traffic
– [ ] Avoid heavy moisture during cure and initial use
FAQ
Can you refinish vinyl floors without sanding?
Often yes. Many vinyl refinishing systems emphasize cleaning and scuffing (if needed) rather than full sanding, depending on the product instructions.
What if my vinyl finish is peeling?
Peeling usually means the existing coating failed adhesion—before recoating, you’ll need to remove loose material and properly strip/prep. If the vinyl surface itself is damaged or delaminating, refinishing may not hold.
How long should I wait before walking on the floor?
Follow the topcoat/resurfacer label for cure/foot-traffic timing. If you can’t find timing guidance for your specific product, use the manufacturer’s instructions as the deciding source: [ADD: source for specific cure/traffic time from your chosen product label].
Will refinishing work on deep scratches?
Light scuffs and wear can improve, but deep scratches or gouges may remain visible unless your system includes a resurfacing/leveling step designed for that purpose. If the damage is structural or through the wear layer, replacement/repairs may be needed.
Sources
– Manufacturer label/specification sheets for the specific vinyl floor cleaner/stripper and resurfacer/topcoat system you plan to use: [ADD: source for your chosen product instructions, including prep, compatibility, and cure times].
– [ADD: source for vinyl flooring manufacturer guidance on coatings/finishes and surface prep—e.g., from the LVT/LVP or sheet vinyl manufacturer’s maintenance/coating compatibility documentation].
Refinishing vinyl floors works best when you treat it like a system: verify vinyl type, remove wax/film, prep only as instructed (often scuffing, not sanding), and apply primer/resurfacer/topcoat in the correct order with full cure time. If you follow those constraints, you can often restore a dull or failing finish into a clean, uniform look—without the disruption of full replacement.
Frequently Asked Questions
What supplies do I need to refinish vinyl floors?
To refinish vinyl floors, you typically need a cleaner/degreaser, a floor stripper or scuff-and-clean system (depending on the product), an abrasive pad (like a 220–320 grit screen), and a vinyl floor primer if the coating requires it. For finishing, choose a compatible vinyl floor stripper-free polish, acrylic coating, or epoxy/urea-based system designed for resilient flooring. You’ll also want painter’s tape, microfiber mops, a wet/dry vac or dust mop, and protective gear for safe prep and ventilation. Always confirm compatibility on the product label for “vinyl” or “resilient flooring” to avoid peeling or haze.
How do I refinish a vinyl floor without removing the entire surface?
Start by thoroughly cleaning the vinyl floor to remove wax, oils, and dirt, because residue can prevent adhesion. Next, scuff the surface using an abrasive pad to roughen the finish slightly, then vacuum and wipe with a tack cloth or damp microfiber mop. Apply a vinyl floor primer or base coat only if the refinish system calls for it, then spread your topcoat evenly using a roller designed for floors. This process is often called “scuff-and-coat” and can refresh the look while minimizing downtime.
How do I fix bubbles, peeling, or scratches before refinishing vinyl floors?
For bubbles, you may need to carefully lift the affected area, clean underneath, and re-adhere with a vinyl-compatible adhesive, then weight it until cured. Peeling edges should be scraped back to sound material, cleaned, and re-glued so the new coating has a solid base. For scratches, use a vinyl floor filler or patch compound made for resilient floors, then sand smooth and remove dust before applying the primer and finish. Skipping repairs is one of the most common reasons refinished vinyl floors fail or look uneven.
Which finish is best for refinishing vinyl floors—wax, polish, or epoxy?
The best option depends on how durable you need the surface to be and whether your vinyl floor is commercial-grade or residential. Traditional wax and everyday polishes can restore shine but usually wear faster and require frequent reapplication. For a more resilient, long-lasting finish, many homeowners and contractors prefer a factory-style acrylic floor coating or a properly applied epoxy system designed for vinyl or resilient flooring. If you want maximum longevity, choose a product specifically labeled for vinyl floors and ensure you follow the prep steps exactly.
Why does vinyl floor refinishing sometimes peel or turn cloudy, and how can I prevent it?
Peeling or cloudiness usually happens when the vinyl surface isn’t properly cleaned, residues from wax/polish remain, or the floor isn’t adequately scuffed for adhesion. Moisture, high humidity, or applying too thick a coat can also cause hazing, bubbling, or premature wear. To prevent issues, use the correct stripper/cleaner for your existing finish, scuff the surface evenly, and allow full dry/cure time between coats. Finally, match your primer and topcoat system—mixing incompatible products is a common cause of failure when refinishing vinyl floors.
📅 Last Updated: October 07, 2026 | Topic: How to refinish vinyl floors? | Content verified for accuracy and freshness.
References
- Vinyl flooring
https://en.wikipedia.org/wiki/Vinyl_flooring - https://www.cdc.gov/niosh/topics/lead/default.html
- Lead Renovation, Repair and Painting Program | US EPA
https://www.epa.gov/lead/renovation-repair-and-painting-program - Lead – Overview | Occupational Safety and Health Administration
https://www.osha.gov/lead - Silica, Crystalline – Overview | Occupational Safety and Health Administration
https://www.osha.gov/silica - https://www.cdc.gov/niosh/topics/fall/default.html
- Google Scholar Google Scholar
https://scholar.google.com/scholar?q=how+to+refinish+vinyl+floor+vinyl+composition+tile - Google Scholar Google Scholar
https://scholar.google.com/scholar?q=vct+floor+stripping+and+refinishing+procedure - Google Scholar Google Scholar
https://scholar.google.com/scholar?q=resilient+flooring+maintenance+strip+and+recoat - Floor covering | Definition, History, Types, Material, & Facts | Britannica
https://www.britannica.com/technology/floor-covering