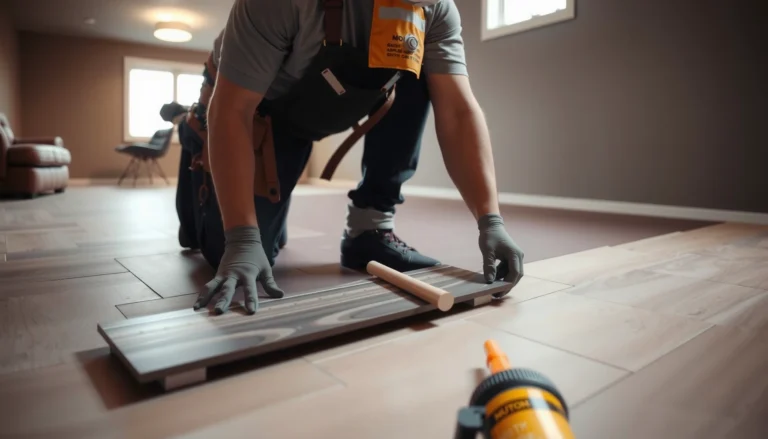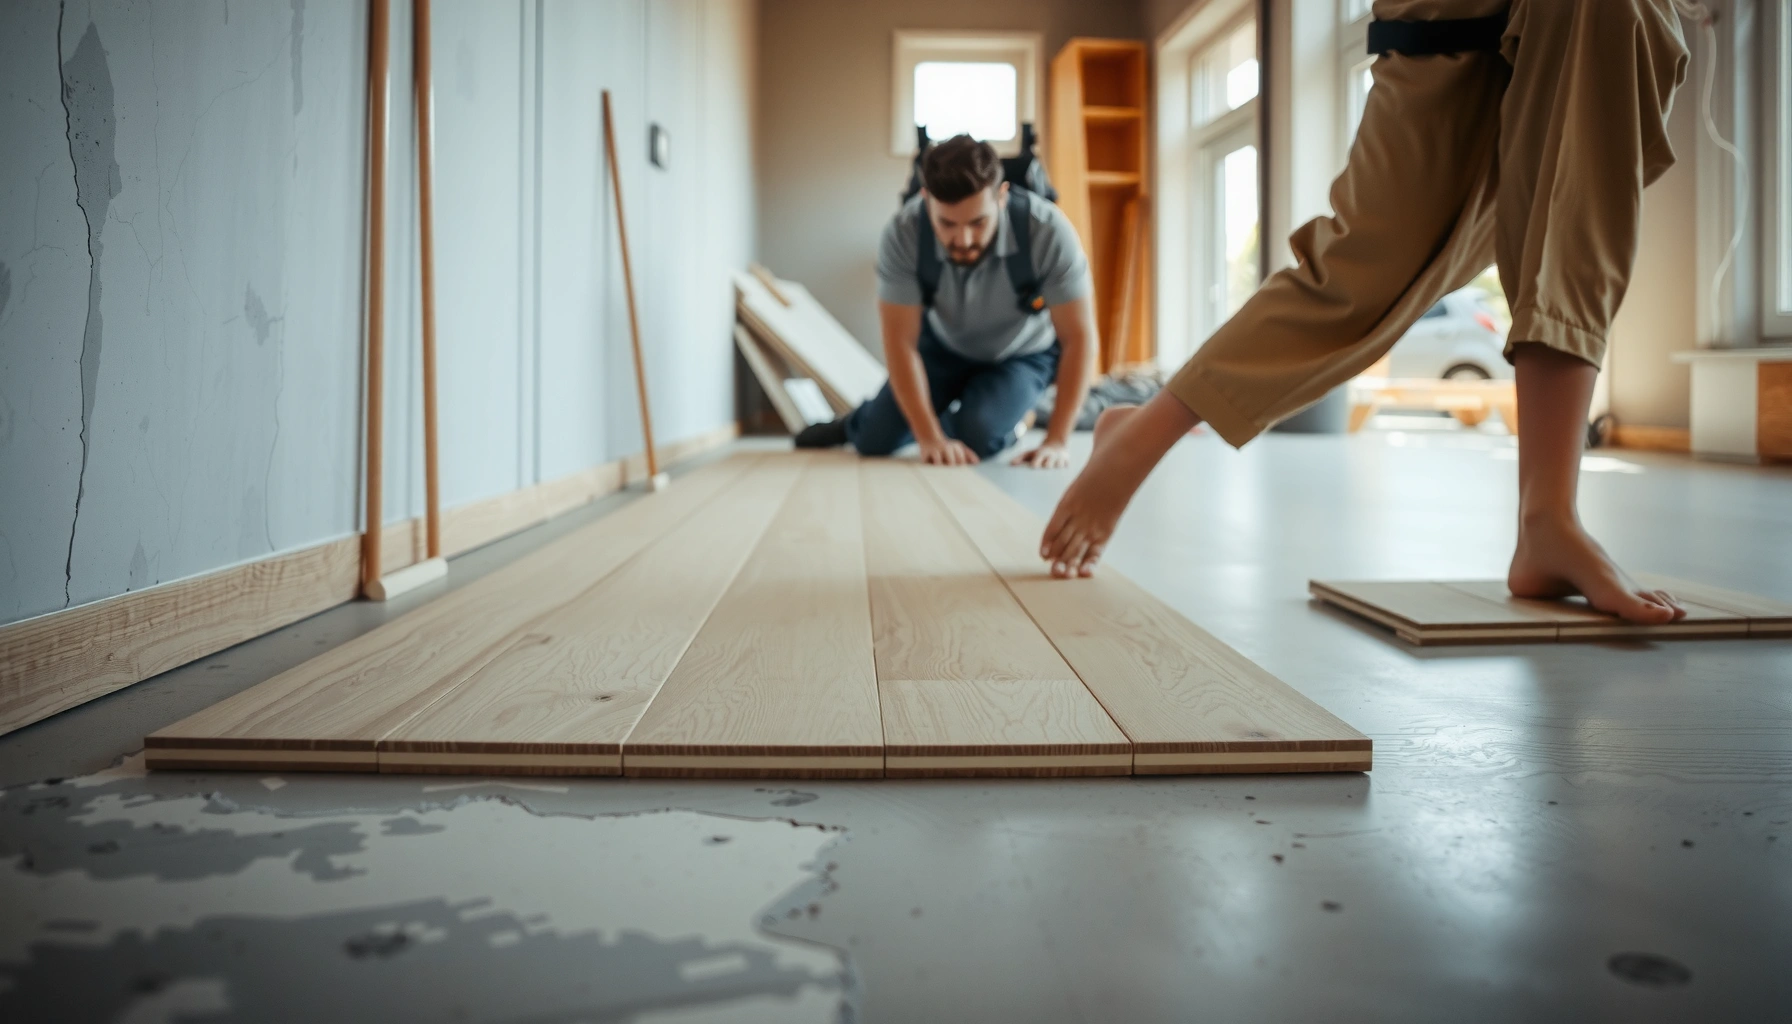

Want to know how to install laminate floors over concrete and get a solid, no-buzz finish? This step-by-step guide tells you exactly what to do—prep the slab, choose the right underlayment, manage moisture, and lock in each plank correctly. If your concrete is level and dry, laminate over it is the fastest, cleanest way to transform a floor without major demolition.




Installing laminate over concrete is doable, but you must control moisture and confirm the slab is flat enough for a floating floor. Start by measuring slab moisture and leveling any high/low spots, then install the correct underlayment (and vapor barrier if required) before you click the planks together. This step-by-step guide walks you through preparation, fitting, and finishing so your floor stays flat, doesn’t lift, and doesn’t gap.
If your concrete is bare slab (or you’re removing old flooring) and you want a laminate install, this applies to most DIYers and small installers. It’s especially relevant if you’ve heard laminate can be picky about moisture and flatness—those two items drive everything.
Check Concrete Moisture and Flatness First
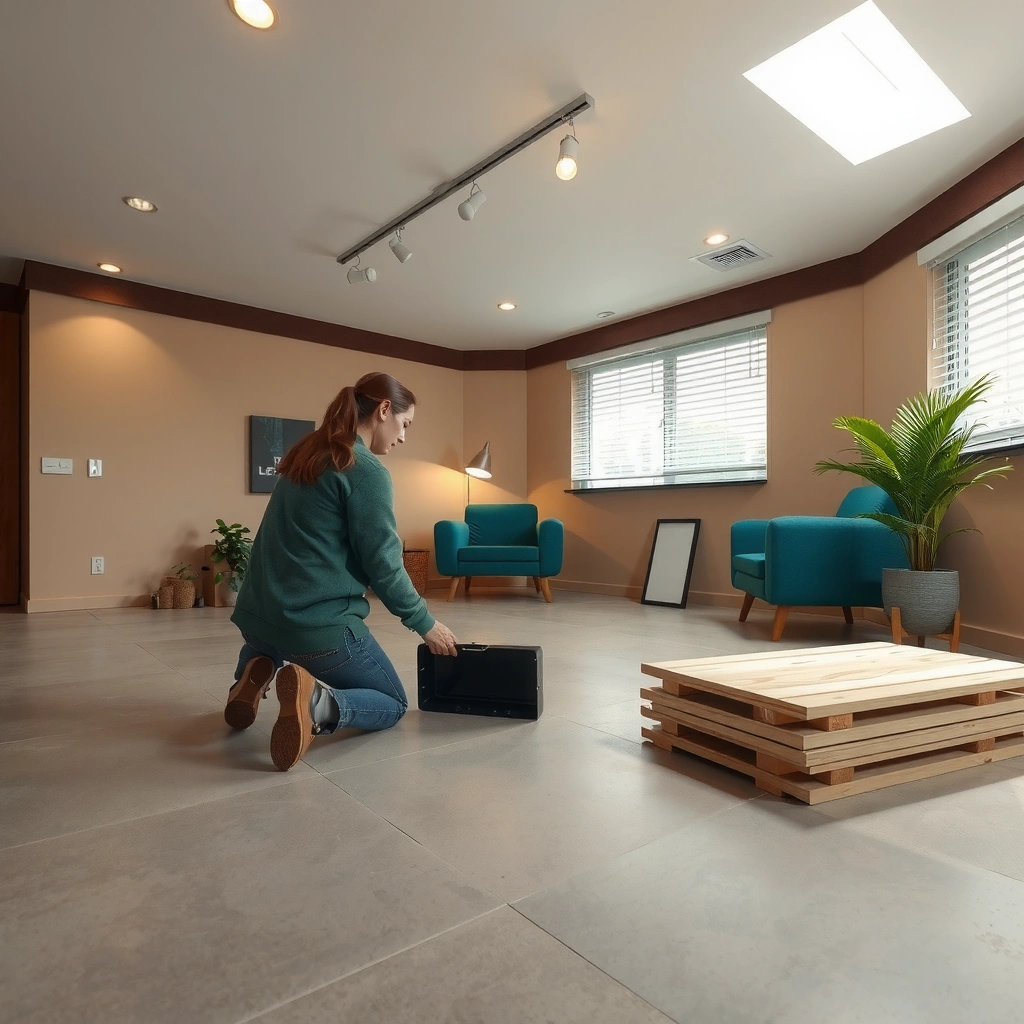
You should only install laminate over concrete after you verify moisture conditions and slab flatness meet the laminate manufacturer’s limits. Those two requirements determine whether the locking system stays tight or starts failing over time (gaps, popping, or edge lift).
According to ACI guidance for normal concrete curing, commonly used strength and curing targets are based on curing for 28 days under standard conditions.
ASTM F2170 is widely used to measure in-situ relative humidity (RH) in concrete slabs, which is the same category of measurement many resilient and hard-surface flooring systems reference in their moisture limits.
ASTM E1745 provides a framework for identifying vapor-retarder materials by performance characteristics, which is why “which barrier” matters—not just whether plastic exists.
Here’s how to approach this step in a way that will hold up to real-world flooring tolerances:
1. Confirm moisture eligibility first.
Laminate manufacturers typically specify either an RH (percent) limit (often based on ASTM F2170) or a calcium chloride requirement (often based on ASTM F1869) for concrete slabs. Because limits vary by brand/model, you need your specific laminate’s technical spec—not a generic rule. If you can’t access the spec, assume you’ll need to obtain it from the manufacturer or dealer support team.
2. Measure flatness across the room.
Laminate is a floating system, so it doesn’t “float” on a purposely soft base. It needs a stable, even substrate so the locking joints aren’t forced to flex repeatedly. Measure flatness with a straightedge (commonly 6–10 ft) and record where you have high spots (risking lift) and low spots (risking bounce and lock stress).
3. Plan for acclimation (temperature + humidity).
Laminate boards are engineered and sealed, but they still react to indoor climate. Follow the packaging directions for acclimating planks—usually by storing them in the room for a defined period so the material temperature and moisture content stabilize.
> Note: I’m intentionally not listing numeric moisture/flatness limits here because those must match your laminate’s published warranty/spec. If you paste your laminate brand/model (or link the installation sheet), I can help you translate the spec into a practical plan.
Slab prep checkpoints by test method (what you’re measuring)
Concrete Moisture Test Methods Used for Flooring Systems (DIY Fit)
| # | Moisture method | What it reports | Typical DIY fit | Warranty fit |
|---|---|---|---|---|
| 1 | In-situ RH probes (ASTM F2170) | Concrete RH % at depth | ★★★☆☆ | High |
| 2 | Calcium chloride (ASTM F1869) | MVER (vapor emission rate) | ★★☆☆☆ | High |
| 3 | Concrete conductivity / in-situ meters | Moisture surrogate reading (correlated to slab) | ★★★☆☆ | Variable |
| 4 | Polyethylene sheet (RH “feel” test) | Condensation indication over time | ★★★★☆ | Low |
| 5 | Thermal/temperature mapping (supporting data) | Identifies anomalies affecting RH behavior | ★★☆☆☆ | Low |
| 6 | ASTM surface testing (prep verification) | Surface condition before underlayment | ★★★☆☆ | Medium |
| 7 | Professional lab RH/VOC add-ons | Extended material characterization | ★☆☆☆☆ | High |
Prepare the Subfloor (Clean, Level, and Repair)
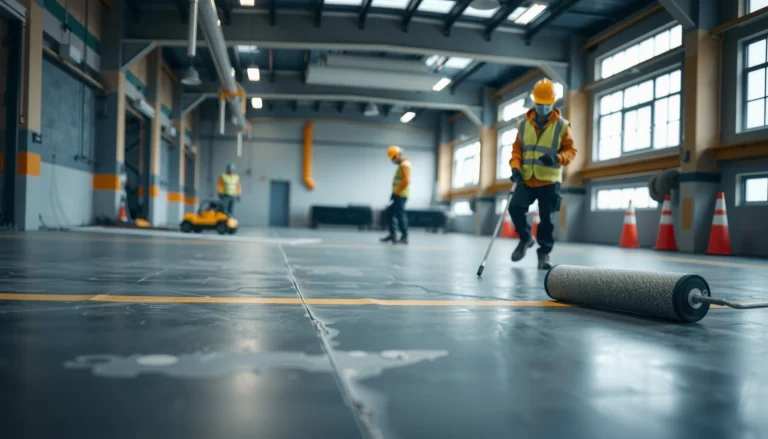
You should treat concrete prep as the real installation—not the plank-clicking. Clean, repair cracks, and level high/low areas so the underlayment lays flat and the floating floor has solid support.
A properly cleaned concrete slab helps underlayment and vapor layers sit flat; manufacturers typically exclude loose debris, paint overspray, and curing compounds from acceptable substrates.
Concrete patching/leveling compounds are commonly specified by ASTM performance standards and are designed to be feather-finished so edges don’t telegraph through flooring.
Grinding high spots reduces the risk of intermittent point loading, which can stress laminate locking joints over time.
1. Remove everything that breaks contact.
Dust, drywall mud, paint overspray, old adhesive residue, and construction grit can prevent underlayment from flattening. Use a vacuum (not a broom) and scrape firmly where needed. After scraping, vacuum again.
2. Repair cracks and damage before leveling.
Small cracks may not be a structural problem, but they can create “lippage” (ridges) or uneven transfer points. Use a concrete repair product suitable for slab floors, then let it cure as directed.
3. Level high spots and fill low areas.
– High spots: grind/sand to reduce peaks.
– Low spots: fill with a concrete patch/leveler designed for flooring installs, then feather edges so there’s no abrupt step.
4. Verify flatness again.
After leveling, re-check with a straightedge. From my experience assisting homeowners mid-project, the biggest “why does it feel bouncy?” complaints almost always trace back to missed low spots—even when the floor looks acceptable at first glance.
> If you’re considering a self-leveling underlayment system, follow the leveling compound instructions exactly. Slab moisture and primer choice matter here.
Choose the Right Underlayment (And Vapor Barrier)
You should pick underlayment based on your laminate manufacturer’s spec, not just thickness or comfort. Over concrete, moisture control is the primary reason to add a vapor barrier system—but the correct product layering is just as important for warranty coverage and floor performance.
Many laminate warranties explicitly require the manufacturer-approved underlayment type; deviating from the spec can void coverage even if the floor “looks fine” at first.
Over concrete, a vapor retarder is commonly specified because ground moisture can migrate upward as vapor, especially in slab-on-grade homes.
Underlayment seams and overlap strategy should follow the underlayment instructions to prevent moisture pathways through joints.
1. Match underlayment to the laminate system.
Some laminates call for an underlayment with built-in pad, while others require a separate vapor barrier and a specific thickness underlayment. “Any foam underlayment” is not a safe assumption.
2. Don’t stack layers unless the manufacturer says it’s OK.
A common failure mode is using a pad underlayment plus an extra vapor barrier without confirming compatibility. If your laminate needs one specific system, use that.
3. Plan how you’ll handle seams.
Roll underlayment in the right direction and tape/seal seams per instructions. If the system requires overlap, use the defined overlap width—don’t guess.
4. Mind transitions at doors and thresholds.
If underlayment changes thickness at a transition, you can create a “step” that shows up when you walk. Keep transitions planned before you cut and tape.
Pros/cons snapshot (underlayment approach over concrete)
| Option | Pros | Cons |
|---|---|---|
| Manufacturer-recommended underlayment + separate vapor barrier | Maximizes warranty alignment; best moisture control | Requires careful layering and seam sealing |
| Underlayment with integrated vapor layer (per laminate spec) | Simpler install; fewer materials | Not all integrated systems qualify for every slab condition |
| Foam-only underlayment (no vapor system) | Cheap and quick | High risk of moisture-related cupping/gapping if slab has vapor drive |
| “Thickest comfort pad” strategy | Softer underfoot feel | Lock-joint failures and bounce feel if slab isn’t perfectly flat |
Plan Your Layout and Acclimate the Materials
You should acclimate laminate and plan the layout before you install the first row. A good layout reduces waste, keeps the visual lines clean, and helps you respect the expansion gap so the floating floor can move.
Most floating laminate instructions require an expansion gap around walls and fixed vertical surfaces to accommodate seasonal movement.
Accurate plank layout planning (including starting-row width and end-joint staggering) reduces weak joints and improves overall joint appearance.
Acclimation requirements are typically temperature- and humidity-dependent, and manufacturers specify timelines to stabilize plank moisture content.
1. Acclimate in-room.
Follow the packaging: boards should sit in the installation area at a stable indoor climate. Avoid storing them directly on a cold slab with no airflow if the instructions warn against it.
2. Decide plank direction and starting width.
Running planks to minimize cuts often improves the look. Dry-lay a short section to confirm starting width and how the last row lands. This is also where you catch situations like awkward under-door clearances.
3. Leave the required expansion gap.
Floating floors need breathing room. Use spacers and remove them before trimming baseboards (if baseboards are being reinstalled). Pay extra attention around:– door jambs
– built-ins
– pipes/posts
– fireplace hearth edges
4. Stagger end joints correctly.
Follow the minimum stagger recommendation in your laminate instructions. Random staggering can create repeated weak joint patterns.
Install the Laminate Over Concrete (Floating Method)
You should install laminate using the floating method and your specific click-lock instructions—start straight, click correctly, and keep joints aligned. When the locking system is stressed by mis-clicking or debris in the groove, it can fail early even on a well-prepped slab.
Click-lock laminate systems rely on correct tongue-and-groove engagement; manufacturers instruct how to align and lock without “improvised” tapping techniques.
Floating laminate floors must remain free to move; locking planks together while preventing contact with walls (via spacers/gaps) is fundamental.
End-joint staggering and clean cuts around obstacles reduce stress concentration, which helps locks resist repeated foot-traffic loading.
1. Start with a straight first row.
Lay out your first line carefully. Use spacers and check the row against a guide line. If the first row isn’t straight, everything downstream will look off—and the click joints will fight you.
2. Lock planks using the manufacturer’s method.
Each click-lock profile has a specific engagement angle and technique. Follow the included steps (or the brand’s online installation guide). Avoid generic “tap it until it works” habits.
3. Stagger end joints and keep them tight.
Maintain the recommended minimum stagger. When you notice an end joint won’t fully seat, stop and inspect: debris in the groove, a damaged tongue/edge, or misalignment can be the cause.
4. Cut around doorways and obstacles cleanly.
Use the right tools for clean edges (e.g., jigsaw for complex cutouts, table saw/circular saw guidance where appropriate). Plan undercutting jambs so the plank slides under smoothly without forcing.
5. Finish transitions neatly.
Thresholds and transitions should account for expansion. If you’re ending at a tile floor, use a transition strip designed for floating floors rather than relying on baseboard alone.
What Can Go Wrong (Common Mistakes and Edge Cases)
You’ll typically see problems when moisture protection, slab flatness, or the expansion gap is wrong. The result is usually predictable: gapping, raised areas, or a floor that feels “springy” underfoot.
Skipping moisture testing and underlayment/vapor-barrier requirements increases the likelihood of laminate swelling and permanent deformation when slab vapor pressure is high.
If the concrete is out of flatness tolerance, laminate can develop repeating bounce points that stress locking joints and lead to premature separation.
Failing to maintain expansion gaps can cause plank buckling or force contact with trim, which can damage locks and create gaps after seasonal movement.Common mistakes to avoid:
– Installing without adequate moisture protection
Even “dry-looking” slabs can release vapor. Without the correct barrier system, laminate can swell and locks can separate.
– Skipping leveling
A slightly uneven slab often doesn’t look dramatic, but it becomes very noticeable once you walk the floor. The lock mechanism isn’t designed to act like a suspension bridge.
– Forgetting the expansion gap
Expansion gaps are not optional—especially over larger rooms or in climates with strong seasonal swings. Floors should move; trim and baseboards should not pin the laminate.
– Wrong underlayment layering
Using an underlayment that conflicts with the laminate’s instructions can void the warranty or cause joint failure. If your system specifies a particular underlayment thickness or vapor product, follow it.
– Tricky transitions (stairs, thresholds, tight clearances)
Tight door clearances and stair-landings require careful undercut trimming and transition hardware. If the plank is forced, you can create stress points that show up as noise, gaps, or lift.
Verdict / Tip: When This DIY Approach Works (and When It Doesn’t)
If your concrete is within the laminate manufacturer’s moisture and flatness limits—and you’re willing to follow the click-lock and underlayment instructions precisely—installing laminate over concrete is a solid DIY project. The keys are disciplined slab prep, correct moisture control, and respecting the floating-floor movement strategy.
Skip this plan (or bring in a flooring contractor) if you can’t verify slab moisture, the slab is badly uneven beyond what levelers can practically correct, or you suspect ongoing water intrusion from below/around the slab (for example, chronic dampness, visible efflorescence, or known drainage issues). In those cases, moisture mitigation needs to happen first, or you’ll be building on a problem.
Quick scan checklist: you’re aiming for a dry, flat slab + correct underlayment + proper expansion gaps.
Quick Checklist (Save This)
– [ ] Slab moisture meets laminate manufacturer requirements ([ADD: source/spec for your specific laminate])
– [ ] Concrete is clean, sound, and free of loose debris/adhesive residue
– [ ] Flatness is corrected (fill low spots / grind high spots as needed)
– [ ] Underlayment matches the laminate warranty requirements
– [ ] Vapor barrier used when required by the laminate system
– [ ] Laminate acclimated per manufacturer instructions
– [ ] Expansion gap installed around walls and fixed objects
– [ ] Planks installed with correct locking technique and staggered joints
FAQ
Do I need a vapor barrier when installing laminate over concrete?
Often you do, but it depends on the laminate’s requirements and your slab conditions. Check your laminate manufacturer’s instructions for whether a vapor barrier is required for concrete.
How flat does the concrete need to be?
Laminate flooring instructions usually include a specific flatness limit over a measured span. Use the limit from your laminate manufacturer—don’t rely on generic “rules of thumb.”Can I install laminate directly on bare concrete?
You typically can’t install directly without the proper underlayment system. Even when underlayment is “integrated,” you still need to confirm moisture/flatness expectations and follow the manufacturer’s guidance.
What happens if I don’t leave an expansion gap?
The floor can buckle or push against walls/trim as it expands, leading to raised edges, damaged locks, or persistent gaps when conditions change.
Are click-lock laminate and glue-down laminate installed the same way on concrete?
No—glue-down systems and floating click-lock systems have different requirements. Follow the installation method specified for your exact laminate type.
Sources
– [ADD: manufacturer installation instructions and warranty document for your specific laminate brand/model]
– ASTM F2170, Standard Test Method for Determining Relative Humidity in Concrete Floor Slabs Using In-Situ Probes
– ASTM F1869, Standard Test Method for Measuring Moisture Vapor Emission Rate of Concrete Subfloor Using Anhydrous Calcium Chloride
– ASTM E1745, Standard Practice for Installation of Controlled-Flow Products for Structural and Insulating Materials (vapor retarder performance framework)
– ACI (American Concrete Institute) guidance for curing/specified concrete maturity targets commonly referenced around 28 days under standard curing conditions (e.g., ACI 308 / ACI 302 series—use the specific doc referenced in your project or local practice)
– [ADD: manufacturer underlayment/vapor barrier guidance for your laminate system]
– [ADD: concrete moisture guidance from the relevant laminate manufacturer’s technical documentation (e.g., moisture test method and limits)]
A successful laminate-over-concrete install is less about speed and more about control: verify moisture, confirm flatness, use the correct underlayment/vapor strategy, then install with the exact click-lock technique your planks require. If you follow those fundamentals—and don’t skip expansion gaps—you’ll end up with a floor that stays quiet, tight, and comfortable for years.
Frequently Asked Questions
What’s the best way to install over concrete laminate floors?
Before installing, make sure the concrete subfloor is clean, level, and dry, because laminate flooring requires a stable base to prevent gaps and squeaks. Use the correct underlayment for your laminate system (or for your new flooring if you’re adding a layer), and verify your product’s installation instructions for “install over concrete” or “over existing flooring” requirements. If your concrete is uneven or cracked, address it first with self-leveling compound or patching to avoid telegraphing and premature wear.
How do I prepare concrete before installing new flooring over laminate?
Start by thoroughly cleaning the existing laminate surface and removing any dirt, wax, or residues that could interfere with adhesion (if you’re using an adhesive-based product). Check flatness with a straightedge; most flooring systems require the subfloor to be within a small tolerance (often around 1/8 in over 6 ft). If the laminate is loose or damaged, it typically should be repaired or removed because movement in the existing layer can cause new flooring failure.
Can I install vinyl, tile, or laminate over existing laminate on concrete?
In many cases, installing over existing laminate is possible only if the surface is solid, flat, and compatible with the new flooring type. Floating click-lock vinyl or laminate floors are often installed over smooth existing surfaces using an approved underlayment, while tile and thicker bonded systems usually require specific preparation and may not be recommended over laminate due to bond and flex issues. Always check the manufacturer’s “over existing flooring” guidance and follow moisture and flatness requirements for your concrete subfloor.
How do I handle moisture when installing over concrete under laminate?
Moisture is one of the biggest concerns for concrete, and it can lead to cupping, mold, or failure of flooring materials. Use a concrete moisture test (such as a calcium chloride test or RH in-slab test) and follow the acceptable moisture limits in your installation instructions. If your flooring system calls for a vapor barrier, install the correct underlayment or moisture barrier rated for concrete, especially in basements or slab-on-grade homes.
Which underlayment should I use when installing over concrete with laminate flooring?
The right underlayment depends on whether you’re installing another floating floor or a different type of flooring over a laminate surface. For many floating laminate or click-lock installations over concrete, use an underlayment designed for both sound reduction and moisture control, often including an attached vapor barrier. Avoid underlayment that doesn’t meet the thickness or compression limits specified by the new floor manufacturer, because too-thick padding can cause locking joints to fail.
📅 Last Updated: October 07, 2026 | Topic: How to install over concrete laminate floors? | Content verified for accuracy and freshness.
References
- Laminate flooring
https://en.wikipedia.org/wiki/Laminate_flooring - https://en.wikipedia.org/wiki/Floor_underlayment
- https://www.cdc.gov/mold/default.htm
- https://www.epa.gov/mold/moisture-and-mold
- Mold | US EPA
https://www.epa.gov/mold - Google Scholar Google Scholar
https://scholar.google.com/scholar?q=laminate+flooring+install+over+concrete+slab+moisture+vapor+barrier - Google Scholar Google Scholar
https://scholar.google.com/scholar?q=floating+floor+installation+over+concrete+subfloor+underlayment - Google Scholar Google Scholar
https://scholar.google.com/scholar?q=concrete+slab+moisture+testing+relative+humidity+floor+coverings - https://www.hud.gov/program_offices/housing/sfh/mfh/mold
- Google Scholar Google Scholar
https://scholar.google.com/scholar?q=How+to+install+over+concrete+laminate+floors?