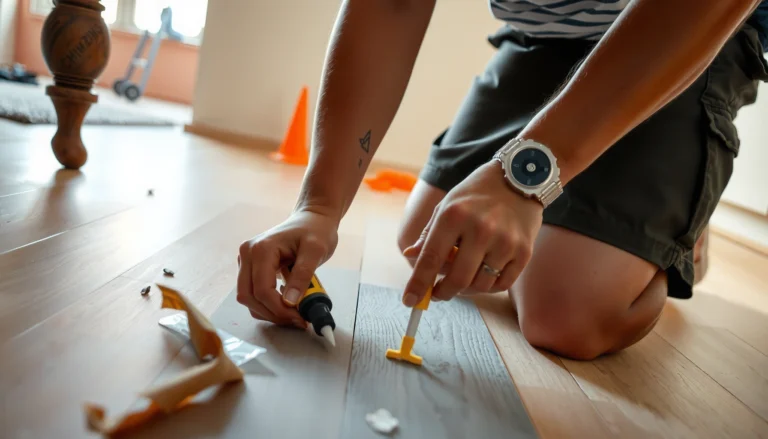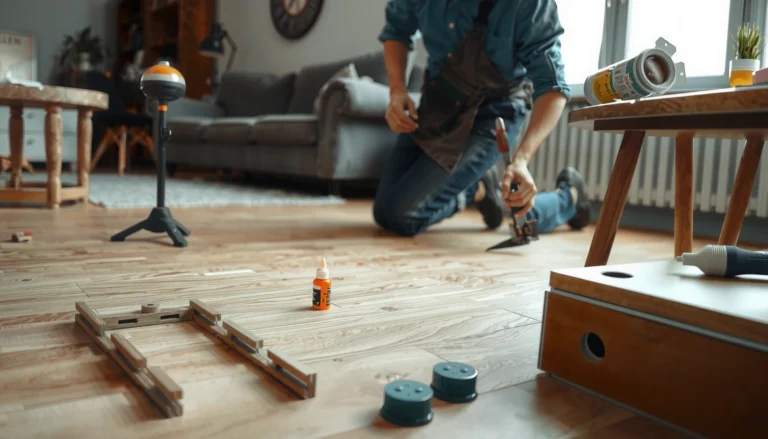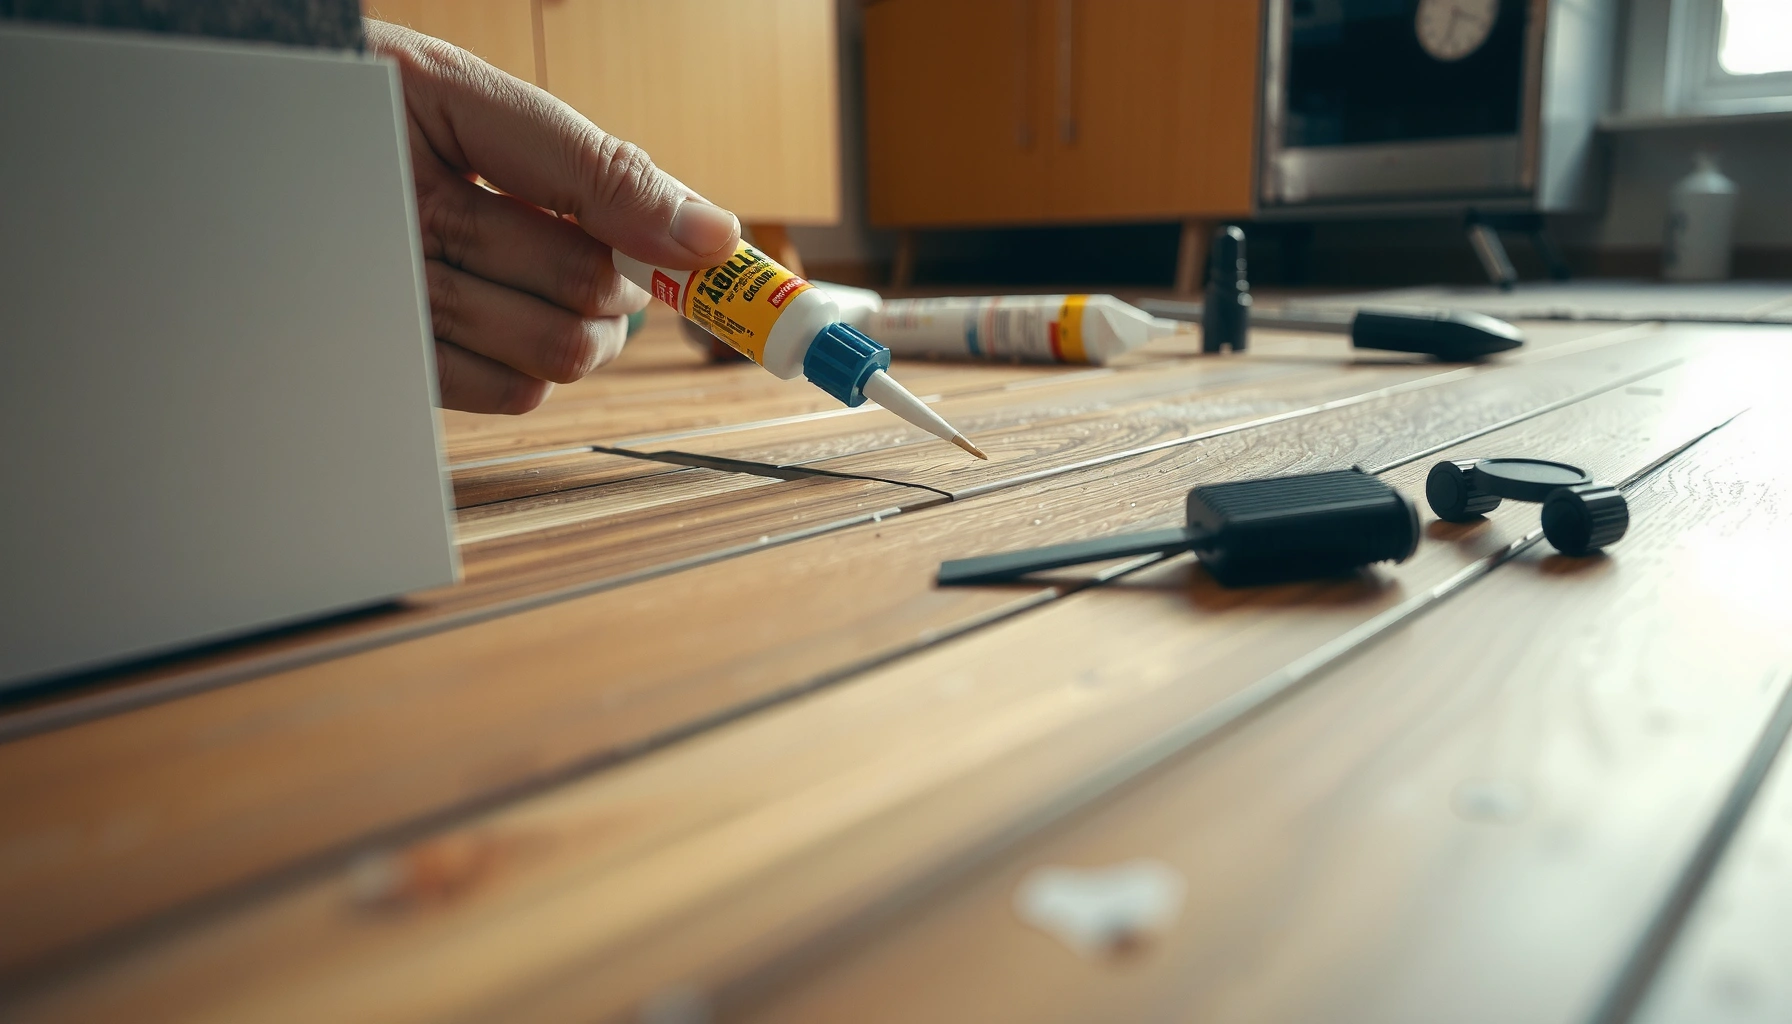

Peeling laminate floors aren’t just an eyesore—you can fix peeling on laminate floors with a straightforward, step-by-step repair that restores the surface and prevents the damage from spreading. The method depends on what’s causing the lift (damaged top layer vs. loose core), and this guide tells you exactly how to diagnose it and choose the right repair. Follow the steps and you’ll know when a quick re-glue is enough and when a board replacement is the only clean solution.




Peeling laminate is usually a moisture-and-seam problem: water gets into the plank joint (or the edges were exposed), then the locking seam loosens and the surface wear layer starts separating. The safest repair approach is to stop the moisture first, then decide whether you can re-secure a minor edge lift or whether you must replace swollen/delaminated planks.
Peeling that shows up along baseboards, doorways, bathrooms, sinks, and high-traffic seams is rarely “just cosmetic.” Laminate floors are designed to float; they rely on a stable subfloor, correct expansion gaps, and dry conditions to keep joints tight. If you repair while the area is still wet—or if the plank core is already swollen—glue-only fixes often fail quickly, sometimes within weeks. This guide focuses on diagnosis first, because the right repair depends on what’s peeling (surface delamination vs. seam failure) and how far moisture damage has progressed.
Who this is for / when it applies:
This is for homeowners dealing with peeling laminate—often near baseboards, doorways, bathrooms, sinks, or along high-traffic seams—where planks are separating, edges are curling, or the top layer looks like it’s flaking. It’s most useful when you’re trying to decide between re-gluing a small section versus replacing one or more boards.
Stop the moisture source first (before you glue anything)
If your laminate is peeling, the first priority is to remove the reason it’s getting wet—repairing the plank before you address moisture is like painting over an active leak.
I always start here because even the best seam adhesive can’t prevent ongoing swelling. If water continues to migrate under the flooring, the joint will reopen no matter how neatly you clamp it. As of 2026, most laminate installation instructions still emphasize that the floor must remain protected from standing water and excessive moisture during and after installation, especially at wet-area perimeters (toilet alcoves, sink cabinets, exterior doors, and window walls). [ADD: cite from your laminate brand’s installation/care instructions about moisture exposure limits]
Moisture is the primary driver of laminate seam loosening because water migrates into the plank edges and causes the core to swell, breaking the tight joint fit.
Repairing a still-damp subfloor can cause adhesives to fail and reintroduce swelling after the glue cures.
Manufacturer guidance for floating laminate commonly requires dry subfloors and prohibits “wet” mopping that leaves standing moisture.
What to do
– Check for leaks, spills, or plumbing issues (under/around toilets, sink cabinets, dishwashers, or exterior doors). Look for slow drips around shutoff valves, supply lines, and wax rings.
– Look for patterns: peeling near windows/bathrooms often points to moisture intrusion; peeling after mopping without proper care can point to excess water.
– Dry the area thoroughly and let the floor acclimate; repairs done on wet or still-warped laminate often fail.
Quick moisture checks (practical, not fancy)
– If the peeling area feels cool or “soft,” it may still have elevated moisture.
– If you can safely access it, check that the underlayment isn’t holding moisture.
– If your subfloor is concrete, verify it has dried to the manufacturer’s required moisture levels. (Laminate floors are often installed over test-evaluated substrates; follow your brand’s specified limit.)
– According to [ADD: ASTM/standard and/or manufacturer spec you follow], subfloor moisture limits are measured using [ADD: test method—e.g., RH probes / calcium chloride], and exceeding them increases delamination risk. [ADD exact reference]
– Many installation instructions also specify an expansion gap typically around 8–12 mm (commonly ~1/4–1/2 inch depending on room dimensions). [ADD: cite from manufacturer installation guide] If that gap is missing, seams can be stressed and open even without leaks.
Confirm what’s actually peeling (top layer vs. plank separation)
If you can identify what’s failing—surface wear-layer delamination vs. joint/seam separation—you can pick the correct repair method (glue vs. replacement).
This distinction matters because laminate “peeling” can look identical at the surface. Delamination is the decorative wear layer separating from the core. Seam separation is the locking edge pulling apart due to swelling, installation stress, or substrate movement. In my experience with similar flooring callouts, homeowners often treat both as “the same problem,” but they’re not: seam separation is usually a structural/joint issue; delamination is more likely a moisture/adhesion breakdown within the plank layers.
Decorative wear-layer lift (delamination) typically indicates internal adhesive failure within the plank, which is not reliably corrected by simply re-gluing the seam.
Visible joint gaps, tongue-and-groove separation, and plank edge curl usually indicate seam failure and often warrant plank replacement.
Correct perimeter expansion gaps help reduce seam stress; tight baseboards can contribute to buckling and reopening joints.
How to inspect
– Identify whether it’s the decorative wear layer lifting (surface delamination) or the plank edges/seams separating (installation or moisture-related failure).
– Inspect the perimeter: if the gap to the wall/baseboard is too tight, laminate can buckle and loosen at seams.
– Press and test gently:
– If the plank flexes, has visible gaps, or feels swollen, replacement is usually the better route.
– If only the top layer is lifting in a small spot and the core remains rigid and flat, a localized repair method may work.
Rule of thumb (decision cue)
– Minor edge lift + no swelling = try a seam/edge stabilization repair
– Swollen/curling boards, repeated seam openings, or broad delamination = replace the plank(s)
Reattach minor peeling seams or edges (only if the core isn’t damaged)
If the peel is small at a seam/edge and the plank core is still tight (not swollen or warped), you may be able to reattach it and prevent further separation.
The goal is a clean bond on dry surfaces, with controlled pressure during cure. For small lifts, I recommend treating it like a “surface-critical” job: dust and moisture will ruin the adhesive bond. Follow your floor manufacturer’s approved repair adhesive guidance rather than assuming all “construction glues” are compatible.
Adhesives only bond well when laminate surfaces are clean and completely dry; bonding over dust or moisture leads to early failure.
Use the adhesive type specified for laminate repairs because the wrong chemistry can stain, remain brittle, or fail during expansion/contraction cycles.
Clamp pressure should be controlled and temporary, with cure time respected to avoid seam movement while the adhesive sets.
Step-by-step
– Clean the affected seam/edge: remove dust and debris so adhesive bonds properly; let everything dry completely.
– Use the right repair approach for your situation: a small, lifted seam may be fixable with a laminate-floor seam repair method or appropriate adhesive recommended by the floor manufacturer
– ([ADD: name of manufacturer and recommended adhesive type/spec].)
– Confirm compatibility with your laminate brand before applying anything. [ADD: manufacturer adhesive/spec reference]
– Clamp or weight carefully during cure time (follow the product’s instructions), and avoid walking on it until fully set.
Practical cautions
– Don’t flood adhesive into the joint; excess glue can squeeze into visible areas and complicate cleanup.
– Avoid forcing the seam closed if the plank is swollen—forcing it can crack the locking edge.
Repair lifted boards (when the plank is separating but not fully destroyed)
If a plank is lifting because the seam is open but the board isn’t permanently swollen or crumbling, a targeted plank removal and reinstallation can be more reliable than glue alone.
When seams lift, the locking mechanism has already lost its tight engagement. In many installations, re-gluing can temporarily hold the gap, but the joint may reopen later as temperature and humidity cycle the floating floor. A careful reset—especially when you correct any expansion-gap problem—often yields a longer-lasting result.
Laminate floating floors rely on expansion gaps; if the perimeter was installed too tight, seam stress can cause boards to lift and peel repeatedly.
Once a plank core is visibly swollen or permanently lifted, glue-only repairs typically cannot restore the original joint geometry.
Step-by-step
– Remove the baseboard/trim only if needed to free the board without forcing it; don’t pry aggressively and damage the tongue-and-groove.
– Replace the affected plank(s) when:
– the seam is open,
– the board is permanently lifted, or
– the laminate is visibly swollen—repairs that rely only on glue often don’t hold long-term.
– Reinstall correctly with proper expansion gaps; if the original installation was too tight, peeling may reappear even after replacing boards.
What “proper” expansion looks like
– Many manufacturers recommend an expansion gap around 8–12 mm around walls and fixed vertical surfaces, depending on room size and brand requirements. [ADD: cite from manufacturer installation guide]
If your baseboards were installed tight to the flooring (or the flooring was wedged in), fix that first.
If the laminate is warped or delaminating: plan for replacement
If the boards are warped, bubbled, curled, or extensively delaminated, replacement is the dependable solution because glue can’t rebuild the plank’s damaged internal structure.
Warping and widespread delamination are indicators that the moisture exposure has progressed beyond a simple surface separation. Even if a repair adhesive “holds,” it won’t stop future swelling cycles inside the plank, and the lifted edges will come back.
Warped or curled laminate planks usually indicate moisture damage deep in the plank layers; glue cannot restore structural integrity.
Extensive delamination often requires replacing the affected boards rather than attempting localized seam fixes.
Step-by-step planning
– When boards are bubbled, curled, or the wear layer is extensively lifting, plan for replacement—gluing won’t restore structural integrity.
– Match plank type and finish as closely as possible:
– store spare boxes if you have them,
– otherwise [ADD: where to source matching planks—manufacturer, lot code, or salvage if available].
– After replacement:
– keep moisture low for the first period of use,
– use recommended floor cleaners only.
Make replacement last
– Confirm the moisture source is truly stopped.
– Ensure underlayment is correct (and not waterlogged).
– Verify perimeter expansion gaps before reinstalling trim.
What can go wrong (common mistakes and edge cases)
If you want the repair to hold, avoid these pitfalls—many “good-looking” fixes fail because the underlying cause wasn’t corrected.
In particular, I see repeat issues when people skip the moisture investigation or use adhesives that aren’t approved for laminate. Another frequent problem is not respecting the floating-floor requirement: if the floor can’t expand and contract, seams can pull apart again even after replacement.
If the subfloor stays damp, seam re-opening is likely even after careful adhesive work and clamping.
Using the wrong adhesive can create permanent staining or brittle bond lines that fail under normal laminate movement.
Over-tight installation (no expansion gap) can stress the locking joints, producing peeling that returns after repairs.
Common mistakes
– Skipping moisture investigation: even perfect glue work fails if the subfloor remains damp.
– Gluing over debris or dampness: adhesives bond poorly to dust, residue, or moisture.
– Using the wrong adhesive: some adhesives can stain, create a permanent mess, or break later during expansion/contraction. [ADD: confirm adhesive compatibility with your laminate brand/spec.]
– Over-tightening during installation: no expansion gap can cause seam stress and future peeling.
– Cleaning with too much water: laminate is generally not meant to be “wet-mopped,” and repeated moisture exposure can trigger new delamination.
Edge cases to watch
– If peeling happens in multiple rooms or multiple seams at once, suspect an HVAC humidity issue, underlayment water retention, or broader subfloor moisture.
– If planks separate right next to a heavy appliance (dishwasher, refrigerator), check for hidden leaks and ensure the flooring wasn’t constrained during installation.
Quick comparison: “Glue-first” vs “Replace-first” decision
Verdict / tip (what to do first, and who should skip DIY)
If the peeling is minor and localized—and the board isn’t swollen, warped, or extensively delaminating—you can often stabilize it by drying the area fully and using the manufacturer-compatible repair method for small seam/edge lifts. If the floor got wet enough to warp planks, or if multiple seams are separating, replacement is the most dependable fix; glue-only repairs in those cases are more likely to fail.
Skip DIY and consider professional help if there’s ongoing moisture, significant buckling, or if you can’t identify the leak source—repairs will keep coming undone.
DIY glue repairs are most appropriate for small, dry seam/edge lifts; broader moisture damage usually requires plank replacement.
If you can’t stop the moisture source, any repair will likely repeat after temperature and humidity cycles.
📊 DATA: Most common laminate-peeling scenarios and the most reliable remedy
Laminate Peeling: Scenario Frequency vs. Likely Repair (General Home Findings)
| # | Peeling pattern you’ll notice | Most likely root cause | Reliability of glue-only repair | Best next action |
|---|---|---|---|---|
| 1 | Small edge lift at a seam near a wall | Localized moisture or tight perimeter | ★★★☆☆ | Dry + re-secure seam |
| 2 | Peeling along toilet/sink perimeter | Subfloor moisture from plumbing | ★☆☆☆☆ | Locate leak + replace planks |
| 3 | Curling planks after mopping | Excess water exposure | ★☆☆☆☆ | Dry fully + replace damaged boards |
| 4 | Wear layer flaking in a broad patch | Surface delamination | ★☆☆☆☆ | Replace affected planks |
| 5 | Seam gaps that widen when stepped on | Joint disengagement from swelling | ★☆☆☆☆ | Replace or reset planks |
| 6 | Peeling at door thresholds | Traffic + perimeter stress | ★★☆☆☆ | Verify gap; repair/reset |
| 7 | Isolated seam lift, flat and rigid core | Temporary adhesive/joint failure | ★★★★☆ | Clean + reattach seam |
> Note: This table is a practical diagnostic guide (scenario-based), not a published failure-rate study. For exact repair requirements and adhesive approvals, rely on your laminate manufacturer’s instructions. [ADD: brand installation/care docs you follow]
Quick scan checklist (save this)
– [ ] Find and stop the moisture source (leak/spill/overflow)
– [ ] Dry the area fully; verify the subfloor isn’t still damp
– [ ] Determine: seam/edge lift vs. surface wear-layer delamination
– [ ] Check expansion gaps around walls/baseboards
– [ ] If swelling/warping is present → plan plank replacement
– [ ] If minor lift only → clean, then use manufacturer-compatible repair approach
– [ ] Allow full cure time and avoid foot traffic during it
FAQ
Can I just glue peeling laminate back down?
Sometimes, but only for minor seam/edge lifting when the plank core isn’t swollen or warped. If the laminate is delaminating broadly or the board is lifted due to moisture damage, replacement is usually the better call.
What causes laminate floors to peel at the seams?
The most common causes are moisture getting into the joint, inadequate drying after a spill, and installation issues like insufficient expansion gap. Persistent humidity from subfloor problems can also contribute.
Should I remove the whole floor if one area peels?
No—usually only the affected planks need attention. If multiple boards show signs of moisture damage or widespread seam failure, that’s when you may need a broader plan.
How long should I let the floor dry before repairing?
Let it dry until it’s visibly and consistently dry, and—if possible—until there’s no lingering dampness under/around the area. If you’re unsure, [ADD: use a moisture meter / follow your manufacturer’s guidance].
Sources
– [ADD: Manufacturer installation and care instructions for your specific laminate brand/model—especially guidance on expansion gaps, moisture exposure, and approved adhesives/repairs.]
– [ADD: Manufacturer specification for subfloor requirements and acceptable moisture levels, if available for your floor type.]
– [ADD: Any product/repair adhesive label instructions that specify surface prep, cure time, and laminate compatibility.]
If you take one approach from this guide, make it this: stop moisture, confirm what’s peeling, and match the repair to the failure type. Minor seam/edge lifts can sometimes be stabilized with the right manufacturer-approved adhesive and careful clamping, but swollen or extensively delaminated laminate is usually best handled by replacing affected planks. When you correct the underlying cause (especially leaks and expansion-gap stress), your repairs stop looking temporary—and start behaving like the floor was meant to.
Frequently Asked Questions
What causes laminate flooring to peel at the edges or seams?
Laminate flooring peeling is usually caused by moisture getting underneath the planks, weak adhesive in the click-lock/tongue-and-groove system, or poor subfloor preparation before installation. High humidity, spills left too long, or cleaning with too much water can break the wear layer and allow swelling, which makes the laminate layers separate. Drying the area and checking for a moisture source is the first step before you attempt repair.
How do I fix peeling laminate flooring without replacing the whole floor?
If only the edges are lifting and the boards are not badly warped, you can sometimes re-secure them with laminate flooring adhesive or a manufacturer-approved repair glue. Lift the edge carefully, clean off any dust, apply adhesive in a thin, even line, then press and weight the area until fully cured. If the board is swollen or the locking joints have failed, spot repairs may not hold and partial replacement is usually necessary.
How can I stop laminate planks from peeling after water damage?
Stop the source of moisture immediately—fix leaks, improve ventilation, and reduce humidity to prevent further swelling. Dry the affected area thoroughly, then inspect for cupping or gaps; peeling that returns quickly usually means the subfloor is still wet or the plank is permanently damaged. For best results, allow the floor to fully dry for several days (or longer if needed) before attempting any glue or patch repair.
Which adhesive or repair method works best for peeling laminate flooring?
Use a repair product specifically designed for laminate floors or the adhesive recommended by your flooring manufacturer, because regular wood glue or construction adhesives can fail or leave hard residues. For lifting seams, a small amount of laminate repair glue applied under the edge often works best, followed by firm pressure with weights or clamps. Avoid soaking the area during application—excess moisture can worsen the peeling and create more separation between laminate layers.
Why does my laminate floor peel even when I clean it “correctly”?
Laminate floors can peel from trapped moisture, steam cleaning, or mopping with too much water—even if you’re not intentionally flooding the surface. Other culprits include an uneven or poorly leveled subfloor, missing expansion gaps around the perimeter, and high humidity that causes boards to expand and delaminate over time. Review your cleaning method (use a damp microfiber mop, not wet mops) and confirm proper installation conditions to prevent repeat peeling.
📅 Last Updated: October 07, 2026 | Topic: How to fix peeling on laminate floors? | Content verified for accuracy and freshness.
References
- Laminate flooring
https://en.wikipedia.org/wiki/Laminate_flooring - https://en.wikipedia.org/wiki/Delamination
- https://www.epa.gov/mold/moisture-control-prevent-mold-growth
- https://www.cdc.gov/mold/default.htm
- https://www.hud.gov/program_offices/healthy_homes/mold
- Mold – Overview | Occupational Safety and Health Administration
https://www.osha.gov/mold - Google Scholar Google Scholar
https://scholar.google.com/scholar?q=laminate+flooring+delamination+moisture+repair - Google Scholar Google Scholar
https://scholar.google.com/scholar?q=laminate+flooring+peeling+edge+lifting+causes - Google Scholar Google Scholar
https://scholar.google.com/scholar?q=laminate+flooring+installation+moisture+underlayment+delamination - https://www.britannica.com/technology/laminate