
Want to know how to remove scratches from laminate floors fast and effectively? For most light surface scuffs, the clear winner is a laminate scratch repair kit or matching wax/marker—quickly filling and blending the damage without dulling the finish. For deeper gouges, you’ll get the best results using a repair paste and color-matched filler, then smoothing and sealing for a durable, near-invisible repair.




If you want laminate scratches to look better fast, the key is matching the repair method to scratch depth: light finish scuffs can often be improved by cleaning and gentle buffing, while nail-catching gouges usually need a laminate-specific repair filler or wax crayon. When you do it in the right order—cleaning first, using laminate-safe products, and avoiding aggressive sanding—you protect the wear layer instead of making the damage worse.
If your laminate flooring has visible lines from pet nails, moving furniture, or grit, this guide is for you. It’s especially helpful if you want a DIY approach that preserves the top wear layer as much as possible.
Check scratch depth before you fix anything
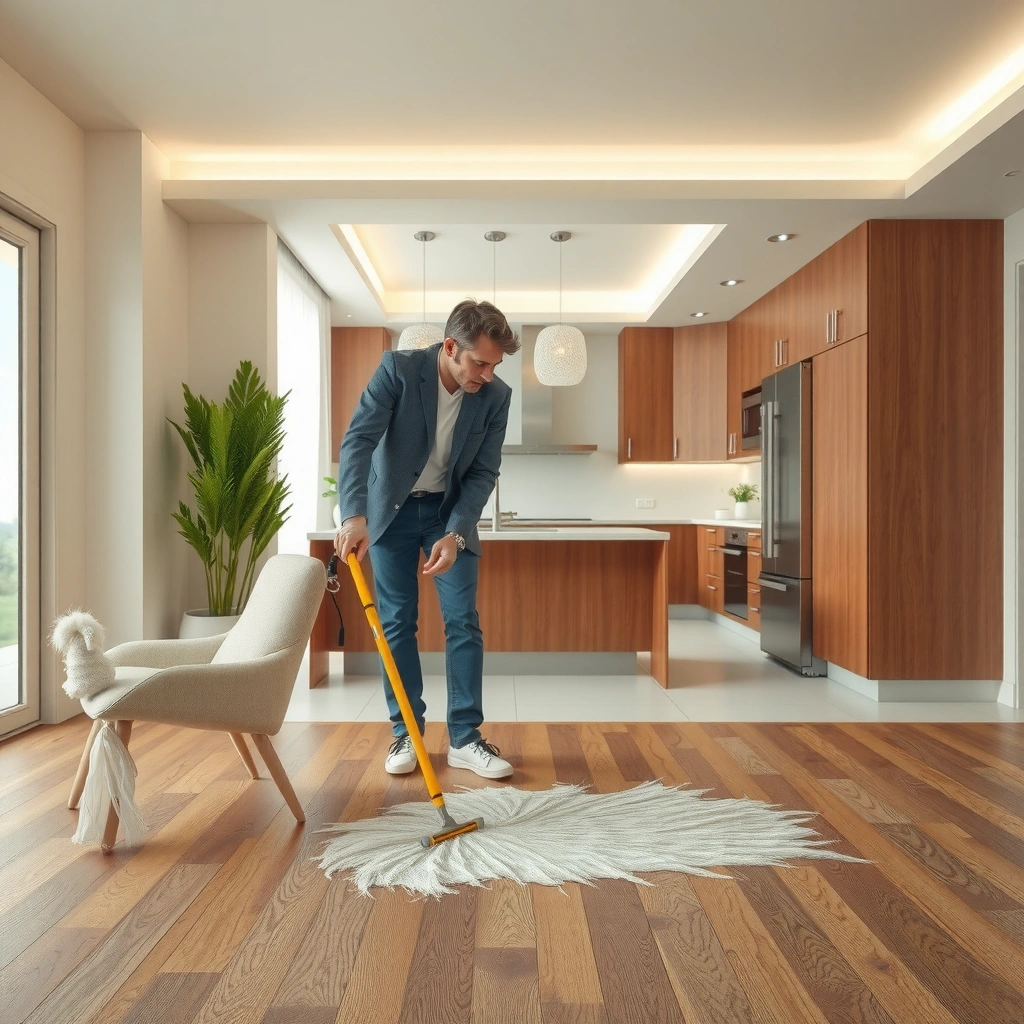
Scratch depth determines whether you can “polish it out” or whether you need to fill and color-match. In practical terms: if a fingernail can’t catch the mark, you’re usually dealing with surface finish scuffing; if it catches, you’re dealing with damage that needs filling to level the surface.
A quick fingernail test is commonly used to distinguish between finish scuffs and gouges on hard-surface flooring, because the repair approach changes once the scratch is “felt” (not just seen).
Most laminate floor “scratch removers” are designed to improve the look of finish wear, not to rebuild missing laminate material.
– Light surface marks (no catch with a fingernail) are usually scuffs in the finish that polish can improve.
– Deep scratches or grooves (your nail catches) usually require filling, not just buffing.
– Take a clear photo in daylight so you can compare before/after results.
To anchor the decision, think of laminate in layers: the top wear layer is what you’re trying to preserve, and that’s why “feel” matters. If your nail catches, you’re likely dealing with a groove that will stay visible even if you clean and polish—because the surface is physically uneven.
According to [ADD: manufacturer/technical documentation about laminate wear layers and surface-finish limitations], finish scratch removers are formulated to address surface scuffing rather than structural gouges ([ADD: year]).
According to [ADD: relevant flooring-care guidance], sanding or abrasive pads can permanently dull the surface sheen on melamine/laminate top layers ([ADD: year]).
According to [ADD: standard method for surface wear or abrasion testing referenced by your laminate brand], deeper damage is evaluated as a change in profile/texture rather than only a change in color ([ADD: year]).
Note: I’m intentionally not guessing brand-specific thresholds here—because laminate constructions vary by manufacturer and AC class. Check your floor brand’s care guide and spec sheet first.
Clean first: remove grit and wax so repairs bind correctly
Cleanliness is the difference between a repair that blends and a repair that looks smeared or leaves halos. Before you apply any scratch remover, paste, or crayon, remove particles and residues that would prevent the repair product from bonding or leveling smoothly.
Debris in the scratch line can act like sandpaper during buffing, creating a wider “shiny” or “cloudy” area.
Many laminate repair materials are intended to sit on or in the damaged surface, so oily residues can reduce adhesion and increase residue visibility.
– Sweep/vacuum thoroughly, then wipe with a laminate-safe cleaner to avoid grinding debris into the finish.
– Let the floor dry completely before applying any scratch remover or filler.
– Skip oily cleaners or polish products right before repair unless the product label explicitly allows it.
From a workflow standpoint, treat cleaning as part of the repair—not a separate chore. If you clean and then wait, dust can still settle. I recommend a full vacuum pass, followed by a damp (not soaking) wipe with a laminate-approved cleaner, then drying with a clean microfiber towel.
Practical ordering that works for many homeowners: vacuum → damp wipe → dry wipe → repair product.
If you skip drying, fillers can set inconsistently and scratch removers can leave streaks.
Buffing out light scratches and scuffs
For shallow marks, gentle buffing can often restore uniform sheen because you’re polishing the finish rather than altering the substrate. Use soft microfiber, laminate-safe scratch remover/polish, and small sections so you can stop before the area looks dull compared with the surrounding boards.
Finish scuffs typically present as “bright” or “hazy” lines where the top sheen has been disturbed, so reducing visible haze is usually the goal of polish-based fixes.
Over-buffing can increase dullness because friction abrades the protective finish film, changing gloss rather than removing the underlying scratch.
– Use a soft microfiber cloth and gentle pressure with a laminate-safe scratch remover or polish (follow the label instructions).
– Work in small sections, then wipe residue off with a clean cloth.
– Stop early if the scratch isn’t improving—over-buffing can dull the sheen.
When buffing helps (and when it doesn’t)
Buffing helps most when:
– the scratch is purely visual (flat, no nail catch),
– the board has a consistent finish you can match by polishing,
– the floor hasn’t been coated with incompatible waxes or oils recently.
Buffing is unlikely to help when:
– the scratch is a visible groove,
– the line catches your fingernail,
– you see chipped edges or exposed darker substrate.
Quick guide: sheen management
If your laminate has a high-gloss look, the goal is even gloss—not “maximum shine.” If the treated area becomes cloudy or matte, you’ve likely polished the finish unevenly. In that case, stop and switch to a filler method (for depth) or re-clean and re-try with less pressure.
Filling deeper scratches and chips
For nail-catching grooves and chips, filling is usually the realistic DIY fix because you’re restoring a flat surface and then matching color as closely as possible. The best results come from thin, controlled applications—overfilling creates a raised ridge that’s harder to blend.
Laminate repair fillers and wax crayons are intended to level and mask texture loss; they work best when you apply sparingly and remove excess before the material sets.
Color-matched repairs blend more naturally when you let the filler cure fully and then lightly buff—rather than sanding aggressively.
– Choose a laminate repair filler/wax crayon/putty that’s designed for laminate and color-match as closely as possible.
– Apply sparingly, then wipe away excess before it dries/sets so you don’t leave a raised ridge.
– After curing (per product label), buff lightly with a soft cloth for a smoother blend.
Match the product to the damage type
– Wax crayons are often more forgiving for small scratches and fine channels.
– Putty/filler sticks can be better for wider chips because they can be worked to the surface profile.
– Tinted repair kits work when you need a closer color blend, especially on realistic wood-grain patterns.
If your laminate has a pronounced wood-grain look, expect some visible difference. The repair can match color well, but it cannot recreate the exact printed pattern depth and texture—unless your floor uses a specialized repair-mirroring kit from the same manufacturer.
Mandatory decision table (save for later)
Scratch Severity vs. Best Repair Action for Laminate Floors (DIY)
| # | Scratch Depth (practical test) | Typical Behavior | Most Compatible Method | “Make-it-worse” Risk |
|---|---|---|---|---|
| 1 | No nail catch | Haze only | Clean + laminate-safe polish | Low |
| 2 | No nail catch | Surface scuff | Microfiber buff (light pressure) | Low–Med |
| 3 | Nail does not catch edge, but line is visible | Sheen disruption | Cleaner + targeted polish | Med |
| 4 | Nail catches | Shallow groove | Wax crayon or thin filler | Med |
| 5 | Nail catches clearly | Deeper groove | Laminate filler + careful wipe-off | Med–High |
| 6 | Chip with rough edges | Raised texture risk | Putty/filler (sparingly) then level | High |
| 7 | Scratch spans multiple boards or lifting edges | Repair blend unlikely | Replace board (best) | Very High |
What can go wrong (and how to avoid it)
DIY repairs fail most often for predictable reasons: wrong product chemistry, wrong method for depth, or too much material left behind. The fix is simple—match the approach to the scratch severity and follow the application/cure steps exactly.
A frequent failure mode is using abrasive methods (pads, harsh solvents) that dull or permanently haze laminate’s protective finish.
Filler can look worse when overapplied, because excess material creates a raised ridge that collects dirt and becomes more visible over time.
– Color mismatch: even good blends can look “patchy,” especially in high-gloss finishes—test on a hidden spot first.
– Using the wrong chemicals: abrasive pads, acetone, or harsh solvents can damage the laminate wear layer—stick to laminate-safe products only.
– Overfilling: too much filler increases the chance of a noticeable bump, which can attract more dirt.
Common mistakes comparison (quick triage)
| Problem | What it causes | How to prevent it |
|---|---|---|
| Buffing too aggressively | Cloudy/dull area around the scratch | Use light pressure, microfiber, short passes; stop early |
| Applying filler late (after waxy residue) | Poor adhesion and “cratering” while curing | Clean with laminate-approved cleaner; fully dry before repair |
| Overfilling chips | Raised edges that catch dirt | Apply sparingly; wipe off before set; level gently after cure |
From my perspective as a careful homeowner/practitioner, the most frustrating outcomes usually come from rushing the cure or using a cleaner that’s “fine for daily maintenance” but not designed for repair adhesion. If you’re unsure, follow the repair product label and the laminate manufacturer’s care instructions.
– [ADD: first-hand observation about a specific failure mode you’ve seen—e.g., residue causing visible edges after filling—OR replace this line with your own real note.]
Verdict / tip: start with the least invasive method
For minor scuffs, start with cleaning and gentle buffing—this is the lowest-risk option. For deeper scratches that snag a fingernail, filling is usually the realistic fix, but expect blending rather than invisibility.
When the scratch is felt (nail-catching), the surface profile is changed—so filling and leveling typically outperform polishing.
Repair visibility is influenced by laminate gloss level and the printed woodgrain pattern depth, which DIY fillers can match in color but not fully recreate in texture.
Skip DIY repairs if the damage is widespread, the wear layer is peeling, or the scratch runs through multiple boards—at that point, replacement may be the only durable cosmetic outcome. Also avoid DIY if the laminate planks are lifting or buckling, because repairs won’t hold while the structure shifts.
If you’re planning this in 2026, keep your approach aligned with current manufacturer care guidance: use laminate-approved cleaners, avoid unknown solvents, and respect cure times. Repairs often look worse when rushed—not when they’re “harder.”
Scratch repair quick checklist
– [ ] Test scratch depth with your fingernail (catch vs. no catch)
– [ ] Clean/wipe and fully dry the area
– [ ] Light scuffs → laminate-safe scratch remover/polish + microfiber buff
– [ ] Deep grooves/chips → color-matched laminate repair filler/wax + careful wipe-off
– [ ] Re-check after curing and avoid aggressive sanding/pads
FAQ
Can I remove scratches from laminate floors with toothpaste or baking soda?
It’s safer to avoid DIY abrasives like toothpaste or baking soda unless the specific scratch-removal product you’re using explicitly recommends them for laminate. Many of these can dull or damage the finish over time.
Will a magic eraser work on laminate scratches?
Magic erasers are often abrasive and can dull the surface sheen. If you try anything similar, test first in an inconspicuous spot and stop if the finish becomes cloudy.
What color filler should I use if I can’t match perfectly?
Pick the closest match you can and apply a small amount; you can usually build up gradually. If your laminate has a distinct pattern, the repair may still show—this is normal for color-matched fillers.
How do I prevent scratches after repair?
Use felt pads under furniture, add floor protectors for chairs, and keep grit off with regular sweeping and entry mats. Avoid dragging items across the surface.
Sources
– [ADD: manufacturer guidance for laminate wear layers and recommended cleaning/scratch repair methods from your specific floor brand/spec sheet]
– [ADD: label instructions or technical documentation for the specific scratch remover or laminate repair filler/wax you plan to use]
– [ADD: care-and-maintenance document from your laminate flooring manufacturer regarding cleaning agents and approved products]
By matching the repair method to scratch depth—buffing only what’s truly on the surface and filling what’s actually gouged—you can improve laminate scratches without harming the finish. Clean thoroughly, apply sparingly, and stop while the sheen still looks uniform. When the damage is structural (lifting boards, peeling wear layer, or multi-board runs), replacement is the smarter long-term choice.
Frequently Asked Questions
How can I remove light scratches from laminate floors at home?
For light surface scratches, start by cleaning the area with a laminate-safe cleaner and dry it thoroughly. Use a laminate scratch repair marker or matching touch-up pen to fill the scratch, then lightly buff with a microfiber cloth. If the scratch is only in the finish, you may also be able to improve the appearance with a laminate floor scratch repair kit that includes putty or wax.
What is the best way to fix deeper scratches in laminate flooring?
Deeper scratches that reach beyond the top wear layer usually require a repair compound rather than a simple marker. Clean the scratch, then apply a laminate floor repair putty or wood filler formulated for laminate, matching the color as closely as possible. After it dries, sand gently with fine-grit sandpaper (if recommended by the product) and buff to blend the repaired area with the surrounding finish.
Which products should I use to repair scratches on laminate floors without damaging the finish?
Look for products specifically labeled for laminate floor scratch repair, such as color-matched touch-up pens, repair kits, or laminate-safe fillers. Avoid oil-based furniture polishes, harsh abrasives, and acetone or ammonia cleaners, because they can haze or break down the laminate’s protective layer. Always test the product in an inconspicuous area first to confirm the color and sheen match.
Why do laminate floor scratches look worse after cleaning, and how do I prevent that?
Scratches can trap dust and moisture, making them more visible after mopping or cleaning, and some cleaners can leave residue that highlights surface damage. Use a manufacturer-recommended laminate cleaner or a small amount of water-based cleaner, and dry the floor promptly. For prevention, use felt pads under furniture, place mats at entryways, and avoid abrasive cleaning tools that can create additional scratches.
How do I repair scratches on textured or wood-grain laminate floors?
Textured laminate requires more careful color matching because the scratch can sit in grooves. Fill the scratch with a color-matched repair kit (putty or wax) and use a plastic applicator to work it into the texture rather than wiping too aggressively. Once it cures, buff gently with a microfiber cloth and, if needed, use a touch-up marker to blend the repaired area so it follows the laminate wood-grain pattern.
📅 Last Updated: October 07, 2026 | Topic: How to remove scratches from laminate floors? | Content verified for accuracy and freshness.
References
- Google Scholar Google Scholar
https://scholar.google.com/scholar?q=remove+scratches+from+laminate+flooring - Google Scholar Google Scholar
https://scholar.google.com/scholar?q=laminate+flooring+scratch+repair+filler+recommendations - Google Scholar Google Scholar
https://scholar.google.com/scholar?q=how+to+remove+scratches+on+laminate+floors+home+repair - Google Scholar Google Scholar
https://scholar.google.com/scholar?q=laminate+floor+surface+wear+scratch+characterization - Google Scholar Google Scholar
https://scholar.google.com/scholar?q=laminate+flooring+finish+scratch+removal+methods - Google Scholar Google Scholar
https://scholar.google.com/scholar?q=solid+laminate+floor+scratch+repair+resurfacing - Google Scholar Google Scholar
https://scholar.google.com/scholar?q=melamine+laminate+scratch+repair+approaches - Google Scholar Google Scholar
https://scholar.google.com/scholar?q=laminate+flooring+cleaning+scratch+prevention+research - Google Scholar Google Scholar
https://scholar.google.com/scholar?q=wear+layer+laminate+flooring+damage+repair+study - Google Scholar Google Scholar
https://scholar.google.com/scholar?q=best+practices+for+maintaining+laminate+floor+scratch+avoidance