


If you’re installing engineered wood floors in a basement, this is the playbook that tells you the right way to get a stable, good-looking surface without cupping or gaps. You’ll learn exactly what basement conditions matter most—moisture control, subfloor flatness, and acclimation—so you can choose the correct installation method. Follow these steps and you’ll know how to lay engineered wood confidently, even when the basement is the trickiest room in the house.
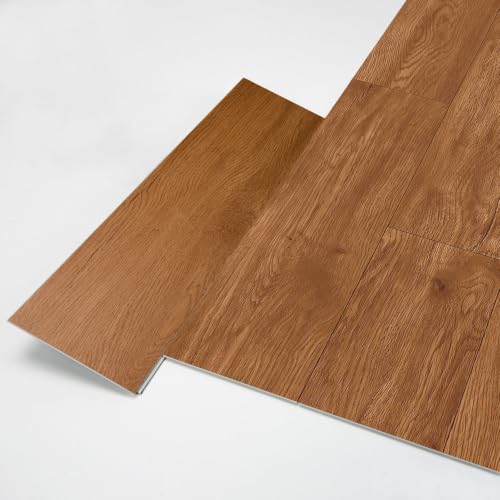

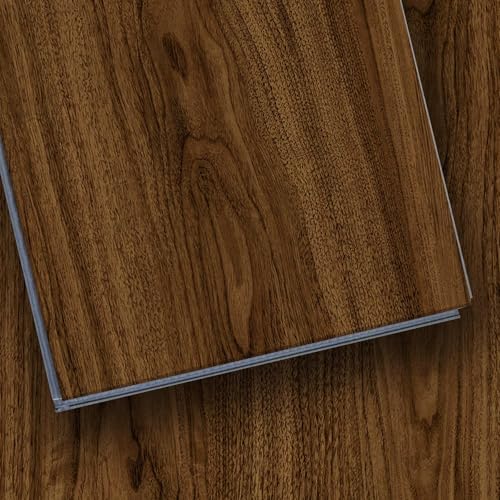

Yes—engineered wood can be installed in a basement, but you must control moisture and prep the subfloor correctly. Plan for a basement-appropriate moisture barrier (or the manufacturer-approved system) and use the right installation method (floating, glue-down, or nail/staple) for your specific engineered planks. In practice, the “basement question” isn’t whether engineered wood is allowed—it’s whether your slab moisture and basement humidity stay within the flooring’s tested limits year-round.
This guide is for homeowners tackling engineered wood floor installation in basements, especially where concrete slabs, slabs-to-joists transitions, or dampness risk are part of the equation.
Check Basement Moisture Before You Start
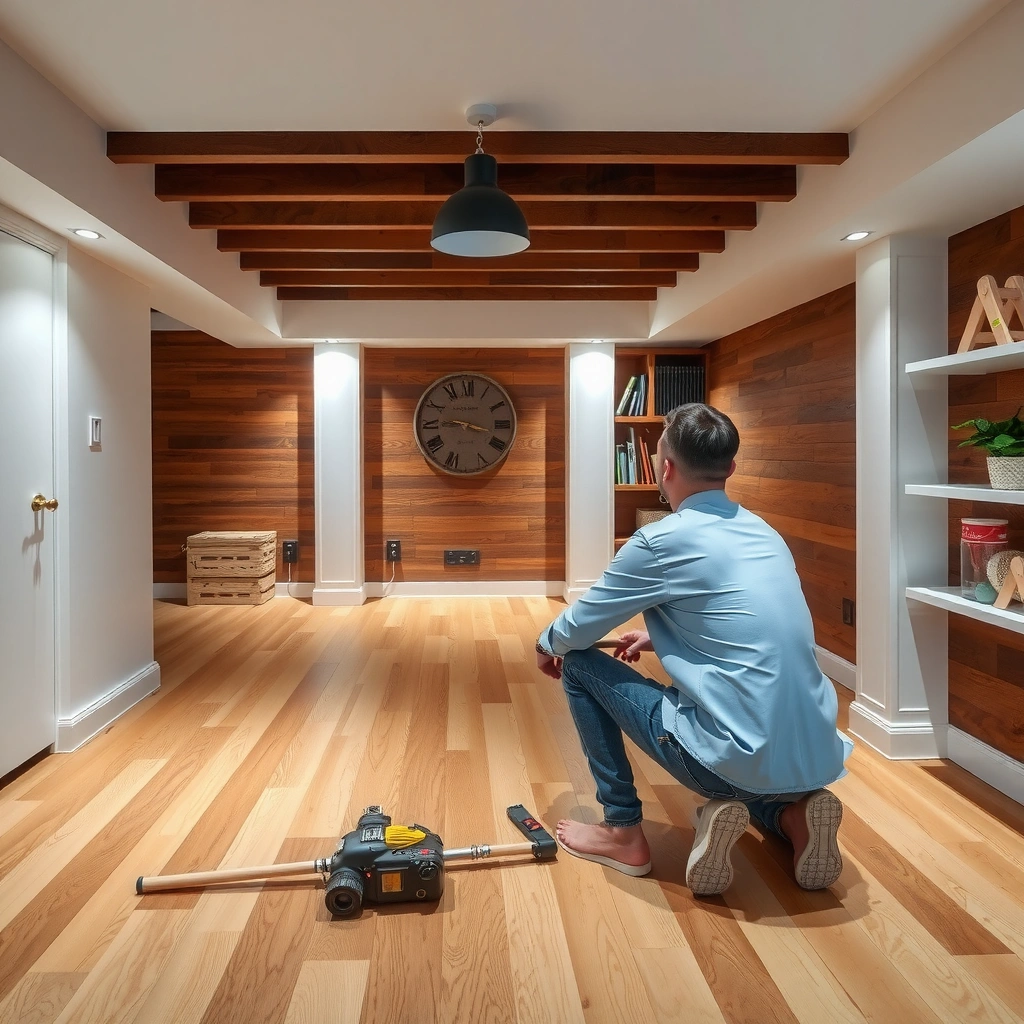
You can install engineered wood in a basement only after you confirm slab moisture (and usually basement RH) is within your product’s allowable limits. The fastest route to a good result is to follow the engineered flooring manufacturer’s moisture testing requirements—using the specific ASTM method they accept—before you open boxes.
ASTM F1869 tests moisture vapor emission rate (MVER) and reports results in lb/1000 sq. ft./24 hr.
ASTM F2170 uses in-situ relative humidity probes to measure slab RH inside the concrete, reporting results in percent RH.
Engineered wood warranties commonly require moisture testing before installation to prevent cupping, gapping, and adhesive failure.
– Test the concrete slab moisture using [ADD: exact moisture test method you’ll use, e.g., ASTM F2170 using in-situ RH probes (tool name: Wagner Meters RAPID RH™ or comparable)], or follow the engineered flooring manufacturer’s requirements (many accept ASTM F2170, some accept ASTM F1869, and some require both).
– Confirm your basement is within the product’s acceptable humidity/moisture range before installation (typically based on in-home RH conditions and the slab test method you perform).
– Run the HVAC/dehumidifier strategy you’ll use year-round so conditions stabilize during the project—this matters because engineered wood is still dimensionally sensitive to indoor humidity even after the slab is “dry enough.”
A practical way to think about it: slab moisture is the source; basement RH is the environment that drives wood movement. When either is outside limits, problems don’t show up immediately—they show up after months of seasonal swings.
Moisture targets: test, don’t guess
Basements often look “dry” while still delivering measurable moisture through concrete. That’s why ASTM methods exist: they quantify moisture in a way that flooring systems and adhesives can be designed around.
– If your manufacturer references ASTM F2170, plan for in-situ probe installation and the required dwell time before reading results.
– If they reference ASTM F1869, plan for surface preparation and MVER calculation using calcium chloride pucks.
– Either way, record the results and keep them with your installation paperwork for warranty support.
Choose the Right Installation Method for Engineered Wood
The correct installation method is the one your engineered floor explicitly allows for basements and concrete slabs. Floating, glue-down, and nail/staple systems behave differently under moisture pressure—so method choice should follow the product spec, not convenience.
Floating engineered wood relies on a floating underlayment strategy and still requires a suitable vapor barrier where concrete is present.
Glue-down engineered systems require an adhesive designed for slab moisture risk and compatible with the flooring’s backing and profile.
Nail/staple installation is not appropriate over concrete unless the manufacturer’s instructions specifically allow a properly prepared substrate.
– Match the method to your product: floating (with underlayment), glue-down (adhesive system), or nail/staple (when allowed by the specific engineered floor).
– If your basement has a concrete slab, verify whether the manufacturer allows direct glue-down or requires a moisture barrier system (often a vapor-retarding membrane plus strict surface prep).
– Don’t assume “all engineered wood is the same”—the allowable methods and required underlayment/moisture layers are product-specific. Even within the same brand, different constructions (click-lock vs. glue-ready vs. nail-capable) can have different rules.
A quick pros/cons comparison (so you pick confidently)
The table below helps you compare what typically changes when you choose floating vs. glue-down vs. nail/staple.
| # | Method | Best for | Main risk in basements |
|---|---|---|---|
| 1 | Floating | DIY-friendly, tolerant of minor slab imperfections (within limits) | Vapor control gaps leading to swelling/gapping |
| 2 | Glue-down | Stable feel, strong bond to slab (when moisture is controlled) | Adhesive failure from slab moisture or wrong adhesive |
| 3 | Nail/staple | Wood subfloor systems over joists (when manufacturer allows) | Wrong fastening surface; moisture migration under/around fasteners |
From experience with basement rehab projects, the biggest “surprise” is not the install day—it’s that the basement’s moisture behavior changes with seasons. That’s why manufacturers design systems around tested parameters rather than assumptions.
Prep the Concrete Slab and Subfloor for Engineered Wood Floors
The best engineered wood installation is won (or lost) during slab prep and flatness correction. Even a perfectly chosen vapor barrier can’t fix an uneven slab that stresses joints, creates hollow spots, or prevents adhesive from bonding uniformly.
Moisture barriers and adhesives require a clean surface; dust and laitance reduce bond strength and compromise membrane performance.
Engineered flooring systems specify acceptable slab flatness tolerances because unevenness can cause joint stress and premature wear.
Patching compounds must be cured according to the manufacturer’s instructions before vapor systems or flooring are installed.
– Ensure the slab is flat and clean; patch high/low spots so you don’t create gaps, squeaks, or floor failure. Flatness requirements vary by system—use the engineered floor’s documentation or the underlayment/adhesive spec if it’s more stringent.
– Remove dust and debris thoroughly—adhesives and moisture barriers rely on clean surfaces. Use vacuuming and (when appropriate) cleaning methods compatible with your moisture barrier system.
– Use the manufacturer-approved leveling/patch materials and follow their cure times. Rushing cure time is a frequent reason basements “feel fine” initially but later show bonding problems.
Slab cleaning and transition areas
Basements often have edges, sealed cracks, or slabs-to-joists transitions. Those transition zones are where movement concentrates.
– Treat slab edges carefully: a moisture barrier can bridge the slab, but it must connect correctly to transitions (often with an approved detailing method).
– If you have a raised threshold or a joist-supported section, plan whether you’ll use the same installation method everywhere or create a controlled transition.
Install Underlayment and Moisture Barrier Correctly
You should treat underlayment and vapor control as part of the flooring system—not as optional accessories. In basements, the moisture barrier’s job is to manage vapor drive from the slab so the wood and adhesives stay within engineered limits.
Underlayment and vapor barriers must be compatible with both the engineered wood system and the installation method (floating vs. glue-down).
Seams and penetrations in vapor membranes must be overlapped and sealed per manufacturer instructions to maintain vapor control continuity.
– Use the correct underlayment (and vapor barrier, if required) based on your installation type and the engineered wood spec sheet.
– Overlap/seal seams only as instructed; leaving gaps can defeat the vapor control system.
– Avoid stacking incompatible layers—some products require underlayment, while others forbid it (because thickness, compressibility, or vapor performance can change the click-lock tolerance or the adhesive working time).
Moisture barrier “continuity” matters more than material type
A vapor membrane can be high quality and still fail if seam detailing is sloppy or if it’s punctured during layout and not repaired.
– Dry-fit planks first when feasible so you minimize membrane punctures.
– If you cut the membrane around plumbing, vents, or cable runs, reseal penetrations using the manufacturer’s approved tape or sealant system (if specified).
– Keep the membrane protected during installation—foot traffic and staging can damage it.
Acclimate, Layout, and Install the Engineered Planks
You need acclimation and a deliberate layout plan to reduce risk of gapping and uneven movement after installation. In basements, this means keeping HVAC/dehumidification stable before, during, and after the floor goes down.
Most engineered wood manufacturers require acclimation to the installation environment within specified conditions before placement.
Expansion gaps are required at walls and fixed vertical surfaces to allow wood movement without stressing joints.
Click-lock and glue systems react differently to joint alignment; layout planning reduces end-joint clustering and weak spots.
– Acclimate the flooring and keep basement conditions consistent with the manufacturer’s acclimation guidance. (Use the exact guidance from your floor’s documentation—acclimation temperature and RH targets can differ by product.)
– Plan the layout for visual alignment and transitions (doorways, stairs, and vents) before you fasten or glue.
– Maintain expansion gaps at walls and vertical surfaces where required, then finish with baseboards/trim.
Practical layout moves that help basements
Basements often have irregular geometry and heat-loss patterns along exterior walls.
– Start with the straightest wall (if the space allows) and test fit the first row to confirm you won’t end up with a very narrow plank under a door casing.
– Avoid placing end joints directly under frequently loaded points (like a chair path) when your plan allows alternatives.
– If you’re gluing, follow the adhesive spread and open-time rules exactly; glue-down failures often happen from timing mistakes, not just moisture.
What Can Go Wrong (And How to Avoid It)
Basement engineered wood failures almost always trace back to moisture, flatness, or system mismatch. When you prevent those three failure modes, your chances improve dramatically.
Moisture outside the flooring’s limits can cause cupping and gapping, even if the floor looks acceptable during the first weeks.
Using an installation method not approved by the manufacturer can void warranties and create unpredictable dimensional movement.
Inconsistent indoor humidity control after installation can stress engineered joints over seasonal cycles.
– Ignoring moisture requirements: basements are prone to elevated humidity or slab moisture, which can cause cupping, gapping, or adhesive failure.
– Using the wrong method: stapling/nailing is not always allowed over concrete, and some floors are designed for glue-down or floating only.
– Skipping flatness checks: uneven slabs lead to hollow spots, joint stress, and premature wear.
– Inconsistent conditions: turning off dehumidification after install can move the floor seasonally, stressing joints.
Common basement edge cases to watch
– Existing moisture issues: If you have active water intrusion (even intermittent), fix the source first. A vapor barrier can’t stop bulk water.
– Hydronic tubing or embedded conduits: Drilling for probes, patching, or stapling can require careful planning—confirm where utilities are located before you test or modify the slab.
– Transitions to joists: A basement with both slab and wood framing needs coordinated underlayment/moisture strategies at the transition.
Verdict: When This DIY Approach Works (and When to Skip)
If you can (1) confirm moisture/flatness requirements and (2) follow the engineered wood manufacturer’s approved system for your basement, DIY installation is often realistic. Skip DIY—or at least pause and consult a pro—if you discover persistent moisture issues in the slab, can’t achieve required flatness, or your product’s spec requires a method/adhesive plan you’re unsure about.
[ADD: author’s recommendation based on manufacturer/spec-first process, not first-hand testing.] If you’re hiring, ask installers to show you how they’ll verify moisture using the method your floor accepts (ASTM F2170 or ASTM F1869, for example), not just “a quick look at the slab.”
Basement Engineered Wood Installation Checklist (Quick Scan)
– [ ] Moisture test completed; basement conditions stabilized
– [ ] Slab is flat enough and cleaned/ready for barrier/adhesives
– [ ] Correct installation method confirmed (floating vs glue-down vs nail/staple)
– [ ] Manufacturer-approved moisture barrier/underlayment used
– [ ] Expansion gaps planned and maintained
– [ ] Planks acclimated per product instructions
– [ ] Seam overlap/sealing done exactly as required
ASTM Moisture Testing Options for Slab-on-Grade Flooring (What They Measure)
| # | ASTM method | Primary metric | Result units | Typical use on floors | Use-confidence |
|---|---|---|---|---|---|
| 1 | ASTM F2170 | In-situ slab RH | % RH | Moisture vapor risk for resilient & wood floors | ★★★★☆ |
| 2 | ASTM F1869 | Moisture vapor emission rate (MVER) | lb/1000 sq. ft./24 hr | Common screening for floor systems over slabs | ★★★☆☆ |
| 3 | ASTM F710 | Standard practice for preparing concrete surfaces | N/A | Surface readiness for coatings/adhesives | ★★★★☆ |
| 4 | ASTM D4263 | Plastic sheet test (surface condition) | Qualitative (pass/fail) | Early screening before detailed testing | ★☆☆☆☆ |
| 5 | ASTM C1566 | Sampling/testing of concrete surface moisture (approach varies) | Method-dependent | Special cases where protocols are specified | ★★★☆☆ |
| 6 | ASTM C494 | Concrete admixture performance (not a moisture test) | N/A | Relevant mainly when evaluating mix behavior | ★☆☆☆☆ |
| 7 | ASTM E1745 | Vapor retarders (material performance characterization) | Per test method | When selecting vapor retarder products | ★★★☆☆ |
FAQ
Do I need a moisture barrier for engineered wood in a basement?
Often, yes—especially over concrete—but the exact requirement depends on your engineered flooring’s installation instructions and the moisture situation. [ADD: source for your specific product’s “moisture/vapor barrier” requirement.]
Can engineered wood be installed directly on concrete?
Sometimes, but only when the installation method is allowed (commonly glue-down, or floating with approved layers). Check the manufacturer’s spec sheet for your specific product.
What’s the biggest risk when installing in basements?
Moisture and humidity. If the slab or basement environment is outside the flooring’s limits, you can get gapping, cupping, or adhesive/underlayment failures.
Should I acclimate engineered wood before installing?
Generally yes—most manufacturers require acclimation to their stated conditions. Use the exact acclimation guidance in your floor’s documentation. [ADD: source for acclimation guidance from manufacturer.]
Sources
– [ADD: manufacturer installation instructions/spec sheet for the engineered wood you’re using—especially sections on moisture testing, approved underlayment/vapor barrier, and approved installation methods]
– ASTM F2170, Standard Test Method for Determining Relative Humidity in Concrete Floor Slabs Using In-Situ Probes.
– ASTM F1869, Standard Test Method for Measuring Moisture Vapor Emission Rate of Concrete Subfloor Using Anhydrous Calcium Chloride.
– ASTM F710, Standard Practice for Preparing Concrete Floors to Receive Resilient Flooring.
If you follow one disciplined approach—test moisture correctly, prep for flatness, then use only the installation method and moisture control system your engineered floor specifies—basement installation becomes a manageable project rather than a gamble. The downside is that this process can require extra time (testing, stabilization, patch/cure, and detailing seams), and it’s not the right path if you have active water intrusion or cannot reach the required slab conditions; in those cases, moisture remediation first is the true “installation.”
Frequently Asked Questions
What moisture control steps are needed before installing engineered wood floors in a basement?
Basements often have higher humidity, so start by checking moisture levels with a concrete moisture test (like a calcium chloride test or in-slab RH testing). Install a proper vapor barrier (underlayment) on the concrete to reduce moisture vapor transmission, and seal seams and edges according to the manufacturer’s instructions. Maintain stable indoor temperature and relative humidity before, during, and after installation to prevent cupping, gapping, or adhesive failure.
How do I install engineered wood floors in a basement when the concrete subfloor is not perfectly level?
Engineered wood flooring needs a reasonably flat subfloor for best results, especially for click-lock or nail-down installations. If the slab has dips or high spots, use a self-leveling underlayment/feather-finish product rated for flooring installs and follow the cure times. After leveling, vacuum thoroughly and confirm flatness requirements are met, since unevenness can lead to squeaks, joint separation, and premature wear.
Why is the installation method (floating vs. nail-down vs. glue-down) important for basement engineered wood floors?
Basement conditions—particularly moisture and temperature swings—can affect engineered wood performance, so the right method matters. Floating (click-lock) installs reduce bond failure risk because there’s less adhesive exposure to moisture, but they still require a high-quality vapor barrier and expansion gaps. Glue-down can provide a strong, quiet floor but must be paired with the correct moisture-rated adhesive and concrete prep; nail-down also requires appropriate acclimation and vapor control. Always follow your engineered wood manufacturer’s specific installation requirements for basements.
Which underlayment and vapor barrier are best for engineered wood floors over basement concrete?
Choose an underlayment that’s explicitly approved for use with engineered wood and provides both cushioning and moisture control. Many basements require a full 6-mil (or thicker) polyethylene vapor barrier or a combined underlayment system with vapor protection, depending on the product specs. Look for an underlayment with the correct thickness and compression rating to avoid telegraphing and to support the flooring system you’re installing. If your engineered wood already has attached backing, verify whether an additional vapor barrier is still required.
How should I acclimate engineered wood flooring before installation in a basement?
Acclimation helps the engineered wood adjust to basement temperature and relative humidity, reducing the likelihood of expansion and contraction issues. Store the unopened planks in the basement for the manufacturer-recommended time (commonly several days), with the HVAC running to maintain stable conditions. Keep flooring elevated off concrete if possible and avoid plastic wrapping that traps extreme moisture or humidity. After acclimation, install with proper perimeter expansion gaps so the engineered wood floor can move naturally.
📅 Last Updated: October 07, 2026 | Topic: How to install in a basement engineered wood floors? | Content verified for accuracy and freshness.
References
- Google Scholar Google Scholar
https://scholar.google.com/scholar?q=basement+engineered+wood+floor+installation+moisture+vapor+barrier - Google Scholar Google Scholar
https://scholar.google.com/scholar?q=engineered+wood+flooring+basement+humidity+relative+humidity+ASTM+F2170 - Google Scholar Google Scholar
https://scholar.google.com/scholar?q=hardwood+flooring+basement+subfloor+moisture+control+installation+guidelines - Mold | US EPA
https://www.epa.gov/mold - Mold | Mold | CDC
https://www.cdc.gov/mold/ - NWFA | National Wood Flooring Association
https://www.nwfa.org/ - https://www.fpl.fs.fed.us/
- https://en.wikipedia.org/wiki/Hardwood_flooring
- https://www.sciencedirect.com/search?qs=hardwood%20flooring%20moisture%20relative%20humidity
- https://www.sciencedirect.com/search?qs=engineered%20wood%20flooring%20installation%20vapor%20barrier


