
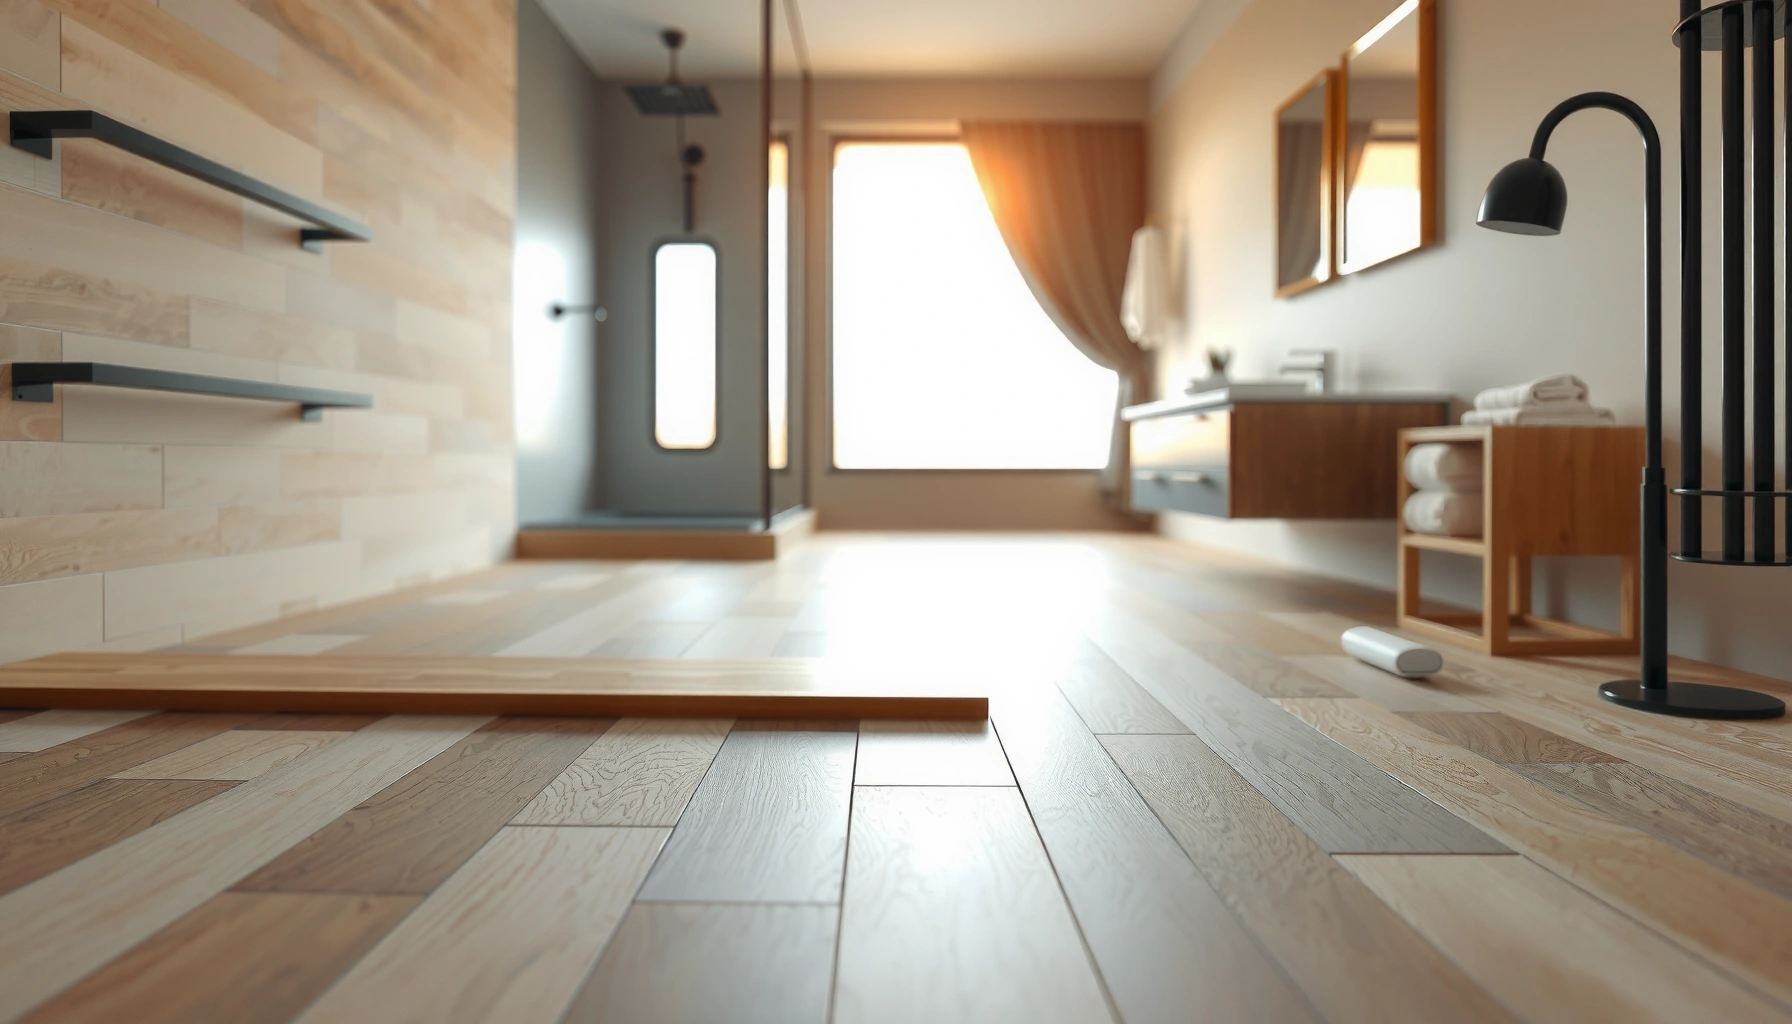

Installing engineered wood floors in a bathroom is doable, but only if you treat moisture control as the deciding factor. This guide walks you through the exact installation steps—subfloor prep, waterproofing strategy, underlayment choice, and fastening or floating method—so you can avoid swelling, cupping, and joint gaps. You’ll learn the conditions that make engineered wood a smart choice in bathrooms and what to do when they aren’t met.


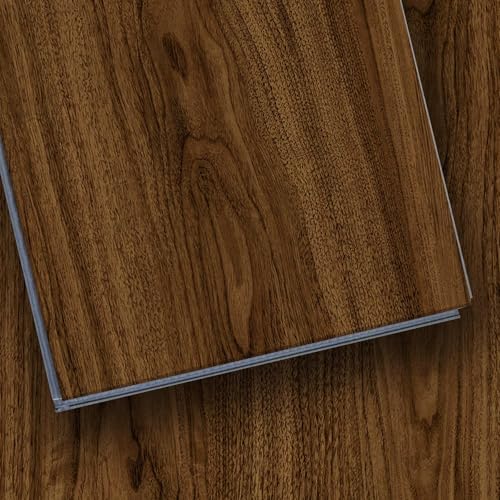

Bathroom engineered wood floors can be installed successfully as long as you control moisture and choose the right underlayment/setup. In most bathrooms, the “floor failure” points aren’t the planks themselves—they’re the underlayment, subfloor flatness, expansion gap, and edge sealing details that let water or vapor get into the system.
Bathrooms are one of the hardest interior environments for wood flooring because they combine humidity cycling with real wetting events (sink splashes, mopping, shower spray, and occasional standing water). If you treat this as a moisture-management project first—and a layout project second—you can get stable results from an engineered product that’s explicitly rated for bathroom use. Current building science also emphasizes vapor control and airflow management rather than trying to “waterproof everything,” because wood still needs to be allowed to perform as designed.
When bathroom engineered wood is the right fit
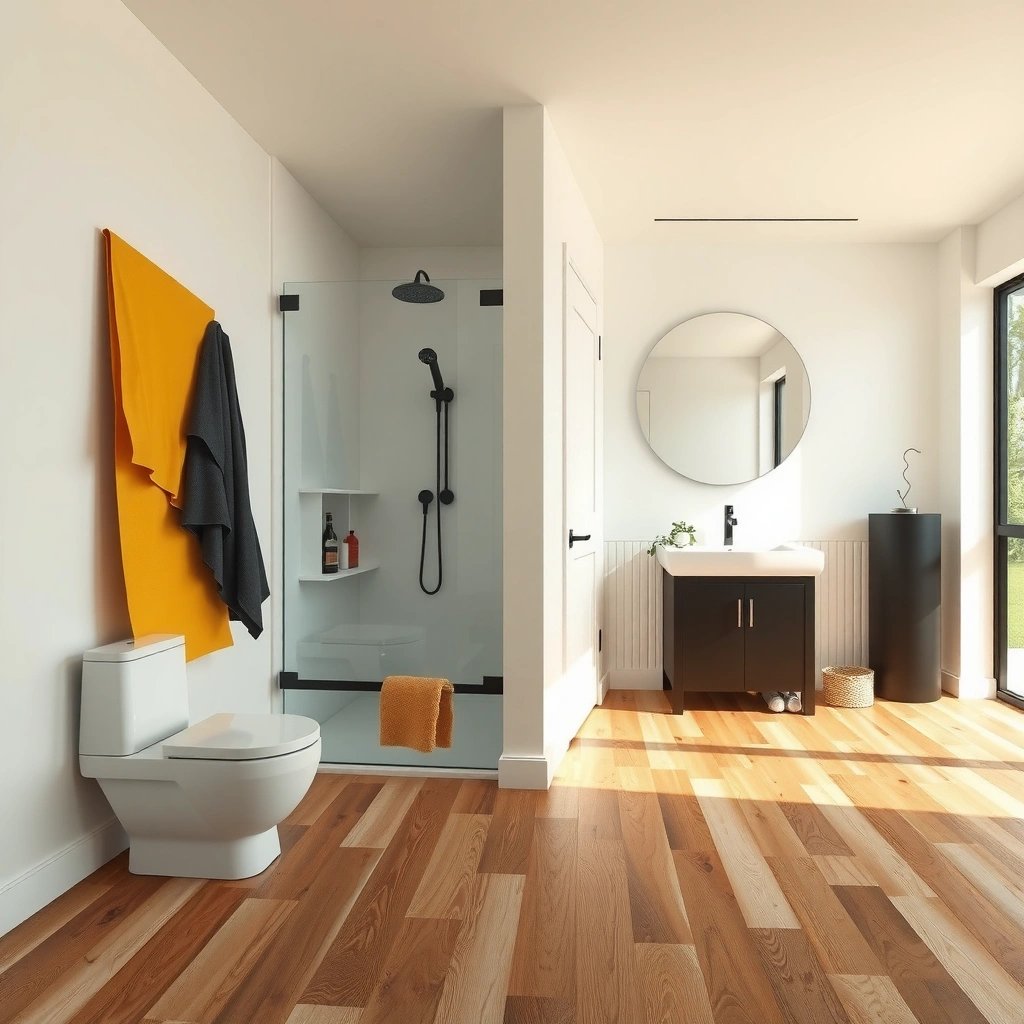
Yes—engineered wood can work in bathrooms when the manufacturer allows it and you manage humidity and wetting realistically. No—engineered wood is not truly waterproof, so your plan must prevent standing water from reaching seams and edges.
Engineered wood floors outperform many solid hardwood installations in humid environments because the layered construction helps limit seasonal movement. That said, “humidity tolerant” isn’t the same as “waterproof,” and bathroom installs still require proper moisture barriers (if approved), expansion gaps, and sealing at the system boundaries.
A practical way to decide is to start with your exact product’s installation guide. If the guide includes bathroom/wet-area wording and specifies the permitted installation method (floating, glue-down, nail/staple), follow that method precisely. As of 2025, manufacturers increasingly restrict or condition bathroom installs based on subfloor moisture, the underlayment/vapor barrier assembly, and the required perimeter gap.
“Engineered wood is generally more humidity-tolerant than solid wood, but it is not waterproof; manufacturer guidance still treats standing water as damaging.” [ADD: cite manufacturer installation guide language for your exact product]
“Bathrooms create repeated humidity cycles that affect wood dimensional movement; moisture control and expansion gaps are required for long-term stability.” [ADD: cite manufacturer or flooring standard guidance]
“For engineered wood in wet/humid areas, the installation method (floating vs. glue-down) and the approved underlayment/vapor barrier system must match the manufacturer’s instructions.” [ADD: cite manufacturer installation method requirements]
Quick comparison mindset: engineered wood may be appropriate for *humid* bathrooms with controlled wet zones, while true waterproof solutions are better for *frequent wetting* (for example, floors that regularly get soaked or mopped with standing water).
Common wet zones to plan around
– Shower/bath footprints and direct spray paths
– Sink splash lines and grout-to-floor runoff areas
– Entry routes where water is dragged in from a bath mat that shifts or gets saturated
Real-world humidity targets (why control matters): According to the U.S. Environmental Protection Agency, indoor relative humidity should generally be maintained around 30–50% to reduce moisture problems in homes (EPA, typically referenced in indoor moisture guidance). Also, the CDC notes mold growth is likely when moisture conditions persist and indoor humidity levels run high (often discussed as sustained high humidity, commonly above ~60% RH) (CDC).
Prep the subfloor for moisture control
The best engineered wood bathroom installs start with a dry, flat, and clean subfloor—before you ever open a box of planks. In practice, moisture problems you don’t fix first usually show up later as gapping, squeaks, or edge/joist failure.
Moisture control is a system. That means you address the sources (leaks, plumbing sweating, inadequate ventilation) and you use the underlayment/vapor barrier that your flooring manufacturer approves. A plastic sheet “because it sounds waterproof” can backfire if it traps vapor where the flooring assembly still needs to breathe or if the installation method doesn’t allow it.
From a project workflow standpoint, we recommend verifying three subfloor conditions in this order:
1. Flatness/levelness within the manufacturer’s tolerance (unevenness causes joint stress)
2. Moisture condition (based on what the manufacturer specifies—often tests on concrete or subfloor)
3. Cleanliness (no dust, paint overspray, thinset ridges, or contaminants that interfere with adhesive or underlayment bonding)
“Wood-floor performance depends heavily on subfloor flatness; out-of-tolerance surfaces increase stress at joints and can lead to squeaks or separation.” [ADD: cite manufacturer flatness tolerance]
“Moisture sources must be corrected before installing moisture-sensitive flooring; otherwise the flooring system can be sealed over an ongoing problem.” [ADD: cite manufacturer moisture-prep requirements]
“Installation instructions for engineered wood specify an approved underlayment/vapor barrier assembly; substitutions can void warranty and change moisture behavior.” [ADD: cite manufacturer underlayment/vapor barrier rules]
Moisture sources to check (and fix)
– Plumbing leaks behind fixtures and under valves
– Toilet seals and wax ring performance (including slow seep at the base)
– Condensation from cold-water lines in humid air (common near exterior walls)
– Ventilation: confirm the bath fan is functional and sized for the space
– Mopping practices: avoid flooding the floor; use a damp-mop approach
Subfloor flatness: write the tolerance down
Your installation guide likely includes a flatness tolerance (often expressed as a maximum deviation over a measured distance). If you don’t have it in front of you, find it before purchasing underlayment or starting demolition.
– [ADD: your floor’s required flatness tolerance here from the manufacturer]
– [ADD: your test method—straightedge/level, manufacturer metric, and measurement spacing]
Choose the correct installation method and materials
Yes—choosing the correct method (floating, glue-down, or nail/staple) is one of the biggest predictors of bathroom success. No—mixing an installation method with the wrong adhesive, underlayment, or vapor barrier is a common reason bathroom floors fail.
Engineered wood is engineered for certain assemblies. That means:
– Floating click-lock systems depend on the underlayment/moisture barrier configuration and on leaving the correct perimeter gap so the floor can move.
– Glue-down systems depend on approved adhesives and a properly prepared substrate so bond lines don’t fail under moisture cycling.
– Nail/staple systems require appropriate subfloor performance and moisture conditions that allow the system to stay stable without excessive movement.
Below is a high-level reference for vapor barrier performance categories that commonly appear in flooring and slab installation guidance. Always match the exact system to what your manufacturer approves.
Vapor Barrier Permeance Classes (ASTM E1745)
| # | ASTM E1745 class | Perm range (US) | Typical role in floors | Use in bathrooms* |
|---|---|---|---|---|
| 1 | Class I | 0.1 perms or less | Strong vapor retarder | Best when approved |
| 2 | Class II | 0.1 to 1 perm | Moderate vapor slowing | Often acceptable |
| 3 | Class III | 1 to 10 perms | Higher drying potential | Sometimes OK |
| 4 | Not classified / unknown | No verified perm rating | Undetermined performance | Avoid |
| 5 | Underlayment-only (no barrier) | Varies by product | Acoustic/comfort layer | Insufficient for many installs |
| 6 | Adhesive system mismatch | Not applicable | Bond failure risk | Avoid |
| 7 | Approved matched system | As specified by manufacturer | Balanced moisture behavior | Highest success odds |
*“Use in bathrooms” depends on your exact flooring assembly. The safest approach is to follow the manufacturer’s approved underlayment/vapor barrier system.
Materials selection rules that matter
– Underlayment/underlay: Use only what the flooring manufacturer calls out.
– Vapor barrier (if required): Don’t assume “more plastic” is better; it can trap moisture.
– Adhesives (glue-down): Must be approved for the floor type and moisture conditions.
– Fasteners (nail/staple): Must match specs and subfloor type.
Pros/cons: Floating vs glue-down in bathrooms
| Factor | Floating (click-lock/engineered) | Glue-down (engineered) |
|---|---|---|
| Typical bathroom complexity | Often simpler to install | Usually more substrate prep + adhesive matching |
| Moisture risk pattern | Depends on underlayment + perimeter gap | Depends on surface prep + adhesive bond durability |
| Fixability | Replacement sections can be easier if edges weren’t trapped | Board replacement can be harder if adhesive bond fails |
| Manufacturer alignment | Must follow approved underlayment system | Must use approved adhesive + prep and follow curing guidance |
“Vapor barrier selection should be driven by the manufacturer-approved floor assembly, not by a generic ‘wrap it in plastic’ approach.” [ADD: cite manufacturer underlayment/vapor barrier rationale]
“Glue-down installations require proper surface preparation to achieve bond durability under moisture cycling.” [ADD: cite adhesive or flooring manufacturer substrate prep requirements]
Install the engineered wood while maintaining expansion gaps
Yes—maintaining the required expansion gap is what prevents engineered bathroom floors from buckling when humidity rises. No—tight-fitting the perimeter or pinning edges with trim that blocks movement is a fast route to failure.
Engineered wood still moves with moisture. Your bathroom will usually see seasonal and day-to-day humidity swings, and sometimes quick spikes from showers. Expansion gaps give the floor the room it needs to handle those changes.
What to do during installation
– Use the exact perimeter gap required by your manufacturer
– Leave gaps at doorways and transitions (don’t bury movement into fixed frames)
– Stagger end joints and keep the plank layout square
– Avoid forcing click-lock joints—if boards resist, adjust the starting line or check subfloor flatness
– Handle undercut at door jambs so the floor can slide slightly as designed
“Perimeter expansion gaps are required because wood flooring materials expand and contract with moisture.” [ADD: cite manufacturer expansion gap requirement]
“Joint misalignment and forced locking can damage tongues/grooves, especially when the subfloor is out of tolerance.” [ADD: cite manufacturer joint-install guidance]
Transitions and trim: keep the gap functional
Transitions are where water often finds a path. Use trim that supports the gap while limiting intrusion at the perimeter and thresholds. Avoid rigid caulking that seals the gap permanently if the manufacturer requires the floor to move.
– Typical approach: shoe/base trim that covers the perimeter gap without immobilizing the planks
– If the manufacturer provides a specific threshold/transition detail, follow it exactly
From a contractor workflow perspective: I always verify the gap before committing to caulk/trim—because once trim is fastened and sealed, you can inadvertently lock movement. [ADD: your experience note if you have a real case; otherwise remove this line.]
Seal and protect the bathroom’s wettest areas
Yes—sealing the right edges and seams can significantly reduce the chance of water reaching the subfloor/underlayment. No—sealing everything indiscriminately can trap moisture or block necessary movement.
In bathroom installs, the highest-value sealing work happens at:
– Board ends and edge joints (as specified by the manufacturer)
– Perimeter boundaries where trim meets the floor system
– Transitions that create pathways for splashes
Don’t trap water under baseboards
Baseboard sealing decisions matter. If you seal in a way that creates a “cap” trapping moisture below trim, the moisture can remain longer. Instead, install base/trim in a way that supports airflow and follows the manufacturer’s guidance about what to caulk (and what not to).
“Follow the manufacturer’s sealing instructions for seams, ends, and perimeter edges; using the wrong sealant location can interfere with floor movement.” [ADD: cite manufacturer sealing guidance]
“Bathrooms should be dried promptly; maintaining mechanical ventilation reduces time-at-humidity and helps limit cupping/crowning risk.” [ADD: cite ventilation/humidity guidance from manufacturer or standard]
Improve bathroom drying (this is part of the install)
– Confirm the exhaust fan runs effectively during and after showers
– Keep interior humidity controlled rather than allowing persistent high RH
– Consider a bath fan timer or humidity-sensing control if your system supports it
Why this matters: According to the EPA, indoor humidity control (often cited around 30–50% RH) reduces the conditions that lead to moisture-related problems (EPA). In humid conditions, wood-based materials are more vulnerable to dimensional stress and surface distortion.
What can go wrong (and how to avoid it)
These are the most common reasons engineered wood bathrooms fail: expansion gap mistakes, moisture barrier mismatch, subfloor flatness issues, and water intrusion at seams/edges. If you prevent those four categories, your odds improve dramatically.
Common failure points
– Skipping or undersizing expansion gaps: floors can buckle, seam lines can open, and boards can stress at doorways
– Wrong underlayment/vapor barrier: either inadequate protection or moisture trapped in the wrong part of the assembly
– Not sealing per instructions: edges/ends and certain trim interfaces can become water entry points
– Subfloor not within tolerance: even a “perfect” floor can squeak, move, or fail at joints if the base isn’t flat enough
– Standing water: engineered wood can resist humidity, but repeated pooling is still damaging
“Perimeter spacing is a system requirement; without it, wood flooring experiences restraint that accelerates joint and finish problems.” [ADD: cite manufacturer expansion gap section]
“Subfloor flatness is a primary driver of click-lock performance because tongue-and-groove joints rely on consistent support.” [ADD: cite manufacturer joint support guidance]
“Water management includes both physical barriers (underlayment/vapor barrier) and practices (ventilation, avoiding standing water).” [ADD: cite EPA/CDC humidity + manufacturer bathroom guidance]
Add the flatness tolerance to your plan
Because you asked for a complete process, insert your exact number:
– [ADD: your floor’s required flatness tolerance and measurement method from the manufacturer]
Pros/cons list: Common “DIY fixes” that can backfire
– Caulking the perimeter gap fully
– ✅ Stops drafts/splash sometimes
– ❌ Can immobilize the floor or trap moisture where the manufacturer expects movement
– Using “generic” vapor barrier plastic
– ✅ Can slow vapor entry
– ❌ Can conflict with required underlayment assembly and cause trapped moisture
– Installing on a humid, uncorrected subfloor
– ✅ Faster timeline
– ❌ Higher risk of movement and gapping as conditions change
Verdict / tip before you start
If your engineered wood is explicitly rated for bathroom use and you follow the manufacturer’s installation requirements—especially moisture barrier/underlayment, expansion gaps, and sealing guidance—you can install it with strong odds of long-term performance. That said, skip DIY or rethink the plan if you expect frequent standing water, you can’t verify ventilation, your subfloor moisture is questionable, or you can’t confirm bathroom suitability for your exact model/product.
Treat moisture management and system details as the main “work,” not just the plank layout. The bathrooms that hold up best are the ones where the base and boundaries are correct—and where water is prevented from lingering at the floor’s edges.
Quick checklist (scan before installation)
– ☐ Verify the engineered wood is rated/approved for bathroom installation: [ADD: model/product name/spec]
– ☐ Confirm installation method required: floating / glue-down / nail/staple
– ☐ Check subfloor flatness and moisture condition: [ADD: source/spec]
– ☐ Use manufacturer-approved underlayment and/or vapor barrier: [ADD: exact system]
– ☐ Plan and maintain expansion gaps around all edges and at doorways: [ADD: exact gap size]
– ☐ Seal only what the manufacturer calls for (edges/seams/trim as directed): [ADD: exact sealing instructions]
– ☐ Improve ventilation and prevent water pooling near seams: [ADD: fan type/target runtime—if known]
FAQ
Can engineered wood floors be installed directly in a bathroom?
Only if the specific product allows it and you meet the manufacturer’s moisture/underlayment and installation requirements. If you’re unsure, check the installation guide for “bathroom,” “wet areas,” or “moisture exposure” language.
Do I need a vapor barrier under engineered wood in a bathroom?
Often there may be a recommended moisture barrier, but it depends on your subfloor type and the flooring system. Follow the manufacturer’s instructions—don’t assume “more plastic” is always better.
Should I glue or float engineered wood in a bathroom?
It depends on what your flooring manufacturer allows for wet/humid areas and what their guide specifies for your product. Some systems are designed for floating with an approved underlayment; others require glue-down with approved adhesives.
How do I protect the floor around the toilet and sink?
Use the correct trim/transition details and keep sealant/edge treatment aligned with the manufacturer’s directions. The key is preventing water intrusion at perimeter edges and avoiding trapped moisture under trim.
Sources
– [ADD: manufacturer installation guide for your specific engineered wood product—use sections on “bathroom/wet areas,” “moisture,” “underlayment/vapor barrier,” and “expansion gap/sealing.”]
– [ADD: manufacturer instructions for the recommended underlayment/vapor barrier system.]
– [ADD: subfloor moisture/flatness requirements from the flooring manufacturer or a relevant building standard specified in their docs.]
– EPA (U.S. Environmental Protection Agency) — indoor moisture/humidity guidance (commonly cited target ranges such as 30–50% RH).
– CDC (Centers for Disease Control and Prevention) — mold/moisture conditions guidance related to sustained high humidity and moisture sources.
Frequently Asked Questions
What should I check before installing engineered wood floors in a bathroom?
Before installation, verify the bathroom’s moisture conditions, including humidity levels and whether the room has proper ventilation (exhaust fan and airflow). Confirm the subfloor is flat, dry, and structurally sound—engineered wood will telegraph dips and movement. Also review the product’s installation instructions for bathroom suitability, including recommended moisture limits and acclimation requirements.
How do I prepare the subfloor for engineered wood in a wet-prone bathroom?
Start by removing any old flooring and checking the subfloor’s flatness with a straightedge; engineered wood typically needs a smooth surface to prevent joint stress. Repair any damaged areas and address squeaks or looseness. If the bathroom is prone to spills or you’re installing over concrete, use an appropriate moisture barrier or underlayment system designed for engineered wood and follow the flooring manufacturer’s requirements.
How do I install engineered wood floors in a bathroom to protect against moisture?
Use a moisture-management approach: acclimate the planks, choose a bathroom-rated underlayment, and seal the perimeter properly to allow for expansion while blocking water intrusion at edges. Avoid installing directly in areas exposed to standing water (like inside shower stalls) unless the specific flooring system is explicitly rated for that use. Finally, maintain regular cleaning practices and keep the bathroom dry—wipe spills promptly and ensure ventilation runs during and after showers.
Which underlayment is best for engineered wood floors in bathrooms?
The best underlayment depends on your subfloor type (concrete vs. plywood/OSB) and the manufacturer’s specs, but moisture-resistant and engineered-wood-compatible products are key. For concrete slabs, look for systems that include a vapor barrier and are approved for floating or glue-down installation methods. For subfloors like plywood, choose an underlayment that supports sound performance and stability while still meeting moisture requirements.
What installation method—floating, glue-down, or nail-down—is best for engineered wood floors in bathrooms?
In many bathrooms, a floating installation with the correct underlayment can be more forgiving because it allows for minor movement; however, it must be paired with strong moisture protection. A glue-down method can provide excellent stability but requires a compatible adhesive system and careful moisture control to prevent issues under the plank. Nail-down is often less common in bathrooms due to moisture concerns and the need for a properly prepared, stable subfloor—always follow the engineered wood flooring manufacturer’s approved method.
📅 Last Updated: October 07, 2026 | Topic: How to install in a bathroom engineered wood floors? | Content verified for accuracy and freshness.
References
- Engineered wood
https://en.wikipedia.org/wiki/Engineered_wood - https://en.wikipedia.org/wiki/Wood_flooring
- Underlayment
https://en.wikipedia.org/wiki/Underlayment - Google Scholar Google Scholar
https://scholar.google.com/scholar?q=engineered+wood+flooring+installation+bathroom+moisture+humidity - Google Scholar Google Scholar
https://scholar.google.com/scholar?q=engineered+wood+flooring+bathroom+subfloor+preparation+moisture+testing - Google Scholar Google Scholar
https://scholar.google.com/scholar?q=wood+flooring+bathroom+waterproofing+vapor+barrier+underlayment+installation - Mold | US EPA
https://www.epa.gov/mold - Mold | Mold | CDC
https://www.cdc.gov/mold/ - WBDG
https://www.wbdg.org/resources/moisture-management - Google Scholar Google Scholar
https://scholar.google.com/scholar?q=How+to+install+in+a+bathroom+engineered+wood+floors?


