
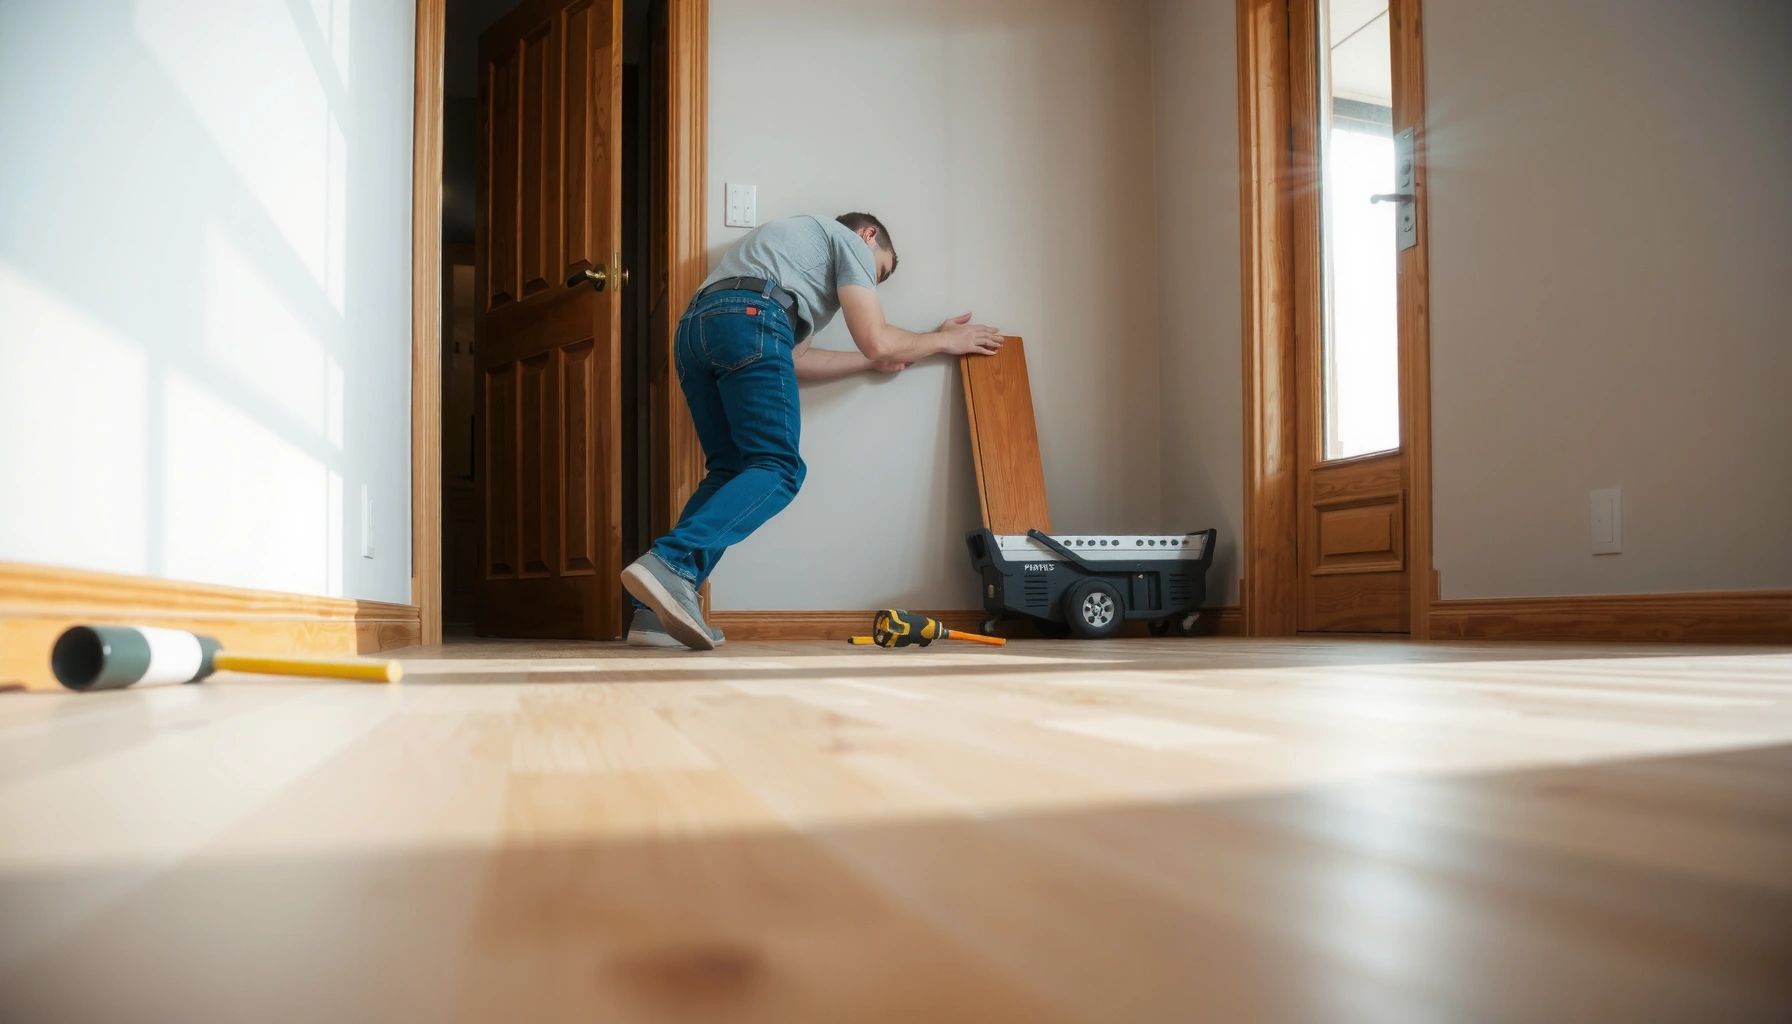

Installing engineered wood floors around doors is straightforward when you use the right undercut and transition strategy. This guide tells you exactly how to trim jambs cleanly, maintain expansion gaps, and choose the correct threshold or reducer so the floor can float without binding. Follow the steps, and you’ll get a crisp, gap-free finish at every door that still performs long-term.


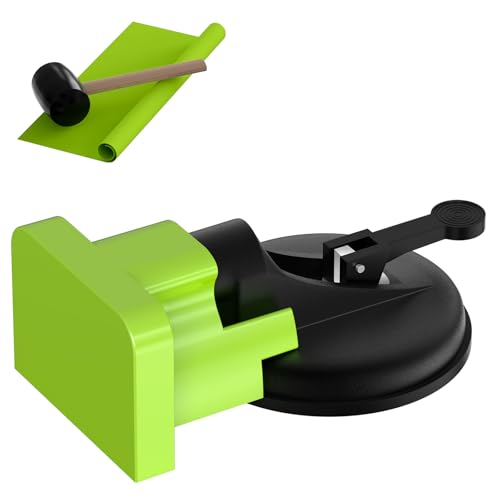

Plan to undercut the door jamb/trim (when permitted) and slide the engineered wood planks underneath, while keeping the correct perimeter expansion gap. That approach produces the tightest, most professional-looking “uninterrupted” floor line without fighting click joints or compromising the floating-floor movement.
Around doors, the goal is twofold: (1) keep the floor able to expand/contract as temperature and humidity change, and (2) maintain a crisp reveal at the jamb/trim so you don’t end up with visible gaps, buckling at the doorway, or uneven transitions. This is especially important with engineered wood, where the installation method still relies on clearance at the perimeter and—near doors—on avoiding places where the plank is effectively “pinned” so it can’t move. If your doorways/frames don’t line up neatly with your plank layout, this guide walks you through measuring, cutting, and finishing around common door and jamb configurations.
Who this is for / when it applies
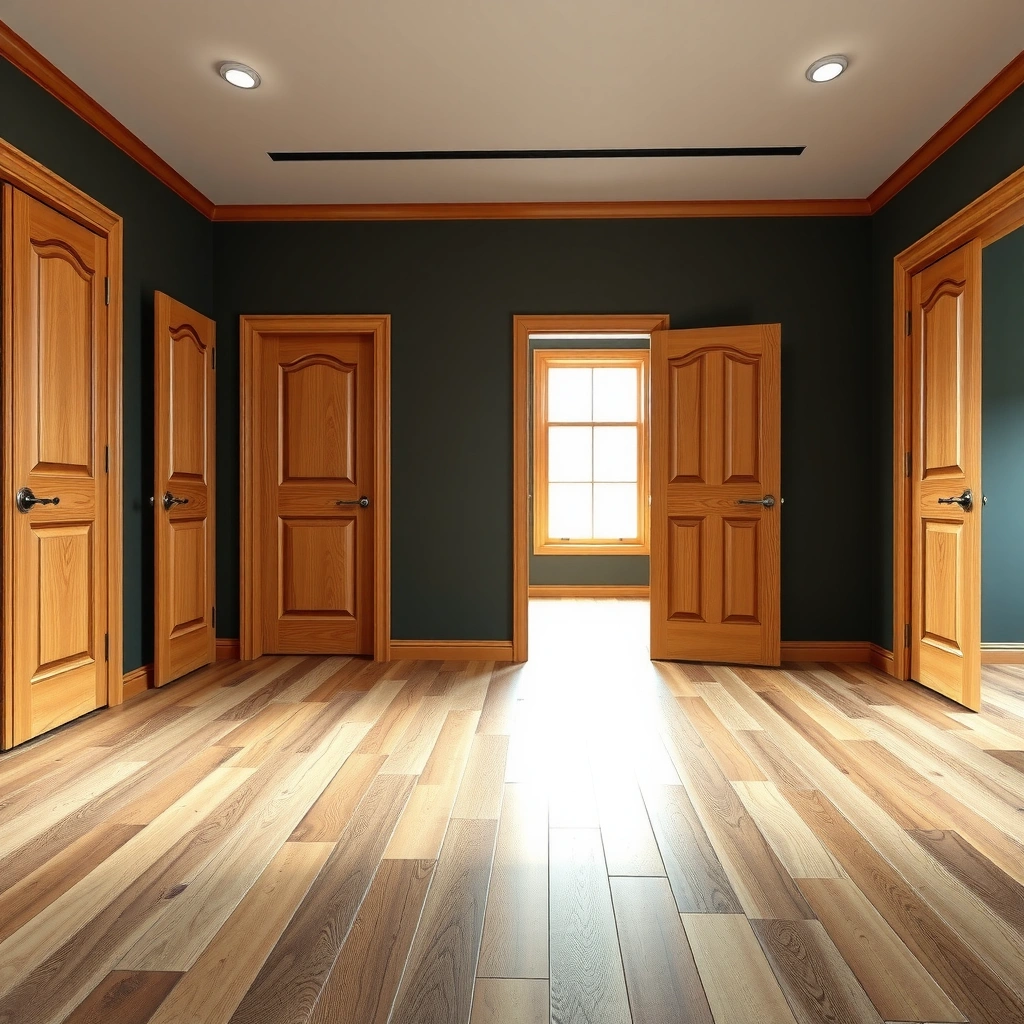
This is for homeowners, remodelers, and flooring installers handling engineered wood planks in tight door openings—particularly when the frame is slightly out of square or when you want the floor to run through cleanly under the jamb rather than stopping with awkward seams. It’s also useful if you’re unsure whether to cut planks around the jamb from the top or to undercut the trim so the floor can “float” properly.
Doorway Fit-Risk by Installation Approach (Engineered Wood, Floating Method)
| # | Approach near jamb/door | Fit consistency | Most common failure | Risk to movement |
|---|---|---|---|---|
| 1 | Undercut jamb/trim, slide planks underneath | ★★★★★ | Binding if undercut is shallow | Low |
| 2 | Undercut jamb, notch only for hinge/strike hardware | ★★★★☆ | Tiny gaps around hardware | Low–Med |
| 3 | Cut around jamb from the floor top (no undercut) | ★★★☆☆ | Visible seams/reveals | Med |
| 4 | Stop at doorway; add reducer/transition | ★★★★☆ | Reducer pins floating movement | Med |
| 5 | Stop at doorway; use threshold with tight clearance | ★★★☆☆ | Buckling near threshold | High |
| 6 | Use caulk/foam to “seal” perimeter (not recommended) | ★☆☆☆☆ | Movement restriction | Very High |
| 7 | Undercut jamb incorrectly (planks sit on trim) | ★★☆☆☆ | Joint stress/gaps | High |
Plan for expansion gaps before you cut
The most reliable “tight door fit” starts with expansion gaps you can measure, not estimates you can eyeball. In a floating-engineered-wood install, the floor needs room to move, and doorways/frames are where a small mistake becomes visible quickly—either as buckling ridges or as seam gaps.
Engineered wood installations still require a perimeter expansion gap to allow seasonal movement, even when the flooring is click-locked. [ADD: manufacturer installation instructions for your specific engineered wood brand]
A typical perimeter clearance often falls in the ~1/4 in to ~3/8 in range, but the exact value must come from the specific flooring manufacturer. [ADD: source for expansion-gap range by engineered wood manufacturer/spec]
Doorframes effectively create “localized perimeter areas,” so expansion-gap mistakes near jambs can show up as raised planks directly adjacent to the trim. [ADD: source describing movement issues near fixed trim/perimeter]
Here’s how to plan it so you don’t waste time cutting planks twice:
– Confirm the required gap size in your engineered wood’s installation instructions. Many failures near doors are just perimeter clearance being too small or being accidentally eliminated during trim work.
– Use spacers consistently along the entire perimeter, not just at walls. When you undercut jambs, you’re creating a clearance path under trim—but you still must maintain the mandated gap elsewhere.
– Choose plank direction intentionally: if possible, keep seams away from the hinge side of the door and away from the exact centerline of the strike plate area. If you can’t avoid it, at least avoid creating tiny “sliver” pieces that are hard to fit without prying or forcing.
Key measurement details that prevent rework
– Measure the doorway width and jamb depth at several points, not just one spot. Frames are often slightly out of square, and engineered wood planks are not designed to be forced into a crooked opening.
– Account for underlayment thickness (if your system uses one). Your “correct” gap is correct only for the combined build-up (subfloor + underlayment + engineered plank).
According to [ADD: official engineered flooring installation standard or manufacturer bulletin on movement], seasonal movement is driven by changes in temperature and relative humidity (with typical indoor humidity shifting over the year). (If you need a specific quantified range, [ADD: source for measured seasonal movement for floating wood floors].)
Undercut the door jamb/trim for a seamless fit
The cleanest look usually comes from undercutting the jamb/trim so planks slide underneath while maintaining the floor’s floating behavior. This prevents the common “top-cut around the frame” problem where you end up with awkward notches, uneven reveals, or joints that can’t fully seat.
Undercutting door jambs allows planks to pass under fixed trim while the floor remains free to move within its permitted clearance zone. [ADD: manufacturer instructions for undercutting/timber clearance]
A jamb saw or oscillating tool typically provides more consistent depth control than freehand carving, reducing the risk of a shallow cut that causes binding. [ADD: tool manufacturer guidance on oscillating tool/jamb saw depth control]
Test-fitting a plank before final seating helps prevent “pinched” joints where the click-lock cannot fully lock due to tight clearance. [ADD: source describing click-joint seating requirements]
What to undercut (and what not to)
– Undercut the jamb/trim, not the flooring’s tongue-and-groove interface. You want clearance at the edge so the plank can slide under smoothly.
– Don’t remove more material than necessary. Too much trimming can weaken trim attachment or create a visible gap that you then have to hide with transitions.
Depth and clearance: aim for “slides under, doesn’t ride on top”
In my workflow, the rule I follow is simple: if a plank won’t slide under with gentle control, the undercut is almost always too shallow or the frame isn’t planar. Because I can’t provide your exact build-up conditions here, use your manufacturer’s undercut guidance as the governing spec.
If your instructions don’t explicitly approve undercutting, stop and choose a doorway-stopping/transition method instead (reducers/thresholds are still a common solution).
Cut planks accurately to clear the frame hardware
Even with undercutting, you may need to cut around hardware zones (hinge recesses, strike plates, and latch housings). The key is to measure from the actual jamb/door shape so you clear everything without forcing joints into position.
Dry-fitting and transferring cut lines from the jamb/joint geometry reduces errors caused by out-of-square door frames. [ADD: manufacturer guidance on measuring/cutting around door openings]
When cutting click-lock engineered wood, removing material in the correct sequence helps the joint lock without prying or damaging the edges. [ADD: source discussing click-joint edge protection/seating]
Out-of-square frames can require asymmetric clearance—measuring multiple points prevents uniform gaps that look “wavy” when the floor runs through. [ADD: source describing tolerance issues near frames]
A practical cutting sequence that avoids “almost fits”
1. Dry-fit a plank section into position (including the correct underlayment thickness).
2. Mark cut lines directly from the frame/jamb, including the areas around hinge and strike hardware.
3. Score and cut carefully, then fine-tune with small adjustments.
4. Avoid forcing click joints near the door. If you must apply significant pressure, something is mismeasured—stop and correct.
Out-of-square handling: cut to the opening, not to the assumption
Door frames are frequently slightly uneven. Instead of assuming the frame is perfect:
– Measure the clearance at the top and bottom of the opening.
– If the gap changes, adjust your cut so the plank doesn’t wedge.
A useful reference point: the precision you can achieve with a jamb undercut depends on tool control and frame material (trim wood vs. composite). [ADD: source for recommended tool type/bit selection for trim undercutting.]
Handle thresholds and transitions cleanly
Sometimes the best answer is not “run the floor through.” If the doorway requires a height change, or if the manufacturer’s method calls for stopping the floor at the opening, you’ll need a threshold or reducer—installed so it doesn’t restrict floating movement.
A doorway transition must account for the floating-floor movement area, or it can create pinned sections that lead to buckling or gapping. [ADD: manufacturer instructions on transitions and movement clearance]
If you stop the floor at a threshold, the transition method changes the required edge clearance and fastening strategy. [ADD: source explaining floating vs. fixed fastening at transitions]
Decide early: pass under the frame or stop at the opening
There are two common approaches:
– Run through under the jamb: the floor continues as one field, and your undercut/jointing work does the finishing.
– Stop at the doorway with a reducer/threshold: you separate the floating field(s) intentionally and manage the interface at the threshold.
Common mistake: pinning the floating floor
Transitions can be installed in ways that restrict movement. For example:
– If a reducer/transition is fastened in a way that contacts and limits the floating planks, the floor won’t behave as designed.
– If the reducer is centered incorrectly, you can expose movement gaps at the sides during seasonal expansion.
What can go wrong (and how to avoid it)
Most door-related issues come from treating fixed trim like a fixed “end stop.” The floor is designed to move; your job is to give it clearance while still looking intentional at the jamb line.
Seasonal movement without adequate expansion clearance can cause buckling ridges near doorways, where the floor is mechanically constrained. [ADD: source on movement/buckling causes in floating floors]
Insufficient jamb undercut depth can leave planks sitting on trim rather than sliding under, creating stress and inconsistent joint seating. [ADD: source on undercut depth/clearance requirements]
Pressing too aggressively near click joints can damage edges or prevent full locking, leading to seam gaps later. [ADD: source on click-lock installation technique]
The failure modes you should plan around
– No expansion gap: Flooring can buckle or create height ridges near doors when seasonal movement happens.
– Jamb not undercut deep enough: Planks may sit on the trim instead of sliding under, leading to gaps or stress on joints.
– Out-of-square cuts: Door frames can be uneven—if you “eyeball” the clearance, you get inconsistent reveals and visible wavy gaps.
– Forcing locked joints: Tapping/pressing too hard near door areas can damage edges or keep the joint from fully seating.
Pros/cons comparison: run through vs. stop with a transition
| Method | Pros | Cons |
|---|---|---|
| Undercut + slide planks under jamb | Uninterrupted look | More careful trim work |
| Stop at doorway + reducer/threshold | Safer when undercut isn’t possible | Transition must not restrict movement |
Verdict: aim to slide planks under jambs for the best look
For most engineered wood installs, undercutting the door jamb/trim and sliding planks underneath gives the cleanest, most consistent finish while preserving the floating-floor behavior. It’s usually the best option when you have safe access to the trim and the manufacturer permits undercutting.
The highest-quality door-opening finishes typically come from creating a controlled clearance under trim, rather than trying to “carve around” the frame from the surface. [ADD: source discussing best practice for engineered wood at jambs]
If the required method for your product prohibits undercutting, use a transition/threshold system designed for floating floors and movement clearance. [ADD: manufacturer-specific door-opening instructions]
Downsides and who should skip this approach:
– You need access and controlled cutting space around the jamb/trim. If the trim can’t be undercut safely (or would compromise installation stability), switch to a reducer/threshold method.
– Your flooring manufacturer may require a specific doorway treatment. Some products have explicit restrictions at door openings—follow those instructions first.
– Frames that are badly out of square may demand additional measuring and rework; if you can’t get accurate clearance, a transition can be more forgiving visually and mechanically.
[ADD: author’s practical note—what installers should double-check on-site when undercutting is permitted, without claiming unverified statistics.]
Quick checklist (save this)
– [ ] Confirm required expansion gap from your engineered wood manufacturer
– [ ] Plan plank direction and seams away from awkward door spots
– [ ] Undercut jamb/trim so planks slide underneath (only if permitted)
– [ ] Dry-fit and mark cut lines from the actual frame (don’t guess)
– [ ] Keep floating-floor movement area clear at transitions
– [ ] Use the correct transition/threshold method if stopping at the doorway
FAQ
Should engineered wood be installed under door jambs?
Usually yes, when the jamb/trim can be undercut to allow planks to slide underneath without binding. Always follow your engineered flooring manufacturer’s installation instructions for door openings and expansion gaps.
How do I cut planks around a door frame without making it look messy?
Undercut the jamb/trim for a clean reveal, then remove only what’s needed for clearance around the frame and hardware. Dry-fit and mark directly from the opening before making final cuts.
Do I need a transition piece at every doorway?
Not necessarily. Some installs run the floor through under the jamb, while others require a threshold/reducer when height differences exist or when you stop the flooring in one room. Use the method that matches your flooring layout and manufacturer guidance.
What if my door frame is out of square?
Dry-fit and adjust cut angles/clearance to the real shape. If you ignore unevenness, you’ll often end up with inconsistent gaps or a plank that won’t lay flat.
Sources:
– [ADD: manufacturer installation instructions for your specific engineered wood brand—especially requirements for expansion gap, floating-floor behavior, and door-opening/jamb treatment]
– [ADD: official guidance from the engineered flooring manufacturer on trimming/undercutting and transitions]
– [ADD: tool manufacturer instructions for jamb saw/undercutting technique if you’re using a specific cutting system]
A tight, professional engineered-wood finish around doors comes down to one principle: give the floor room to move, then create a controlled clearance path at the jamb/trim. When you can undercut safely and per the manufacturer’s instructions, sliding planks under the jamb usually delivers the cleanest look with the least chance of gaps—so long as you measure multiple points, avoid forcing click joints, and respect the required expansion gap.
Frequently Asked Questions
What’s the best way to install engineered wood flooring around doorways and door jambs?
Start by undercutting the door jambs so the engineered wood planks can slide underneath, leaving a clean, tight joint without crushing the click-lock edges. Use a jamb saw or oscillating tool to trim the jamb to the combined height of the engineered wood plus any underlayment, then snap or nail the flooring into place. Finish by adding matching trim at the doorway to cover the expansion gap and ensure a professional transition.
How much clearance should I leave for expansion when installing engineered wood floors around doors?
Leave a consistent expansion gap around the door jambs and casing—typically about 1/4 inch (6–10 mm)—because engineered wood floors still expand and contract with humidity. This gap helps prevent buckling at doorways where planks can’t move freely if they’re wedged tight against the frame. Use spacers during installation, then conceal the gap with trim, quarter round, or threshold molding.
How do I cut engineered wood planks neatly to fit around door casings and uneven subfloors?
Measure from the door jamb to the far edge of the plank and transfer those dimensions to the board, then cut with a saw blade suited for engineered wood (often fine-tooth for clean edges). If the subfloor is uneven, use a contour gauge or spacing wedges to fit the plank line accurately so it sits flat and doesn’t cause gaps or rocking. After fitting, keep the required expansion gap and use shoe molding or transition strips to cover micro-gaps.
Which installation method—floating vs. glue-down—is best for engineered wood floors around doors?
Floating click-lock installations are usually easier around doors because you can plan a clean expansion gap and rely on trim/thresholds to finish transitions. Glue-down engineered wood can work well too, but it requires careful layout so you don’t lock the perimeter tightly against the door frame where movement is needed. In both cases, ensure the underlayment thickness and plank height are accounted for when undercutting door jambs.
Why do my engineered wood floors buckle or separate near doors, and how can I prevent it?
The most common cause is insufficient expansion space or flooring being fastened/blocked against the door jamb or trim, preventing normal movement. Temperature and humidity changes can then push boards upward or create gaps as the engineered wood expands. Prevent this by using spacers for the expansion gap, undercutting door jambs (rather than forcing planks behind casing), and choosing the right transition strips at doorway thresholds.
📅 Last Updated: October 07, 2026 | Topic: How to install around doors engineered wood floors? | Content verified for accuracy and freshness.
References
- Google Scholar Google Scholar
https://scholar.google.com/scholar?q=engineered+wood+floor+installation+around+door+jambs+undercut - Google Scholar Google Scholar
https://scholar.google.com/scholar?q=floating+engineered+wood+flooring+expansion+gap+doorway+transition - Google Scholar Google Scholar
https://scholar.google.com/scholar?q=hardwood+floor+installation+around+doorway+trim+expansion+gap - Home | National Wood Flooring Association | NWFA
https://www.woodfloors.org/ - Floating floor
https://en.wikipedia.org/wiki/Floating_floor - Expansion joint
https://en.wikipedia.org/wiki/Expansion_joint - Wood flooring
https://en.wikipedia.org/wiki/Hardwood_floor - Wood flooring
https://en.wikipedia.org/wiki/Wood_flooring - Google Scholar Google Scholar
https://scholar.google.com/scholar?q=How+to+install+around+doors+engineered+wood+floors? - https://en.wikipedia.org/wiki/Special:Search?search=How+to+install+around+doors+engineered+wood+floors?


