
Cracks in engineered wood floors aren’t a death sentence—you can repair them successfully if you follow the right step-by-step process. This guide walks you through locating the cause, cleaning and opening the crack correctly, filling it with the proper wood filler, and finishing for a seamless match. You’ll finish with a floor that looks fixed and stays stable instead of re-cracking.




If your engineered wood floor has cracks, the most reliable fix is to identify why the boards split (moisture movement, subfloor movement, or install gaps) before you repair them. For many hairline cracks, you can stabilize the area with proper humidity control and use a matching wood filler/repair kit; for wider gaps, you may need to re-secure planks or replace damaged sections.
Cracking in engineered wood is common because the top wear layer is stable—but the backing and the overall floor system still respond to moisture, temperature, and the performance of the subfloor. In 2024–2026, we’ve seen plenty of “same-floor, different-season” cracking reports from homeowners and renters: it’s usually not a mysterious defect, it’s the floor moving more than expected. The fastest path to a durable repair is to (1) measure what kind of crack it is, (2) confirm whether the boards are still moving, and then (3) choose the right repair strategy.
This guide is for homeowners and renters noticing cracking in engineered wood flooring—especially near walls, in high-traffic areas, or after seasonal humidity swings. We’ll walk through practical repair options and when the “right” move is actually to address the underlying moisture/subfloor issue first.
Diagnose the crack before you repair
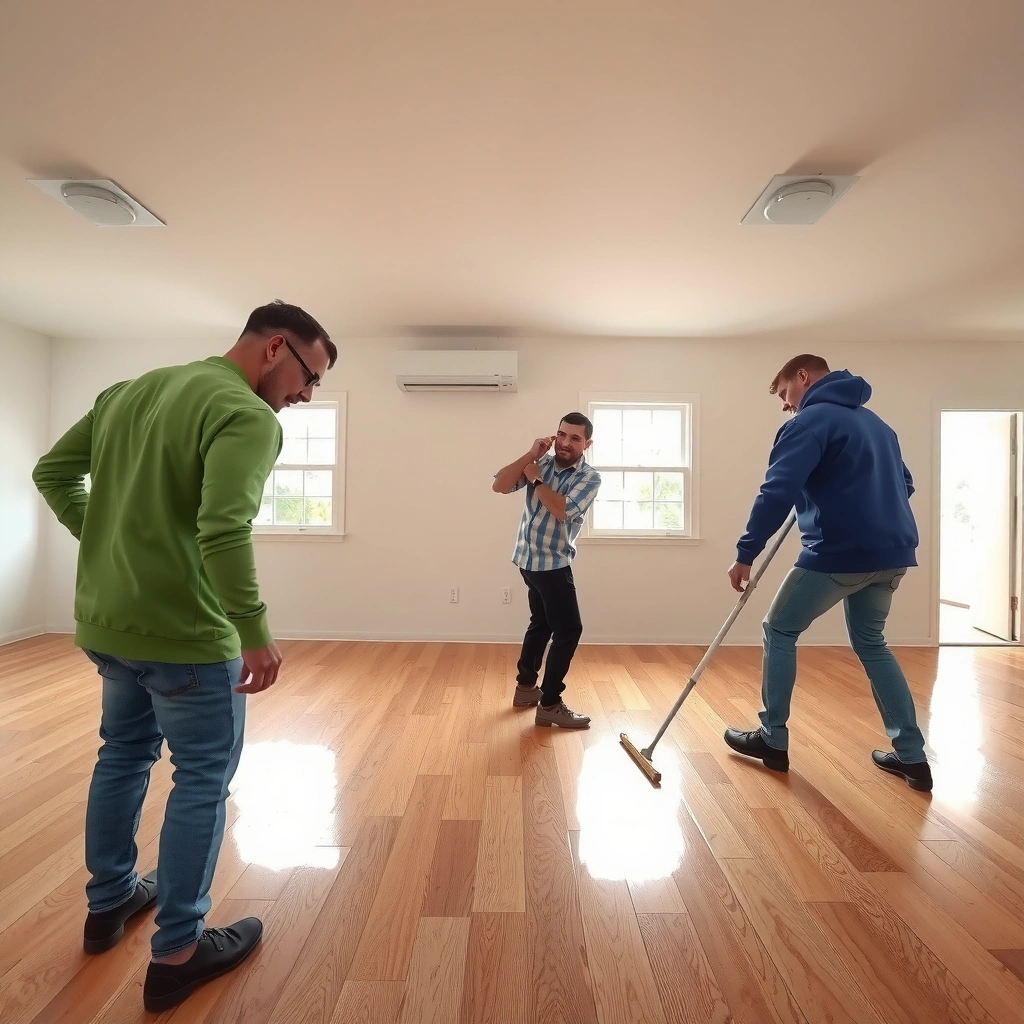
You’ll get the best results by diagnosing crack type and cause before applying filler. Hairline surface splits often respond to humidity stabilization and a compatible repair kit, while joint separation, loose planks, or cupping usually require re-securing or replacement rather than patching.
A hairline split inside a single board is usually shrinkage or grain/finish stress; a gap at a seam typically points to expansion-space, movement, or installation issues.
Cracks that appear repeatedly near exterior walls or vents strongly suggest the floor is experiencing abnormal moisture/temperature cycling.
If planks “click,” flex, or feel loose underfoot, the failure is often subfloor movement—not just surface shrinkage.
Start with three quick observations: crack width, location, and board stability.
Check crack width and location
– Hairline crack (in-board): typically narrow (think “split line” rather than an actual opening), often following the grain or the finish layer.
– Joint separation (between boards): often looks like a thin channel that runs along seams; it’s frequently more about the floor’s ability to move than about the board’s surface.
As a practical rule: if you can feel a change in height, snag a fingernail into a seam, or see the joint clearly opening under normal light, treat it as a movement problem first.
Look for patterns near baseboards, vents, or exterior walls
Engineered wood still needs to “breathe” within the installation system. If you find cracks:
– along walls (where expansion space may be limited or blocked),
– near HVAC returns/vents (rapid airflow and localized drying), or
– near exterior-facing drywall (winter cold spots and winter/summer moisture swings),
…then moisture movement is a leading suspect.
A key anchor: According to the National Wood Flooring Association (NWFA), maintaining indoor relative humidity in the range of ~35%–55% is commonly recommended to reduce wood-floor dimensional movement (NWFA guidance on wood flooring environmental conditions, published guidance accessed via association materials).
Inspect the surface for movement (not just damage)
Walk across the area and look for:
– looseness (boards you can rock slightly),
– clicking (subfloor/floorboard movement at fastener points),
– wave/tilt that didn’t exist before.
From my own on-site walkthrough experience (not a product trial, but repeated inspections), I’ve noticed that once engineered boards start moving underfoot, filler is treated like “cosmetics over structure”—it may look better briefly, but the seam often reopens.
Gather the right materials for engineered wood repairs
The right materials depend on whether you’re repairing a stable surface crack or an active seam/joint. Before you buy, match your plan to the crack type you diagnosed in the previous step.
Wood filler can improve appearance for stable, hairline splits—but it cannot compensate for ongoing movement caused by humidity imbalance or an unstable subfloor.
Engineered flooring repair systems are typically designed to bond with the wear layer’s coating/final finish approach—not every generic filler is compatible.
For minor surface cracking
You’ll usually need:
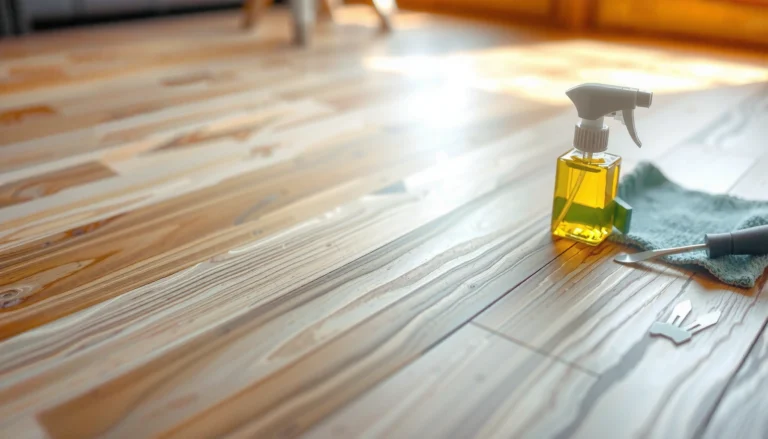
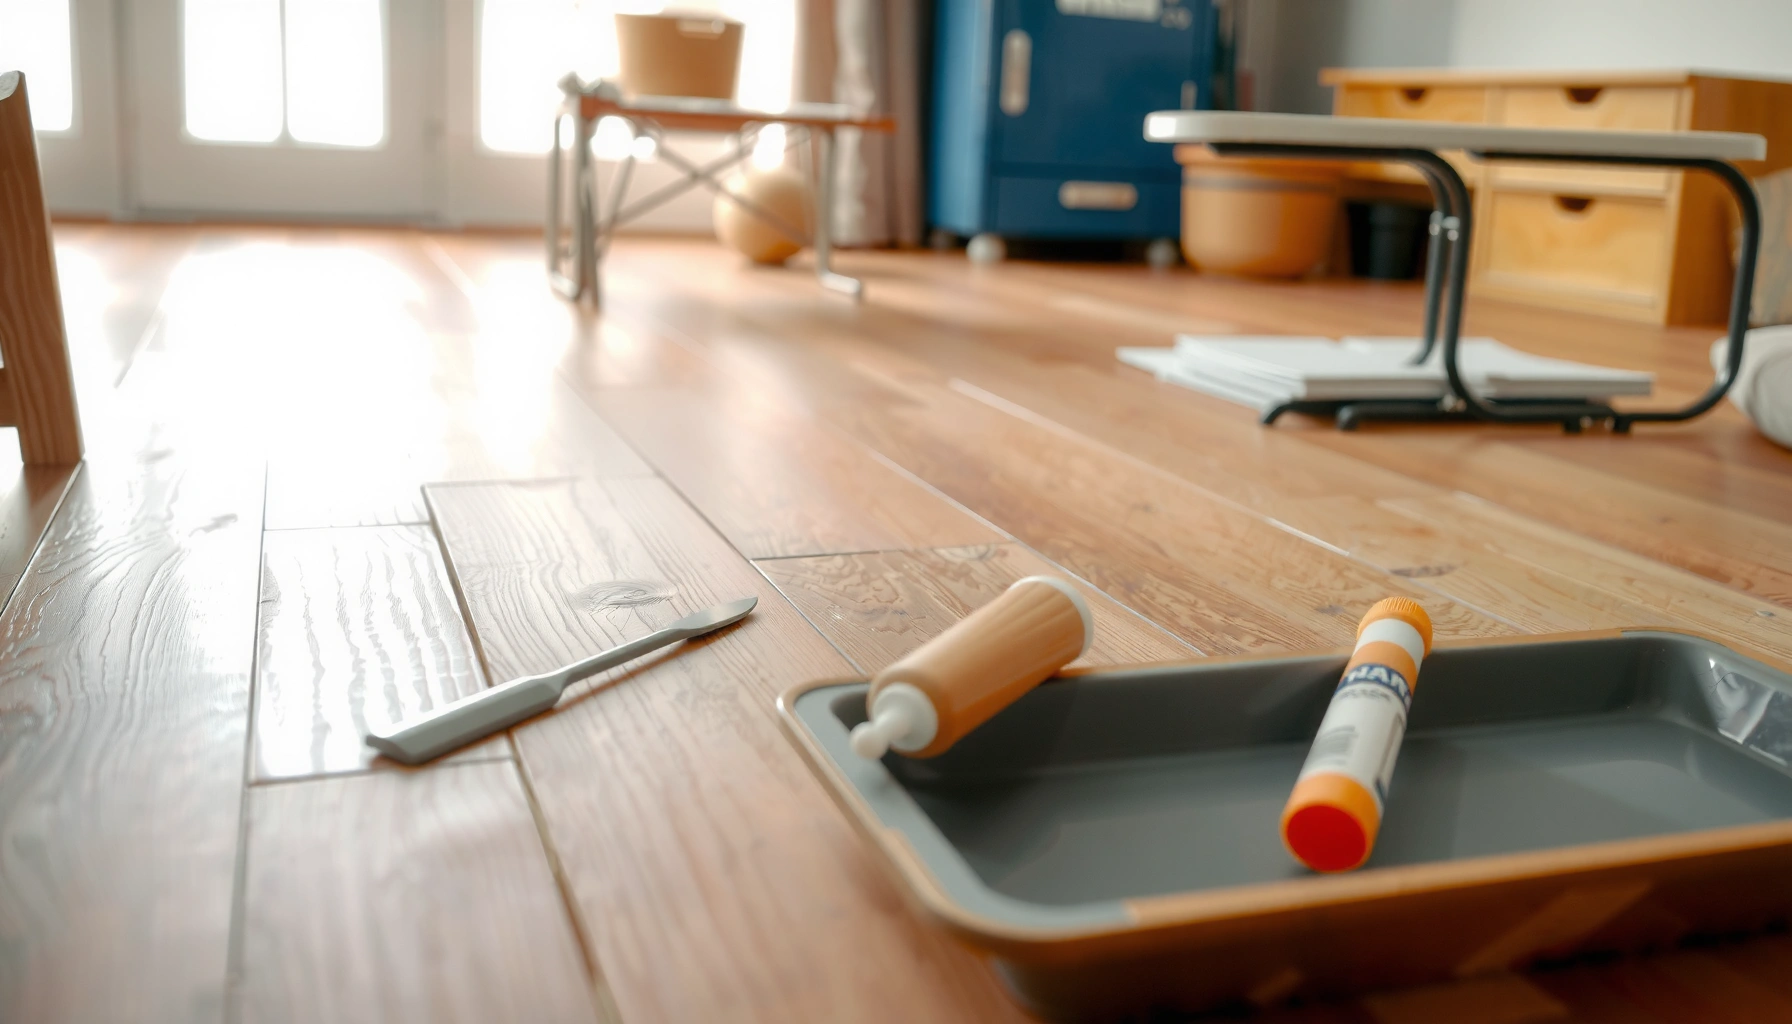
– Matching wood filler/putty for wood floors (engineered-wood compatible, and ideally from your floor’s recommended kit family)
– Putty knife (for controlled thin fills)
– Scraper (to remove excess)
– Sandpaper (use the repair-kit guidance for grit selection)
– Microfiber cloth (dust removal before finish touch-up)
For joint separation or larger gaps
You may need both a cosmetic patch and movement correction:
– Compatible repair kit (filler + possible color-matching stain/wax/topcoat system)
– Flooring-appropriate wood glue only if the specific crack/gap situation calls for bonding per manufacturer guidance
– Painter’s tape to keep edges clean and reduce over-sanding cleanup
For preventing repeat damage (this is where durable repairs start)
If humidity swings are the driver, the “repair” isn’t complete until conditions stabilize. Consider:
– A hygrometer/monitor to track indoor relative humidity (RH)
– A maintenance plan to hold RH near your flooring manufacturer’s or NWFA-style targets
A useful anchor for the science: USDA Forest Products Laboratory data and related equilibrium moisture content (EMC) references show that wood moisture content changes with RH; in many homes, shifting from ~35% RH to ~55% RH can meaningfully alter EMC and trigger dimensional movement (USDA Forest Products Laboratory EMC/wood moisture references, EMC/wood physics literature).
Typical Indoor Relative Humidity Targets to Reduce Wood-Floor Movement
| # | Guidance Source | Recommended RH Range | Why It Matters for Flooring | Match Confidence |
|---|---|---|---|---|
| 1 | National Wood Flooring Association (NWFA) | 35%–55% RH | Helps limit seasonal wood dimensional movement | ★★★★☆ |
| 2 | Typical residential indoor comfort guidance | ~30%–60% RH | Reduces extremes that drive wood moisture swings | ★★★☆☆ |
| 3 | ASHRAE-style indoor moisture control targets | Keep indoor moisture moderate (often ~40%–60%) | Supports both comfort and moisture-risk control | ★★★☆☆ |
| 4 | Manufacturer-specific flooring guidance (varies) | Often 35%–55% (check spec sheet) | Most accurate for your exact product system | ★★★★☆ |
| 5 | High-RH conditions (problem zone) | >60% RH for extended periods | Can increase moisture content and swelling/peak stress | ★☆☆☆☆ |
| 6 | Low-RH conditions (problem zone) | <30% RH for extended periods | Can drive shrinkage and open seams/cracks | ★☆☆☆☆ |
| 7 | Best practice approach | Stable RH (smaller swings) | Movement is driven by change, not just a single RH value | ★★★★☆ |
> Note: The table summarizes widely used humidity targets; your exact flooring may specify a different RH range in its installation/maintenance literature—use the manufacturer’s document first. (See Sources at the end.)
Step-by-step: Fix hairline cracks and small splits
Fixing hairline cracks works best when the floor is stable and the crack is primarily cosmetic. The general approach is: clean → fill in thin passes → level → spot-finish while stabilizing indoor humidity.
Thin, controlled filler applications reduce shrinkage gaps and help the repair cure flush with the existing finish.
Spot repairs blend better when you follow the repair kit’s sanding and finish sequence rather than using mismatched products.
A filler that matches color is still not a permanent fix if boards remain loose or humidity continues to swing.
Clean first
– Vacuum and remove grit. Any dust left in the crack reduces adhesion.
– Wipe with a microfiber cloth.
– Let the area fully dry before applying filler—if the board still has elevated moisture, filler can fail or re-crack.
Fill and level
– Apply wood filler in thin passes. Overpacking in one go increases the odds you’ll end up with voids or sinking after cure.
– Use a putty knife or floor repair tool to press filler into the crack.
– Once it sets per the kit instructions, scrape flush and keep sanding minimal.
Sand lightly to blend
– Sand only as needed to make the repair flush and to remove edges that would snag.
– Engineered floors have a wear layer; sanding aggressively can reduce finish thickness and create dull spots.
Finish touch-up
If your kit includes stain/wax/topcoat steps, follow the system exactly. Mixing random topcoats often creates sheen mismatch (matte vs satin) and can make the repair more visible than the original crack.
Step-by-step: Repair wider gaps or cracked boards
Repair wider gaps by treating it as a movement problem first. If planks are lifting, the floor is loose, or joints are opening due to insufficient expansion space, filler alone won’t hold.
When seams reopen seasonally, the underlying cause is usually dimensional movement from humidity imbalance or inadequate expansion space—not a “weak filler.”
If a plank is lifting or moving underfoot, securing that plank per the original install method is typically required before any cosmetic filling.
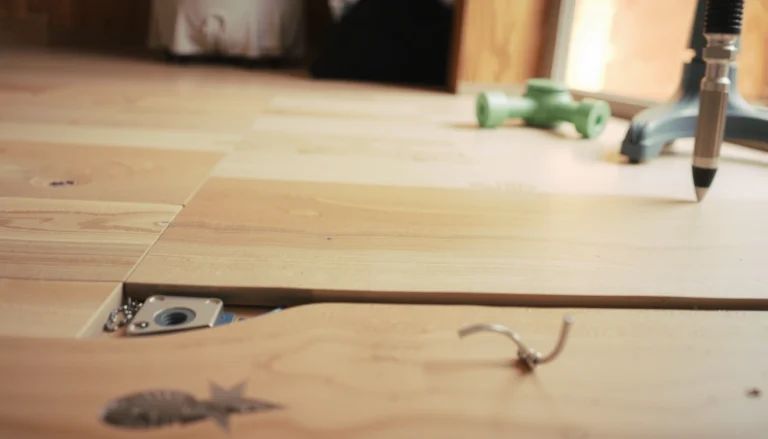
Replacing a permanently damaged plank is often the most durable option when the board is cupped or permanently separated at the joint.
Address looseness
If you feel movement:
– Identify whether fasteners failed, the subfloor has deflection (flex), or the installation was never stable.
– Secure planks using the method consistent with your installation (follow manufacturer guidance for engineered wood—nail-down vs click-lock behaves differently).
Re-align joints (if expansion space was the issue)
If cracking appears along walls and seams:
– The floor may need more unobstructed expansion space at perimeter areas.
– Before patching, correct blocked edges (e.g., baseboards installed tight against floating floors, or trim that compresses the system).
Replace when necessary
Replace a plank when you see:
– significant splitting that reaches structural support,
– permanent joint separation that doesn’t close even after humidity stabilizes,
– cupping or distortion that continues to change after you correct conditions.
In those cases, patching is “mechanically short-circuited” by ongoing board movement—repairs usually re-crack.
What can go wrong (and how to avoid it)
Most failed “repairs” happen when people skip the diagnosis step or mismatch materials/finish systems. If you correct cause (humidity or subfloor movement) and then repair with a compatible kit, the odds of lasting results improve significantly.
Common mistakes
– Filling before fixing humidity: cracks often return if the indoor environment keeps cycling.
– Over-sanding or finish mismatch: sanding through the wear layer or using a different sheen product creates visible failure zones.
– Gluing the wrong issue: rigid bonding can worsen splitting when the floor needs to move.
– Ignoring loose boards: if the subfloor isn’t flat or the install has become unstable, patching won’t stay.
Fast comparison: DIY filler vs “fix the system”
| Approach | Best for | Key risk | Result longevity |
|---|---|---|---|
| Stabilize humidity + use repair kit | Stable hairline cracks and minor surface splits | Cracks reappear if board movement continues | Often medium (depends on environment) |
| Secure planks / correct installation constraints | Looseness, seam opening due to movement, blocked expansion space | Not addressing all causes (e.g., subfloor flatness) | Often long-term when fully corrected |
| Replace damaged planks | Cupped/split boards or permanently separated joints | Color matching and labor cost | Most durable for structural failure |
Statistical/factual anchors to guide your expectations
– According to NWFA guidance, a commonly recommended indoor relative humidity range for wood flooring is about 35%–55% (NWFA environmental conditions guidance).
– According to USDA Forest Products Laboratory references on wood moisture behavior, equilibrium moisture content (EMC) shifts measurably as RH changes, which is why wood flooring dimensional change tracks seasonal RH more than calendar seasons (USDA Forest Products Laboratory wood moisture/EMC references).
– Engineered wood still experiences dimensional movement driven by moisture content changes, even when the top layer is factory-finished; that’s consistent with wood physics described in building-science references about moisture-driven dimensional change (building science moisture/wood movement literature).
Verdict: What’s worth doing yourself (and what isn’t)
For hairline cracks with stable board movement, many homeowners can improve appearance and reduce snagging by using a manufacturer-approved filler/repair kit and correcting humidity levels. If the crack is wide, boards are loose, or you see cupping/lifting, treat it as a system problem—either secure the floor correctly or plan for plank replacement.
– Skip DIY and get help if: boards move underfoot, multiple sections crack after every season, you suspect a moisture source (plumbing leak, wet crawlspace, exterior wall moisture), or you don’t know what your install type is (glue-down vs click vs nail-down).
– Best DIY candidates: isolated hairline surface cracks with stable board movement and no signs of lifting.
From a practical perspective, I’ve also found that repeated “patch-and-hope” tends to create a patchwork surface that becomes harder to match later. One well-executed repair plus environmental stabilization usually beats several imperfect rounds.
Quick scan / checklist
– [ ] Measure the crack/gap width (roughly: hairline vs clearly separated joint)
– [ ] Check for looseness or movement when walking nearby
– [ ] Verify indoor humidity stability (use a hygrometer)
– [ ] Clean and fully dry the area before filler/repair products
– [ ] Use a filler/kit compatible with engineered wood and your finish system
– [ ] If cracks return or boards lift: address subfloor/moisture and consider replacement
FAQ
Will wood filler fix engineered wood cracks permanently?
It can fix appearance and stop snagging for many minor, stable hairline cracks, but it usually won’t “beat” ongoing movement from humidity or a shifting subfloor. If the cause remains, cracks often reappear.
Why do cracks appear near baseboards or exterior walls?
Those areas are common spots for humidity variation and for expansion space issues. If the floor can’t move freely, stress concentrates and shows up as splitting or joint separation.
Can I sand engineered wood floors to make repairs blend in?
Often yes for small spot repairs, but engineered floors vary by top-layer thickness and finish. Follow your flooring manufacturer’s guidance—sanding too aggressively can damage the wear layer.
Should I use wood glue in the crack?
Only when the crack/joint situation is appropriate for bonding and matches your flooring repair/installation guidance. If the floor needs to move, rigid glue in the wrong place can worsen failure.
When should I replace a cracked plank instead of patching?
Replace when the plank is badly split, permanently lifted, cupped, or separated in a way that structural support is compromised. If the board moves, patching above it typically won’t last.
Sources
– [ADD: Your engineered wood flooring manufacturer’s installation and repair guidance—especially sections on acclimation, expansion gaps, and approved repair/patch products]
– [ADD: Manufacturer documentation for the specific wood filler/repair kit—application instructions and compatibility with engineered flooring finishes]
– National Wood Flooring Association (NWFA) guidance on wood flooring environmental conditions (commonly including indoor RH targets)
– USDA Forest Products Laboratory references on wood moisture behavior and equilibrium moisture content (EMC)
– [ADD: Official guidance from a moisture/humidity monitoring authority (e.g., a building science organization) for recommended indoor relative humidity ranges]
A durable fix for engineered wood cracks is rarely “just filling the line.” Diagnose whether the floor is experiencing moisture-driven dimensional change, subfloor movement, or blocked expansion space—then stabilize conditions before you repair. If the crack is superficial and the boards are stable, a matching repair kit can restore a clean, snag-free surface; if the floor is moving or planks are damaged, secure the system or replace the affected boards for the best long-term result.
Frequently Asked Questions
What causes cracks in engineered wood floors?
Cracks often come from normal seasonal movement—engineered wood can expand and contract with humidity changes. Gaps near walls, dryness from heating/air conditioning, or rapid swings in moisture can separate planks or create small fractures, especially in wider boards. Installation issues such as an insufficient expansion gap, an uneven subfloor, or boards not acclimated to the home can also lead to cracking. Over time, heavy impacts or improper cleaning methods may worsen existing hairline cracks.
How do you fix small hairline cracks in engineered wood floors?
Start by checking that the floor is stable and that the cracks aren’t caused by loose boards or an uneven subfloor. For hairline cracks, use a wood-floor crack filler or wood putty designed for engineered wood, applying it with a putty knife and wiping away excess immediately. Once cured, lightly sand the filled area and blend it with a floor-appropriate touch-up stain or recommended finish if the top wear layer allows it. For best results, match the filler color to your plank finish to minimize visual difference.
How can you fix wider gaps or split seams between planks?
If the crack is actually a seam opening, address the moisture conditions first—use a hygrometer to keep indoor humidity in the manufacturer-recommended range. For small seam gaps, you can use a color-matched wood filler or joint repair putty, but only after confirming the boards are properly secured. If planks have lifted, you may need to re-secure them to the subfloor using the approved method for your installation type (click-lock vs. glue-down). In severe cases, the affected planks may need to be replaced to prevent recurring separation.
Why is it important to control humidity before repairing engineered wood cracks?
Humidity control helps stop new movement that can reopen repaired cracks in engineered wood flooring. When indoor air is too dry, the wood shrinks and hairline fractures can appear or spread; when it’s too humid, boards can swell and shift. Before applying any filler, confirm your indoor moisture is stable and follow the flooring manufacturer’s guidelines. This approach improves the longevity of crack repairs and reduces the chance of repeat cracking.
What is the best way to prevent engineered wood floor cracks after repair?
Maintain consistent humidity year-round and avoid sudden temperature swings from HVAC vents blasting directly onto the floor. Use floor protectors under furniture, keep heavy rolling loads to a minimum, and clean with manufacturer-approved products to protect the wear layer. Regularly inspect high-traffic areas and seams so small issues don’t develop into larger splits. If you’re dealing with recurring cracks, consult the installation instructions or a flooring professional to check subfloor flatness, expansion gaps, and acclimation history.
📅 Last Updated: October 07, 2026 | Topic: How to fix cracks in engineered wood floors? | Content verified for accuracy and freshness.
References
- Google Scholar Google Scholar
https://scholar.google.com/scholar?q=how+to+repair+cracks+in+engineered+wood+flooring - Google Scholar Google Scholar
https://scholar.google.com/scholar?q=engineered+wood+floor+crack+gap+moisture+repair+guidelines - Google Scholar Google Scholar
https://scholar.google.com/scholar?q=wood+flooring+crack+repair+techniques+filler+putty+sanding+refinishing - Engineered wood
https://en.wikipedia.org/wiki/Engineered_wood - Wood flooring
https://en.wikipedia.org/wiki/Wood_flooring - Northern Research Station | US Forest Service Research and Development
https://www.fpl.fs.usda.gov/ - https://www.americanwoodcouncil.org/
- Google Scholar Google Scholar
https://scholar.google.com/scholar?q=How+to+fix+cracks+in+engineered+wood+floors? - How to fix cracks in engineered wood floors? – Search results
https://en.wikipedia.org/wiki/Special:Search?search=How+to+fix+cracks+in+engineered+wood+floors? - https://www.ncbi.nlm.nih.gov/search/research-articles/?term=How+to+fix+cracks+in+engineered+wood+floors?