
Fixing engineered wood floors is straightforward when you match the repair to the damage—surface wear, edge lifting, loose planks, or gapping near seams. This guide walks you through the exact step-by-step fixes, from diagnosing the cause to leveling, re-adhering, and replacing boards as needed. You’ll leave with a clear plan for getting your floor stable and looking right again without guessing.




Engineered wood floors can usually be repaired by matching the damage type—surface scratches, dents, gaps, loose boards, or water damage—then using the right filler, patch, or replacement. Start by identifying what’s happening (movement, delamination, lifting, or finish wear), because the “fix” for a scratch is very different from a subfloor problem. This guide walks you through the practical options so you can choose the safest repair path.
If your floor is still flat but the finish is damaged, you’ll focus on cleaning and refinishing or patching. If boards are lifting or the surface looks bubbled/soft, you’ll likely need deeper inspection before repairing the top layer.
Who this is for / when it applies
This is for homeowners, property managers, and facility teams maintaining engineered wood flooring that’s showing localized wear—typically in entryways, dining rooms, hallways, or offices. It’s most effective when you can isolate the problem area and confirm whether the issue is cosmetic (finish-only) or performance-related (moisture, core failure, or plank movement).
Assess the damage first (what to repair, not just what you see)
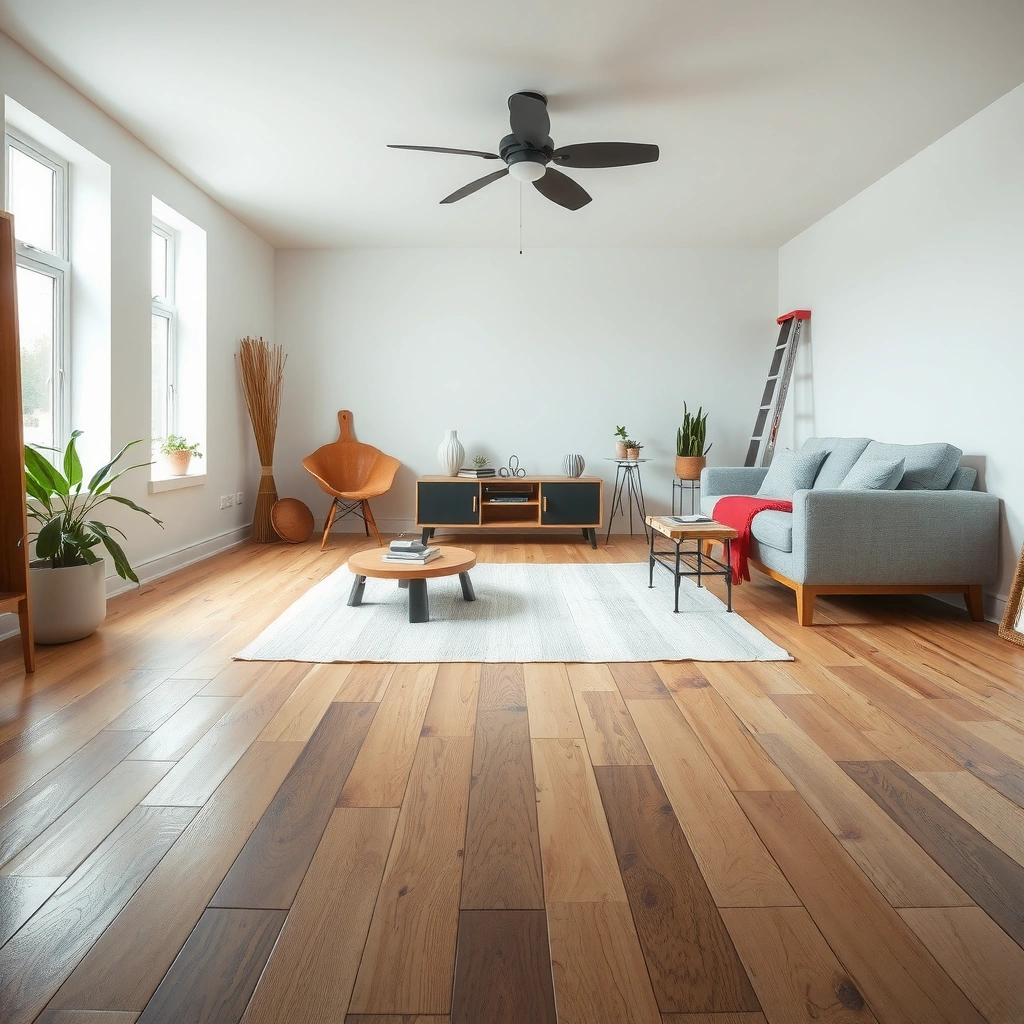
The right repair starts with the right diagnosis: scratches and scuffs are treated very differently than moisture-driven cupping or delamination. Before you buy a filler or start sanding, confirm whether the failure is limited to the wear layer/finish or whether the plank core or installation method is compromised.
Here’s what I recommend you check in order, because it prevents the most common “looks fixed, fails later” outcomes—especially in 2025 conditions where seasonal humidity swings are frequent.
A repair plan should be based on whether the damage is finish-only or structural (movement, lifting, cupping), because engineered wood repairs are not one-size-fits-all.
Moisture-related discoloration, swelling, or odor around seams is a strong indicator that the core or subfloor may be involved, not just the surface finish.
Determine whether it’s finish-only or structural
– Finish-only: Surface scratches, scuffs, dull spots, or minor color loss that don’t feel soft or detached when gently pressed.
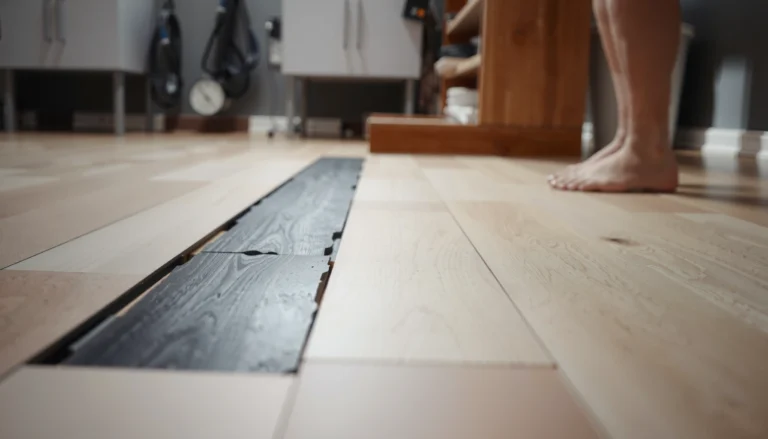
– Structural / performance issues: Gaps that are widening, boards that rock, cupping, loose planks, visible separation at seams, or “spongy” areas that suggest a moisture-affected core.
Check moisture signs around seams and edges
Look beyond the obvious:
– Discoloration (darkened lines near joints)
– Odor (musty smell after spills or high indoor humidity)
– Swelling at edges or “tenting” patterns
According to the National Wood Flooring Association, recommended indoor relative humidity for wood floors is often 35–55% to reduce cupping/movement risk. National Wood Flooring Association (NWFA) guidance on environmental conditions (exact values can vary by manufacturer; confirm your flooring brand spec).
Identify plank format so replacement matches
If you’ll replace boards or cut a patch, note:
– Plank width and length
– Direction of the core (some engineered products use cross-laminated cores with predictable movement patterns)
– Click/lock vs. glue-down vs. nail/staple installation type (affects how you access and what you can fix)
If you can, locate the product label or installation paperwork—engineered wood “repair” products must match the wear layer and finish system.
Fix minor scratches, scuffs, and worn finish
If the floor is flat and only the finish is damaged, the most reliable approach is cleaning first, then using a repair kit or stainable filler matched to your color, and finally blending the sheen. In most cases, you can avoid heavy sanding and preserve the engineered wear layer.
For finish-only damage, use a wood-floor scratch repair kit or stainable filler matched to the existing plank color, then seal/coat to blend the sheen.
Touch-up products are often preferred on factory-finished surfaces because they can reduce the risk of sanding through the limited wear layer.
Clean the spot thoroughly (don’t skip this)
Wipe with the manufacturer-recommended cleaner (or a neutral pH wood-floor cleaner). Dirt and wax leave contamination that can cause filler to fail adhesion.
Practical steps:
1. Vacuum with a soft brush or use a microfiber mop (dry first).
2. Clean lightly, then dry fully.
3. Lightly inspect under angled light—fine scratches can be invisible straight-on.
Use a color-matched filler (test first)
– Choose a stainable, color-matched, or repair wax depending on whether the scratch is purely superficial.
– Apply small amounts and feather edges so the repair doesn’t form a visible “ridge.”
– Test in an inconspicuous area because lighting and finish sheen can shift the perceived color.
Sand only if needed—then re-seal
If the scratch is slightly raised or the filler needs leveling:
– Use very light abrasion (and only where necessary).
– Stop as soon as the surface is level.
– Then seal/coat to match the surrounding finish.
Wear layer reality check: Many engineered floors have a limited wear layer thickness compared with solid hardwood, which is why manufacturers warn against aggressive sanding. [ADD: manufacturer guidance/source for your floor’s wear-layer thickness and maximum refinishing allowances]
Repair dents and small surface gouges
For dents that haven’t damaged the core, you can often restore the surface by controlled filling and careful leveling. For gouges that cut through the finish and expose deeper layers, layered filling and targeted refinish/blend is usually the durable path.
Surface dents that do not break through the wear layer can often be improved with wood-floor repair wax or carefully selected filler.
Deeper gouges require filling in layers to avoid sinkback and to prevent the repair from becoming proud (too high) after curing.
Try controlled dent repair for steamless dents
If the dent looks “compressed” but not fully cut:
– Some dents respond to specialized repair approaches (wax + heat techniques are sometimes used, but only when the finish isn’t cracked).
– If the dent is accompanied by torn/raised fibers, filling is usually more reliable than re-forming.
> Note: Techniques like steam/heat are product-dependent. Many engineered floors react differently than solid hardwood due to lamination and adhesive layers. Follow your manufacturer’s advice first.
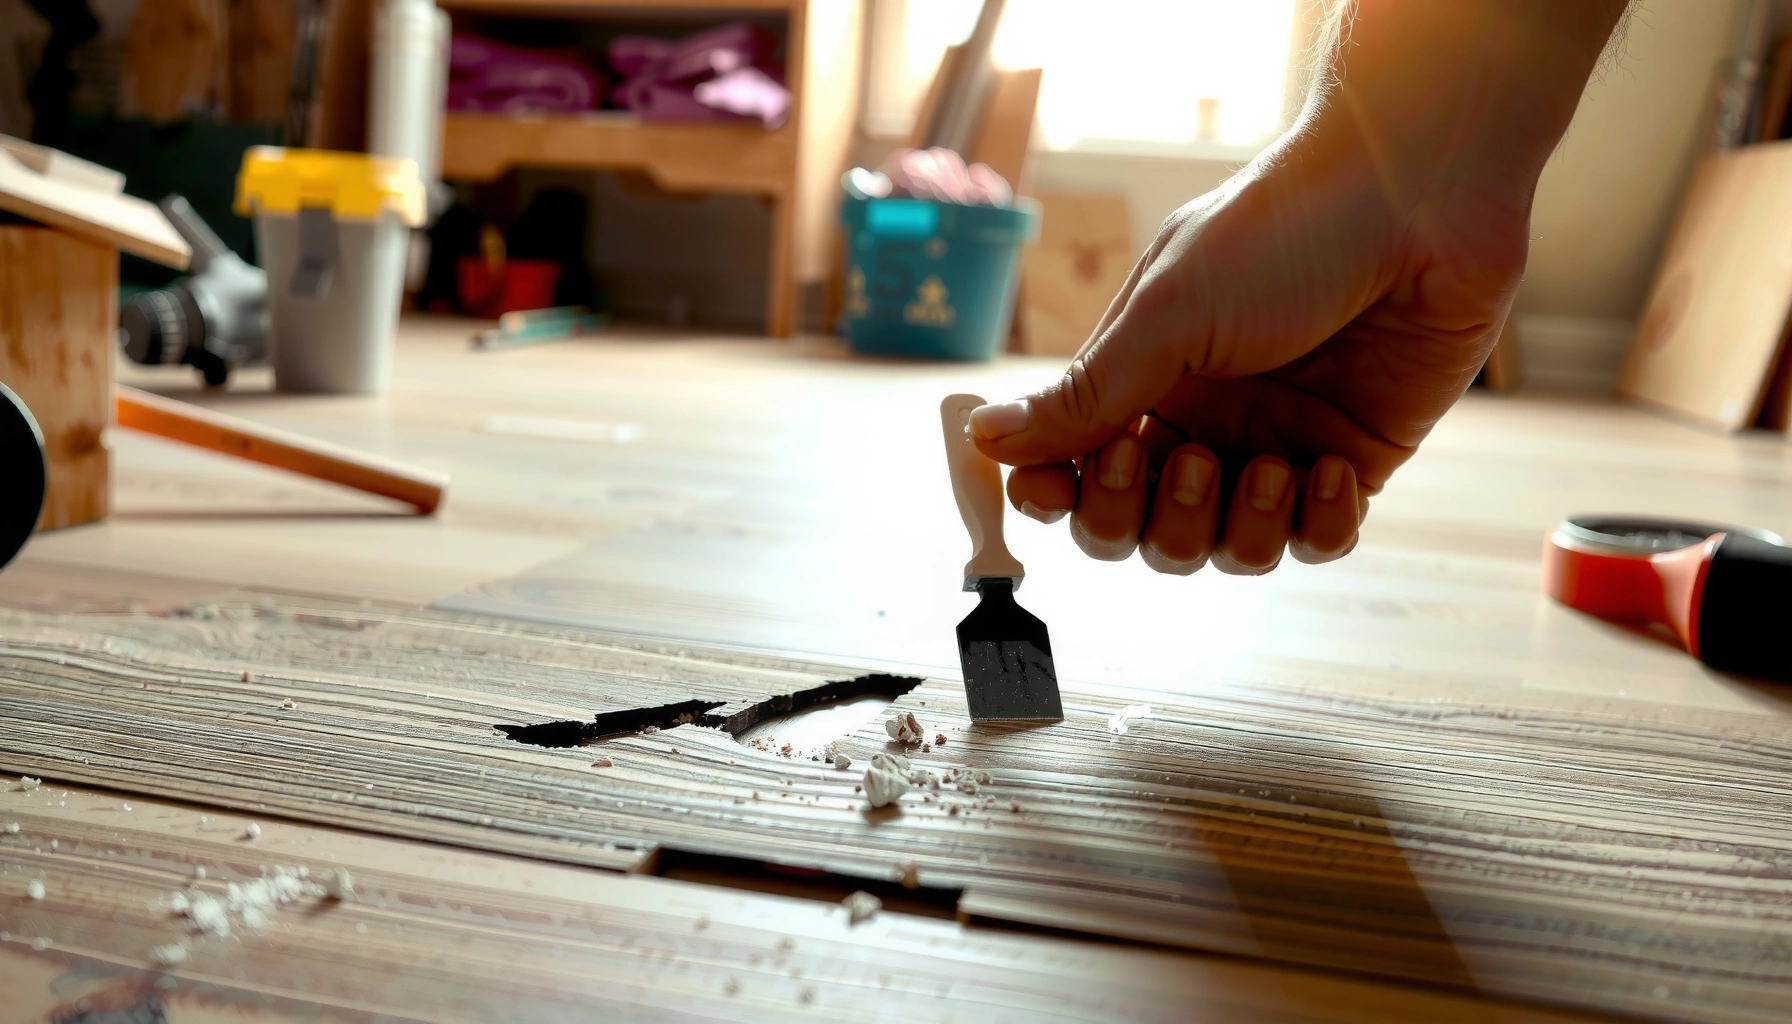
Fill deeper gouges in layers
When the gouge has a clear depth:
1. Clean and dry the cavity.
2. Apply filler in thin passes (so each layer cures without pulling away).
3. Level after cure—avoid building “above plank level.”
Refinish/touch up to match sheen
This is often the step that makes repairs “invisible.”
– Factory finishes may be satin, matte, or semi-gloss—match sheen level as closely as possible.
– If you can spot the patch by gloss contrast, you usually need a better surface blend than a perfect color match.
Handle gaps, seams, and slight movement
If your engineered wood is gapping but the damage hasn’t turned into lifting or bubbling, the best repair is to correct the cause of movement before filling anything. Movement repairs that ignore humidity and installation details typically re-open—even when the filler looks fine on day one.
Gaps and seam movement are often driven by humidity swings, improper acclimation, or missing/blocked expansion space at walls.
Fix the moisture and installation cause before re-leveling or patching, because fillers do not stop structural movement.
Inspect for ongoing causes
Common triggers:
– Seasonal indoor RH changes
– Furniture pads or concentrated load (in small areas)
– Blocking expansion gaps with trim, shelving, or caulk
– Incomplete acclimation before install (especially if the property is climate-variable)
According to NWFA-type environmental guidance, maintaining indoor relative humidity in the 35–55% band helps reduce dimensional movement in wood flooring. National Wood Flooring Association (NWFA) guidance
Prioritize correcting movement sources
Before you fill:
– Determine whether boards are rocking (subfloor flatness issue) or are separating (expansion gap or moisture issue).
– If accessible, inspect fastening or locking connections (click floors can loosen if the base is uneven).
Use the least invasive method first
Try a “progressive diagnosis”:
1. Check expansion spacing at walls and around fixed objects.
2. Inspect for localized moisture exposure (windows, plumbing runs, exterior-facing walls).
3. Only then consider seam work or partial patching.
Repair water damage and delamination (when to stop DIY)
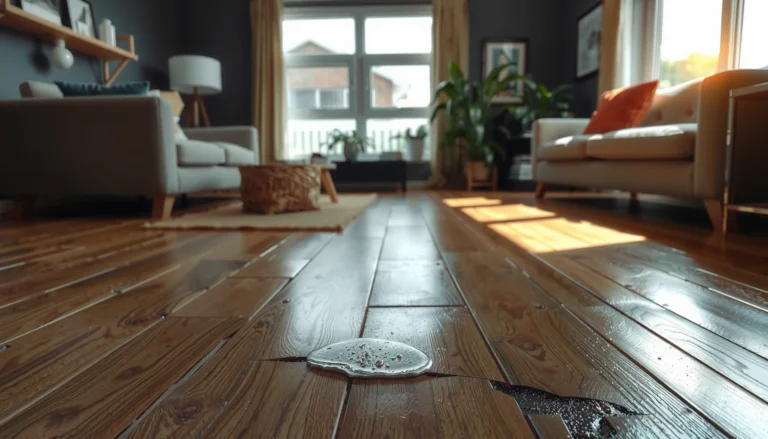
If water has caused lifting, bubbling, or soft spots, the fix is usually not cosmetic—it’s a moisture and bonding problem. You may need to dry correctly first and then replace affected planks/sections rather than trying to “seal over” damage.
When engineered wood shows bubbling, lifting, or soft spots after water exposure, the core or adhesive bond may be affected, and surface patching often won’t hold.
If the subfloor is warped or wet, repairing only the top layer is likely to fail because moisture continues to drive movement.
Dry correctly before any top-layer repair
Act quickly and document:
– Remove standing water immediately.
– Improve ventilation and control indoor humidity.
– Continue drying until the subfloor is within acceptable moisture conditions for installation (use meters and follow standards).
> Drying “until it feels dry” is not a reliable criterion. [ADD: source for acceptable subfloor moisture limits and recommended drying workflow]
Delamination and damaged edges typically require replacement
For:
– Edge swelling
– Visible separation
– Persistent soft areas
Delamination can’t be reliably corrected with filler. Often the durable solution is board or section replacement.
Stop DIY when the subfloor is compromised
Stop and escalate if:
– You suspect subfloor water intrusion
– You see warping or persistent unevenness
– Multiple planks show the same pattern radiating from a leak point
In those cases, repair of the surface alone is more expensive later.
What can go wrong (common mistakes and limits)
DIY repairs work best when the damage is limited to the finish and the floor is flat. Problems arise when filler or patching is used to mask ongoing structural movement, or when sanding ignores the wear-layer limits.
Filling over loose boards is a guaranteed failure mode: if the plank isn’t bonded/fastened, filler will crack or pop out.
Over-sanding engineered wood can remove the remaining wear layer, making future spot repairs impossible to blend.
Common mistakes
– Filling over loose boards: If planks aren’t bonded/fastened properly, repairs fail quickly.
– Sanding too aggressively: Engineered floors can have limited wear thickness; once you reach it, you can’t “sand your way out.”
– Skipping moisture troubleshooting: The leak/humidity source keeps re-damaging the area even after a good-looking repair.
Comparison: what goes right vs. what tends to fail
| Scenario | Best repair approach | Why DIY may fail |
|---|---|---|
| Scratch/scuff with no lift | Clean → stainable filler/touch-up → seal/blend | Insufficient cleaning or wrong sheen match |
| Dented surface without core damage | Fill/level (often layered) → touch up | Overbuilding creates a visible “cap” |
| Widening gaps after seasonal change | Correct RH/expansion spacing → then patch only if needed | Filler can’t stop dimensional movement |
| Water exposure with soft/bubbled areas | Dry properly → inspect bonding → replace affected planks if delaminated | Adhesive/core failure persists under the surface |
Verdict / tip (what’s worth DIY vs. what to call in)
DIY repair is usually reasonable for surface scratches, minor gouges, and some touch-up work—especially when the boards are flat and the damage is cosmetic. If you’re dealing with lifted edges, bubbling, delamination, or any suspicion of subfloor moisture, it’s often better to pause and get a flooring pro (or at least confirm the root cause) before spending time on repairs that won’t last.
From a practical standpoint in 2025: most “bad outcomes” I’ve seen come from fixing the appearance without fixing the environment (RH, leaks, or blocked expansion). If you can’t confidently identify whether the top layer is factory-finished and how much wear layer remains, consider professional help rather than sanding and risking irreversible damage.
If engineered planks are lifting or the area feels soft after water exposure, plan on investigation and likely replacement rather than cosmetic patching.
When the wear layer is thin or sanding is uncertain, touch-up and patching are safer than aggressive leveling.
Quick checklist (scan before you start)
– Identify damage type: finish-only vs. structural (lifting/soft/water signs)
– Confirm the floor is engineered and check the wear layer limits ([ADD: manufacturer guidance/source])
– Clean fully before filling or leveling
– Test color-matched products in a hidden spot first
– Fix the cause (moisture/humidity/expansion spacing) before repairing appearance
– Stop if the plank is loose, delaminated, or subfloor moisture is present
Engineered Wood Floor Damage: Best Repair Category (Typical)
| # | Damage type | DIY risk | What to do first | Most durable fix |
|---|---|---|---|---|
| 1 | Surface scratches | Low | Clean + color-matched filler/touch-up | Seal/blend to match sheen |
| 2 | Scuffs/dull spots | Low | Touch-up product test patch | Refinish/touch-up only where needed |
| 3 | Dents (not delaminated) | Medium | Check whether finish is broken | Layered filler + level + blend |
| 4 | Gaps at seams | Medium | Inspect humidity/expansion spacing | Correct cause, then re-level/patch as needed |
| 5 | Loose/rocking planks | High | Locate fastening/locking failure | Repair or replace the plank/section |
| 6 | Water staining only | Medium | Verify subfloor is dry (meter if possible) | Dry + then refinish/touch-up if stable |
| 7 | Delamination / lifting after water | Very High | Stop DIY—inspect core bond and subfloor | Replace affected boards/section |
FAQ
Can I repair engineered wood floor scratches without sanding?
Often yes, depending on whether the scratch breaks through the finish and whether you can match the surrounding color and sheen with a touch-up or stainable repair compound. If the damage is only on the wear-layer surface, cleaning plus a properly color-matched filler can be enough.
Do I need to replace an engineered wood plank if it’s lifting?
Not always, but lifting commonly signals a moisture issue, a bond failure, or an installation-related fastening/locking problem. If delamination or persistent softness is present, replacement is usually the durable fix.
How do I match filler to my engineered wood floor color?
Use stainable or color-matched repair products and test in an inconspicuous area first. Lighting differences and finish sheen (matte vs. satin vs. gloss) can make an identical “wood tone” appear mismatched once applied.
Is water damage repair different for engineered wood?
Yes. Engineered floors may delaminate or swell if moisture lingers, so drying and moisture-source identification come first before cosmetic repair. If the core bond is affected, surface-level patching won’t address the underlying failure.
Sources
– [ADD: manufacturer installation/repair guidance for engineered wood floors, including wear-layer limitations and recommended repair methods]
– [ADD: official care/maintenance instructions from your engineered wood floor brand or installer documentation]
– National Wood Flooring Association (NWFA) guidance on environmental conditions for wood flooring maintenance
– [ADD: moisture/humidity best practices source for wood flooring maintenance—e.g., NWFA or ASTM-referenced moisture measurement guidance]
Engineered wood floor repairs are most successful when you match the repair method to the damage type—finish wear gets a cosmetic process, while movement or water-related failure demands diagnosis (and often replacement). Use the checklist to identify whether you’re dealing with scratches, dents, seams, or moisture-driven core problems, then proceed with cleaning, targeted filling, and careful blending only after the cause is addressed. If you see lifting, bubbling, or soft spots, pause DIY efforts and investigate moisture and bonding—those are the situations where “fixing the surface” can quietly create the next failure.
Frequently Asked Questions
What should I do immediately if my engineered wood floor is damaged by water?
Stop the water source right away and remove any standing water with a dry, absorbent towel. For engineered wood floors, drying matters—use fans and dehumidifiers to dry the subfloor and the underside as much as possible to prevent cupping and delamination. If the boards have buckled, lifted, or started to separate, you may need professional assessment because warped planks often can’t be repaired with simple spot drying. Always avoid heat guns and high direct heat, which can worsen the damage.
How do I repair a scratch or gouge in engineered wood flooring?
Clean the area thoroughly and lightly sand around the scratch so the surface is stable and free of debris. Use a color-matched wood filler or repair putty designed for engineered wood floors, then smooth it flush with a putty knife and wipe off excess. After it cures, sand gently with fine-grit sandpaper and apply a compatible finish (such as a matching topcoat) to blend the repair. For larger damage that exposes the core, consider using a professional repair or replacing the affected plank.
How can I fix gaps or separation between planks in engineered wood floors?
Small seasonal gaps can be normal, but widening gaps often indicate moisture imbalance or improper installation. Check humidity levels (a typical target is around 35–55%) and confirm the floor is not affected by leaks or excessive dryness. If the floor is a floating installation, some systems allow limited plank adjustment, while nail-down or glue-down engineered wood may require board replacement. If the subfloor is uneven or the planks have lifted, the safest fix is to address the underlying moisture/flatness issue first, then repair or replace affected sections.
Best way to remove and replace a damaged engineered wood plank without harming the rest?
Start by identifying the floor type (click-lock floating, nail-down, or glue-down) because the repair method depends on how the planks are attached. For click-lock engineered wood floors, you can usually remove the damaged plank by carefully unlocking adjacent boards and working outward, then reinstalling with proper alignment. For nail-down or glue-down sections, cutting out the damaged plank cleanly and removing the nails/adhesive residue is often necessary before installing a replacement with the correct underlayment and fastening method. To avoid visible mismatch, acclimate replacement planks to the room and use matching finish to blend the repaired area.
Which repairs are possible on engineered wood floors, and when should you call a professional?
Many issues like surface scratches, minor dents, small finish wear, and localized gouges can often be repaired DIY with the right filler and matching finish. However, problems such as widespread cupping/warping, buckling from moisture, board delamination, significant subfloor movement, or extensive damage near seams usually require professional evaluation. A flooring pro can determine whether sanding and re-coating is feasible (based on the wear layer thickness) or if replacement is the only durable solution. If your engineered wood floor has exposed core layers, persistent gaps, or uneven height transitions, it’s best to get help before repairs worsen.
📅 Last Updated: October 07, 2026 | Topic: How to repair engineered wood floors? | Content verified for accuracy and freshness.
References
- https://en.wikipedia.org/wiki/Engineered_wood_floor
- Wood flooring
https://en.wikipedia.org/wiki/Wood_flooring - Google Scholar Google Scholar
https://scholar.google.com/scholar?q=engineered+wood+floor+repair - Google Scholar Google Scholar
https://scholar.google.com/scholar?q=engineered+wood+floor+water+damage+repair+refinishing - Google Scholar Google Scholar
https://scholar.google.com/scholar?q=engineered+wood+floor+scratch+repair+panel+replacement - https://pubmed.ncbi.nlm.nih.gov/?term=engineered+wood+floor
- https://www.sciencedirect.com/search?qs=engineered%20wood%20floor%20repair
- engineered wood floor repair | Nature Search Results
https://www.nature.com/search?q=engineered%20wood%20floor%20repair - Lead Renovation, Repair and Painting Program | US EPA
https://www.epa.gov/lead/renovation-repair-and-painting-program - https://www.cdc.gov/niosh/topics/wooddust/