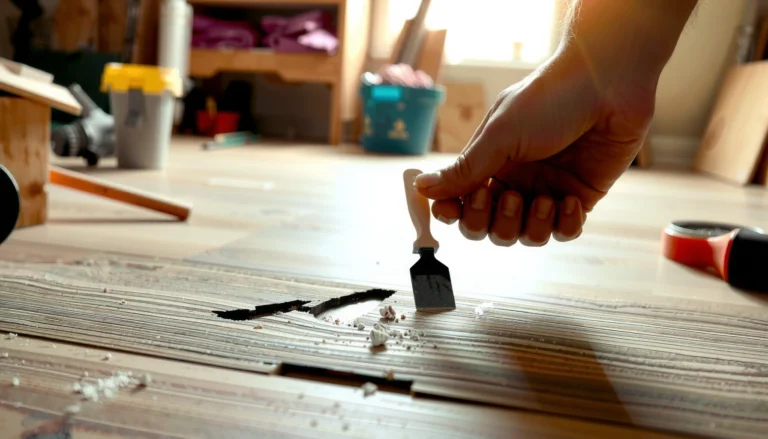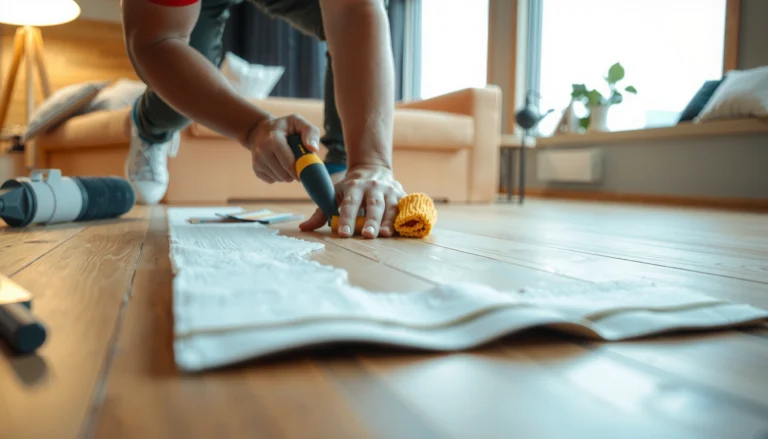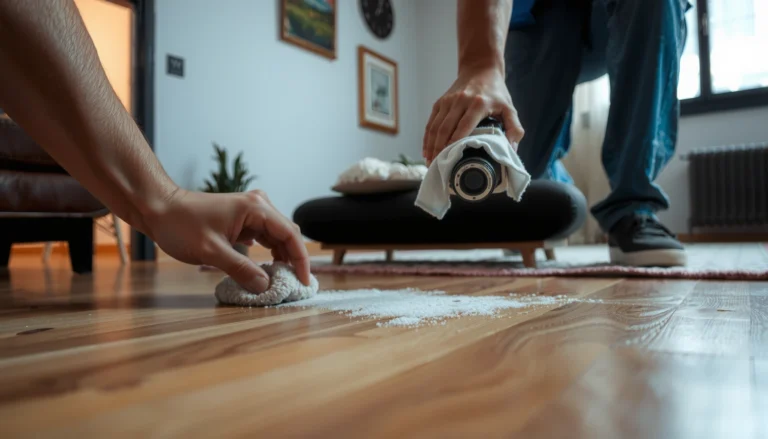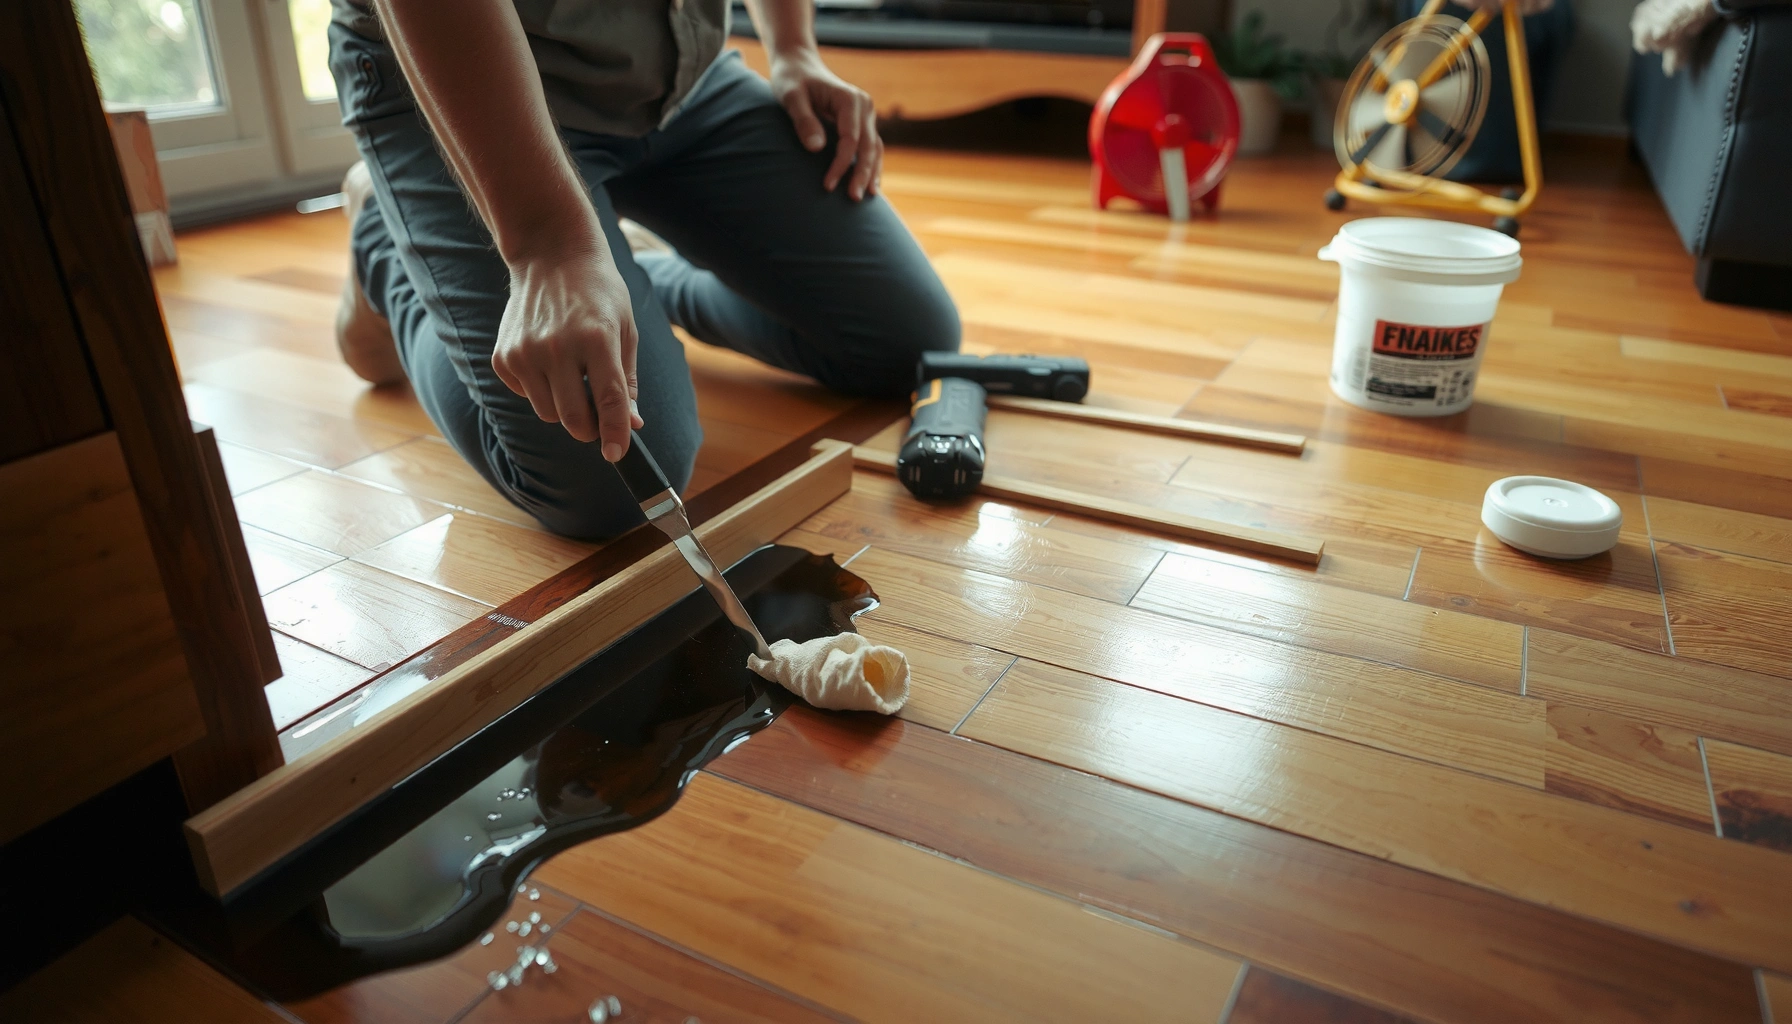

This step-by-step guide tells you exactly how to fix water damage on hardwood floors—fast, safely, and with the right repair approach for the damage level. If the water has soaked in, you’ll follow proven drying, assessment, and sanding or replacement steps to prevent cupping, warping, and lingering odor. When you get to the finish, you’ll know precisely how to refinish so your floor looks consistent again.




If your hardwood floors got wet, the fastest path to saving them is to stop the moisture immediately, dry the area thoroughly, and then decide whether you need to sand/refinish or call a pro. The key is not just drying what you can see—it’s confirming how far water penetrated (surface stain vs. deeper moisture) before you touch the finish.
This guide is for homeowners and renters dealing with recent spills, leaks, or flood spots on hardwood (including engineered hardwood). If the water came from sewage/dirty sources, or if boards are already lifting, swollen badly, or you see long-term cupping, you’ll need a more cautious approach and likely remediation assistance.
Stop the water and remove the source fast
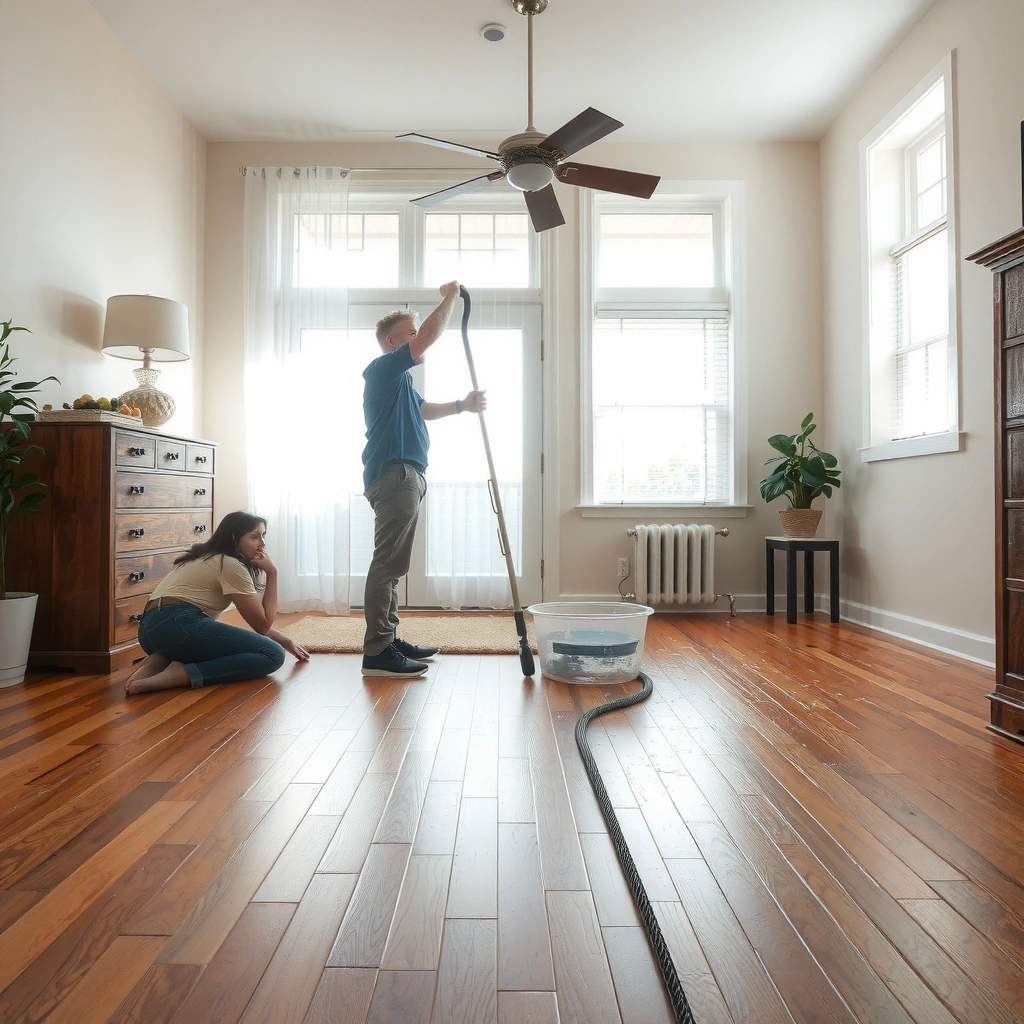
If the water source is still active, drying the floor won’t truly fix the problem—it just delays the inevitable swelling. Your first job is to stop the leak or spill, then remove standing water so moisture has a chance to come down before it penetrates deeper.
The faster you remove standing water from wood floors, the less likely moisture migrates past the finish into the plank and subfloor.
Category 3 (sewage/black water) requires remediation practices beyond simple drying.
Hardwood damage severity depends on both exposure time and moisture category, not just “how much water you saw.”
– Shut off the leak or address the source (plumbing issue, roof leak, leaking appliance) before drying anything else.
– Remove standing water promptly (wet/dry shop vac for puddles; blotting for small spills) and take up any damp rugs or padding right away.
– If water reached under furniture or along baseboards, pull items back now—drying only the center “spot” often misses the wet perimeter where boards wick moisture.
– Safety note: If there’s any chance the water is contaminated (bathroom overflow, sewer backup, sump pump failure in bad conditions), treat it as potentially unsafe until proven otherwise.
What “source stopped” really means
Even after you shut off a valve, water can continue to wick through wood fibers and seams. That’s why your goal in this first phase is to both stop the new moisture input and physically extract what’s already on the surface and between boards.
Assess the damage before you dry or repair
Before you run fans or start sanding, you need a quick diagnosis: is it mostly a finish/discoloration issue, or is it real structural moisture damage (swelling/cupping)? This step saves time and prevents the most common DIY failure: refinishing over moisture that’s still moving underneath.
Discoloration can remain after the wood has dried, but cupping/peaking typically signals moisture penetration deeper than the finish.
Edges lifting, growing gaps, and a “spongy” feel can indicate board-level problems, not just surface haze.
– Check for discoloration vs. actual swelling: stain can be only surface-level, but cupping/peaking usually means deeper moisture.
– Look for signs of penetration: edges lifting, loose boards, gaps widening, or a “spongy” feel underfoot indicates you may need board-level work, not just refinishing.
– Use a flashlight at a low angle to spot “crown” and “valleys.” If you see daylight along the perimeter or between boards after the event, treat it as penetration.
– Press test (gentle): Press a few affected boards. If the floor feels softer in the center than at the edges, that’s a warning sign—monitor closely and consider a pro evaluation before refinishing.
Decide what you’re actually repairing
A good rule of thumb: surface stain + no movement often becomes a cleaning/sanding/spot-refinish job; movement (warping/cupping) + persistent haze usually requires deeper drying and possibly repair or replacement.
Drying hardwood properly (what to do in the first 24–72 hours)
Once you remove the source and extract standing water, drying becomes a controlled moisture reduction—not a race to “get it dry by tonight.” In the first 24–72 hours, the biggest win is stable conditions: airflow plus dehumidification, without heat extremes that can worsen warping.
Drying goals for structural drying are typically based on measurable moisture reduction, not just time since the spill.
High temperatures can increase finish failure risk and contribute to uneven drying and movement in wood.
Indoor mold control commonly targets relative humidity in the 30–50% range.U.S. Environmental Protection Agency (EPA), indoor moisture/mold guidance (humidity target commonly cited as 30–50%)
– Increase airflow and dehumidification: use fans to move air across the floor and run a dehumidifier if you have one; keep the room ventilated.
– Avoid heat extremes: don’t blast high-heat heaters directly at the floor, since rapid drying can worsen warping or cause finish to fail.
– Give it time to equalize: drying should continue until moisture has come down significantly (use [ADD: exact moisture meter readings or drying benchmarks if you have them from your meter/manual]). If you don’t have benchmarks, rely on stable conditions and the absence of new movement.
A practical drying setup (typical homeowner approach)
– Fans: Position 2–3 fans so air moves across the boards, not straight upward off the surface.
– Dehumidifier: Run continuously; empty the bucket as needed.
– Thermostat: Keep consistent room temperature rather than spiking it.
– Monitor movement: Check the same boards every few hours for the first day. If the floor keeps “changing shape,” you likely still have moisture migration.
Clean, prep, and handle stains and finish damage
After the floor is fully dry, cleaning and prep can determine whether the stain comes out—or whether you’re looking at sanding and refinishing. The big mistake here is cleaning too early: if moisture is still active underneath, discoloration can reappear even after you “fix” it once.
Residual haze rings after water events are often finish-related contamination rather than a permanent wood stain, but not always.
Cleaning should be gentle and non-soaking once the wood is dry to avoid introducing new moisture.
– Once fully dry, clean residue gently with a hardwood-appropriate cleaner; don’t soak the floor.
– For white haze/ring stains: test whether they lift with gentle cleaning—if not, you’ll likely need sanding and spot refinishing.
– For damaged finish: plan for re-coating at least the affected area (and sometimes blending into adjacent boards depending on how the original finish matches).
How to tell “stain” vs. “swollen”
– Stain/haze without ridges or crown changes: often finish contamination; start with gentle cleaning.
– Visible peaks/cupping or lingering soft feel: that’s structural moisture damage; cleaning won’t solve it.
Hardwood Moisture Risk Timeline (Typical Indoor Conditions)
| # | Scenario (visible exposure) | Likely Primary Issue | Moisture Migration Risk | DIY Outcome Chance |
|---|---|---|---|---|
| 1 | Spill cleaned within ~15 minutes | Surface haze / minor finish mark | Low | High (★) |
| 2 | Puddle present 1–3 hours | Stain + possible edge swelling | Moderate | Medium (★★) |
| 3 | Water stayed 3–6 hours | Finish damage + spreading haze | Elevated | Low-Med (★★) |
| 4 | Leak running overnight (6–12 hours) | Cupping risk + subfloor involvement | High | Low (★) |
| 5 | Flood spot lasting 12–24 hours | Board warping + finish failure | Very High | Very Low (★) |
| 6 | Clean water category, but under-rug saturation | Localized cupping/peaking | High (hidden) | Low-Med (★–★★) |
| 7 | Any sewage/gray-water event | Remediation + replacement considerations | Extreme (risk) | Pro/Rebuild (★) |
Note: “DIY outcome chance” assumes the water source is stopped and moisture is reduced to stable indoor conditions; exact results vary by plank thickness, installation, finish system, and subfloor condition.
Repair warped boards and gaps (when “refinish only” isn’t enough)
If you see warping, persistent swelling, or gaps that keep widening, you’re beyond “spot fix” territory. At that point, drying and refinishing may still help the appearance, but the structural problem (moisture or failed fastening) usually needs repair—sometimes replacement.
Cupping and peaking generally indicate moisture gradients within the plank, and forcing flattening can crack finish or damage joints.
If gaps expand after drying, the subfloor or underlayment may still be wet or moving.
– Minor surface discoloration may be fixable with spot sanding and refinishing; visible warping, buckling, or persistent swelling usually requires board repair/replacement.
– If boards are cupped or lifted, consider professional assessment before forcing flattening—improper methods can split tongues, crack finish, or break fasteners.
– For engineered hardwood, watch for layer separation or joint failure if the product was exposed long enough for moisture to affect the core.
– If the issue is localized, board replacement (and careful matching) can be more reliable than aggressive attempts to “press it flat.”
DIY vs. professional repair: quick comparison
| Decision factor | DIY drying + spot refinishing | Call a pro / remediation |
|---|---|---|
| Water duration | Clean event removed quickly | Overnight leak, flood duration, or unknown exposure time |
| Visible movement | No peaking/cupping; no lifted edges | Cupped/buckled boards; increasing gaps after “drying” |
| Moisture category | Clean water | Sewage/gray water or contamination risk |
| Subfloor signs | Subfloor appears unaffected | Suspect wet insulation, damp underlayment, or odors |
| Outcome goal | Improve appearance only | Restore safe, stable structure |
What can go wrong (common mistakes and limits)
Even when you follow the steps, a few predictable errors lead to recurring haze, re-warping, or finish bubbling. These issues typically happen when homeowners treat wood like a “surface-only” material instead of a moisture-balanced system.
Refinishing before the wood is fully dry can trap moisture and cause bubbling or recurring haze.
Rapid drying with high heat can worsen moisture gradients, increasing the risk of warping.Institute of Inspection, Cleaning and Restoration Certification (IICRC), S500 Structural Drying principles—drying should be controlled and measurable
– Treating the stain immediately without stopping moisture: discoloration can come and go while moisture is still active underneath.
– Overheating or rushing the dry: quick drying can create new movement and finish failure.
– Underestimating water category: if the water is from sewage/gray water, don’t just dry—use appropriate remediation practices and consider professional help.
– Assuming engineered vs. solid behaves the same: [ADD: reference/spec differences from your specific flooring manufacturer]; some products tolerate moisture better than others.
Common “I thought it was dry” symptoms
– White haze returns days later.
– New waves or crowning appear after refinishing.
– Finish “blisters” show up where the stain was worst.
– Gaps widen slowly rather than stopping.
Verdict / tip (what’s worth DIY vs. when to stop)
If the damage is limited (small spill/leak, wood is not severely warped, and the subfloor stayed dry), you can often DIY drying, cleaning, and spot refinishing. Skip DIY—and get a flooring pro—if boards are significantly cupped/buckled, gaps keep expanding after drying, the area was a prolonged leak, or you suspect the subfloor/insulation is wet.
The biggest downside of DIY is misjudging moisture depth: refinishing over trapped moisture can lead to bubbling, recurring haze, or renewed warping. In 2026, many restoration standards still emphasize measurable drying progress and proper moisture categorization—so when uncertainty is high, it’s usually more cost-effective to stop early.
The most reliable wood-floor outcomes come from drying to stable moisture conditions before refinishing.
When moisture category is contaminated, the “dry it and refinish” approach is usually unsafe and incomplete.
Quick checklist to save your hardwood
– [ ] Stop the water source immediately
– [ ] Remove standing water / blot spills
– [ ] Increase airflow + dehumidify; avoid high-heat blasting
– [ ] Confirm the floor is fully dry before cleaning or sanding
– [ ] Clean residue with a hardwood-safe cleaner (no soaking)
– [ ] Decide: spot refinish for stains vs. replace/repair for warped boards
– [ ] Monitor for 1–2 weeks for recurring haze or movement
FAQ
How long does it take to dry hardwood after water damage?
It depends on how much water penetrated and your room humidity/airflow. In general, drying is often measured in days, not hours—[ADD: manufacturer-specific drying guidance if you have the product name/model].
Can I refinish hardwood right away after it gets wet?
No—refinishing too soon can trap moisture and cause discoloration again, bubbling, or new warping. Wait until the wood is fully dry and stable per your flooring guidance.
What causes white spots or haze after water damage?
White haze is commonly related to finish or surface contamination and sometimes moisture that affected the finish layer. If gentle cleaning doesn’t remove it after drying, sanding/spot refinishing is often required.
Should I replace hardwood if the damage is only a stain?
Not always. If boards aren’t warped and moisture is fully resolved, stain-only issues can sometimes be fixed with spot sanding and refinishing—but confirm the dryness first.
Is engineered hardwood easier to fix than solid hardwood?
Sometimes, because it’s built differently, but it’s not automatically “easier.” Moisture behavior still varies by manufacturer and installation method—[ADD: link to your flooring brand’s moisture/repair guidance].
Sources
– [ADD: manufacturer installation and moisture guidelines for your exact hardwood/engineered product—include the brand/model.]
– [ADD: general hardwood floor care/finish guidance from the finish manufacturer or flooring association—only if you can name the specific authority/spec.]
– Institute of Inspection, Cleaning and Restoration Certification (IICRC), S500 Structural Drying (drying principles and moisture-based goals). Official standard/document: IICRC S500
– U.S. Environmental Protection Agency (EPA), Mold prevention and indoor humidity guidance. Official EPA moisture/mold guidance (humidity target commonly cited as 30–50%)
If you catch the problem early, drying correctly, then matching the repair to what the floor is truly showing (stain vs. movement) is the best strategy. Treat moisture as the enemy until it’s fully controlled, and you’ll avoid the costly cycle of refinishing too soon.
Frequently Asked Questions
What should I do immediately after hardwood floors get water damage?
Stop the water source and remove any wet rugs or furniture right away to prevent further saturation of the hardwood and subfloor. Dry the area fast using fans and dehumidifiers, and avoid walking on swollen planks. If the water has pooled or penetrated near the seams, remove baseboards and check for moisture under the flooring to reduce mold risk. The sooner you address water damage on hardwood floors, the better the chance of preventing cupping, warping, and permanent staining.
How do I dry hardwood floors after a leak to prevent warping?
Use a combination of dehumidifiers, high-velocity fans, and—when appropriate—controlled heat to speed evaporation while keeping temperatures steady. Monitor moisture levels with a moisture meter on the hardwood and the subfloor, aiming to return materials to normal baseline. Avoid heat guns or excessive heat that can cause cracking or finish bubbling; instead, use gradual drying. If the flooring remains cupped or the subfloor stays damp, professional hardwood floor water damage restoration may be required.
Why does water damage cause cupping or buckling on hardwood floors?
Water absorbs into the wood fibers unevenly—often soaking the bottom or one side—so the planks expand and pull out of their normal shape. As the wood dries, it may not shrink back to its original dimension, leaving cups (edges higher than the center) or buckling (sections lifting). The risk increases when water sits for long periods, when the subfloor is damaged, or when humidity remains elevated during drying. Understanding this mechanism helps you prioritize fast drying and subfloor moisture checks.
Best way to fix black stains on hardwood after water exposure?
Black spots are usually mildew or oxidation caused by trapped moisture, and they often won’t disappear with simple cleaning. First, fully dry the affected area and clean off surface residue using appropriate wood-safe methods; then consider stain-specific treatments like oxalic acid for common black discoloration. Always test on an inconspicuous area because overly aggressive cleaners can lighten surrounding finish. If the stain has penetrated deep into the wood or the finish is compromised, sanding and refinishing may be the best solution to restore a uniform appearance.
Which repairs are DIY vs when should I call a professional for hardwood water damage?
DIY is reasonable for minor surface spills where the hardwood dried quickly and there’s no lingering odor, soft spots, or significant cupping—typically after thorough drying and spot cleaning. Call a professional if the water affected the subfloor, if you see widespread warping, loose boards, gaps that keep growing, or if moisture readings stay elevated after drying. Also seek help for sewage contamination, long-duration leaks, or any signs of mold. Professional hardwood floor restoration can include subfloor repairs, controlled drying, and refinishing to fully address water damage.
📅 Last Updated: October 07, 2026 | Topic: How to fix water damage on hardwood floors? | Content verified for accuracy and freshness.
References
- Wood-decay fungus
https://en.wikipedia.org/wiki/Wood_decay - https://www.epa.gov/mold/a-brief-guide-mold-moisture-and-your-home
- https://www.cdc.gov/mold/default.htm
- https://www.cdc.gov/disasters/mold/index.html
- https://www.who.int/publications/i/item/9789289050666
- Google Scholar Google Scholar
https://scholar.google.com/scholar?q=water+damage+hardwood+floor+drying - Google Scholar Google Scholar
https://scholar.google.com/scholar?q=hardwood+floor+flood+cleanup+mold+prevention+drying - Google Scholar Google Scholar
https://scholar.google.com/scholar?q=engineered+wood+floor+water+damage+repair+dehumidification - https://pubmed.ncbi.nlm.nih.gov/?term=wood+floor+water+damage+drying+mold
- https://pubmed.ncbi.nlm.nih.gov/?term=water+damage+wood+drying+critical+moisture+content