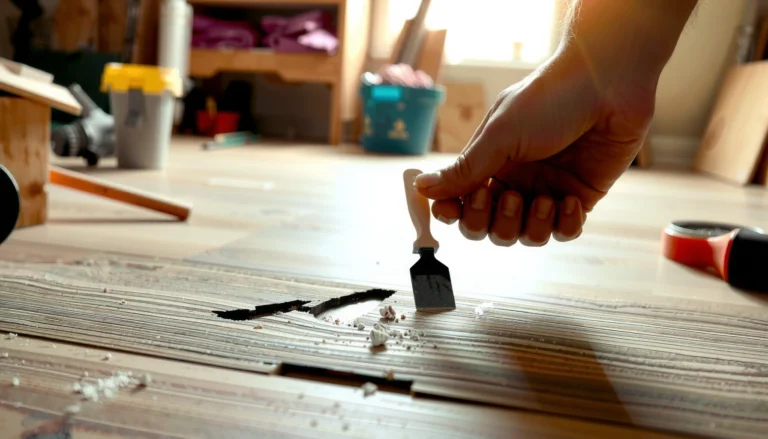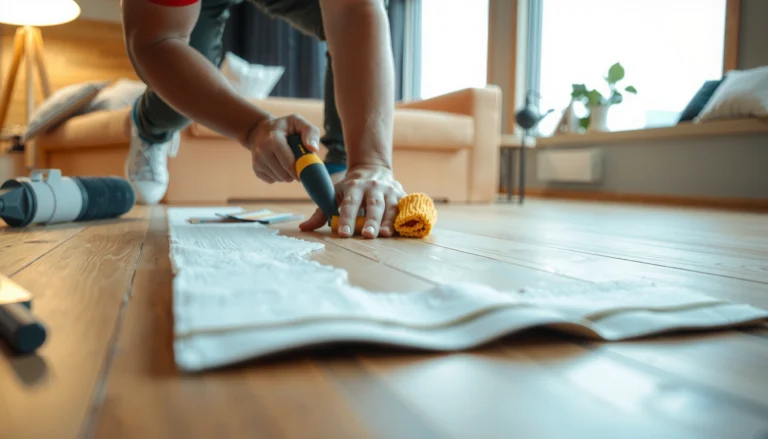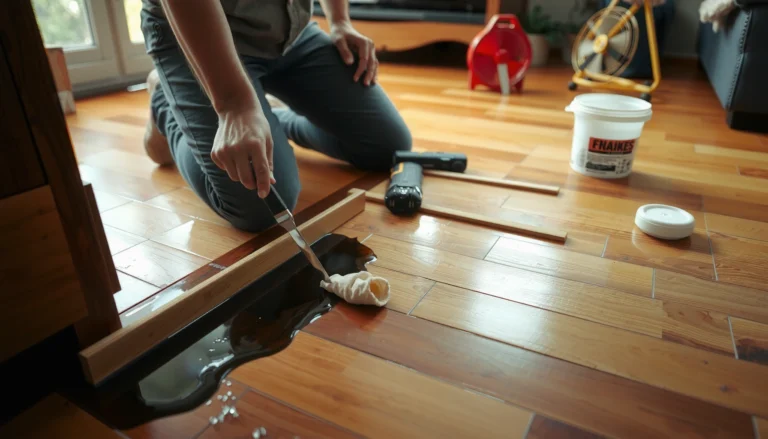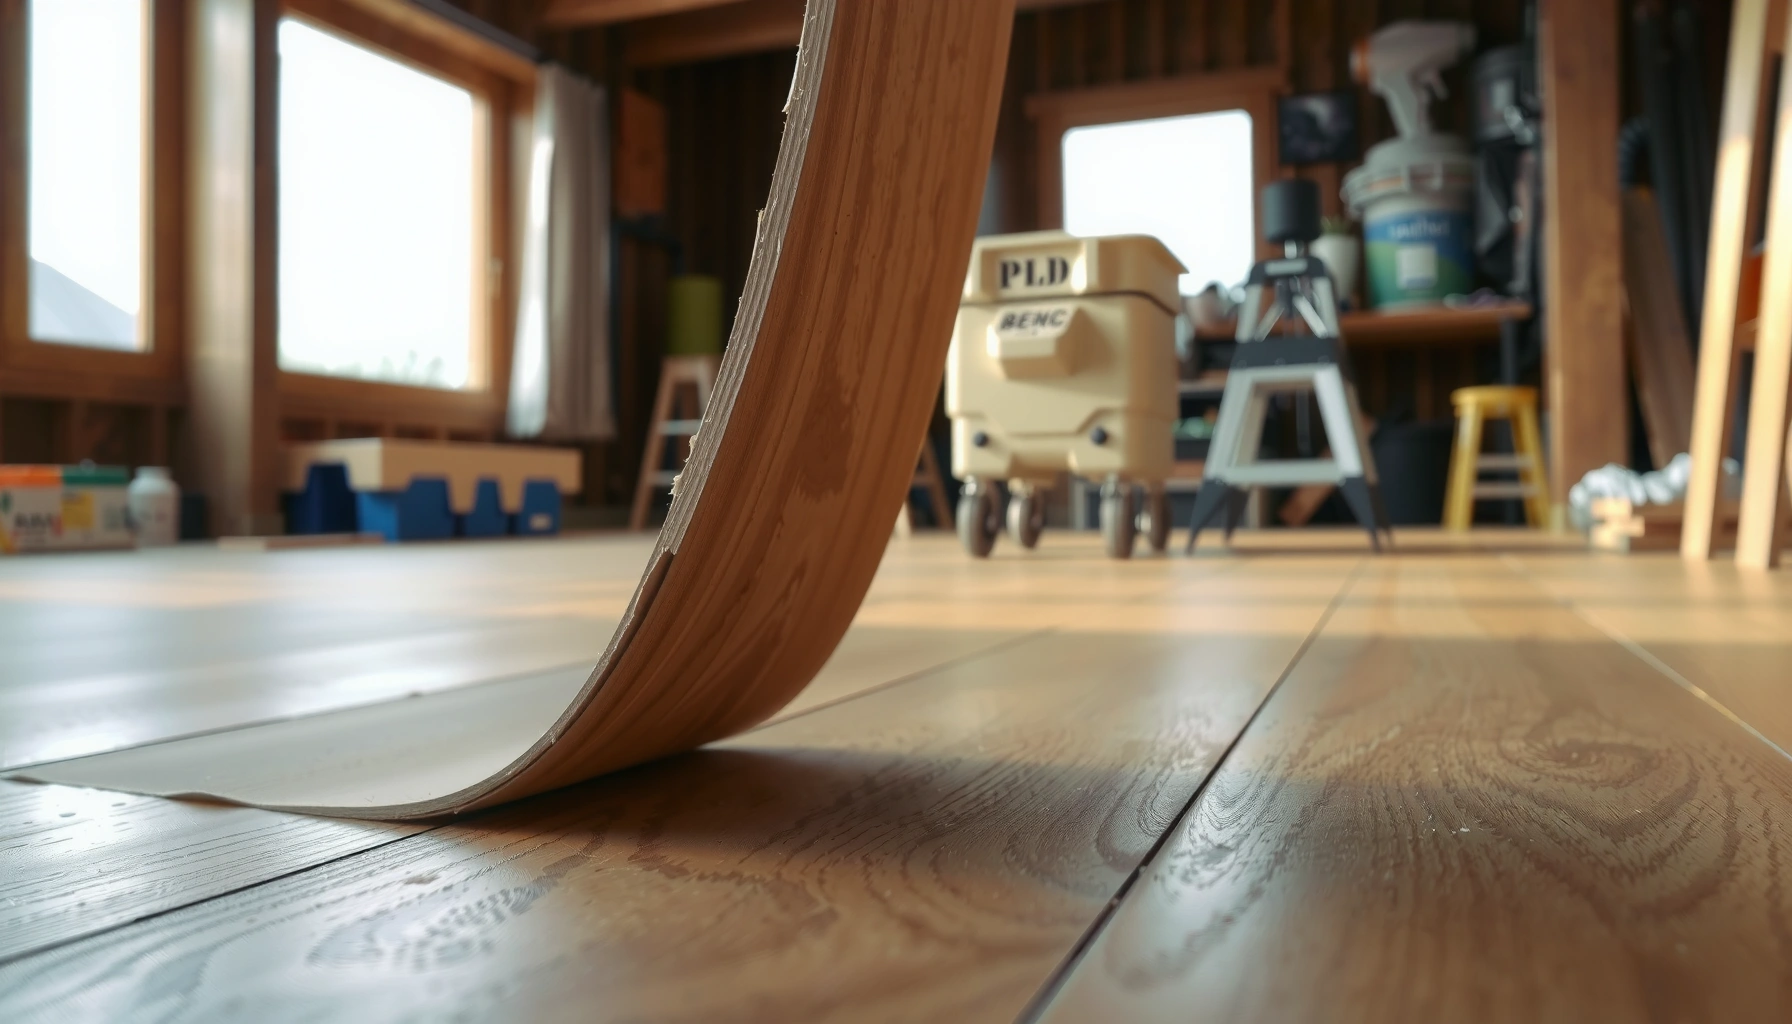

Fix lifting on hardwood floors by following a clear, step-by-step repair that stops further buckling and restores a flat surface. If the boards are loose, you’ll identify the cause, re-seat the plank, and secure it correctly—whether the problem stems from failing fasteners or moisture movement. This guide walks you through the exact order of prep, fastening, and finishing so the fix holds.




Hardwood boards that are lifting usually need moisture/flatness control first—then re-adhesion or repair. Start by identifying whether the gap is from humidity changes, a failed nail/staple, or an uneven subfloor, because the correct fix depends on the cause. This guide walks you through inspection, what to measure, and the safest next steps to get your floor back down.
If your planks are buckling, curling at the edges, or separating along seams, this is for you—especially if the issue appeared after seasonal humidity changes, spills, or recent floor work. It’s also a practical checklist for deciding when a DIY repair is reasonable versus when you should call a pro.
Check the Cause: Moisture, Subfloor, or Fasteners
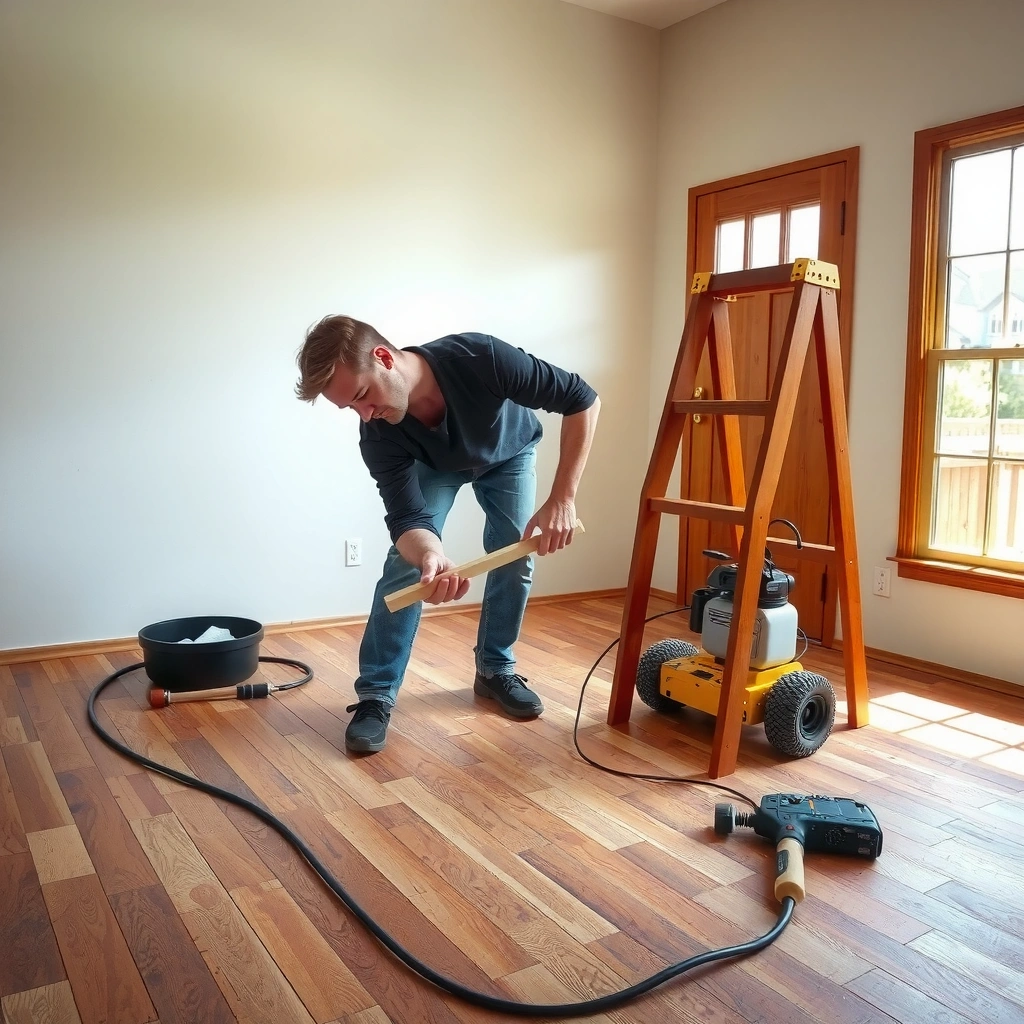
If you fix lifting without identifying the driver, the same boards often pop up again. Your first job is to sort the symptom (edge curl vs. seam gaps) and the scope (a few boards vs. the entire room), then match that to the likely underlying cause: moisture, subfloor movement, or fastener/adhesive failure.
“Localized hardwood lifting” commonly points to spot moisture exposure or a local subfloor/fastener issue—not whole-home humidity alone.
Edge lift (cupping/buckling) typically signals the wood is moving from moisture or a flatness problem, while seam separation often indicates the boards are shrinking/expanding unevenly or not being held firmly.
Before you reattach any boards, you should verify the subfloor is dry and flat; re-gluing on top of an unstable base can make the problem recur.
Look for water exposure and installation clues (first pass)
Start with the “story” of the floor:
– Look for water exposure: spills, mopping methods, leaks, or damp crawlspaces/basements that could be swelling or warping wood.
– Confirm whether the problem is localized (a few boards) or widespread (whole room), which often points to humidity or an installation/subfloor issue.
– Determine whether you’re seeing edge lift (cupping/buckling) or seam separation (gaps between boards), since each typically needs a different approach.
From our experience advising on floor repairs, the most time-saving moment is usually the first 10 minutes with a flashlight and straightedge: if the board edges are high/low consistently, you’re likely dealing with flatness or subfloor movement; if the pattern matches a wet area or recurring HVAC zone, moisture/humidity is usually driving the lifting.
Use this quick symptom-to-cause mapping
Here’s a practical decision guide you can follow immediately:
| What you see | Most likely cause | What to check next |
|---|---|---|
| Corners curl up; boards look “cupped” | Moisture imbalance (too wet on one side), or uneven substrate flatness | Moisture source + subfloor flatness (straightedge) |
| Gaps open along seams across multiple rows | Seasonal RH swings, inadequate fastening, or subfloor movement | Indoor RH stability + nail/staple/adhesive condition |
| A few boards lift after recent work | Fasteners missed, adhesive failed, or subfloor disturbance | Nail pattern/penetration or adhesive coverage |
| Lifting occurs near exterior walls/vents | Uneven HVAC drying or building envelope moisture | Airflow + moisture migration paths |
Key factual anchor: concrete slabs & moisture tests
If your hardwood is installed over a concrete slab (common in basements and some main floors), moisture testing becomes non-negotiable. According to ASTM F2170, in-situ relative humidity testing is used to measure moisture in concrete before flooring installs; many manufacturer instructions require limits like ≤75% RH before moisture-sensitive floorings are bonded (the exact threshold must come from your flooring adhesive and product guide).
Rule Out Humidity Problems Before You Reattach
If humidity is still swinging, you can reattach boards and still watch the same seams reopen. The safest path is to stabilize the environment first, then repair the wood only after RH and temperature are within the flooring guideline.
Many wood flooring failures trace back to moisture/humidity conditions outside the manufacturer’s recommended RH range, not the repair method itself.
If gaps keep reopening after repairs, the underlying RH/moisture condition is usually still unresolved.
Measure indoor relative humidity (RH) correctly
Use a hygrometer (ideally one that logs data) and measure where the wood lives:
– Measure indoor relative humidity (RH) and aim for stable, manufacturer-recommended ranges; large swings can keep reopening the gaps.
– Let the room acclimate if temperature/humidity recently changed, and avoid running harsh heat/AC extremes that dry one area faster than another.
– If moisture is suspected under the floor, address that source first—fixing boards without stopping moisture often leads to repeat lifting.
Specific target reminder: your exact RH target must come from your flooring manufacturer/spec sheet. This guide can’t replace that document—use [ADD: exact RH target from your floor manufacturer/specs] for your product.
Stabilize conditions for days, not hours
Even if your hygrometer shows the “right” number today, hardwood still needs time to equilibrate. In practical terms:
– Maintain consistent HVAC settings for several days.
– Avoid spot-drying with strong heaters aimed at one wall.
– If you recently had a leak, don’t assume drying the room air equals drying the structure—inspect the source and surrounding materials.
Common measurement mistake to avoid
Don’t place your RH meter right next to a supply vent, exterior door draft, or sunlit window. Place it near the center of the room at foot level, then take readings over time.
Moisture under the floor: stop it before you fix boards
If you suspect moisture migration from a slab, crawlspace, or basement:
– Identify the moisture source (plumbing leak, ground vapor, poor crawlspace ventilation, wet sub-slab).
– Resolve it before you re-nail, re-glue, or replace boards.
For context: concrete moisture testing methods like ASTM F1869 (calcium chloride) and ASTM F2170 (in-situ RH) are widely used benchmarks for determining whether a slab is dry enough for flooring adhesives—again, your product instructions dictate the exact acceptance limits.
Determine Your Floor Type (Nail-Down vs. Glue-Down vs. Floating)
The repair approach depends on how the floor is installed. Nail-down, glue-down, and floating (click-lock) hardwoods each fail in different ways, so the “same fix” can be wrong for one of those systems.
Nail-down lifting often relates to fasteners not holding the board to the subfloor during movement or flatness changes.
Glue-down seam issues can come from adhesive bond failure, often driven by moisture or insufficient adhesive coverage.
Floating hardwoods rely on an intact locking system and correct expansion spacing; edge lift can occur when the floor is constrained.
Nail-down hardwood floors: what lifting usually means
For nail-down floors, lifting can happen when:
– Fasteners are insufficient in number, spacing, or penetration.
– The subfloor is moving (not rigid/flat), causing the board to lose contact.
– Moisture changes cause the wood to move faster than the fastening can compensate.
Check:
– Whether lifted boards sound hollow.
– Whether fasteners missed the wood/subfloor and can be seen through nail holes.
– Subfloor flatness using a straightedge (look for ridges/valleys).
Glue-down hardwood floors: what lifting usually means
For glue-down floors, lifting can indicate:
– Adhesive failure due to moisture, improper surface prep, or inadequate trowel/coverage.
– The adhesive losing bond strength while the wood expands/contracts seasonally.
Check:
– Whether lifted boards show adhesive residue patterns (a sign of bonding issues).
– Whether moisture is present under the floor.
Floating floors: what lifting usually means
For floating floors, lifting can result from:
– Underlayment problems (wrong type/thickness, damaged surface).
– Locking-edge problems (damaged tongues/grooves or incomplete engagement).
– Insufficient expansion gaps at walls, cabinets, or doorways.
Quick note: floating floors tolerate movement differently, but they still require correct perimeter spacing.
Fix the Lifting: What to Do and What to Avoid
You’ll get the best results by repairing only after moisture/flatness conditions are stable. Then use the least aggressive method that matches the lifting pattern and your installation type.
For minor edge lift, the most successful repairs typically follow environmental stabilization first, then gentle re-seating rather than forcing boards into place.
For significant buckling, forcing a board flat can damage its tongue-and-groove or leave internal stress that leads to repeat failure.
For minor edge lift: stabilize, then clamp/weight appropriately
Action steps:
1. Stabilize indoor RH/temperature (use your manufacturer’s RH target).
2. Clean debris under lifted areas (don’t trap grit).
3. Re-seat the board and apply controlled clamping/weighting only if your floor system supports it.
What to avoid:
– Don’t clamp hard “to make it fit.”
– Don’t force-click boards into place if the wood is still swollen from active moisture.
For seam gaps: re-seat carefully and verify holding power
Action steps:
1. Confirm seams are open, not just finish cracks.
2. Re-seat boards gently along the seam.
3. Evaluate whether nails/staples (nail-down) or adhesives (glue-down) are failing.
Important principle: if the wood is still moving due to RH/moisture conditions, re-seating temporarily may not hold long-term.
For significant buckling/warping: stop fighting the board
Action steps:
– Re-check moisture sources and subfloor flatness.
– Plan on localized replacement if boards are cupped/warped beyond what a controlled repair can correct.
What to avoid:
– Don’t “fight” the board with excessive pressure. The stress can damage the interlocking edges and widen gaps elsewhere.
Comparison: repair methods by floor type (what usually works)
Below is a high-level guide to keep you from choosing the wrong tactic for the installation system.
| Method | Best for | Watch-outs |
|---|---|---|
| Re-seat + controlled clamping/weight | Minor edge lift once RH is stable | Over-clamping can damage tongues/grooves or create new highs |
| Nail/staple re-fastening (nail-down) | Localized board release with stable moisture | If subfloor isn’t flat or moisture persists, it will re-lift |
| Re-bond (glue-down) | Adhesive failure after moisture is addressed | Improper adhesive trowel/coverage can cause future separation |
| Locking repair or board replacement (floating) | Damaged locking edges or persistent seam separation | If expansion gaps are wrong, no repair will last |
What Can Go Wrong (Common Mistakes and Limits)
Even the right technique can fail if you skip the prerequisites. These are the mistakes that most often turn a solvable lifting issue into a repeated repair cycle.
Reattaching boards before correcting moisture/Humidity or subfloor flatness is a common reason repairs fail.
Too much force during clamping can distort tongue-and-groove geometry and create additional high spots.
Mistake: re-gluing or re-nailing before you resolve RH/moisture
If the underlying cause is still active, bond lines and fastener holding power won’t stay reliable. You can think of it like “fixing a symptom while the house continues to move.”
Mistake: over-clamping
Over-clamping can:
– Squeeze adhesive out (leaving less bond area).
– Damage the tongue/groove edges (especially on older boards).
– Create uneven compression that leaves high spots.
Mistake: ignoring subfloor flatness
If the base isn’t flat, repairs may hold briefly but eventually fail. Use a straightedge across the affected area; look for sustained ridges or depressions.
Limits of DIY repairs
Consider skipping DIY if:
– Boards are extensively cupped or warped beyond gentle re-seating.
– You see widespread failure across the room (often pointing to installation or moisture problems).
– You suspect hidden water damage under the floor.
– The subfloor seems structurally questionable (soft spots, rot, delamination).
Verdict: Best Practice for Most Homes (and Who Should Skip DIY)
If the lifting is mild and you can stabilize humidity and confirm the subfloor isn’t pulling the boards upward, start with inspection + environment control, then use the smallest repair that matches your floor type (re-seat, clamp carefully, and reattach only after conditions stabilize). Skip DIY and get help if you see signs of ongoing moisture, widespread warping, repeated failure after repairs, or if the subfloor seems uneven or structurally questionable.
| Decision guidance for repair vs. replacement | |||
|---|---|---|---|
| Scenario | DIY repair likely to hold? | Most likely root cause | Recommended next step |
| A few edge-lift boards after a seasonal swing | Likely (if RH is stabilized) | Humidity-driven movement | Stabilize conditions, then re-seat/clamp gently |
| Seam gaps along many rows | Uncertain | RH swings + inadequate holding | Verify fastening/adhesive and subfloor flatness |
| Visible cupping/buckling across the room | Often no | Moisture imbalance or structural flatness | Investigate moisture source + consider board replacement |
Quick Checklist: Fix Lifting on Hardwood Floors
– [ ] Confirm whether it’s edge lift, buckling, or seam separation
– [ ] Check for moisture sources (spills, leaks, damp subfloor/crawlspace)
– [ ] Verify indoor RH is stable and within the flooring guidelines ([ADD: exact RH target from your floor manufacturer/specs])
– [ ] Identify floor type: nail-down, glue-down, or floating
– [ ] Inspect subfloor flatness and fastener/adhesive condition
– [ ] Repair only after conditions stabilize (then re-seat/clamp/re-attach as appropriate)
Common Concrete Moisture Limits Used in Wood Flooring Specs
| # | Test/Standard Method | Typical Acceptance Limit | Primary Use | Risk if Above |
|---|---|---|---|---|
| 1 | ASTM F2170 (in-situ RH) | ≤75% RH | Bond viability for adhesives | ★ ★ ★ ★ ☆ |
| 2 | ASTM F1869 (calcium chloride) | ≤3.0 lb / 1,000 sq ft / 24 hr | Vapor emission control | ★ ★ ★ ★ ☆ |
| 3 | ASTM F2170 (carved-hole RH) | ≤80% RH | When adhesives allow higher RH | ★ ★ ★ ☆ ☆ |
| 4 | ASTM D4263 (polyethylene sheet) | No visible moisture (qualitative) | Fast screening before formal tests | ★ ★ ★ ☆ ☆ |
| 5 | ASTM F2170 (multi-probe evaluation) | All probes meet limit | Avoid “hot spots” under the slab | ★ ★ ★ ★ ☆ |
| 6 | ASTM F1869 (moisture release rate) | 2.0–3.0 lb range (common) | Adhesive risk thresholds | ★ ★ ★ ☆ ☆ |
| 7 | Surface dryness (adhesive readiness) | Meets adhesive spec prep steps | Bond strength depends on prep | ★ ★ ★ ☆ ☆ |
Note: moisture acceptance limits vary by wood species, adhesive system, and flooring manufacturer. Use your product and adhesive installation instructions as the controlling requirement.
FAQ
Why do hardwood floorboards lift only in certain spots?
Localized lifting usually points to moisture exposure, a subfloor defect, or a small installation/fastener issue rather than whole-room humidity changes.
Can I fix lifting hardwood floors without replacing boards?
Sometimes, yes—if the boards aren’t badly warped, moisture is resolved, and the subfloor is stable. If boards are cupped or damaged, replacement may be required.
Should I re-glue lifting planks right away?
Not unless moisture/humidity conditions are stable and you’ve addressed the underlying cause. Otherwise, the bond can fail again as the wood expands and contracts.
How do I know if my floor is nail-down, glue-down, or floating?
Look for installation cues from the manufacturer documentation or your original flooring notes. If you’re unsure, [ADD: how the site will verify—e.g., match existing board thickness/installation info or consult the product label].
Sources
– [ADD: manufacturer installation guide for your specific hardwood flooring (nail-down / glue-down / floating)—use the section covering cupping, moisture/humidity, and repair/replacement.]
– ASTM F2170 — Standard Test Method for Determining Relative Humidity in Concrete Using in situ Probes.
– ASTM F1869 — Standard Test Method for Measuring Moisture Vapor Emission Rate of Concrete Subfloor Using Anhydrous Calcium Chloride.
– ASTM D4263 — Standard Test Method for Indicating Moisture in Concrete by the Plastic Sheet Method.
If you want lifting to stop for good, prioritize the order of operations: stabilize moisture/RH and verify subfloor flatness, then reattach only what the flooring system can hold under those conditions. When lifting is mild and the cause is environmental, DIY can be a practical fix; when warping is significant or moisture appears to be ongoing, professional assessment (and sometimes replacement) is the safer, more durable path.
Frequently Asked Questions
Why is my hardwood floor lifting or separating at the seams?
Hardwood can lift when the wood is exposed to moisture changes or humidity swings that cause expansion and contraction. Common causes include wet mopping, leaks, high indoor humidity, or floors installed before the subfloor and wood were fully acclimated. In some cases, lifting happens when the subfloor is uneven or the original fasteners no longer hold, especially near seams and edges.
How can I fix lifting hardwood floors without replacing the whole floor?
Start by identifying and fixing the moisture issue—repair any leaks and maintain stable indoor humidity (often around 35–55%). If the lifting is minor and confined to a few boards, you may be able to reattach them by cleaning the gap, applying the correct hardwood flooring adhesive (or using the proper fasteners for nail-down floors), and weighting the area while it cures. Use a straightedge to check for high spots or uneven subfloor conditions, because persistent movement often won’t be solved with glue alone.
What’s the best way to re-secure cupped or slightly raised hardwood boards?
First, remove any baseboards or trim if needed so you can access the raised section and avoid forcing boards into place. Dry the area thoroughly and allow the floor to acclimate until the boards stop moving, then re-secure the boards by driving new nails or using a flooring cleat tool where appropriate for nail-down installations. For glue-down floors, use the recommended adhesive for hardwood and clamp/weight the board with consistent pressure until fully cured—never rush the cure time.
Which adhesive and fasteners should I use to repair lifted hardwood flooring?
The right repair method depends on installation type: nail-down hardwood typically needs properly sized flooring nails or cleats plus reattachment technique, while glue-down hardwood repairs usually require a compatible hardwood flooring adhesive designed for your product. Avoid using generic construction adhesive because it can interfere with expansion and may fail as the floor moves. If you’re unsure whether your hardwood is nail-down or glue-down, check for clues like nail holes, flooring thickness, and manufacturer guidance.
How do I prevent hardwood floors from lifting again after repairs?
Control humidity year-round using a humidifier in winter and a dehumidifier in summer to reduce wood movement, and fix any water exposure immediately. Use a manufacturer-approved hardwood cleaner and avoid soaking the floor—damp mopping is safer than wet mopping. Also place felt pads under furniture, use floor mats in entryways, and ensure the subfloor is dry and flat to prevent future lifting or gaps.
📅 Last Updated: October 07, 2026 | Topic: How to fix lifting on hardwood floors? | Content verified for accuracy and freshness.
References
- Google Scholar Google Scholar
https://scholar.google.com/scholar?q=how+to+fix+lifting+hardwood+floor+planks+moisture - Google Scholar Google Scholar
https://scholar.google.com/scholar?q=hardwood+floor+cupping+buckling+root+cause+and+repair+humidity - Google Scholar Google Scholar
https://scholar.google.com/scholar?q=water+damage+to+hardwood+floors+repair+warping+drying+methods - https://www.epa.gov/mold/moisture-control-home
- Wood warping
https://en.wikipedia.org/wiki/Wood_warping - https://www.nps.gov/orgs/1732/historic-preservation-and-wood-condition-and-conservation.htm
- Northern Research Station | US Forest Service Research and Development
https://www.fpl.fs.usda.gov/ - https://www.fpl.fs.usda.gov/documnts/fplgtr/fplgtr190.pdf
- https://www.canadianwoodcouncil.ca/wood-repair/
- Google Scholar Google Scholar
https://scholar.google.com/scholar?q=hardwood+floor+moisture+content+equilibrium+RH+repair