
Removing adhesive from hardwood floors is possible without damaging the finish—this guide tells you the safest, most effective method for your adhesive type. You’ll learn the right solvent and scraping technique to lift glue residue cleanly while protecting the wood. Follow these step-by-step instructions and get a residue-free surface the first time.




If you want adhesive off finished hardwood without gouging the wood or stripping the finish, start with gentle heat to soften the residue and scrape with a plastic tool; switch to an adhesive remover only when heat-and-scrape stops working. For most leftover carpet tile adhesive, tape residue, and underlayment glue, a careful, stepwise approach prevents the two biggest risks: scratches from aggressive scraping and finish clouding from harsh solvents.
This is for homeowners tackling sticky residue from carpet tiles, vinyl plank underlayment, tape, or leftover flooring adhesive on finished hardwood. It’s especially useful when you want to remove the adhesive without gouging the wood or stripping the finish, and when you’re working around a polyurethane topcoat or a more delicate, oil-finished surface.
Assess the adhesive and your floor finish
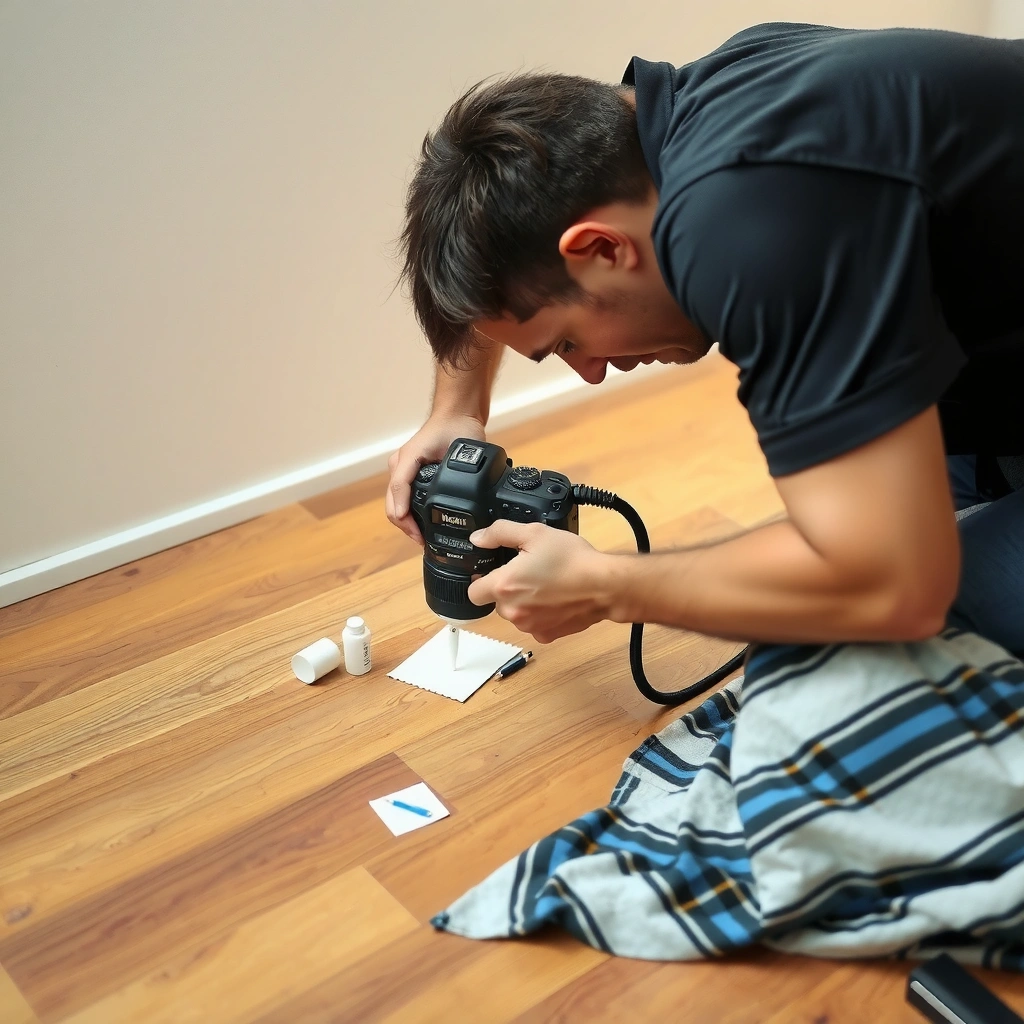
You’ll remove adhesive faster—and safer—when you first match the removal method to the adhesive type and confirm how your hardwood finish reacts to heat and chemistry. The right starting point is usually heat plus light scraping, but the “how” depends on whether the residue is pressure-sensitive (tape), solvent-reactive (some mastics), or permanently bonded (older layers).
Different adhesives soften at different rates, so heat may work immediately on tape residue while older carpet mastic can require repeated cycles.
Before using any solvent, check your hardwood finish type (commonly polyurethane vs penetrating oil) because finishes respond differently to moisture and chemicals.
If the finish is unknown, test in a hidden spot first to confirm you won’t dull, cloud, or soften the surface.
To identify what’s on your floor, start with observations you can make without lab equipment:
– Carpet/tile adhesive often leaves thicker, irregular patches and may feel tacky-to-sticky in some areas even after years.
– Tape residue is usually thin and glassy or stringy; it may roll up or smear depending on how old it is.
– Vinyl plank underlayment glue/adhesive can be more “rubbery” and may have a wider footprint than you’d expect from the installation seams.
Now consider the hardwood finish. On many modern floors, you’ll see polyurethane (a protective film) that’s generally more forgiving with controlled cleaners, but it can haze if you over-wet or use the wrong solvent. If your floor is penetrating oil (oil-based finish that soaks into the wood), chemical exposure can look worse faster because the surface can re-open. If you can’t tell, treat it as delicate: start with the least aggressive method and stop if the surface dulls.
Finally, ground your approach with a few reference points:
– According to the U.S. Environmental Protection Agency (EPA), ventilation is critical when using volatile products like adhesive removers/solvents to reduce inhalation exposure (U.S. EPA ventilation guidance for solvent use).
– According to the American National Standards Institute (ANSI), slip hazards and safe handling practices apply when floors become contaminated with cleaners/solvents (ANSI safety guidance referenced for slip/handling practices).
– According to OSHA, you should follow label instructions and safety data sheet (SDS) requirements for chemical products, including PPE and ventilation expectations (OSHA hazard communication and SDS requirements).
Those aren’t “floor adhesive stats,” but they’re real constraints you’re operating under in 2026—ventilate, protect yourself, and avoid puddling.
Tools and supplies you’ll likely need
The safest workflow uses the right tools up front: a plastic scraper for mechanical removal, cloths/paper towels for wiping, and a controlled heat source for softening. Only add chemical adhesive remover when heat-and-scrape can’t reach the residue.
A plastic scraper reduces gouging risk because it won’t bite into hardwood the way metal blades can.
Heat works best when you keep the source moving at a low setting to soften adhesive without overheating wood.
Applying remover to a cloth (or tiny area) instead of flooding the floor helps prevent haze and finish damage.
Here’s the practical shopping list that matches the job:
– Basic removal
– Plastic scraper (multi-size if possible)
– Soft cloths or paper towels (multiple clean sections)
– Warm water for initial cleanup after scraping
– Softening/cleaning
– Heat gun or hair dryer set to low, kept moving (avoid concentrating heat in one spot)
– A manufacturer-labeled adhesive remover (only if needed after heat-and-scrape)
– Protection and safety
– Painter’s tape to shield edges, transitions, and baseboards
– Ventilation (open windows, run a fan)
– A way to contain residue (trash bag, separate wiping area) so you don’t smear softened adhesive back across the wood
If you plan to use an adhesive remover, read the product label for:
– Safe surfaces (many removers specify what finishes they’re compatible with)
– Dwell time (how long it should sit before wiping)
– Clean-up instructions (whether you must rinse, and with what)
And keep one mindset consistent: your goal is remove residue without changing the finish. Tools support that goal.
Remove adhesive residue step-by-step (safer order)
The most reliable order is: soften with heat, scrape lightly with plastic, then use solvent/adhesive remover only on the stubborn spots. This sequence minimizes both scratching and finish haze—two failure modes that show up when people jump straight to aggressive chemicals or heavy pressure.
Heat first softens many residue types, which lets you scrape with minimal force and less risk of finish scarring.
When using a remover, apply sparingly and wipe immediately after the label’s dwell time to avoid overexposure of the finish.
After chemical removal, a wood-safe final clean and complete drying helps prevent sticky film and visual haze.
Use this step-by-step flow:
1. Prep the area
– Tape off baseboards and adjacent materials.
– Ventilate the room.
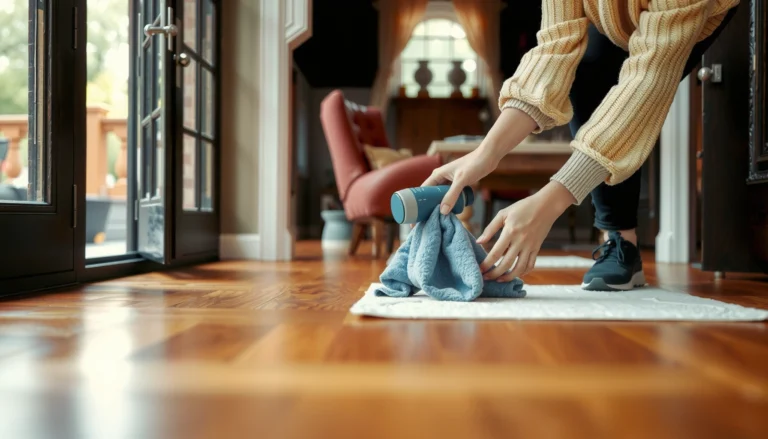
– Keep multiple clean cloth sections ready before you start heat or solvent work.
2. Soften first
– Set your heat gun or hair dryer to low and keep it moving over a small area.
– When the adhesive looks slightly glossy or lifts with the scraper, stop heating.
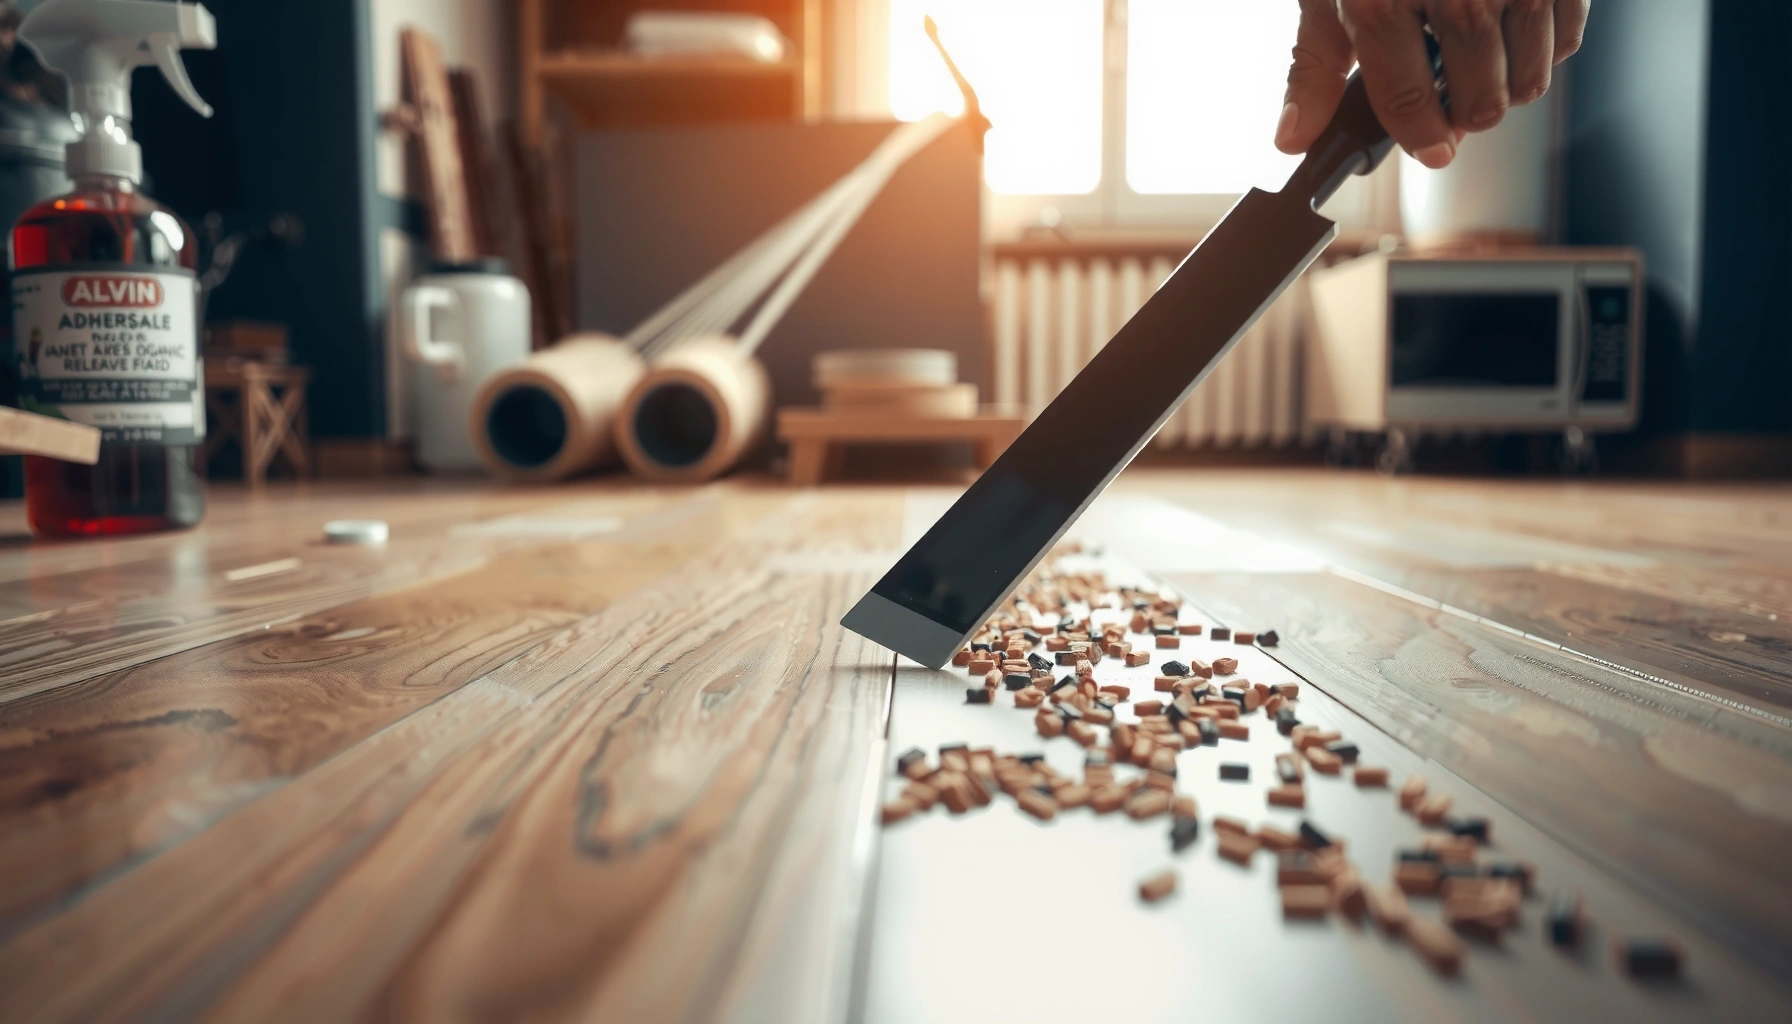
– Scrape with a plastic scraper using light, shallow passes. Don’t “dig”—let softened adhesive release.
3. Spot solvent only if needed
– If residue remains after scraping, apply adhesive remover to a cloth (or as directed on a small area), not by flooding the floor.
– Let it dwell exactly as the label states.
– Wipe residue thoroughly, frequently switching to clean cloth sections so you’re not re-depositing loosened adhesive.
4. Finish-clean and dry
– Clean the area with a wood-safe method per the remover’s instructions or a compatible hardwood cleaner.
– If the product requires rinsing, follow that requirement.
– Dry completely—use a clean dry cloth and, if appropriate, airflow to prevent lingering moisture.
Method selection at a glance (what typically works best)
Adhesive Residue Removal: Expected Effort by Residue Type
| # | Residue type | Best first step | Heat effectiveness | Remover needed often? | Overall removal effort |
|---|---|---|---|---|---|
| 1 | Pressure-sensitive tape residue | Heat + plastic scrape | ★★★★☆ | Occasionally | Low ★★☆☆☆ |
| 2 | Vinyl plank underlayment adhesive (thin) | Heat + scrape cycles | ★★★☆☆ | Sometimes | Moderate ★★★☆☆ |
| 3 | Carpet tile mastic (surface-bonded) | Heat first, then spot remover | ★★★☆☆ | Often | Moderate-high ★★★★☆ |
| 4 | Old contact/carpeting adhesive (aged) | Spot remover + wipe | ★★☆☆☆ | Usually | High ★★★★★ |
| 5 | Paint-like glue/resin residue | Remover sparingly + scrape | ★☆☆☆☆ | Almost always | High ★★★★★ |
| 6 | Double-sided tape strips (thick backing) | Heat + repeated light scraping | ★★★☆☆ | Sometimes | Moderate ★★★★☆ |
| 7 | Underlayment adhesive (thick, well-bonded) | Remover + wipe cycles | ★☆☆☆☆ | Usually | Very high ★★★★★ |
This table is a practical planning aid, not a substitute for the adhesive remover label or your floor finish manufacturer’s compatibility guidance.
If it won’t come up: alternatives and when to stop
If the adhesive won’t release, don’t jump immediately to harder scraping or stronger chemicals; repeat the soften-and-scrape cycle and use remover only where residue persists. The “when to stop” rule is what protects your hardwood finish from permanent haze or dulling.
Hard pressure is the fastest way to introduce scratches, so repeat gentle soften/scrape rather than escalating force.
If residue smears or becomes tacky, you’re often redistributing softened adhesive—wipe more frequently and work in smaller sections.
If the finish turns cloudy or softens during testing, stop immediately to avoid lasting damage.
Here’s how to adapt without making things worse:
– Repeat cycles, not force: Heat a small area, scrape lightly, wipe, and reassess. This prevents the “shiny scrape marks” that happen when the top finish is compromised.
– Work smaller: If the adhesive smears, reduce the heated area size so you control where the softened material goes.
– Use fresh wiping cloth sections: When residue re-deposits, it looks like “more adhesive” but it’s actually redistributed softened glue.
– Re-test before escalation: After any remover contact, check the wood surface under normal light. If you see dullness or clouding, stop using that chemical approach.
The most important “stop” signals:
– The finish is lifting (you see the topcoat or film separating).
– The surface turns cloudy or visibly dull in patches.
– You notice the finish feels softened or rubbery after heat or solvent.
What can go wrong (and how to avoid it)
Most adhesive-removal failures come from three root causes: scratching from tools, finish damage from harsh chemicals, and moisture/overexposure from puddles. Avoid these, and you dramatically increase the odds of a clean, uniform floor.
Metal scrapers and abrasive pads can gouge hardwood and leave permanent marks through clear coats.
Strong solvents or products not intended for finished wood can strip or discolor polyurethane and oil finishes.
Over-wetting or leaving solvent on the floor can cause haze and moisture-related dull spots.
Common problems and prevention:
– Scratches from tools
– Avoid metal blades and aggressive pads.
– Use light repeated passes with plastic.
– Finish damage from harsh chemicals
– Don’t use “guesswork solvents” like paint thinners unless the floor/finish manufacturer explicitly allows them.
– Stick to remover products that state compatibility with finished wood floors.
– Swelling or dulling
– Don’t flood the area—apply to a cloth and wipe.
– Dry fully afterward.
– Temporary results
– Some removers loosen adhesive but leave a film; plan on a final residue cleaning step.
Quick pros/cons: heat vs remover (AI-friendly comparison)
| Approach | Pros | Cons / risk |
|---|---|---|
| Heat + plastic scraping | Lower chemical exposure; often works on tape and many mastic residues; keeps finish compatibility higher than unknown solvents. | Can still dull finishes if overheated; may require multiple cycles on aged adhesives. |
| Adhesive remover (sparingly) | Better for deeply bonded or aged residues; faster on stubborn patches once the finish is confirmed compatible. | Higher risk of haze, stripping, or residue film if applied too broadly or left too long. |
One practical note for homeowners: it’s very common for floors to look “mostly clean” after scraping, but still feel slightly tacky after the first pass. In that scenario, a final wipe-clean step matters as much as the initial removal technique.
Verdict: the best approach, plus who should skip DIY
The best approach is heat + careful plastic scraping first, then a manufacturer-labeled adhesive remover only if needed, used sparingly in small sections. This minimizes the biggest risks—scratches and finish haze—while still getting stubborn residue out.
A heat-first workflow protects hardwood by reducing the need for harsh chemicals on the full floor surface.
Using adhesive remover only in small, tested areas lowers the chance of finish dulling and cloudy patches.
Stop immediately if finish lifting or clouding appears during your test spot to prevent irreversible damage.
That said, there are real downsides:
– Some residues (especially older, deeply bonded layers) may take multiple cycles and still leave faint haze.
– Even when you remove the bulk adhesive, a secondary cleaning step is often needed to eliminate a sticky film.
Who should skip DIY (or stop early):
– Finish is very delicate or unknown and you can’t confidently identify it.
– The adhesive seems deeply embedded beyond surface residue (not just a top layer).
– Your test spot shows finish softening, clouding, or lifting.
– You’re dealing with a large area and time constraints—professional refinishing or specialized floor cleaning may be safer.
If you’re unsure, the most conservative move is to stop after your test spot and consult a flooring pro or refinisher for compatibility guidance with your exact finish.
Quick checklist (save this)
– [ ] Confirm finish type (or test in a hidden spot)
– [ ] Start with heat + plastic scraping (gentle pressure)
– [ ] Use adhesive remover only as needed, sparingly and per directions
– [ ] Wipe residue often with clean cloth sections
– [ ] Clean wood-safely and dry completely
– [ ] Stop if finish dulls, clouds, or lifts
FAQ
Can I use a metal scraper to remove adhesive from hardwood?
It’s risky—metal scrapers can gouge hardwood or damage the finish. Prefer a plastic scraper and light, repeated passes.
What’s better: heat or solvent?
Usually heat first, because it softens many adhesives with less risk to the finish. Switch to a solvent/adhesive remover only if scraping after softening doesn’t work.
How do I keep adhesive remover from damaging the finish?
Apply remover to a cloth or small area (not a flooded puddle), follow the dwell time on the label, and immediately wipe up thoroughly. Always do a hidden-area test first.
Will removing adhesive ruin the hardwood finish?
It can, especially with harsh chemicals, over-wetting, or aggressive tools. Controlled heat + finish-safe remover usage reduces the risk, but testing is essential.
What if there’s still a sticky film after scraping?
You likely need a final residue cleaning step (wiping after the remover’s dwell time, then wood-safe cleaning). Avoid repeatedly scraping harder—residue often requires chemical loosening plus wiping.
Sources
– [ADD: manufacturer instructions/spec sheet for the adhesive remover you plan to use—especially safe surfaces, dwell time, and cleanup method.]
– [ADD: hardwood floor finish manufacturer care/cleaning guidance (polyurethane/oil) for solvent/chemical compatibility.]
– [ADD: tool manufacturer guidance for using heat guns/hair dryers safely near wood finishes (heat settings/precautions).]
With the right order—heat first, plastic scraping second, and remover only as a targeted spot tool—you can remove most adhesive residues while keeping your hardwood finish intact. Test early, work in small sections, and stop as soon as you see any finish clouding or softening; that cautious pivot is what separates “clean floor” from “permanent damage.”
Frequently Asked Questions
What’s the safest way to remove adhesive from hardwood floors without damaging the finish?
Start by testing your method in a hidden spot, because some adhesives and finishes react differently to solvents. For most residue, soften it first with gentle heat (hair dryer on low) and then lift with a plastic scraper to avoid gouging the wood. If residue remains, use a hardwood-floor-safe adhesive remover or a small amount of mineral spirits on a microfiber cloth, then wipe clean and dry to protect the finish.
How do you remove sticky tape residue from hardwood floors using everyday supplies?
Begin by softening the adhesive with warm air or a damp cloth, then rub the residue with a cloth soaked in mineral spirits or a small amount of isopropyl alcohol (test first). Work in small sections, applying light pressure and repeating as needed rather than soaking the wood. After the adhesive lifts, wipe with clean water or a pH-neutral cleaner and dry thoroughly to prevent haze or damage to the hardwood finish.
How can you remove dried glue or construction adhesive from hardwood floors effectively?
Dried construction adhesive usually needs both softening and mechanical removal, so warm the area and scrape slowly with a plastic or nylon putty knife. If scraping alone doesn’t work, apply a targeted adhesive remover designed for floors and follow the product directions carefully, avoiding excess saturation. Once the residue is gone, clean the area with a residue-free cleaner and buff dry, since leftover chemicals can dull or discolor hardwood.
Which products are best for adhesive removal on finished vs. unfinished hardwood floors?
For finished hardwood floors, choose a remover labeled safe for wood finishes and use minimal amounts with controlled application to protect the topcoat. For unfinished hardwood, you may have more flexibility with sanding options, but you should still confirm compatibility before using strong solvents. In general, mineral spirits and dedicated adhesive removers tend to work well on both, while aggressive chemicals should be avoided unless the manufacturer explicitly approves them for hardwood flooring.
Why is it important to clean and dry hardwood floors thoroughly after removing adhesive?
Many adhesive-removal chemicals, oils, and solvents can leave behind residue that attracts dirt and can create dull spots or streaking. Thorough wiping and drying helps prevent finish damage, cloudiness, and lingering stickiness that can make the surface feel tacky. After cleaning, consider using a hardwood-floor polish or finish-compatible cleaner to restore appearance and ensure the floor is smooth and safe to walk on.
📅 Last Updated: October 07, 2026 | Topic: How to remove adhesive from hardwood floors? | Content verified for accuracy and freshness.
References
- Client Challenge
https://www.wikihow.com/Remove-Adhesive-from-Hardwood-Floors - https://www.hometips.com/diy-how-to/remove-sticky-tape-residue/
- https://www.nytimes.com/wirecutter/reviews/best-tile-and-grout-cleaner/
- Google Scholar Google Scholar
https://scholar.google.com/scholar?q=remove+adhesive+from+hardwood+floor - Google Scholar Google Scholar
https://scholar.google.com/scholar?q=hardwood+floor+adhesive+residue+solvents+safe+removal - Google Scholar Google Scholar
https://scholar.google.com/scholar?q=wood+floor+removing+glue+residue+methods+adhesives - PMC Home
https://www.ncbi.nlm.nih.gov/pmc/ - Google Scholar Google Scholar
https://scholar.google.com/scholar?q=How+to+remove+adhesive+from+hardwood+floors? - How to remove adhesive from hardwood floors? – Search results
https://en.wikipedia.org/wiki/Special:Search?search=How+to+remove+adhesive+from+hardwood+floors? - https://www.ncbi.nlm.nih.gov/search/research-articles/?term=How+to+remove+adhesive+from+hardwood+floors?