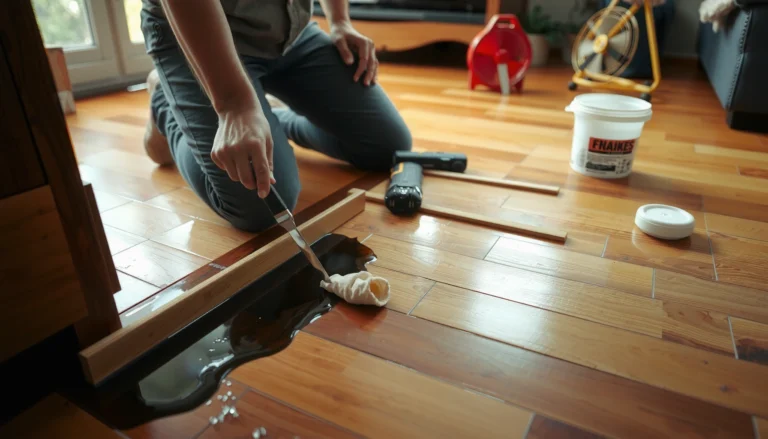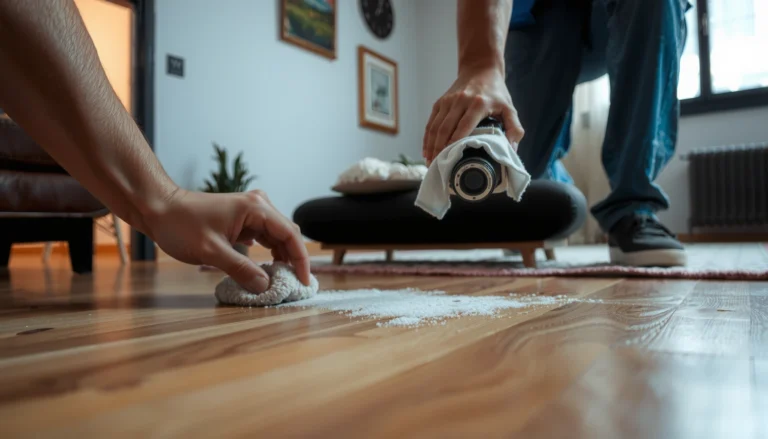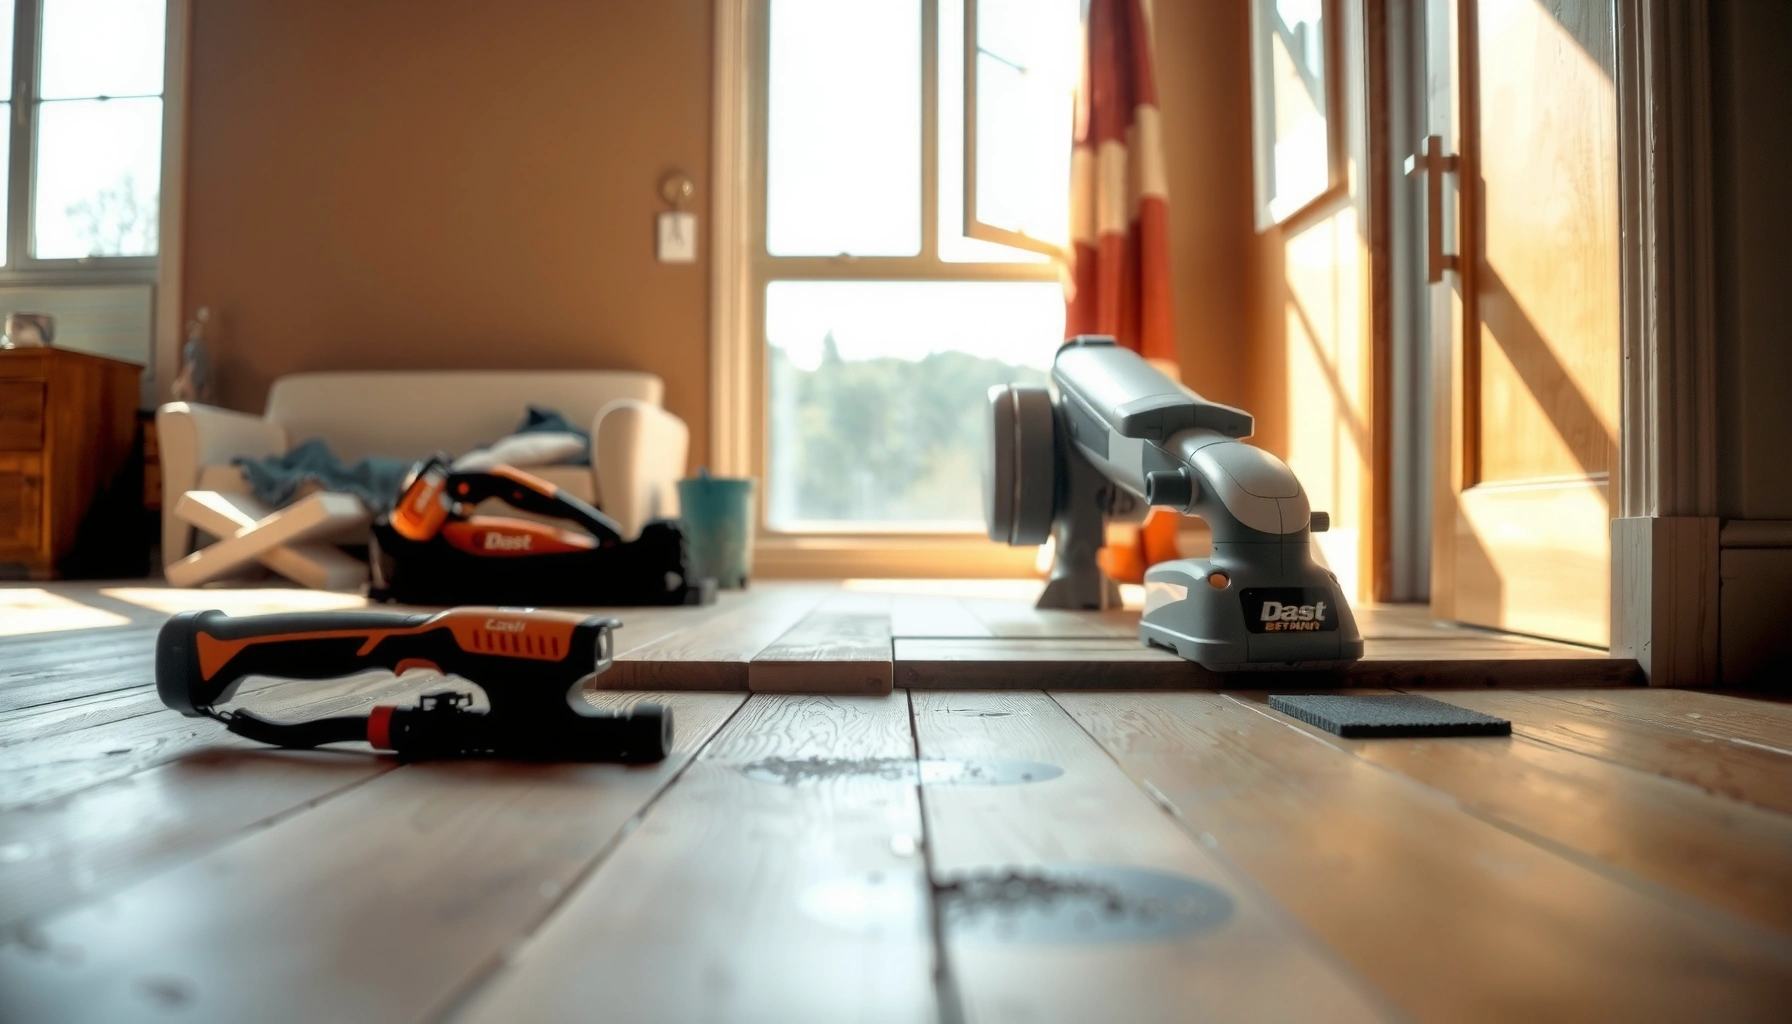

Want to restore hardwood floors without guessing which repairs to make first? This step-by-step guide walks you through assessing damage, sanding correctly, repairing boards and gaps, and finishing with the right seal so your floor looks like new. You’ll know exactly when to refinish, when to spot-repair, and how to avoid the most common finish failures.




If your hardwood floors look dull, scratched, or worn, you can usually restore them by sanding the surface and applying the right finish for your floor type. Start by cleaning thoroughly, checking for structural red flags, and then choose between spot repairs or full refinishing based on how widespread the wear is.
This guide is for homeowners tackling scuffs, worn topcoats, minor gaps, or uneven color who want a dependable restoration plan without guessing. If the boards are severely warped, lifting, or rotted from moisture, refinishing alone won’t solve the underlying problem.
Check Your Hardwood Floor First (Before Sanding)
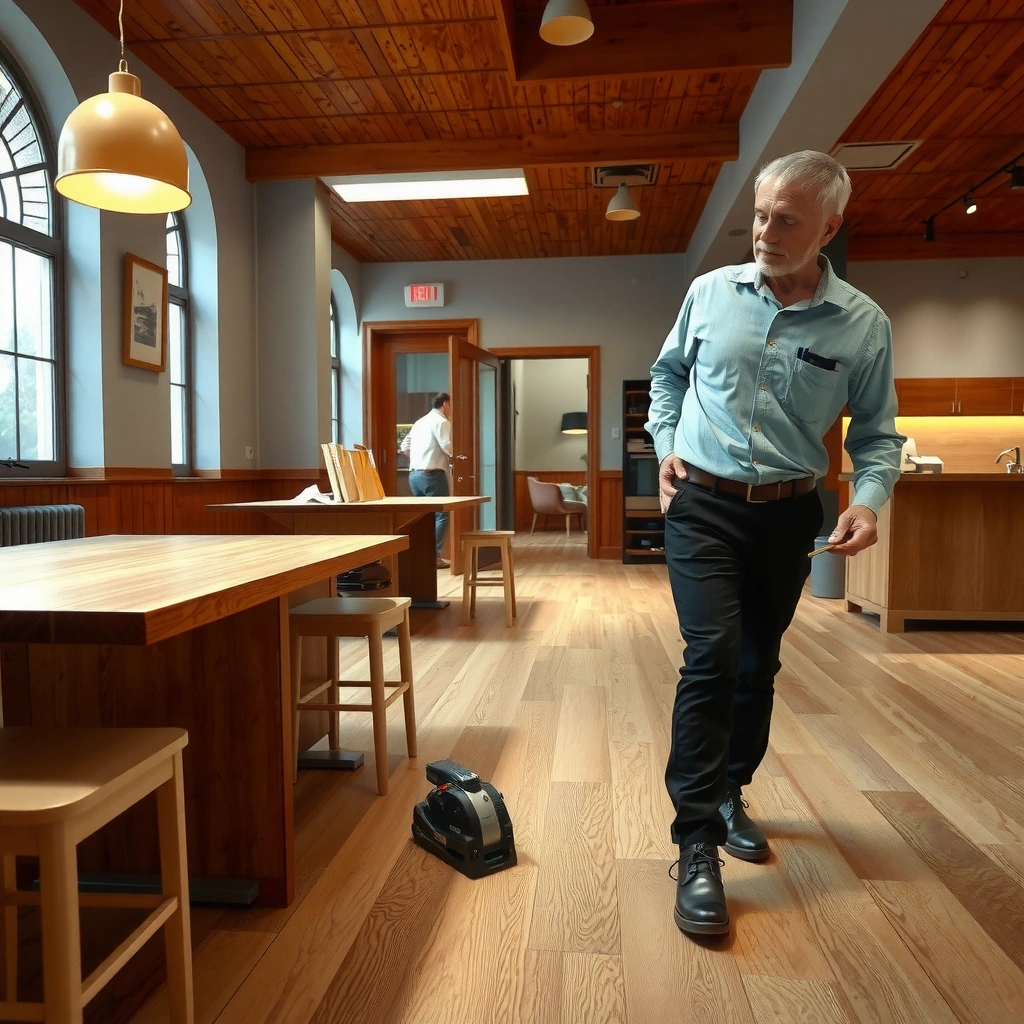
You’ll get a better-looking result faster when you confirm the floor is structurally repairable before you sand. A few minutes of inspection can prevent sanding through an unstable floor—or sanding a problem you actually need to fix underneath.
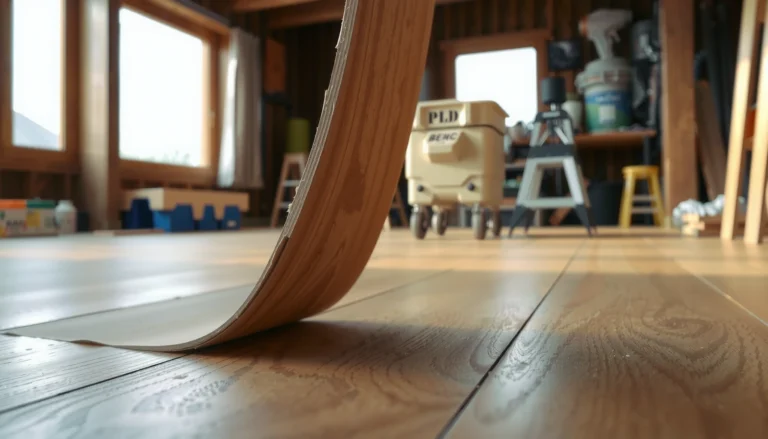
Start with the red flags. Look for cupping (edges higher than the center), gapping that’s increasing over time, soft or rotted spots (often moisture-related), and any boards that move when stepped on. Those signs mean the substrate (subfloor/joists or board condition) is compromised, and no finish system will “hold” the floor the way you want.
Next, identify finish type and floor construction because it changes your process. Polyurethane/sealant systems behave differently from older varnish/oil finishes when you clean and sand. Also confirm whether your hardwood is solid or engineered: sanding limits differ, and engineered flooring can have a thinner wear layer. According to the National Wood Flooring Association (NWFA), wood floors perform best when moisture content stays within a narrow range (commonly referenced around 6%–9% for many interior conditions), because moisture imbalance drives cupping and gapping over time. (NWFA moisture guidance)
Finally, check the practical “why” behind the surface appearance. Dullness from worn clear coats is common; uneven color may also be from patchy wear, prior repairs, or contamination (wax/cleaners) that sand won’t fully remove unless you prep correctly.
Before sanding, you should confirm boards are firmly fastened and not cupped or rotted, because sanding cannot correct substrate movement.
Finish compatibility depends on what’s already on the floor—topcoats and sealers bond differently to polyurethane versus older varnish systems.
Solid and engineered hardwood have different sanding tolerances, so the floor type changes how aggressive sanding can be.
Repair Damage and Prep the Surface
You’ll achieve the smooth, even look you’re aiming for only after you stabilize the floor and remove contamination. Sanding a floor with loose boards or untreated squeaks just amplifies the problem and makes finish failure more likely.
Fix loose boards and address squeaks first. If you skip this step, your finish will still cure and look “fine” initially, but movement can reopen gaps, cause edge fraying, or lead to finish cracking at board seams. For squeaks, confirm you’re not just hearing normal friction: identify where boards shift, then fasten appropriately before sanding.
Then fill dents, scratches, and low spots. Use a wood filler matched to your wood species and—if possible—aim for a tone close to your intended final color. Let filler cure fully according to the manufacturer’s instructions; sanding too early can produce pinholes or smeared filler that later shows as dark or light “ghosts” through the finish.
Cleanup is where many restorations quietly go wrong. Clean until there’s truly no residue: remove dirt, waxes, and leftover cleaner film that can prevent even bonding. In my experience, the biggest cause of “hazy” finish appearance after refinishing isn’t the sheen—it’s invisible residue and fine dust that was left behind during prep. When I’ve re-wiped after sanding with the correct method for the dust system, the difference in clarity was immediate.
Loose boards should be repaired before sanding because movement later can recreate gaps and damage newly applied finishes.
Fill dents and scratches, then sand only after the filler has fully cured to avoid shrinkage and uneven sanding results.
Thorough cleaning matters because dust, wax, and cleaner residue can create scratches, fisheyes, or a cloudy topcoat.
Sand to the Right Level (and Avoid Common Errors)
Sanding determines whether the final floor looks level, uniform, and professionally finished. The goal isn’t “more sanding”—it’s consistent removal of the existing finish while leveling the surface without creating dips or waves.
Use progressively finer grits. In most refinishing workflows, you’ll start coarse enough to remove the existing topcoat and scratches, then step down to finer grits to smooth the wood surface for staining and topcoat application. A common practical range is starting around 36–60 grit, then moving through 80–100, and finishing around 120–150 (exact grit progression depends on your current finish condition and equipment). Choose based on what you’re removing—not the calendar.
Pay special attention to edges, corners, and transitions (doorways, hall-to-room changes, and areas near walls). These zones are easy to over-sand because the pressure distribution changes. They’re also easy to under-sand because dust and debris collect there. When you only sand the center, the final sheen can read “striped” under natural light.
Between sanding steps, vacuum thoroughly. If you leave dust, you embed it and it shows through as texture. For the final pre-finish wipe, use a method appropriate to your sanding dust (and compatible with your finish system)—many failures come from wiping with the wrong tack cloth or cleaning product that leaves a film.
Also, be mindful of engineered hardwood sanding limits. If the wear layer is thin, heavy sanding can be irreversible. Use your flooring manufacturer’s sanding/spec documentation for your exact product—[ADD: source for engineered hardwood sanding limits from your specific manufacturer].
Progressively finer grits help you remove the old finish evenly while reducing surface scratch visibility under stain and clear coats.
Edges and transitions often get uneven sanding, which can create visible sheen differences even if the floor “looks flat” up close.
Vacuuming between sanding steps reduces embedded dust, a common cause of gritty texture and cloudy finish.
How to Match Sanding/Repair Effort to the Floor’s Condition (Typical DIY Thresholds)
| # | Floor symptom you see | Recommended approach | Effort level (1–5) | Outcome risk (low→high) | Best for |
|---|---|---|---|---|---|
| 1 | Light dullness, minor scuffs | Screen + topcoat (or light re-sand) | 2 | ★ Low | Small areas, intact finish |
| 2 | Scratch lines through clear coat (not deep) | Spot repair + blending | 3 | ★ Medium–Low | Localized wear |
| 3 | Uneven color from patchy wear | Full refinishing | 4 | ★ Medium | Room-wide uniform tone |
| 4 | Small dents (heel marks) in traffic zones | Fill + blend sand | 3 | ★ Low–Medium | Keep overall finish while improving texture |
| 5 | Visible sheen differences across the room | Whole-floor topcoat | 4 | ★ Medium | Fix “patchy gloss” |
| 6 | Loose boards, worsening gaps | Repair substrate, then refinish | 5 | ★ High | Stop if boards move after fastens |
| 7 | Moisture staining / soft spots | Moisture diagnosis first | 5 | ★ Very High | Refinish alone won’t fix rot |
Stain and Match Color (If You Want a Refresh)
If your goal is an even tone or a change in color, staining is the step that controls how your hardwood reads under light. The most consistent results come from testing first, applying evenly, and then sealing with the correct topcoat system.
Test stain in an inconspicuous area—especially if you’re working over previously sanded or repaired zones. Wood species and prior coatings affect absorption, so the same stain can look 1–3 shades different across a floor when the substrate varies. Apply stain evenly using controlled wiping or application technique to avoid pooling in grain “hot spots,” where color darkens faster.
After staining, seal promptly with a topcoat compatible with the stain and your existing system. “Color flashing” (a temporary shade that changes as topcoat cures) and blotchiness often happen when the topcoat schedule or product compatibility is off. If you’re using polyurethane topcoats, follow the manufacturer’s recommended recoat and curing windows.
Stain acceptance varies by wood and by what you removed during sanding, so a small test patch is the fastest way to predict tone.
Uneven stain absorption is typically caused by inconsistent sanding or differences in how repaired/filler areas absorb product.
A compatible sealer/topcoat system locks in color and reduces blotchiness caused by delayed or incorrect sealing.
Apply the Finish for a Durable, Even Look
A durable, even finish is about product compatibility, thin coats, and patient curing. Once staining (if used) is complete, you’re building the protective layer that resists scuffs, everyday wear, and moisture exposure.
Choose the topcoat system compatible with your sanding and stain. Follow the manufacturer’s instructions for application method (brush/roller/sprayer), drying times, and recoat windows. Most topcoat failures come from either applying too thick a layer (which traps solvents and can cause hazing) or missing a recoat window so the underlying coat doesn’t bond properly.
Apply thin, even coats using the manufacturer’s recommended tools. That reduces brush marks and bubbles. Work from one edge so you can maintain a consistent wet edge and blend strokes. Let the finish cure fully before heavy traffic and furniture placement—“dry to the touch” is not the same as full cure, and moving furniture too early can leave dents or stick marks.
For planning, keep in mind that interior humidity and temperature can shift cure performance. According to NWFA guidance, maintaining stable indoor conditions helps wood floors perform better over time. (NWFA performance guidance)
Thin, even topcoat coats reduce surface defects like brush marks and help the finish cure uniformly.
Recoat timing and compatibility are critical; missed windows can lead to poor bonding, visible texture, or premature wear.
Curing is not the same as drying—waiting for full cure protects your floor from dents and tackiness under furniture.
What Can Go Wrong (So You Don’t Waste Time or Money)
Even a well-planned refinishing can fail if you skip key prep steps or exceed the floor’s limits. Most “bad finish” problems trace back to sanding inconsistency, contamination, or incompatible products—not the final coat itself.
Common pitfalls include:
– Over-sanding one area and creating low spots that show as uneven sheen later.
– Skipping structural repairs (loose boards, squeaks) so the finished surface looks unstable or reopens gaps.
– Product incompatibility, especially wrong stain/finish combinations that cause tackiness, peeling, or uneven drying.
– Ignoring engineered sanding tolerance, which can expose layers you can’t reclaim—[ADD: source for engineered hardwood sanding limits from your specific manufacturer].
– Improper cleanup and dust control, resulting in cloudy or gritty topcoat appearance.
To keep decisions grounded, here’s a quick “spot repair vs full refinishing” comparison that aligns with what you typically see in real restorations:
| Scenario | Spot repair tends to work when… | Full refinishing is usually the better move when… |
|---|---|---|
| Scratches/scuffs | The damage is localized and the surrounding finish is still sound | Wear is widespread and sheen/color are broadly inconsistent |
| Color unevenness | Differences are limited to a small patched zone | Tone is uneven across the room due to overall wear or multiple repairs |
| Seam/blotch issues | The problem is mostly surface-level | Issues suggest sanding/depth differences or prior contamination over larger areas |
| Time vs uniformity | You want faster turnaround and can live with minor blending limits | You want uniform tone/level sheen under daylight and strong angles |
Uneven sheen commonly indicates inconsistent sanding pressure or residue, not “bad luck” with the finish.
If boards move or gaps are worsening, refinishing can’t correct the underlying mechanical problem.
Engineered hardwood refinishing must respect the manufacturer’s wear-layer limits; sanding beyond those limits can be irreversible.
Verdict: When DIY Restoration Works (and When to Stop)
DIY restoration works when the floor is structurally sound and the issues are mostly surface wear—dullness, scuffs, and moderate scratch damage. It’s also reasonable when you’re comfortable with multi-step sanding, controlled staining (if used), and careful topcoat application.
Stop and get an inspection (or hire a pro) if you see moisture damage, significant warping/buckling, soft/rotted boards, widespread board failure, or movement after repairs. In those cases, refinishing can’t fix the substrate, and you risk wasting money on coats that won’t last.
If you’re unsure about your floor type, finish chemistry, or sanding tolerance—especially for engineered products—check the flooring manufacturer’s documentation and consider a compatibility test in a hidden area. [ADD: source for compatibility guidance from your finish manufacturer]. When uncertain, the “safe” move is to verify before you sand.
DIY refinishing is best for sound floors with surface-level wear; it won’t correct structural moisture or board movement.
If engineered wear-layer limits are unknown, confirm sanding tolerance before removing finish and wood—irreversible damage can occur.
When finish chemistry is unclear, compatibility testing on a small area reduces the risk of tackiness or adhesion failure.
Quick Restoration Checklist (Scan-Save)
– [ ] Inspect for cupping, soft/rotted boards, loose sections, and worsening gaps
– [ ] Identify solid vs. engineered hardwood and confirm any sanding limits
– [ ] Repair loose boards/squeaks and fill dents after curing
– [ ] Sand evenly with progressively finer grits; vacuum between steps
– [ ] Test stain on a hidden area if changing color
– [ ] Apply compatible stain/topcoat; use thin, even coats
– [ ] Allow full curing time before heavy traffic and furniture placement
FAQ
Can I restore hardwood floors without sanding?
Sometimes—if the surface is only dull and the existing finish is still well-bonded. For scratches that penetrate the clear coat, uneven wear, or blotchy color, sanding (even if lighter/screening) is usually required for a consistent result.
How do I know whether my floor should be spot-repaired or fully refinished?
Spot repair is best when the damage is localized and the surrounding finish remains intact. Full refinishing is a better choice when sheen/color are broadly uneven, multiple zones are failing, or you want room-wide uniform tone.
What finish should I use to restore hardwood floors?
Use the finish system recommended for your floor type and compatible with the current coating chemistry. Follow the manufacturer’s instructions for primers (if required), stain (if used), and topcoats. If you’re working over an unknown old finish, test first and [ADD: source for compatibility guidance from your finish manufacturer].
Why does my new finish look cloudy or uneven?
Cloudiness often comes from contamination (dust, wax, or improper cleaners), moisture problems, or application in incorrect conditions. Uneven sheen can also result from inconsistent sanding depth or uneven coat application.
Sources
– [ADD: manufacturer installation/refinishing instructions for your specific hardwood floor type—solid vs. engineered sanding limits]
– [ADD: finish/stain manufacturer application instructions for compatible topcoats, drying/curing guidance, and recoat windows]
– National Wood Flooring Association (NWFA) — wood flooring performance and moisture guidance (as referenced for interior moisture content and floor stability). (NWFA)
– [ADD: primary wood finishing guidance—e.g., official technical documents from major finish brands or reputable wood-finishing associations]
A successful hardwood floor restoration comes down to one idea: fix what’s wrong underneath, then build a consistent surface and compatible finish on top. Inspect first, repair and prep thoroughly, sand evenly with a proper grit progression, and only stain/coat when product compatibility is confirmed. If your floor shows moisture damage or ongoing movement, don’t rely on finish work alone—address the substrate to protect the results you’re paying for (or doing).
Frequently Asked Questions
How do I restore hardwood floors that are scratched and dull?
Start by cleaning the floor thoroughly and removing any wax buildup so the finish can adhere properly. For light scratches, you can use a wood floor restorer or scratch repair marker matched to your wood tone, then lightly buff and apply a compatible floor finish. If the surface is uneven or deeply scratched, you may need to sand the affected areas and refinish with polyurethane or another recommended hardwood floor coating.
What’s the best way to restore water-damaged hardwood floors?
First, dry the area completely and identify the extent of the damage—surface cupping or finish failure is often repairable, but warped boards may require replacement. Clean off any residue and sand down to sound wood if the finish is compromised, then stain to match and seal with a moisture-resistant topcoat. If water damage caused serious cupping, lifting, or ongoing discoloration, the best restoration approach is professional leveling and refinishing to prevent recurrence.
Why does my hardwood floor look cloudy after cleaning, and how can I fix it?
Cloudiness is commonly caused by trapped moisture, oversaturated cleaning solutions, or residue from cleaners that don’t fully evaporate. Try a gentle, hardwood-safe cleaner and dry the surface thoroughly; if residue is the issue, a specialized hardwood floor polish remover can help. For persistent cloudiness, you may need to lightly abrade and refinish the area so the new finish bonds evenly and restores the original sheen.
How do I restore hardwood floors with worn finish without sanding the whole house?
You can restore hardwood floors using spot repairs and localized refinishing if the wear is limited to certain rooms or high-traffic paths. Clean and lightly scuff the surface, then use a matching stain (if needed) and apply a thin, even coat of polyurethane or urethane-based floor finish to blend the sheen. For the most seamless result, feather the edges between repaired and existing areas and maintain consistent drying times so the surface levels properly.
Which products and tools are best for restoring hardwood floors safely?
Look for hardwood floor restoration products designed for your floor type—unfinished wood, prefinished hardwood, or already sealed surfaces all require different approaches. Essential tools typically include a pH-neutral cleaner, microfiber pads, a vacuum with a soft brush, a buffer or sanding equipment (only when needed), and a properly matched stain and topcoat. Avoid harsh chemicals, steel wool, and excessive water, since they can damage the finish, raise the grain, or cause long-term dullness.
📅 Last Updated: October 07, 2026 | Topic: How to restore hardwood floors? | Content verified for accuracy and freshness.
References
- https://en.wikipedia.org/wiki/Hardwood_floor
- Lead Renovation, Repair and Painting Program | US EPA
https://www.epa.gov/lead/renovation-repair-and-painting-program - https://www.hud.gov/program_offices/healthy_homes/healthy_homes/lead
- Wood Dust – Overview | Occupational Safety and Health Administration
https://www.osha.gov/wood-dust - https://www.cdc.gov/niosh/topics/wooddust/
- Conservation Institute | Getty
https://www.getty.edu/conservation/ - https://www.sciencedirect.com/topics/engineering/hardwood-flooring
- Google Scholar Google Scholar
https://scholar.google.com/scholar?q=how+to+refinish+hardwood+floors - Google Scholar Google Scholar
https://scholar.google.com/scholar?q=hardwood+floor+restoration+sanding+sealers+finishes - Google Scholar Google Scholar
https://scholar.google.com/scholar?q=hardwood+floor+refinishing+repair+boards+cracks+moisture+issues