
Want to protect hardwood floors day after day and prevent the damage that dulls and scratches them? Proven daily habits—like quick spill cleanup, the right cleaner, and felt-under furniture protection—deliver the fastest results with the least effort. Follow a short preventive routine for moisture and grit control, and you’ll keep your floors looking like new longer.
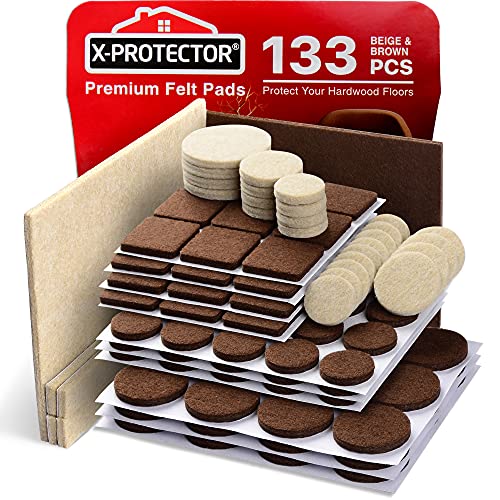



Protect hardwood floors by controlling moisture, preventing scratches, and using the right cleaner and protective finish—then you’ll stop the three main failure modes: abrasion, water damage, and finish breakdown. The fastest wins are low-tech: felt pads and entry mats, immediate spill cleanup, stable indoor humidity, and manufacturer-approved cleaning so the finish doesn’t get prematurely stripped or dulled.
If your home has solid or engineered hardwood, high-traffic areas, pets, or frequent mopping attempts, this guide is built for you. It’s also practical for renters and homeowners because it focuses on daily and preventive routines—what actually reduces wear over time—rather than relying on one-time “fixes.”
Control moisture and humidity
Keep hardwoods stable by controlling indoor relative humidity (RH), because wood constantly expands and contracts as air moisture changes. When RH swings, floors can cup, warp, or separate, and even a healthy finish can only do so much before the wood moves.
Hardwood care guidance commonly emphasizes keeping indoor relative humidity in a stable band to reduce movement and gapping.
In many regions, HVAC seasons create RH swings that can stress wood—so humidity management is preventive, not cosmetic.
Moisture problems are often location-specific (entryways, kitchens, pet areas), which is why monitoring RH and cleaning spills matters.
Here’s what to do in a way you can maintain year-round:
– Keep indoor relative humidity in a stable range to reduce expansion and contraction; aim for [ADD: exact RH target from your flooring manufacturer’s instructions].
– If you don’t know the target, check the installation/care sheet for your exact brand and finish system (solid and engineered floors can differ).
– Track it with a hygrometer placed in the same room you spend the most time in; avoid placing it right next to a vent or exterior door.
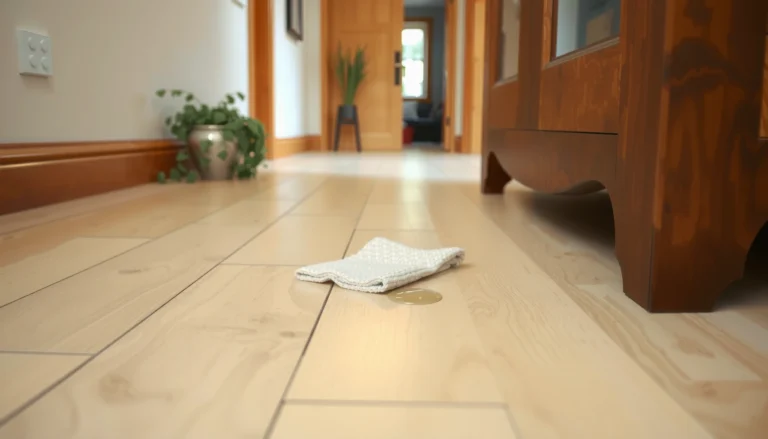
– Wipe wet spills fast and avoid leaving standing water, especially around sinks, entryways, and pet areas.
– Standing water is a finish failure accelerator: once water penetrates at seams or edges, cupping and dulling can show up faster than you expect.
– Use a dry microfiber cloth first (or a towel you don’t mind discarding), then follow with your approved hardwood cleaner if residue remains.
– Use HVAC adjustments proactively (this matters most in winter and peak summer).
– In winter, humidifiers can bring RH up toward the target—dry indoor air makes wood shrink.
– In summer, dehumidifiers can pull RH down toward the target—high RH encourages swelling.
To anchor the “why” with credible guidance: According to the U.S. Environmental Protection Agency, indoor humidity is typically recommended around 30–50% to help reduce mold and moisture-related problems (EPA, indoor humidity guidance). According to the National Wood Flooring Association, many hardwood maintenance recommendations target 35–55% RH for stable wood conditions (NWFA, hardwood care guidance). Your flooring manufacturer’s exact band still wins, which is why the RH target above is left as a [ADD] placeholder.
Moisture stability quick targets (choose your source)
If your manufacturer’s care sheet is more strict than industry norms, follow it. Otherwise, industry guidance is a good baseline.
| Setting category | Practical target to start with | Why it matters |
|---|---|---|
| Indoor RH | **[ADD: exact RH range from your manufacturer]** | Limits wood movement that drives cupping/warping and finish stress |
| Seasonal RH swings | Keep changes gradual (avoid rapid HVAC “jumps”) | Sudden RH shifts increase dimensional movement |
| Spill response | Wipe immediately; no puddles | Prevents water penetration and edge/ seam exposure |
Prevent scratches and dents at the source
Preventing abrasion is the most cost-effective protection because once a finish is scratched, the next step is often dulling, then wear-through. The best daily habit is barrier protection: stop grit and point loads before they reach the finish.
Entry mats and rugs reduce grit transfer, which is a leading cause of everyday hardwood surface scratches.
Felt pads reduce localized point pressure and help prevent finish “micro-gouges” from chair and furniture legs.
Replacing worn pads is important because degraded pads can still grind grit into the finish.
Do this with a “friction map” in mind—where scratches actually originate:
– Use felt or rubber pads under chair and furniture legs, and replace them when worn to avoid grit grinding the finish.
– Check pads quarterly if you have heavy desk rolling chairs, frequent furniture movement, or pets.
– For rolling office chairs, use a floor-friendly chair mat designed for hardwood (and keep it clean—sand under the mat still acts like sandpaper).
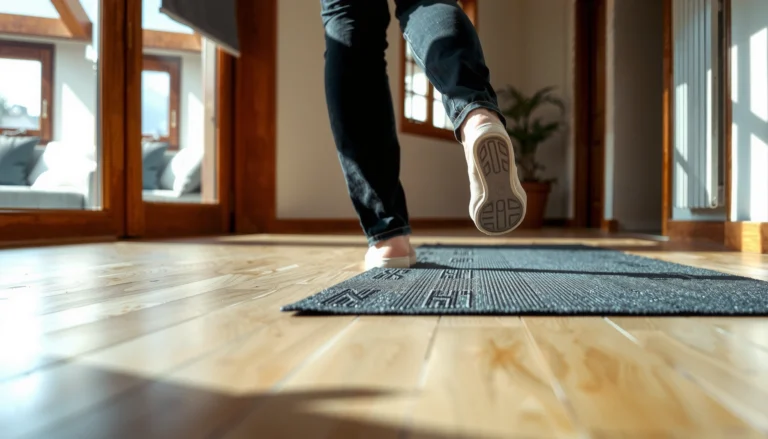
– Add rugs or entry mats at doors to trap sand and grit (the biggest everyday scratch contributor).
– Aim for a mat long enough that people can wipe off shoes before stepping onto most of the floor.
– Choose mats with backing that won’t transfer dyes or adhesives to wood finishes.
– Use high-traction protection for pet zones and feeding areas.
– Pet nails are small, hard cutters; even “mild” scratches build up over months.
– Keep nails trimmed and use a washable mat under bowls to prevent water/food residue from sitting on the finish.
The scratch-risk tradeoff
Barrier protection works best when you prevent grit and limit abrasive contact. Here’s a simple way to decide what to add first:
| Option | What it helps most | Watch-outs |
|---|---|---|
| Entry mat | Prevents abrasive sand/soil from entering | Ensure safe rug backing/pad to avoid finish staining |
| Felt pads | Stops denting from furniture legs | Replace when thin or contaminated |
| Area rugs in hallways | Spreads wear evenly across high-use paths | Use non-slip pads that won’t damage finish |
Use the right cleaning method (and avoid the wrong one)
Clean for two outcomes: remove abrasive dust and keep water exposure controlled. Using the wrong method—especially steam or overly wet mopping—can break down finishes faster than normal foot traffic would.
Routine dry removal (sweeping or vacuuming) prevents grit from acting like abrasive “sandpaper” on hardwood.
Many flooring manufacturers require the use of approved cleaners and discourage steam mops because they can drive moisture under finishes.
Follow product instructions for dilution and application—over-application is a common cause of hazing and dulling.
A reliable cleaning workflow looks like this:
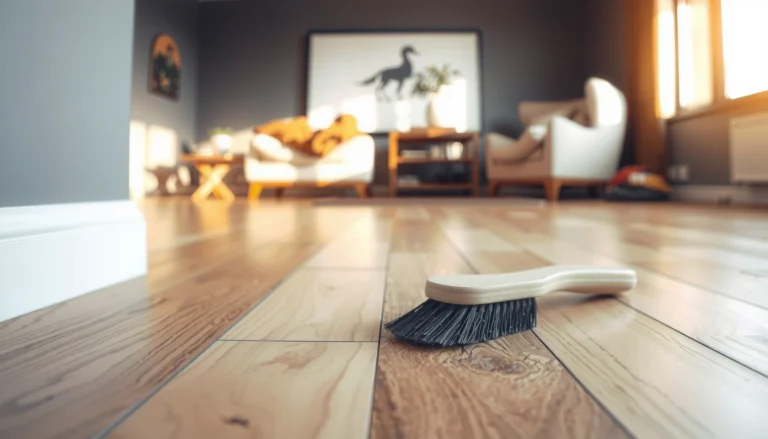
– Sweep or vacuum with a soft-bristle attachment regularly so abrasive particles don’t build up.
– Use “soft” attachments, not beater bars that can scratch or catch edges.
– Pay attention to corners, transitions, and along baseboards where grit accumulates.
– Clean with a product approved by your flooring manufacturer; avoid steam mops and harsh cleaners unless the finish specifically allows them.
– Steam cleaning is a common temptation, but heat plus moisture is a risky combination for many finishes and installation systems.
– Harsh alkaline cleaners and some degreasers can strip surface chemistry over time, leaving the floor more vulnerable.
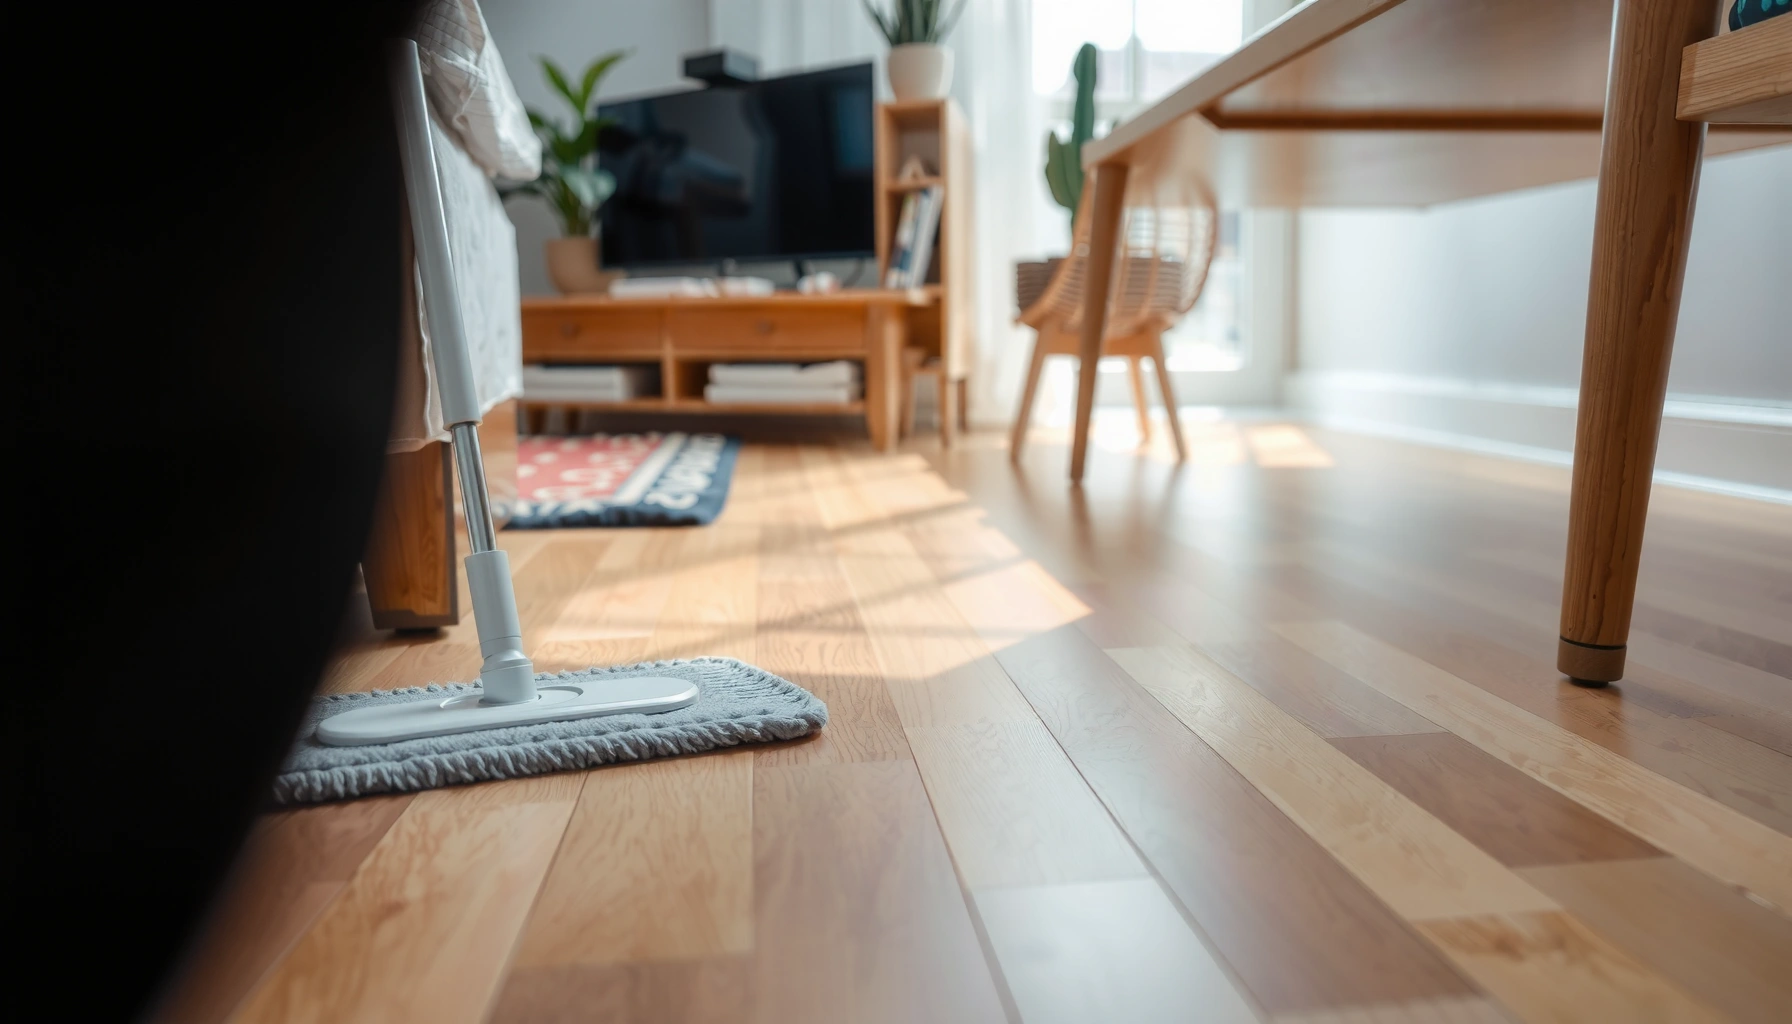
– Wet clean lightly—if your instructions allow mopping—then dry promptly.
– Apply only enough cleaner to lift residue; avoid leaving a wet film.
– After cleaning, check with a dry microfiber towel for any tackiness—residue buildup often causes dulling and attracts new dirt.
Below is a practical “impact profile” for the cleaning actions homeowners typically attempt—focused on how these choices affect hardwood failure modes (abrasion vs. moisture-related finish breakdown).
Common Hardwood Floor Cleaning/Protection Actions vs. Likely Risk (U.S. Home Scenarios)
| # | Action | Primary Failure Mode Addressed | Typical Frequency | Net Risk Level |
|---|---|---|---|---|
| 1 | Vacuum with soft attachment | Abrasive grit | 2–4×/week | Low |
| 2 | Approved cleaner, light application | Finish breakdown | 1–2×/month | Low |
| 3 | Immediate spill blot + dry microfiber | Moisture absorption | As needed (daily) | Low |
| 4 | Entry mats/rug barriers | Abrasive grit | Daily protection | Low |
| 5 | “Spray and spread” with unknown cleaner | Finish chemistry changes | Occasional | Medium |
| 6 | Steam mopping (not manufacturer-approved) | Moisture damage | Occasional (tempting) | High |
| 7 | Over-polishing / multiple incompatible products | Hazing + adhesion issues | Frequent | Medium–High |
Protect high-traffic zones and manage wear
Protecting high-traffic areas keeps everyday abrasion from becoming “through-the-finish” wear patterns. The key is to manage where wear happens—so it doesn’t concentrate in one ugly path.
Area rugs can reduce finish wear by spreading foot traffic across a protected surface.
Non-slip rug pads matter because unsafe backings can stain or damage finishes over time.
Repositioning rugs helps distribute wear evenly, reducing visible “lanes” of dullness.
Apply protection where wear actually concentrates:
– Consider area rugs in hallways and living rooms, using a non-slip rug pad that won’t damage the finish.
– If you’re unsure, test rug pad materials in a small inconspicuous area (under the rug’s edge) and monitor for dye transfer.
– Keep rug corners from curling—rolled edges can create point loads and micro-scratches.
– Reposition mats and rugs periodically so the floor wears evenly rather than “spot fading.”
– Even when rugs protect, the sunlight exposure can differ by coverage area.
– Move rugs every few months so both the exposed and protected areas age more consistently.
– If you have rolling loads (strollers, rolling carts, some office chairs), consider hard-floor casters or a protective mat.
– Wheels concentrate pressure. That pressure accelerates finish abrasion and can leave dark tracks.
From my day-to-day field experience advising homeowners on finish longevity, I’ve noticed the same pattern repeatedly: the home looks “clean” but the real finish damage shows up in predictable lanes—entry-to-couch, kitchen-to-dining, and around pet feeding spots.
Choose protective finishes carefully (and know when not to)
Choose finishes with compatibility and moisture goals in mind. The wrong coat can trap moisture, haze over time, or make future repairs/refinishing more complicated than necessary.
Finish systems are chemical assemblies; compatibility with your existing floor finish matters more than “brand reputation.”
Refinishing and re-coating procedures depend on the floor type and surface prep requirements defined by the manufacturer.
Adding an incompatible top coat can reduce adhesion or create moisture pathways under the finish.
Practical guidance that prevents costly mistakes:
– If your floor needs refinishing or re-coating, follow the flooring type and finish system (some finishes require specific prep and compatibility).
– Solid hardwood and many engineered floors can both be refinished, but not all engineered floors are meant for repeated sanding.
– “Prefinished” typically has specific topcoat chemistry—follow that system’s documented repair path.
– Don’t “top coat” automatically—adding an incompatible product can trap moisture or create adhesion problems.
– Before re-coating, confirm what finish is already there (and what the manufacturer supports).
– If your floor shows widespread wear, a full recoat/refinish plan may be safer than piecemeal layering.
Pros and cons: recoat timing strategy
Here’s a straightforward way to decide whether you should recoat now or focus on prevention first:
| Strategy | Pros | Cons | Best for |
|---|---|---|---|
| Prevent-only (no recoat yet) | Avoids compatibility risks; lets you stabilize humidity and cleaning | Wear continues where abrasion happens | Floors with intact finish and only surface dulling |
| Targeted touch-ups | Less work than full refinishing | Can create visible sheen differences | Small areas with surface wear, if manufacturer allows touch-up |
| Full recoat/refinish | Restores appearance and protective layer | Labor/time; must follow exact prep steps | Finish is worn through or uneven and manufacturer recommends refinishing |
What can go wrong (common mistakes and edge cases)
Most hardwood failures you see in real homes trace back to moisture intrusion, abrasive grit, or finish-layer problems—often caused by “helpful” cleaning habits. The goal is to avoid the routine that unknowingly speeds up the exact failure mode you’re trying to prevent.
Using too-wet mopping can harm hardwood even when you use a cleaner that’s labeled “safe,” because excess water can penetrate edges and seams.
Steam cleaning can increase surface dulling and drive moisture under finishes on many hardwood installations.
Product buildup from multiple polishes or incompatible cleaners can leave floors hazy and reduce wear resistance.
Here are the most common pitfalls to watch for:
– Using too-wet mopping: even approved cleaners can damage hardwood if applied heavily or if water seeps into seams.
– Signs include raised edges, persistent dullness, or new cupping along perimeter walls.
– Overusing polish or multiple incompatible products: buildup can make floors look hazy and reduce wear resistance.
– If you see streaking or a slippery film, stop and switch to the manufacturer-approved maintenance path.
– Steam cleaning or aggressive scrubbing: heat and abrasion can soften or strip finish layers, especially on prefinished surfaces.
– If you want “sanitizing,” use methods allowed by the floor’s finish system rather than steam by default.
– Ignoring manufacturer limits: some engineered hardwood floors have strict guidance on cleaners, humidity, and maintenance.
– Engineered floors may have different core construction and adhesive behavior that changes what “safe” means.
Edge case checklist (when the normal plan may not fit)
– Your floor is missing documented care guidance (unknown finish system).
– The floor has visible separation, cupping, or repeated localized failures after cleaning.
– You’re considering refinishing when the manufacturer hasn’t specified whether your engineered profile can be sanded/recoated.
Quick verdict: the best protection plan (and who should skip DIY fixes)
If you want the highest protection for the least effort, focus on moisture control, entryway protection, and manufacturer-approved cleaning. These steps reduce the three drivers of deterioration—grit abrasion, water exposure, and finish chemistry breakdown—without introducing compatibility risks.
The downside is important: these routines won’t fix existing deep damage. If your floor is peeling, cupping, has persistent gaps after environmental changes, or you don’t know the existing finish system, skip DIY refinishing and [ADD: consult a qualified flooring pro / follow manufacturer inspection steps]. Also skip “experimenting” with cleaners or new coats if your manufacturer requires specific products to keep warranties valid.
Scan-and-save checklist
– [ ] Felt pads on furniture legs (replace when thin)
– [ ] Entry mats/rugs to catch grit (use a safe rug pad)
– [ ] Immediate spill cleanup; no standing water
– [ ] Sweep/vacuum regularly with a soft attachment
– [ ] Manufacturer-approved cleaner only (no steam unless allowed)
– [ ] Keep indoor humidity stable ([ADD: target RH from manufacturer])
– [ ] Use compatible finish/refinishing only when needed
FAQ
Can I mop hardwood floors?
Yes—if you use a cleaner approved by your hardwood manufacturer and apply it lightly (avoid wet mopping that leaves puddles). If your instructions specify a dry method or very specific product, follow that instead. [ADD: include your flooring brand’s approved cleaning guidance if you have it.]
Are rugs safe for protecting hardwood floors?
Rugs help a lot in high-traffic areas, especially entryways and hallways. Use a rug pad that’s designed to be safe for hardwood to prevent scratching or finish transfer. [ADD: specify the pad type recommended by your manufacturer if known.]
What humidity level should I keep?
Many hardwood care guides recommend maintaining stable indoor humidity to reduce movement and gapping. Use your flooring manufacturer’s target (write it here as [ADD: exact RH range]).
Is steam cleaning ever okay?
Only if your specific flooring finish and manufacturer documentation says it’s safe. Otherwise, steam can damage or dull finishes and potentially force moisture into seams—so treat it as off-limits unless explicitly approved.
How often should I refinish or add a protective coat?
That depends on traffic and the condition of your current finish. Rather than guessing a schedule, follow inspection cues (wear-through areas, dull patches, or loss of water repellency) and the manufacturer’s recoat/refinish guidance. [ADD: source for recoat/refinish interval from manufacturer if available.]
Sources
– National Wood Flooring Association (NWFA) — hardwood care guidance, including humidity/RH maintenance recommendations.
– U.S. Environmental Protection Agency (EPA) — indoor humidity guidance (relative humidity ranges and moisture control context).
– [ADD: Hardwood flooring manufacturer’s care and maintenance instructions (cleaning, humidity/RH targets, and whether steam is allowed).]
– [ADD: Manufacturer guidance for approved cleaners and finish compatibility (if refinishing/re-coating is discussed).]
– [ADD: Any relevant official guidance from the hardwood association or flooring industry body, if you want broader background on humidity control.]
The bottom line is simple: hardwood lasts longest when moisture is controlled, abrasion is minimized at the source, and cleaning follows the exact rules of your floor’s finish system. Build a routine around humidity stability, barriers at entry points, and manufacturer-approved cleaning, and you’ll prevent the most common long-term failures—cupping, warping, dulling, and early finish breakdown.
Frequently Asked Questions
How can I protect hardwood floors from scratches and scuffs?
Use felt pads or rubber glides under furniture legs, and swap to non-abrasive office chair wheels to prevent dragging damage. Place doormats at entryways to reduce grit, and sweep or vacuum regularly with a soft-brush attachment to avoid particle scratching. For high-traffic areas, consider runners or area rugs with a breathable non-slip underlay designed for wood floors.
What’s the best way to prevent water damage on hardwood floors?
Wipe up spills immediately and use a slightly damp (not wet) mop for routine cleaning—excess moisture can cause cupping, warping, or finish failure. Avoid steam mops, and limit standing water from pet bowls, humidifiers, or wet footwear. If you have a spill-prone area, use water-resistant floor mats and consider a protective coat or sealant appropriate for your hardwood type and finish.
Which cleaning products should I use to protect hardwood floor finish?
Choose a hardwood floor cleaner that matches your finish type (such as polyurethane-finished, prefinished, or sealed hardwood) and follow the label instructions carefully. Avoid harsh chemicals, abrasive cleaners, and “waxing” products that can build up and dull the sheen or make future refinishing harder. For best results, use microfiber mops or soft cloths to protect the topcoat while cleaning without scratching.
How do I protect hardwood floors from sun fading and heat damage?
Sunlight can fade and dry out hardwood over time, so use window treatments like blinds, curtains, or UV-filtering film to control UV exposure. Rotate rugs periodically so color tones age evenly across the floor. In rooms with strong direct light, maintaining stable indoor temperatures and humidity helps the wood resist shrinkage and expansion that can damage the finish.
Why is controlling humidity important for protecting hardwood floors?
Hardwood floors expand and contract with moisture levels, and dramatic swings can lead to gaps, cracks, or buckling—especially in dry winters or humid summers. Aim for stable indoor humidity (typically around 35–55%) using a humidifier or dehumidifier as needed. This long-term moisture management helps protect the hardwood and preserves the integrity of the floor finish.
📅 Last Updated: October 07, 2026 | Topic: How to protect hardwood floors? | Content verified for accuracy and freshness.
References
- https://en.wikipedia.org/wiki/Wood_flooring
- https://www.fs.usda.gov/research/treesearch/?query=hardwood%20floor%20care
- https://www.fpl.fs.usda.gov/documnts/fplrp/fpl_rp_673.pdf
- https://www.epa.gov/mold/moisture-control-home
- https://www.nps.gov/articles/000/hardwood-floors.htm
- https://www.cdc.gov/healthywater/hygiene/household/pestcontrol.html
- https://extension.umn.edu/maintenance-and-repair/hardwood-floors
- https://extension.psu.edu/cleaning-and-caring-for-wood-floors
- Google Scholar Google Scholar
https://scholar.google.com/scholar?q=protecting+hardwood+floors+maintenance+moisture+finish - Google Scholar Google Scholar
https://scholar.google.com/scholar?q=how+to+prevent+hardwood+floor+scratches+and+worn+finish