
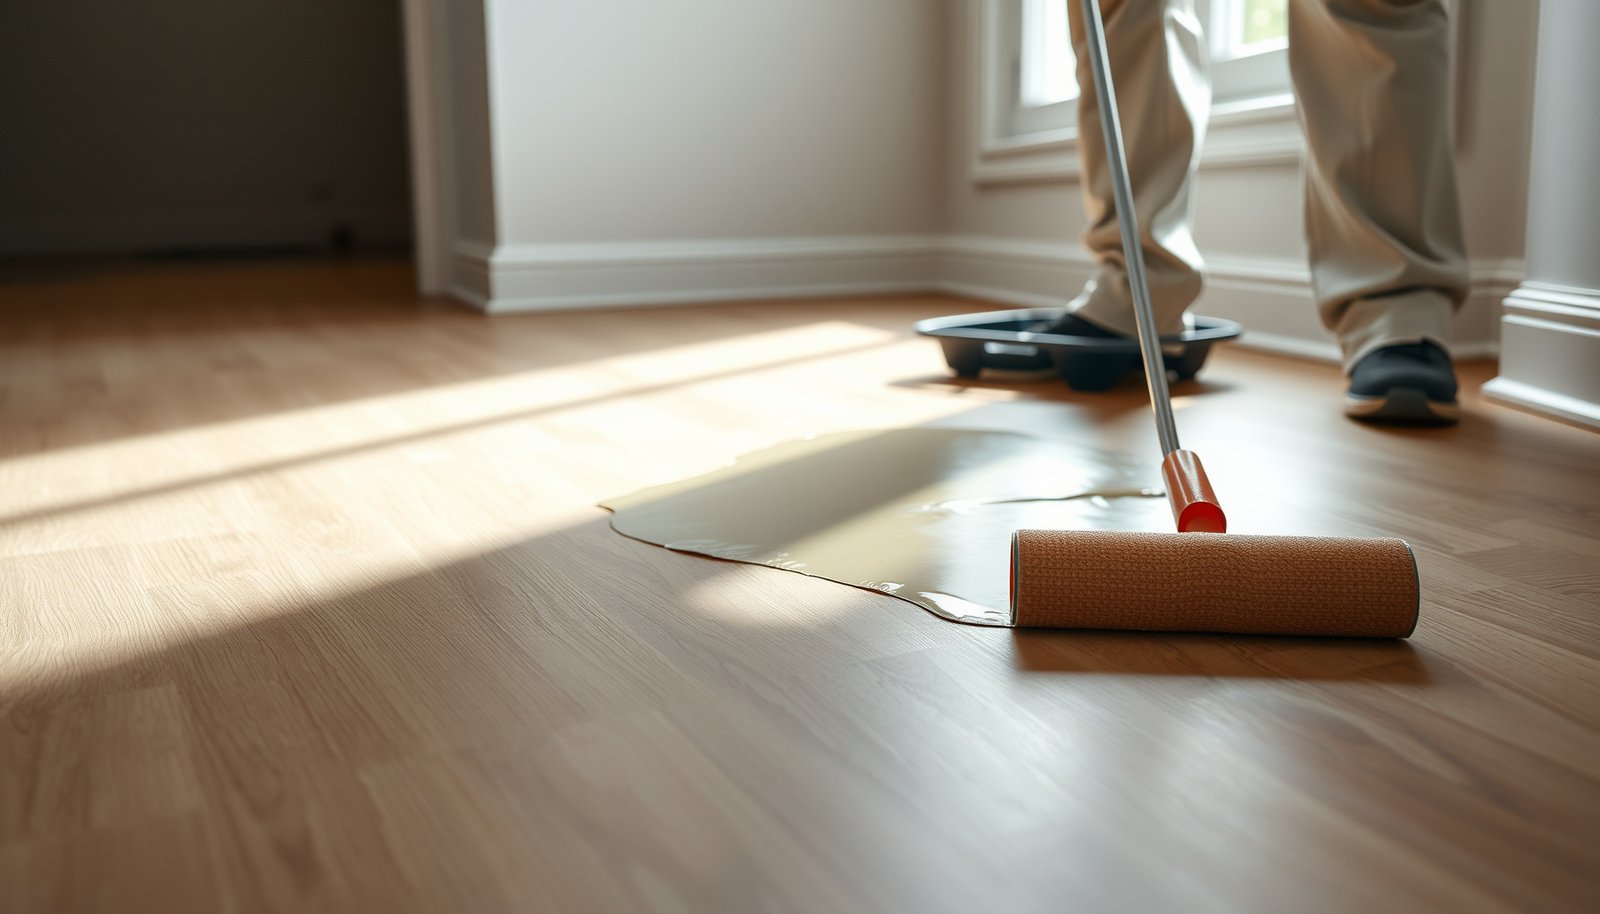

Wondering how to waterproof wood-look tile floors? The fastest, most reliable path is to use a true waterproofing system: a compatible membrane (or liquid-applied waterproofing), properly sealed seams and corners, and a grout/penetration plan that doesn’t leave gaps. Follow that sequence and you’ll protect the tile assembly from leaks and moisture intrusion—without relying on “water-resistant” fixes that can fail over time.
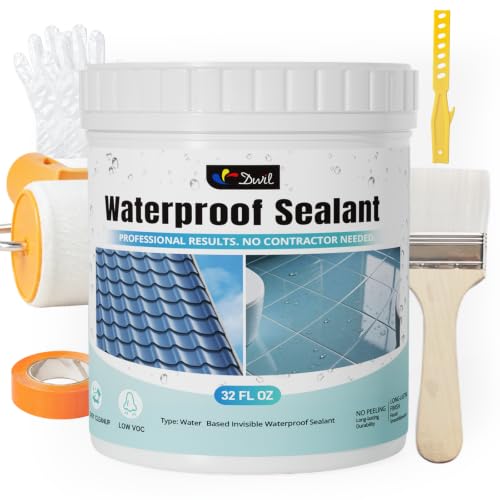



Waterproof wood-look tile floors by treating the entire assembly—not just the tile—using a proper waterproof underlayment and a continuous waterproof membrane at seams, edges, and penetrations. Seal grout (and any joints that need it), then test the finished surface for leaks before using the space. This article walks you through a reliable, step-by-step approach so water can’t get behind the tile.
If your wood-look tile is going in a bathroom, laundry room, entry, or any area where spills and frequent splashes happen, the waterproofing details matter as much as the tile choice. This guide is for DIYers and homeowners coordinating with installers who want a practical checklist and know what can fail.
Start with the waterproofing system, not the grout
The fastest way to avoid hidden moisture problems is to build a complete waterproofing system that stays continuous through seams, edges, and penetrations. Grout sealer can add resistance, but it is not the primary waterproofing layer for a tile floor that can be regularly wet.
Waterproofing for wood-look tile is about controlling water movement at three levels: (1) the waterproofing membrane/underlayment plane, (2) the bonding layer (thinset/mortar) that locks the assembly together, and (3) the grout/joint plan that handles routine water exposure and movement. As of 2026, tile standards and installer practice still converge on the same principle: a “water-resistant” finish is not the same as a “waterproof” barrier.
A tile floor only remains waterproof if the waterproofing layer is continuous across the entire surface, including seams, corners, edges, and penetrations. TCNA Handbook (tile industry guidance on waterproofing continuity)
Grout sealer is considered supplemental protection for grout, not a replacement for a properly installed waterproof membrane system. Manufacturer installation instructions for grout sealers and ANSI/TCNA waterproofing guidance
Choose the right waterproof membrane/underlayment
Start by matching the waterproofing product to (a) your substrate and (b) your wet-area risk level. Common substrate paths include plywood subfloors, concrete slabs, and cement backer boards (or similar panels). Manufacturers specify whether their membrane is intended for use over those substrates and which bonding methods are allowed.
For wet areas, you typically see three “real-world” systems:
– Sheet membranes (often folded/rolled and taped at seams)
– Liquid-applied membranes (brushed/rolled/coated, then detailed at seams and penetrations)
– Cementitious waterproofing systems (installed with reinforced fabric/coats where required)
If you’re choosing between them, don’t decide by cost per square foot alone—decide by continuity details. The best membrane is the one you can install without gaps or missed transitions.
Plan where water will go (not where you think it “should” go)
Water doesn’t usually travel in a straight line. It creeps under edges, follows changes in plane (floor-to-wall), and exploits tiny voids at penetrations like toilet flanges or pipe sleeves. That’s why waterproofing can’t stop at the field tile and grout.
A common misconception is “the grout will stop it.” Grout is a cementitious or polymer-modified material with good surface resistance, but it is still part of an assembly that can allow moisture movement if the underlying system isn’t protected.
Confirm compatibility with wood-look tile installation
Wood-look tile still needs:
– the correct thinset/mortar bonding method approved for the tile and membrane
– the correct underlayment/substrate fastener pattern (if applicable)
– the correct tile setting technique (including back-buttering where needed)
In my work on jobsite troubleshooting, the repeat failure pattern is never the “look” of the tile—it’s the mismatch between membrane type, thinset, and a detail that wasn’t taped or sealed.
Membrane type comparison (what usually matters most):
| Waterproofing route | Strength | Trade-off | Best for |
|---|---|---|---|
| Sheet membrane + seam tape | Predictable continuity when seams/corners are taped correctly | Requires careful layout and flat substrate | DIYers who like a clearly defined assembly line |
| Liquid-applied membrane | Fills irregularities; easy to coat around details | Needs correct film thickness and thorough curing | Areas with lots of cutouts/penetrations |
| Cementitious waterproofing system | Durable when installed to spec | Usually requires reinforcement/fabric at transitions | Moderate DIY comfort with multi-coat systems |
The membrane’s compatibility with the bonding mortar is an installation requirement, not a suggestion—thinsets and membranes are tested together or otherwise documented by the manufacturer. Manufacturer thinset + membrane compatibility statements
Waterproofing detailing at transitions (floor-to-wall, walls-to-drain, and changes of plane) is where many “almost waterproof” floors fail. TCNA Handbook waterproofing methods and detailing guidance
Waterproofing “What Actually Blocks Water?” (Tile Floors, 2026)
| # | System element | What it does best | Typical waterproofing role* | Barrier continuity rating |
|---|---|---|---|---|
| 1 | Sheet waterproof membrane + seam tape | Seals the field plane | Primary waterproofing | ★★★★★ |
| 2 | Liquid-applied membrane + detailing coat | Creates continuous coating layer | Primary waterproofing | ★★★★★ |
| 3 | Cementitious waterproofing + reinforced fabric at changes of plane | Stiff, durable barrier system | Primary waterproofing | ★★★★☆ |
| 4 | Waterproof backer board with approved seams/tape | Provides panel support + barrier when detailed | Primary/near-primary (system-dependent) | ★★★☆☆ |
| 5 | Crack isolation membrane (uncoupling layer) | Helps reduce stress from minor movement | Secondary layer | ★★☆☆☆ |
| 6 | Cement board without waterproof membrane | Support for tile; not a full waterproof barrier | Water-resistant only | ★☆☆☆☆ |
| 7 | Grout sealer (alone) | Surface stain/moisture resistance | Not a waterproof system | ☆☆☆☆☆ |
“Typical waterproofing role” reflects how these components are used in industry waterproofing assemblies: true waterproofing requires a continuous barrier and correct seam/edge/penetration detailing.
Prep the floor for a continuous, flat membrane
The membrane only performs as well as the surface contact underneath it. Prep your floor so the waterproofing layer can lie flat, bond uniformly, and bridge low spots without creating thin areas or trapped voids.
This is where DIY jobs often lose reliability: dust left on the substrate, loose patch material, or a floor that flexes. A waterproof membrane is not a substitute for structural soundness. If your subfloor moves, the assembly is stressed—and stress travels to joints, grout, and penetrations.
A continuous waterproofing system requires full substrate contact so the membrane can bond without voids that become moisture pathways. Manufacturer membrane installation requirements for flatness and surface preparation
Repairing dips and damaged areas before installing waterproofing reduces stress concentrations that can crack grout or break membrane bonds. TCNA Handbook substrate preparation guidance
Clean and remove bond-breakers
Start with a thorough cleaning: remove dust, drywall compound residue, paint overspray, and any adhesive residues that could prevent bonding. Even “fine dust” can act like a release layer, especially on concrete or on smoothed patch compounds.
If you’re grinding concrete, vacuum aggressively and wipe with a method compatible with your membrane manufacturer’s requirements. Don’t assume “it looks clean” equals “it bonds.”
Repair dips, cracks, and damaged spots
Flatness matters because waterproofing details at seams and corners are built on the assumption that the membrane can remain unwrinkled. Fill dips and repair damaged substrate areas using patch products approved for your substrate.
For cracks, you generally don’t just fill and tile—you follow the waterproofing system’s direction for what kind of movement is expected and how it should be isolated or bridged. Incorrect crack treatment is a frequent route for later leaks.
Use the correct substrate and fasteners
If you’re over plywood or another panel system, follow the backer board/waterproof membrane instructions for:
– underlayment type
– fastener spacing and type
– screw/fastener embedment
– whether joints need thinset + tape (or specific panel joints)
Skipping this step is how you end up with panel movement that breaks the tile assembly’s internal balance.
When substrate movement exists, tile assemblies transfer stress to grout joints and penetrations, which is why waterproofing alone cannot “fix” an underbuilt floor. TCNA Handbook structural requirements and common failure analyses
Install waterproofing membrane correctly: seams, corners, penetrations
The primary goal is a waterproof layer that never breaks. That means every seam, inside corner, outside corner, change-of-plane, and pipe/toilet penetration must be detailed using the right system components.
Water enters where continuity fails—an untaped seam, a corner that wasn’t reinforced, or a penetrations detail that relied on generic sealant. For wood-look tile floors, the visual tile design doesn’t change the physics; water still seeks the path of least resistance to the subfloor.
Seam taping and corner reinforcement are core waterproofing requirements in most membrane systems, not optional “extra protection.” TCNA Handbook and membrane manufacturer detailing instructions
Penetrations (pipes, drains, toilet flanges) require specialty sleeves or flanges that integrate with the waterproof membrane system rather than ad-hoc sealing. Manufacturer waterproofing detail sheets for penetrations
Tape and seal seams, corners, and transitions
For sheet membranes, you typically:
– overlap or align seam edges exactly per instructions
– apply compatible waterproofing tape
– seal with the system-approved method (rolling/pressing for full contact, then coating if required)
For liquid-applied membranes, you coat the membrane and then reinforce details (often with fabric/strips) so changes of plane don’t become weak points.
Also plan where waterproofing ends. Many floors need controlled transitions up the wall for splash zones, and the minimum height depends on your local code and the fixture usage.
Code anchor: In the US, shower/tub compartment water-resistant requirements in common residential codes often call for protection up to at least 6 ft (1830 mm) above the finished floor (or to the required height based on the configuration). ICC International Residential Code (IRC), wet-area water-resist requirements
Treat penetrations with compatible specialty parts
A pipe sleeve installed through a waterproof plane isn’t just a hole—it’s a stress concentration and a water channel. Specialty parts are designed to:
– create a continuous waterproof boundary around the penetration
– prevent capillary wicking along the pipe/substrate interface
Where your system specifies a flange or drain adapter, do that. Avoid “generic silicone and hope.”
Waterproof where water exposure happens: extend at changes of plane
The membrane needs to wrap the “geometry reality”: floor-to-wall corners, baseboard boundaries, and transitions to other materials. This is where water can track sideways behind the assembly.
When in doubt, treat splash-prone edges generously—because once the assembly is covered with tile and grout, repairs become invasive.
Waterproofing failures frequently originate at edges and transitions because these areas experience differential movement and concentrated water flow during splashes. TCNA Handbook waterproofing failure discussions and industry guidance
Seal grout and joints where water can enter
Sealing grout and joints is your second line of defense, but it only works if the waterproofing membrane already forms the primary barrier. Do this step after grout cures fully, and follow the system approach for movement joints and perimeters.
Grout sealer reduces water absorption and helps with stain resistance; movement joints address expansion and contraction so the tile assembly can flex without cracking. If you treat every joint like it’s meant to be rigid, the system becomes brittle under normal load and temperature swings.
Grout sealing is typically recommended only after full grout cure; applying too early can interfere with performance and increase future water uptake. Grout manufacturer cure/seal instructions
Perimeter and movement joints should be honored with flexible sealant/transition detailing rather than rigid grout filling where movement is expected. TCNA Handbook joint/sealant guidance
Seal grout after it cures fully
Follow the cure timeline in your grout documentation. Many grouts require time to reach full hydration before surface treatments. Applying sealer too soon can trap moisture and reduce long-term performance.
Use the sealer recommended by your grout manufacturer or the membrane/tile system guidance. Coverage rates vary by porosity; measure the surface area and apply uniformly.
Address movement joints and perimeter gaps correctly
Movement joints are different from “small imperfections.” Common mistakes include:
– filling perimeter gaps with grout
– grouting over joints that should be caulked
– bridging soft transitions (like between dissimilar materials) without a flexible plan
Use the specified flexible sealant detail from your waterproofing system and tile standard references.
Don’t skip sealing when your system calls for it
Some grout systems require or strongly recommend sealing, while others provide lower-absorption grout options. Either way, skipping sealing can reduce your surface-level resistance—especially where repeated spills and splash cycles occur.
And remember: a sealer doesn’t replace membrane continuity. If water gets behind the tile, sealer can’t “catch up” from the surface.
A complete waterproofing strategy pairs a continuous membrane with an appropriate joint plan; relying on sealer alone leaves the assembly vulnerable at seams, corners, and penetrations. TCNA Handbook waterproofing and joints guidance
Cure, test, and keep water from sneaking into edges
Cure and test are where you verify you built what the instructions promised. You must allow proper cure times for membrane, thinset, grout, and sealer, then perform a leak test suited to your waterproofing system before regular use.
This stage is often skipped because it’s slower than “finish and move in.” However, correcting a waterproofing or detailing mistake is dramatically easier before you start daily traffic and weekly splash conditions.
Waterproofing systems depend on cure; premature exposure can reduce membrane integrity and weaken bonds between layers. Manufacturer cure/exposure guidance for waterproofing membranes and setting materials
A leak test after waterproofing installation helps reveal seam or edge detailing defects before the floor is fully concealed by routine use. TCNA waterproofing verification practices and manufacturer recommendations
Allow cure time for each layer
At minimum, you need to follow documented timelines for:
– membrane cure (and any seam-tape integration time)
– thinset cure before grout
– grout cure before sealer
– sealer dry time before water exposure
As of 2026, this is still one of the most consistent causes of “mystery moisture” complaints: the job looks complete, but the barrier system hasn’t reached the state required for water resistance.
Inspect for pinholes, missed seams, lifted edges, and gaps
Before water testing, do a careful visual inspection. Look for:
– seam edges that didn’t fully contact tape or overlap
– wrinkles, voids, or holidays (pinholes)
– lifted membrane edges near transitions
– gaps around penetration detailing
Perform a leak test (common method—always align with your membrane instructions)
A widely used approach for validating a waterproofed tile floor is a flood/leak test. Common practice is to:
1. Block or protect the drain where applicable (only as your waterproofing system allows).
2. Fill the test area with clean water to a shallow level—often about 1/2 in. to 1 in. (12–25 mm) above the lowest waterproofed surface.
3. Maintain conditions for 24 hours (or longer if your membrane manufacturer specifies).
4. Confirm whether any water appears below, around edges, or at penetrations.
If your membrane manufacturer publishes a specific test procedure, follow that exactly—different systems and climates can change the right approach.
Leak testing should be performed in a way that reflects your system’s intended use and detailing; manufacturers often provide specific acceptance criteria and timelines. Membrane manufacturer “test prior to use” or “cure/exposure” documentation
What can go wrong (and how to avoid it)
Most waterproofing failures are predictable once you know where water finds weaknesses. The biggest risks are discontinuities (missing tape), poor substrate prep (voids/flatness issues), and incorrect transitions at edges, corners, and penetrations.
In my view, the most expensive mistakes are rarely about “choosing the wrong tile.” They’re about skipping a detail step that the membrane system was designed to handle.
Membrane isn’t continuous
If seams/corners/edges aren’t fully detailed, water can migrate behind the tile assembly. Treat every change of plane as a seam candidate, even if it doesn’t look like one.
Wrong substrate or inadequate flatness
A membrane can’t compensate for a floor that flexes or stays uneven. Unevenness creates stress during normal use, which eventually shows up as cracked grout or compromised bonds.
Relying on grout sealer as the only waterproofing
Sealer is supplemental. If your plan depends on sealer to compensate for missing waterproofing membrane continuity, your risk level is higher—especially in splash-heavy bathrooms and laundry rooms.
Penetration detailing skipped or improvised
Toilets, pipes, and drains need system-compatible waterproof sleeves/flanges and correct sealing details. Generic sealant alone is often insufficient because it doesn’t create a continuous waterproof boundary with the same tested geometry.
Not following cure times
Rushing from membrane install to water exposure is the quickest route to reduced performance. Always follow the posted cure timelines for each layer.
Edge and perimeter transitions
Perimeter sealing and wall-to-floor waterproofing details are common leak paths. If you stop the membrane too low or fail to seal the boundary properly, water can track along edges.
Continuous detailing beats thick materials: a properly taped seam can outperform “extra coating” where continuity fails. TCNA Handbook waterproofing system detailing philosophy
Verdict: a dependable approach (with downsides)
If you want the safest route, waterproof wood-look tile floors by building a complete, manufacturer-compatible system: correct substrate prep, a continuous waterproof membrane with taped seams/corners/penetrations, and grout/joint sealing where required. This approach prevents leaks by addressing the real water paths—not just the visible grout lines.
The downside is time and discipline. You need careful prep, strict adherence to cure/installation steps, and accurate transition detailing. If you’re unwilling to follow membrane and grout manufacturers’ instructions closely—or if your substrate is unstable/uneven—skip the DIY approach and use a qualified tile/waterproofing installer.
Quick checklist (scan/save)
– [ ] Substrate cleaned, repaired, and flat per system specs
– [ ] Waterproof membrane installed with full coverage
– [ ] Seams/corners/tapes applied exactly per instructions
– [ ] Penetrations sealed with compatible specialty parts
– [ ] Perimeter/wall transitions waterproofed (to the required height)
– [ ] Grout cured fully, then sealed if your grout/system requires it
– [ ] Movement joints addressed with appropriate flexible sealant
– [ ] Final inspection for gaps, lifts, and missed edges
– [ ] Leak test performed per your membrane manufacturer’s procedure (or validated flood test method)
Sources
– TCNA Handbook for Ceramic, Porcelain, and Glass Tile Installation (waterproofing, substrate preparation, joint detailing guidance)
– ANSI A118 series (relevant standards referenced by common waterproofing and tile installation systems)
– ICC International Residential Code (IRC) (wet-area water-resistant requirements, including typical height requirements for tub/shower walls)
Done right, waterproofing a wood-look tile floor isn’t about one “magic coating”—it’s about building a continuous barrier system, sealing the vulnerable details, and verifying it with cure + testing so leaks have no practical path to travel.
Frequently Asked Questions
What’s the best way to waterproof wood-look tile floors?
Start with a waterproofing system made for tile, not just a surface sealer. Use a bonded waterproofing membrane or a liquid-applied waterproofing coating on top of a suitable backer (typically cement board) and seal all seams, corners, and penetrations. After waterproofing, install grout and finish with a grout sealer only if recommended for your specific grout type and wet-area rating.
How do I waterproof a wood-look tile floor in a bathroom or laundry room?
Waterproof the entire wet area before installing tile, including up the wall at least to the appropriate height (often to the shower/tub surround or a minimum code-required level). Apply a liquid membrane or sheet membrane over a proper underlayment, then tape corners and cover drain and pipe penetrations with compatible sealants. Once the membrane cures, set your tile, grout, and ensure the grout and any joints are properly sealed to help resist water intrusion.
How do I waterproof around edges, corners, and toilet/pipe penetrations?
The most common leaks happen at transitions and penetrations, so use waterproofing accessories designed for tile systems—such as corner tapes, flange seals, and pre-formed or custom-molded pipe boots. Apply the waterproof membrane thoroughly up to and around these features, then seal the interfaces so water can’t travel under the tile assembly. After grouting, inspect and re-seal any movement joints or changes in plane using an appropriate waterproof sealant.
Why is waterproofing necessary even with water-resistant wood-look tile?
Many wood-look tiles are highly water-resistant, but the grout joints, thinset seams, and underlayment system can still allow moisture to migrate. Without a waterproofing layer, water can reach the subfloor, potentially causing swelling, mold, or deterioration of the substrate. A properly waterproofed tile assembly protects the whole system, not just the tile surface.
Which waterproofing method is best for wood-look tile floors—liquid membrane or sheet membrane?
Liquid waterproofing is often favored for its flexibility around complex areas like corners, niches, and pipe penetrations, while sheet membranes can be easier and faster for large, straightforward floor sections. The “best” choice depends on your floor layout, substrate condition, and the specific waterproofing brand/system you’re pairing with your thinset and grout. For the most reliable results, follow the manufacturer’s requirements for compatibility, coverage rates, curing time, and how to treat seams and overlaps.
📅 Last Updated: October 16, 2026 | Topic: How to waterproof wood-look tile floors? | Content verified for accuracy and freshness.


