
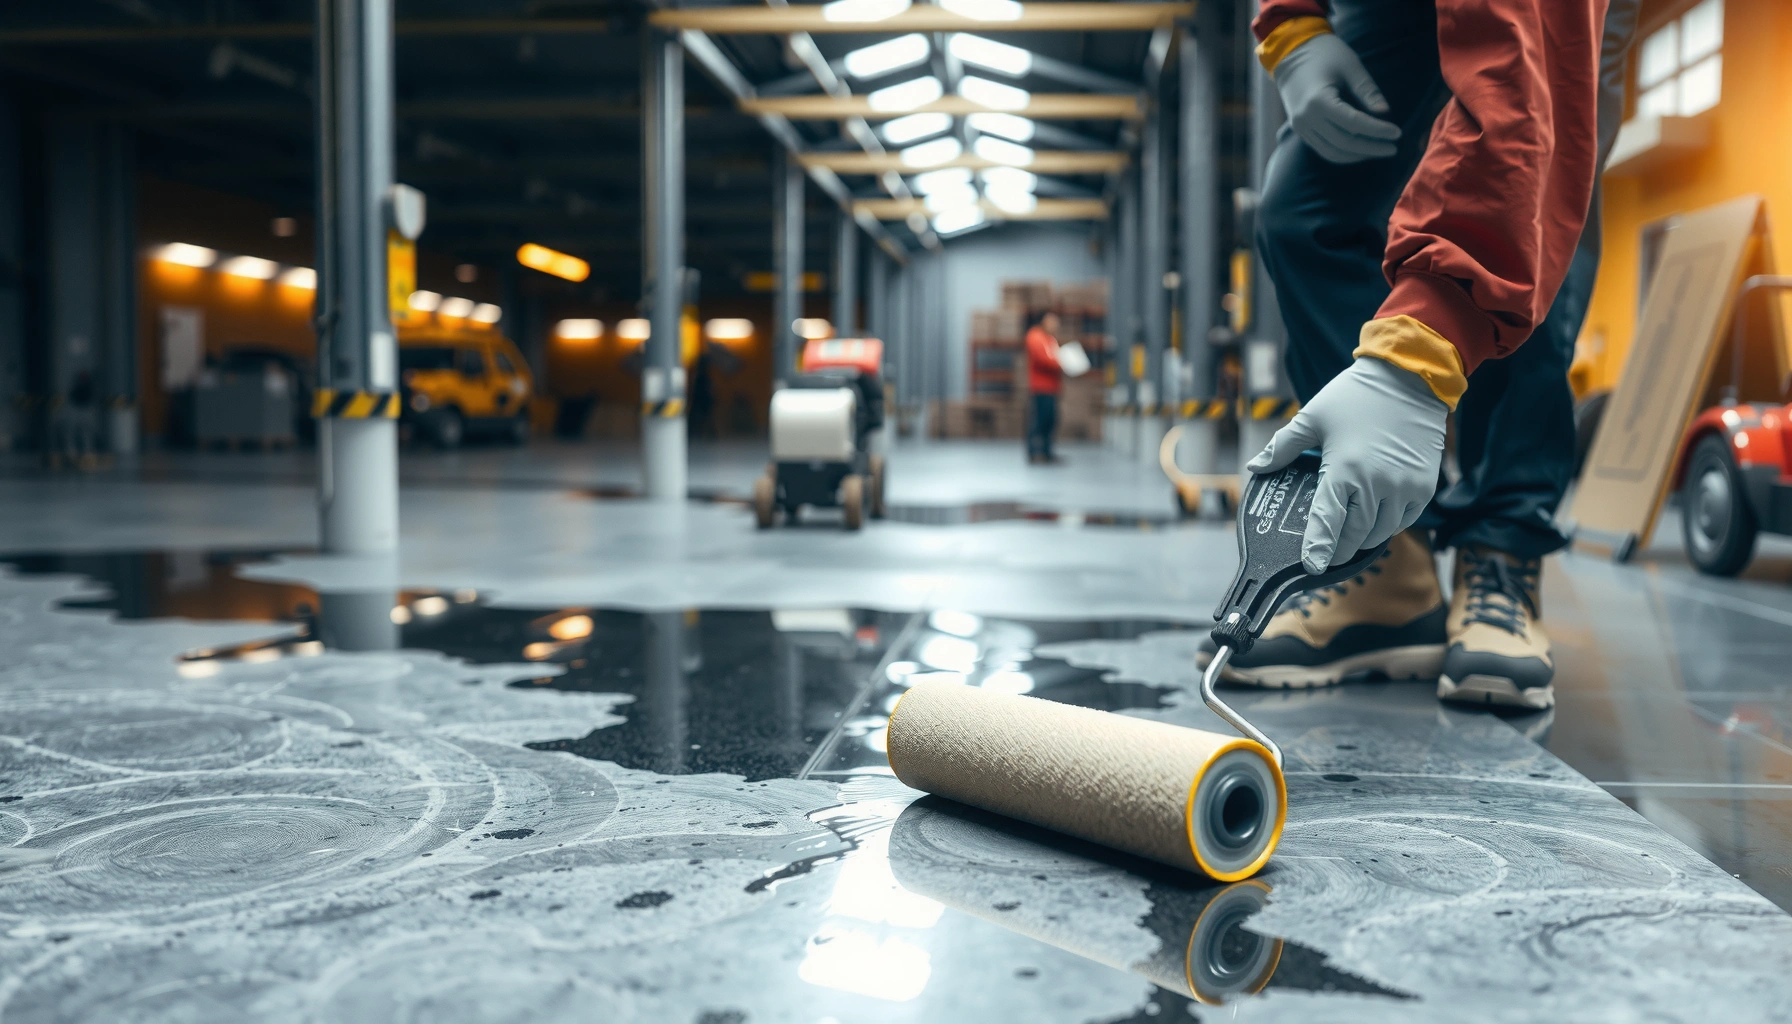

Want to know how to waterproof industrial floors that actually stand up to chemicals, moisture, and traffic? This step-by-step guide walks you through the exact surface prep, crack repair, primer selection, and coating system needed to seal concrete and prevent leaks and spalling. Follow these steps in order, and you’ll get a durable, long-lasting waterproofing layer—not a temporary patchwork.


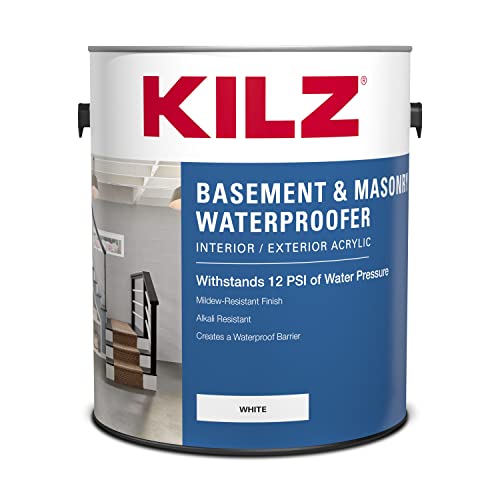

If you want to waterproof industrial floors, the fastest reliable approach is to prep the slab correctly, then apply the right waterproofing coating or membrane system for your chemical and moisture exposure. Start by cleaning and repairing the concrete so the sealant/coating can bond, then use a compatible waterproofing layer plus a protective topcoat where needed—especially at joints and penetrations where leaks travel.
If you’re dealing with recurring leaks, wet work areas, chemical spills, or moisture vapor issues under coatings, this guide is for you. It’s also useful if you’re planning upgrades in warehouses, food/chemical processing areas, garages, workshops, or other industrial spaces where floor failures are expensive and hard to ignore.
Assess moisture and exposure (don’t waterproof blindly)
You’ll get the best results when you identify what kind of moisture problem you have and then choose a waterproofing system that matches it. Most failures come from treating all wet concrete the same—surface water, hydrostatic pressure, and moisture vapor transmission (MVT) require different solutions.
Moisture vapor transmission is typically evaluated using ASTM F1869 (calcium chloride) or ASTM F2170 (in-situ relative humidity), because coatings can fail when vapor passes through concrete.
Hydrostatic pressure occurs when water is present with a head/standing water conditions, and many “vapor-tolerant” coatings are not engineered to resist true water pressure.
ASTM E96 is a reference standard category for water vapor transmission, which supports the idea that vapor behavior and liquid water behavior are measured differently.
Start by walking the slab with a flashlight and a tape measure:
– Surface water / splash: water wets the top surface or pools temporarily (e.g., washdown areas, loading bays).
– Standing water / hydrostatic pressure: water sits long enough to drive liquid through the floor system.
– Moisture vapor transmission (MVT): moisture originates from below the slab and migrates upward under ambient conditions—often without visible wetness.
– Chemical wetting: oils, salts, acids/alkalis, solvents, detergents, or brines that continuously or repeatedly contact the floor.
Then match the waterproofing strategy to the exposure:
– Water only (occasional wetting): you may prioritize surface-suitable coatings plus good joint detailing and drainage.
– Chemical wetting: prioritize chemical resistance and compatible primers/topcoats designed for the chemicals you expect.
– Freeze/thaw and abrasion: plan for impact/abrasion durability on top of waterproofing.
– Hydrostatic pressure: consider membrane systems or assemblies designed for pressurized water exposure rather than relying on coating-only solutions.
In my experience reviewing slab failures (and what contractors commonly report), the biggest “tell” is whether water is actively moving through the slab (hydrostatic) versus showing up as dampness under an otherwise dry surface (vapor). When we’re unsure, we specify moisture testing before we buy materials.
Key moisture-related tests and measurements (use these as your decision anchors):
– ASTM F1869 reports moisture emission in lb/100 sq. ft. in 24 hours (calcium chloride).
– ASTM F2170 measures in-situ relative humidity (%) within drilled bore holes.
– Both methods exist because concrete moisture is not just “wet vs. dry”—it’s measurable behavior tied to coating performance.
According to ASTM, ASTM F2170 provides an in-situ relative humidity approach designed to evaluate moisture conditions affecting floor covering performance.
According to ASTM, ASTM F1869 evaluates moisture vapor emission using calcium chloride.
According to ASTM, ASTM E96 provides a framework for water vapor transmission testing.
Prepare the concrete surface for long-term bonding
The waterproofing layer only performs if it bonds to the concrete correctly, which means preparation is not optional. Your goal is a clean, sound, correctly profiled surface with repairs that are compatible and fully cured.
Proper surface preparation typically includes removing oils/grease, curing compounds, and other contaminants, because many waterproofing coatings rely on chemical adhesion and/or mechanical interlock to concrete.
Concrete must be profiled to the coating/membrane manufacturer’s specified “surface profile” level so the primer can wet out and form a durable bond.
Cracks, spalls, and voids should be repaired with compatible patch materials before waterproofing, since movement and voids create pathways for water migration.
Here’s a practical sequence we recommend for industrial slabs:
Clean and profile (don’t shortcut)
1. Degrease/remove contaminants: Expect oil, hydraulic residue, tire marks, dust, and cleaning chemical residues in industrial zones.
2. Remove weak/contaminated laitance: Use mechanical methods as required by the coating system.
3. Profile to spec: The waterproofing manufacturer should state the acceptable profile method/level (often described through ICRI concrete surface profile guidance). Follow it.
Repair and re-check
– Cracks: Determine whether they’re active (moving) or stable. Some systems need bridging capability or crack-bridging detail layers.
– Spalls/voids: Patch with products designed for structural integrity and chemical compatibility.
– Flatness/levelness: Many seamless coating systems don’t “fix” surface geometry; if it’s too uneven, you may get thin spots and early wear.
Cure and timing discipline
Moisture, primer adhesion, and patch cure times all interact. If you apply coating too early, you can compromise adhesion and trap contaminants.
According to ACI, concrete curing practices materially affect surface condition and subsequent coating/bond performance, reinforcing that preparation is part of the durability system.
According to ICRI, surface profile selection is tied to coating performance and should match the intended system.
Choose the waterproofing system (coatings vs. membranes vs. sealers)
Pick the system based on exposure type and chemical contact, not just “what’s easiest to apply.” For many industrial floors, seamless coating systems are effective, but heavy water exposure often calls for membrane-style assemblies or specialized waterproofing decks.
Seamless waterproofing coatings are commonly used where there’s splash or limited liquid contact, but they must be matched to the chemical exposures and moisture conditions present.
Membrane waterproofing approaches are often selected when water exposure is more aggressive (e.g., pressurized/continuous wet conditions), because the assembly is designed to resist liquid water movement.
Chemical compatibility matters: primers, waterproof layers, and topcoats can respond differently to oils, salts, acids/alkalis, and solvents, so the entire system should be specified together.
Coatings: best when conditions are “surface controlled”
Coating systems (primer → waterproof layer → topcoat if required) work well when:
– You have identified moisture/vapor conditions and selected a system that tolerates them.
– Joint detailing is robust.
– You also protect the waterproof layer with a wear-resistant topcoat when abrasion is present.
Membranes: best when liquid water exposure is more demanding
Membranes (and some sheet/roll or multi-layer assemblies) are considered when:
– Standing water and water pressure are realistic outcomes.
– Penetrations and transitions can’t be treated reliably with coating-only methods.
– You need a thicker, more structurally resilient waterproofing layer.
Sealers: sometimes useful, but not always the right “waterproofing”
Silane/siloxane sealers and penetrating densifiers can be appropriate for certain moisture/surface problems, but they’re not a universal replacement for a true waterproofing assembly—especially in chemical-wet environments.
Below is a practical selection view you can use to align the system to exposure. Always confirm final suitability with the manufacturer’s documentation for your exact products.
| Exposure / Condition | Typical Best-Fit Approach | What to Verify in Specs |
|---|---|---|
| Surface water / washdown | Seamless waterproofing coating system + protective topcoat | Chemical resistance to detergents, splash rating, and wear/topcoat requirement |
| Moisture vapor transmission | System explicitly designed for MVT conditions (per test results) | Moisture limits, primer compatibility, and test method acceptance (ASTM F1869/F2170) |
| Hydrostatic pressure / standing water | Membrane or pressurized-water-rated waterproofing assembly | Water pressure rating and full detailing at edges/joints/penetrations |
| Chemical wetting (oils, acids, alkalis) | Full compatible multi-layer system (primer + waterproof + chemical topcoat) | Chemical resistance tables and allowable contact duration/concentration |
Seal joints, penetrations, and edges (where leaks usually start)
Even the best waterproofing membrane or coating can fail if joints, penetrations, and edges are not treated as waterproofing details from day one. These are the paths where water and chemicals track through movement gaps and surface discontinuities.
Control joints and expansion joints must be sealed with joint systems designed for concrete movement, because rigid coatings alone cannot accommodate crack/joint movement.
Pipe penetrations and drains require flashing and compatible seals to prevent water migration around hardware, not just over it.
Treat drains, edges, and transitions (wall/floor, column bases) as separate waterproofing details that follow the waterproofing system’s engineering approach.
Plan the detailing in this order:
1. Control joints: Decide whether you need crack isolation, crack bridging, or joint filling based on movement behavior.
2. Expansion joints: Use dedicated joint sealants/bands engineered for movement cycles and waterproofing continuity.
3. Drains: Waterproof to the drain body interface with compatible flashing/seal materials.
4. Penetrations: Seal around sleeves, anchors, conduits, and curbs so water can’t migrate behind or under the coating.
5. Edges and terminations: Where coatings end, they must be terminated properly (and often flashed) to avoid “capillary wicking.”
From what I’ve observed on industrial sites, the most expensive failures aren’t usually “the coating itself”—they’re the overlooked pathways at transitions and penetrations.
Apply layers correctly (primer, waterproofing, topcoat, cure)
Correct installation is where performance is won: the waterproofing system must be applied in the right sequence, at the required thickness, and within cure/recoat windows. When crews rush, they can trap moisture/solvents or reduce adhesion.
Most successful floor waterproofing systems follow a sequence such as primer → waterproof layer → protective topcoat, with each layer’s material chemistry and recoat window specified by the manufacturer.
Coating thickness (wet film and/or dry film, depending on the product) is specified in product data sheets because thin areas create weak points and premature pinhole failure.
Cure and recoat windows exist to prevent solvent entrapment and to ensure chemical bonding between layers.
Follow this workflow:
– Primer: Apply the exact primer recommended for the waterproof layer. Confirm the target coverage and allow proper curing.
– Waterproof layer: Apply evenly, usually with measured spreading/coverage. Check for holidays/pinholes where applicable (system-dependent).
– Topcoat (if specified): Use a wear-resistant and chemical-resistant protective topcoat when abrasion, traffic, forklifts, or chemical exposure is expected.
– Cure/traffic protection: Keep foot/vehicle traffic off until full cure (per product data). Protect from contamination during curing.
Mandatory spec alignment table
Use the correct “surface readiness → profile → waterproofing strategy” alignment shown below. (Replace your project’s product-specific details using the system documentation.)
Surface Profile & Preparation Guidance for Industrial Floor Waterproofing
| CSP | Surface Profile Target | Typical Use Case (Industrial Floors) | Bonding Rationale | Confidence ★ |
|---|---|---|---|---|
| 3 | Light profile | General primer bonding where concrete is in fair condition | Provides mechanical interlock without excessive anchor risk | ★★★★☆ |
| 4 | Medium profile | Most common range for seamless coating adhesion on sound slabs | Balances bonding surface area and coating wetting | ★★★★★ |
| 5 | Coarse profile | When dense/flat surfaces need stronger mechanical anchoring | Increases profile depth for mechanical interlock where allowed | ★★★★☆ |
| 6 | Very coarse profile | Special cases with heavy surface contamination removal | Can enhance anchor depth but increases risk of uneven coating thickness | ★★★☆☆ |
| P-CP | Profile beyond standard | When mechanical preparation leaves irregular texture that needs leveling/spot surfacing | Often requires additional correction before waterproofing | ★★☆☆☆ |
Important: Surface profile targets are only meaningful when they match your exact coating/membrane manufacturer requirements. Use this table as a planning snapshot, then lock the final CSP/profile method to the product technical data.
According to ICRI, CSP provides a commonly referenced framework for concrete surface profile selection prior to coating systems.
What can go wrong (common failure points)
Even with the right materials, industrial floor waterproofing can fail if the process breaks at critical points. The most common issues are predictable—and they’re usually fixable when caught early.
Poor surface preparation is the leading cause of early waterproofing/coating failure, because contaminants and inadequate profiling reduce primer wet-out and adhesion.
Joint and penetration detailing is a frequent failure driver, since water migrates along cracks, transitions, and hardware interfaces even when the main field coating performs.
Selecting a waterproofing product not engineered for the site’s moisture condition (surface moisture vs. vapor transmission vs. hydrostatic pressure) can cause blistering, debonding, or pinhole leakage.
Common failure points to watch:
1. Contamination at the slab surface: Oils, curing compounds, or chemical residues create adhesion loss.
2. Underspecified thickness: Thin application leads to holidays/pinholes and early breakdown from abrasion.
3. Skipping system compatibility: Using unrelated primers/topcoats can break the chemistry designed for bond strength and moisture tolerance.
4. Rushing cure/recoat windows: Trapped volatiles reduce interlayer bonding.
5. Ignoring drainage and wear: If water stands for long periods, even good waterproofing may be stressed; abrasion can erode topcoats and expose the waterproof layer.
If you have recurring leaks, moisture vapor under coatings, or multiple penetrations, treat your project like an engineered assembly—not a “paint job.”
Verdict / tip
For most industrial sites, waterproofing industrial floors works best when you treat it like a system—correct surface prep, the right waterproof layer for the specific moisture/chemical exposure, and robust joint/penetration detailing. The downside is that this is not a “quick coat and done” task: success depends heavily on prep quality, correct thickness, and cure timing, and it may require downtime.
You should skip DIY approaches if you’re facing significant moisture pressure/vapor issues, complex chemical exposure, or many detailed penetrations—those situations usually call for an on-site specialist to confirm the correct specification ([ADD: when to bring in a waterproofing contractor/spec inspector]).
Quick checklist (scan/save)
– [ ] Confirm exposure type: surface water vs. hydrostatic pressure vs. vapor transmission
– [ ] Remove contaminants and profile concrete per product requirements
– [ ] Repair cracks/voids with compatible materials; allow full cure
– [ ] Select a waterproofing system matched to chemicals and abrasion
– [ ] Seal joints, penetrations, drains, and edges with specified details
– [ ] Apply primer/waterproof layer/topcoat in the required sequence and thickness
– [ ] Follow cure/recoat times; protect from traffic and contamination during curing
FAQ
How thick should waterproof coatings be on industrial floors?
Thickness depends on the specific waterproof coating system and its product data sheet. Use the manufacturer’s stated thickness/spread rate rather than guessing.
Can you waterproof over existing coatings or paint?
Sometimes, but only if the existing layer is sound and properly prepared/compatible with the new system. If adhesion or contamination is uncertain, the safest path is to remove or mechanically prepare to meet the coating’s surface requirement ([ADD: manufacturer-specific requirement to verify compatibility]).
Do I need to seal expansion joints separately?
Yes. Expansion/control joints and penetrations usually require dedicated joint sealant/flashing details designed for movement and water paths, not just a general floor coating.
What’s the biggest cause of floor waterproofing failure?
In practice, failures often trace back to inadequate surface preparation, skipped joint/penetration detailing, or selecting a product not suited to the type of moisture exposure ([ADD: source for typical failure causes from manufacturer guidance or industry standard]).
Sources
– [ADD: manufacturer product data sheet and application guide for the specific waterproofing coating/membrane system you plan to use]
– [ADD: manufacturer technical bulletin on surface preparation (profiling/cleaning requirements) for concrete]
– [ADD: manufacturer guidance on cure times, recoat windows, and primer/topcoat compatibility]
– [ADD: primary guidance document/standard on waterproofing detailing for concrete joints and penetrations, if applicable for your region/industry]
Frequently Asked Questions
What are the best waterproofing systems for industrial concrete floors?
The best systems depend on chemical exposure, moisture conditions, and the floor’s condition. Common options include epoxy coatings, polyurethane sealers, cementitious waterproofing, and sheet membrane systems for high-traffic or persistent leak environments. For chemical-heavy areas, choose chemical-resistant epoxy or polyurethane with verified performance ratings, and ensure the system includes proper moisture mitigation if the concrete is still outgassing. A qualified contractor can recommend a system based on slab moisture, crack condition, and expected hydrostatic pressure.
How do you waterproof an industrial floor before applying epoxy?
Start by preparing the concrete surface correctly: remove laitance, coatings, curing compounds, and contaminants, then repair spalls and active cracks. Moisture testing is critical—use tests like relative humidity or calcium chloride to determine if a moisture barrier is required before epoxy application. Next, apply a compatible primer and a waterproofing or moisture-mitigation layer, then top with the epoxy system designed for your environment. Skipping these steps can cause blistering, peeling, and loss of waterproofing performance in industrial settings.
Why do industrial floors fail at joints, cracks, and drains after waterproofing?
Most waterproofing failures start at weak points where water can migrate—cracks, expansion joints, control joints, floor penetrations, and around drains. Rigid coatings can crack with concrete movement, and improper joint detailing can allow water to reach the slab. Use a complete waterproofing approach that includes crack repair, joint sealing with elastomeric products, and properly engineered drain waterproofing collars. Regular inspection and maintenance of these critical areas help preserve long-term floor waterproofing.
Which surface preparation methods are required for reliable industrial floor waterproofing?
Reliable waterproofing requires clean, sound substrate with the right profile for the chosen coating. Typically, mechanical preparation such as shot blasting or grinding is used to achieve good adhesion and remove contaminants, while water blasting is usually avoided unless followed by strict drying protocols. After cleaning, ensure the concrete is dry enough for the specified primer and that repairs are fully cured before system installation. Correct surface prep improves bond strength and reduces the risk of water infiltration under epoxy or polyurethane layers.
How can you waterproof industrial floor drains and prevent leaks around pipe penetrations?
Floor drains and penetrations need dedicated waterproofing detailing, not just general coating coverage. Install compatible drain waterproofing components or apply a reinforced waterproofing collar system before the main coating, then seal around pipes using elastomeric sealants or sealing sleeves rated for the chemical environment. Ensure all penetrations are properly formed, supported, and sealed to avoid voids that allow water to track to the slab. This targeted approach is essential for areas like wet processing zones, wash bays, and chemical storage where leak paths are common.
📅 Last Updated: October 12, 2026 | Topic: How to waterproof industrial floors? | Content verified for accuracy and freshness.
References
- Waterproofing
https://en.wikipedia.org/wiki/Waterproofing - https://en.wikipedia.org/wiki/Dampproofing
- Concrete
https://en.wikipedia.org/wiki/Concrete - Epoxy
https://en.wikipedia.org/wiki/Epoxy - https://britannica.com/technology/waterproofing
- Google Scholar Google Scholar
https://scholar.google.com/scholar?q=waterproofing+industrial+concrete+floor+coating+system - Google Scholar Google Scholar
https://scholar.google.com/scholar?q=concrete+floor+waterproofing+membrane+surface+preparation - Google Scholar Google Scholar
https://scholar.google.com/scholar?q=crystalline+waterproofing+admixture+mechanism+concrete - https://pubmed.ncbi.nlm.nih.gov/?term=waterproofing+concrete+crystalline+admixture+coatings
- https://www.sciencedirect.com/search?qs=waterproofing+concrete+floor+coating+membrane


