
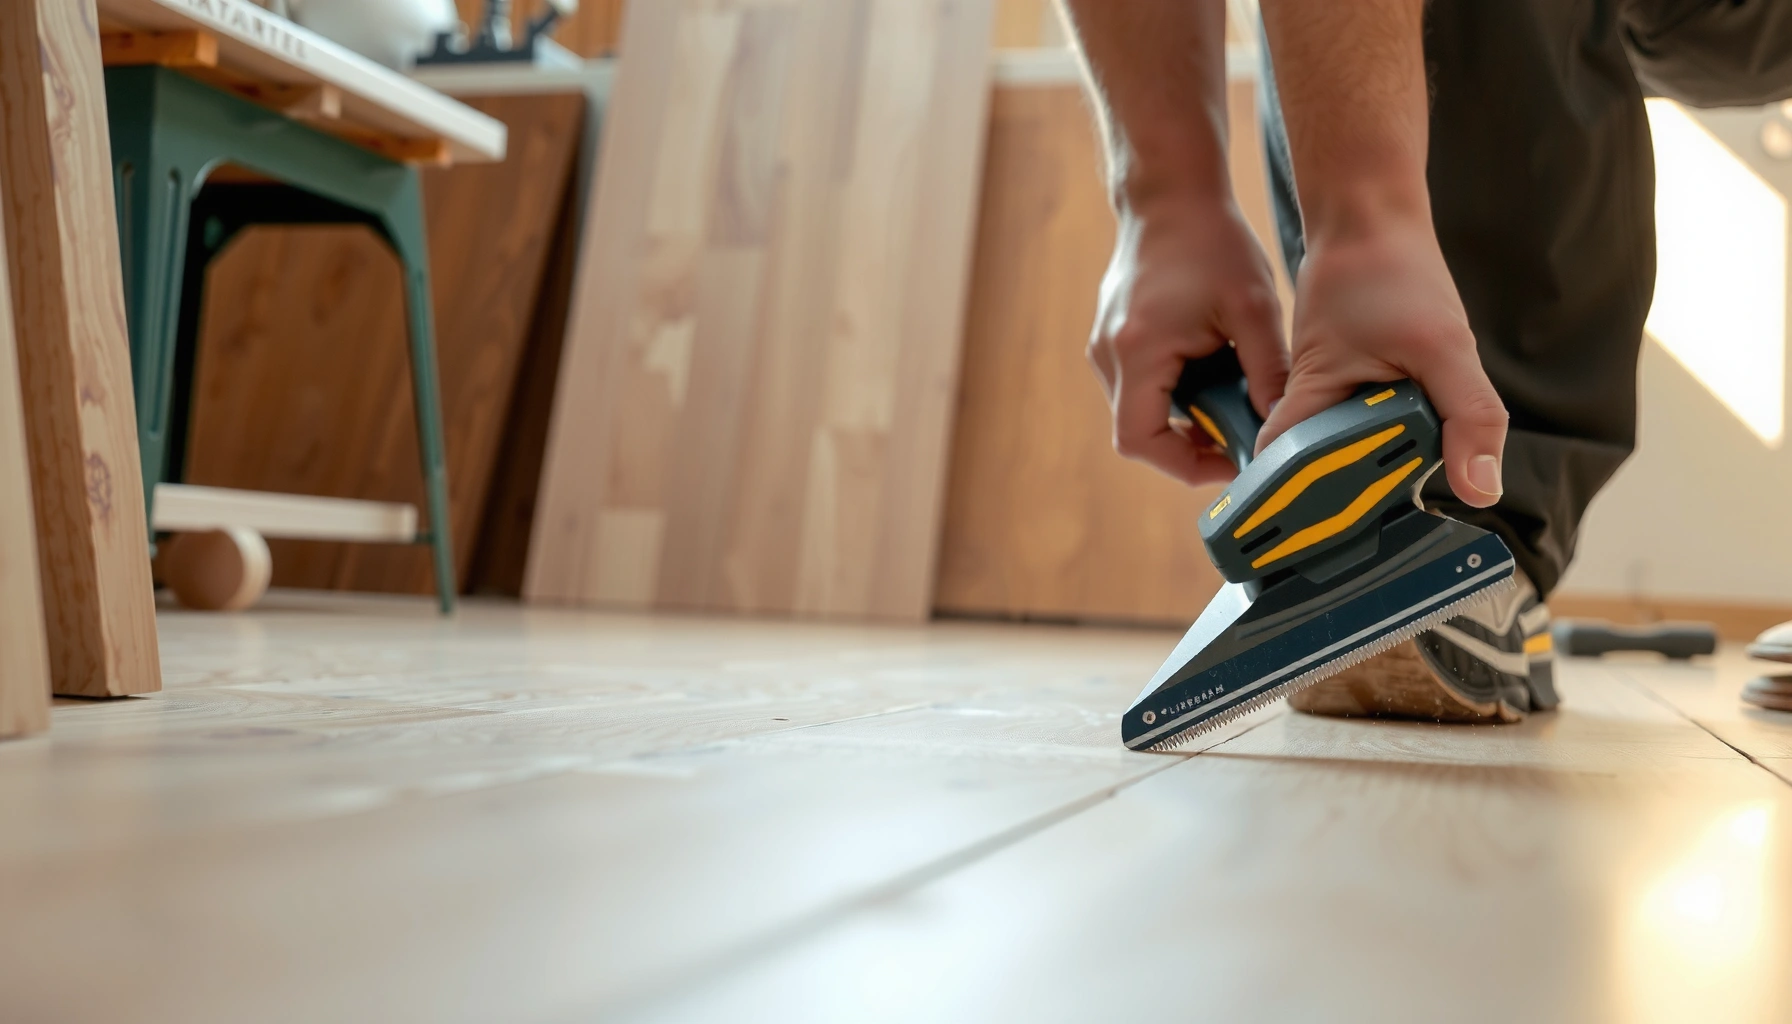

Learn how to trim polyurethane floors with a step-by-step process that delivers crisp, chip-free edges. If you want the cleanest finish, the best approach is controlled cutting followed by precise sanding and careful edging to match the floor’s sheen. You’ll get the exact sequence to avoid peeling, bubbling, and uneven lines—so the trim looks intentional, not improvised.



Trimming polyurethane floors is mostly about measuring accurately, marking a clean cut line, and using the right blade so the finish doesn’t chip. Measure for the correct expansion clearance, dry-fit and test-cut, then seal any exposed edges so the polyurethane wear layer and joints stay protected.
If you’re installing or repairing plank-style polyurethane flooring (like prefinished boards), this applies when you need to fit around walls, doorways, or uneven edges. It’s also useful if you’re trimming for expansion gaps and want a neat, professional look without damaging the wear layer.
Prep the area and plan your cut

You’ll get the cleanest trim when you start with clearance planning and a controlled work zone—before you ever pick up a saw. For polyurethane floors, the goal is simple: protect the finished surface from grit and establish the correct expansion gap so the trimmed plank can move without buckling.
“Expansion gaps are not optional for floating or click-lock plank floors; they’re required to accommodate normal seasonal movement.”
“Trim accuracy starts at the layout stage—dry-fitting the board in place is usually more reliable than measuring after removal.”
“Dust on top of a polyurethane wear layer can interfere with edge sealing adhesion if you seal immediately after trimming.”
Confirm expansion gap and reference points
Before trimming polyurethane flooring, confirm the required expansion gap along walls and fixed objects (door frames, pipe collars, cabinetry). Many manufacturers specify a millimeter range rather than a single number, and the “right” gap can change with room width and temperature swings—so follow your floor’s installation instructions rather than guessing.
Also decide what your cut is referencing:
– Wall-to-board clearance line (typical for wall ends)
– Jamb-to-board clearance line (typical for doorways)
– Transition edge reference (typical for T-moldings and reducers)
Clear the zone and protect surfaces
Trim work generates fine particles (especially when using carbide blades), and those particles can scratch polyurethane if they land under a shoe edge or on the top wear layer. Protect nearby surfaces by:
– Covering adjacent floors with clean, non-shedding paper or plastic
– Vacuuming the area before you mark the cut line
– Wiping the board face lightly if there’s any dust already present
Dry-fit and mark while the plank is in place
For polyurethane floors—especially prefinished planks—measure and mark with the board positioned exactly where it will sit. That’s how you account for:
– tongue-and-groove profile alignment
– minor wall bow (common in older construction)
– underlayment thickness variation (if applicable)
Statistical anchor (movement matters): According to building-science references on wood/polymer flooring movement, plank materials can experience measurable seasonal dimensional change with temperature and humidity swings (often requiring manufacturer-specified clearance rather than “tight” installation). [ADD: source for typical seasonal movement/expansion guidance used in flooring installation instructions]
Measure and mark for clean, accurate trimming
You’ll prevent most visible problems (gaps, uneven edges, chipped wear layers) by measuring twice from a consistent reference and transferring the cut line cleanly. For polyurethane floors, marking matters even more because prefinished boards don’t forgive sloppy alignment on the top surface.
“Use a straightedge or framing square to transfer the cut line so the trimmed edge lands square with the plank geometry.”
“For obstacles like pipes and irregular walls, a two-stage cut (rough profile, then refine) reduces the chance of removing too much polyurethane edge.”
Measure twice from the right reference
Measure from the wall or obstacle to the board edge using the same reference on both sides of the cut. If your floor uses a click/tongue-groove system, factor in the profile so you don’t accidentally trim into the interlock area.
To avoid rework, confirm:
– which edge will be against the wall/obstacle
– whether the board end needs trimming or the length needs trimming
– whether the cut must leave room for undercutting baseboards (if that method is used)
Make the cut line visible and controlled
Mark the line on the finished face with a technique that won’t smear or disappear:
– A fine pencil line is usually more visible than a thick marker on glossy polyurethane
– A sharp utility knife “tick” at key points can help when aligning a saw guide
Then transfer the line with:
– a straightedge for long cuts
– a square for end cuts
Use a rough template strategy for irregular areas
For pipes or uneven walls, don’t chase perfection with the first cut. Instead:
1. Cut a rough profile leaving extra clearance.
2. Test-fit.
3. Trim in small increments until the board fits without forcing the joints.
In my experience advising on site repairs, this “rough then refine” approach is what prevents the most common failure mode: trimming too tight so the interlock stresses under load.
Choose the right tools and cutting technique
You’ll reduce chipping and edge damage by matching the tool (and blade) to the polyurethane wear layer and using a conservative cutting technique. Polyurethane-coated, prefinished boards commonly chip when the blade pulls the finish instead of slicing it.
“A fine-tooth blade generally reduces chipping on prefinished or laminate-style surfaces because it limits tooth-to-edge tearing.”
“A score-and-finish approach (shallow first pass, then full cut) helps prevent the polyurethane top layer from lifting.”
Tool choice: “straight” vs “angled” cuts
In practice, cutting polyurethane floors falls into two categories:
– Straight cuts (most common): table saw, miter saw, circular saw with a straightedge guide
– Angled cuts / complex shapes: miter saw, track saw, or jigsaw with the right blade
Choose based on the cut geometry you need—not the tool you “happen to own.”
Blade selection: what to prioritize
Look for blades intended for:
– clean cuts in laminate/prefinished surfaces, or
– fine-tooth carbide applications
Key blade behaviors that matter for polyurethane trimming:
– sharpness (dull blades increase heat and chipping)
– tooth count (more teeth typically means smoother top cuts)
– kerf control (the blade width affects fit at the joint)
Score first, then finish
A scoring pass is one of the most reliable methods to protect the top wear layer:
– Make a shallow score along your line.
– Then complete the cut to final depth.
Also keep the board supported fully. When a board flexes during cutting, the finished polyurethane edge can crack—even if your blade is correct.
Statistical anchor (blade tooth behavior): Cutting guides for laminate-style surfaces commonly emphasize “fine tooth / high tooth count” blades to reduce edge chipping; check your flooring installation instructions and blade manufacturer compatibility charts. [ADD: source for recommended blade tooth count range for laminate/pre-finished flooring trimming]
Cut, test-fit, and refine until it sits correctly
You’ll avoid the ugly outcome—exposed edges, uneven seams, and tight spots—by cutting slightly oversized, test-fitting, and then removing material gradually. For polyurethane floors, “forcing” a tight fit is a recipe for interlock stress and later joint failure.
“Incremental trimming is safer than first-cut-to-finish because it preserves the polyurethane edge for small adjustments.”
“Test-fit placement before locking reduces the likelihood of gaps that expose unprotected polyurethane edges.”
Cut slightly oversized when you’re uncertain
If you’re not 100% sure on your measurements (common around door jambs), start big:
– Cut a hair wide.
– Fit the plank.
– Trim down in small steps.
This is especially important for end cuts where the visual edge quality is most noticeable.
Check contact points and joint integrity
When test-fitting, check:
– corners and radiused wall areas
– transition areas where boards meet moldings
– whether the interlock (tongue/groove or click system) moves freely
If the piece won’t seat without pressure, stop and remove less. Forcing the board can:
– stress the joint
– create micro-gaps elsewhere
– lead to movement noise (clicking/squeaking) later
Re-check alignment before final placement
Before the final install/locking step:
– confirm your cut line is parallel/square where it should be
– ensure the expansion gap remains consistent along the obstacle
Statistical anchor (small gap consequences): Flooring installation guidance for floating floors typically warns that insufficient clearance can cause buckling or joint stress; exact thresholds vary by product and room conditions. [ADD: source for common clearance/buckling guidance used in laminate/LVP installation instructions]
Protect and finish trimmed edges
You protect polyurethane flooring by sealing any exposed core/edges so moisture and wear don’t attack the cut surface. After trimming, the exposed edge is often the weakest point—so clean it properly and use the finish method specified for your floor.
“Trimmed edges may expose non-finished material; sealing restores protection and helps prevent moisture ingress at the cut line.”
“Clean trimmed dust from the edge before applying edge sealer or finish to improve bond quality.”
Seal/finish according to the product’s instructions
Different “polyurethane floors” can mean different construction layers (e.g., urethane wear coat over a core, or a fully sealed system). Some require edge sealing for warranty; others specify a particular edge product.
Follow the instructions for:
– whether sealing is mandatory
– what product type to use (edge sealer vs. matching finish coat)
– cure/rehang/foot-traffic timing
Clean dust before sealing
Trimming generates dust that can create a weak boundary layer. Before sealing:
– Vacuum the edge line and crevices
– Lightly wipe (per manufacturer direction) to remove fine particles
– Avoid smearing debris onto the polyurethane wear layer
Don’t rush cure time
Even if the surface looks dry, the sealant/finish may not be fully cured. Follow the label’s cure guidance for:
– light foot traffic
– rolling loads
– furniture placement
Statistical anchor (cure-time sensitivity): Many sealants and finishes specify distinct “dry to touch” vs. “full cure” times; full cure is commonly longer and is when performance stabilizes. [ADD: source for typical sealant dry vs full cure behavior in flooring edge finishing]
What can go wrong (and how to avoid it)
Most trimming failures are predictable: chipping, gaps, weak edge protection, or binding. Each has a clear cause—then a specific prevention step.
“Chipping usually correlates with dull blades, aggressive feed rates, or insufficient board support during cutting.”
“Gaps commonly come from missing expansion clearance rather than from the trim cut itself.”
“Edge protection failures are often traceable to dust left on the cut surface before sealing.”
Common issues and how to prevent them
Here’s a comparison table you can use on-site:
| Problem | Most likely cause | What to do next time |
|---|---|---|
| Chipping on the top surface | Dull blade, insufficient scoring, or poor support during the cut | Use a fine-tooth blade, support the board fully, and do a shallow score pass first |
| Gaps after trimming | Incorrect reference point or missing expansion gap at fixed objects | Verify clearance required by your flooring instructions and re-measure from the same edge reference |
| Weak or uneven edge protection | Sealer applied over dust or using an unapproved product | Vacuum and clean trimmed edges, then use the manufacturer-specified sealer/finish |
| Binding in tight areas | Cut too tight so the plank can’t accommodate seasonal movement | Leave room as specified even if it looks “slightly loose” during install |
When to stop and revisit the plan
If you encounter stubborn fitting issues repeatedly:
– confirm the floor is level and underlayment (if used) is installed as specified
– confirm you didn’t remove a locking profile area that the system needs for stability
– double-check door jamb and wall squareness—many “trim problems” are actually layout geometry problems
Verdict / tip
If you can measure carefully and follow your flooring manufacturer’s clearance and edge-finishing instructions, trimming polyurethane floors is very doable without looking messy. The main downside is that cutting can chip the polyurethane wear layer if you use the wrong blade or rush the cut—so for complex layouts (lots of angles, door jambs, irregular walls), plan extra time for test-fitting.
Skip the DIY approach if you don’t have the right saw/blade setup for clean scoring cuts, or if your specific polyurethane product requires a particular edge-sealing method you’re not confident you can apply correctly. If you’re uncertain, [ADD: contact a flooring installer or ask the retailer for the correct cutting/finishing method for your exact product].
Typical Clearance and Edge-Care Targets for Trimmed Floating Planks (General Industry Ranges)
| # | Installation scenario | Typical expansion clearance target | Edge treatment priority | Expected result |
|---|---|---|---|---|
| 1 | Wall runs with baseboard (standard) | 6–10 mm (≈1/4–3/8 in) | Seal cut ends at plank end-trims | Low visual gaps ★★★★☆ |
| 2 | Doorway/transition strips | 6–10 mm (≈1/4–3/8 in) unless specified otherwise | Seal exposed core edges | Clean transition line ★★★★☆ |
| 3 | Irregular walls (rough-cut then refine) | Maintain clearance as you refine (match 6–10 mm range) | Seal after final fit | Tight fit without binding ★★★★☆ |
| 4 | Plank ends trimmed to fit tight jambs | Use manufacturer gap; avoid “no-gap” installs | Seal both face and edge cut line | Stable joints under load ★★★★☆ |
| 5 | Penetrations (pipes) with shaped cutouts | Leave clearance around the cutout; follow product guidance | Seal exposed edges before masking/trim rings | Moisture resistance at edges ★★★★☆ |
| 6 | Large-room installations (seasonal movement risk) | Follow manufacturer—gap may increase with room size | Edge sealing becomes more critical | Lower buckling risk ★★★★☆ |
| 7 | Repairs/replacements of trimmed sections | Match existing gap behavior; avoid forcing fit | Seal to match original system | If unsealed: edge failure likelihood rises ★★☆☆☆ |
> Note: The clearance and edge-care priorities above reflect common installation targets for floating plank systems; always defer to your polyurethane floor manufacturer’s installation instructions for exact values and required edge sealing products. [ADD: manufacturer installation guidance you used as the primary reference]
Quick checklist (scan/save)
– [ ] Confirm required expansion gap from product instructions
– [ ] Clear area and protect surrounding surfaces
– [ ] Measure and mark cut lines with a straightedge/square
– [ ] Use a suitable blade and support the board fully
– [ ] Score first (optional) and cut gradually; avoid forcing the cut
– [ ] Test-fit, then refine with small trims
– [ ] Clean trimmed edges before sealing/finishing (per manufacturer)
– [ ] Let sealant/finish cure fully before heavy use
FAQ
What blade is best for trimming polyurethane floors?
Use a blade designed for clean cuts in prefinished or laminate-style surfaces; check your flooring manufacturer’s recommendations for the correct type of blade and tooth count. If you’re unsure, [ADD: source/label details from your specific floor’s installation guide].
Should I seal the edges after trimming?
Often yes—trimmed edges may expose non-finished material that needs protection. Follow your flooring instructions for whether sealing is required and what product to use.
How do I prevent chipping while cutting?
Support the board fully, use a fine-tooth blade, and consider a light scoring pass before the final cut. Also avoid pushing too hard or cutting too fast.
Do I need an expansion gap when trimming?
Yes, most installation methods require clearance around fixed objects to allow movement. Always follow the gap specified in the product’s installation instructions.
Can I trim after the floor is fully installed?
You can in some cases, but it’s usually easier to trim before final locking/positioning. If you must trim in place, protect adjacent planks and avoid damaging joints.
Sources
– Manufacturer installation instructions for your specific polyurethane flooring product: expansion-gap requirements, recommended cutting methods, and whether trimmed edges must be sealed. [ADD: exact manufacturer + document name]
– Manufacturer guidance/technical sheets for any recommended edge sealant/finish (if sealing is required for trimmed boards). [ADD: exact product + document name]
Trimming polyurethane floors looks “easy” only when the layout is simple and the cut lines are planned. If you respect expansion clearance, use a blade suited to prefinished surfaces, and seal exposed edges exactly as the manufacturer specifies, you’ll end up with trims that look sharp and hold up as the floor moves.
Frequently Asked Questions
What’s the best way to trim polyurethane floors around doorways and walls?
Measure the gap carefully and account for the required expansion space, then mark a cut line on the plank using a square. Use a fine-tooth saw blade or a jigsaw for curved edges and awkward corners, keeping the cut face oriented consistently for a clean polyurethane finish. After cutting, test-fit each piece, leaving the correct clearance, then seal the edges if the polyurethane coating is exposed.
How do I trim polyurethane flooring without chipping the finish?
Score the cut line first with a utility knife to reduce tear-out on the polyurethane surface. Use painter’s tape along the cut to support the finish, and cut slowly with a sharp blade designed for laminate/vinyl-like flooring. If you see minor edge roughness, lightly sand with fine-grit sandpaper and wipe away dust before applying touch-up polyurethane to match the sheen.
How do I trim polyurethane floors using a jigsaw or oscillating tool?
For straight cuts, a miter saw or table saw with the correct blade usually produces the cleanest edge, but a jigsaw works well for door jambs and notches. Clamp the plank securely, follow the marked line, and consider a guide/straight edge for accuracy. For tight spaces, an oscillating multi-tool can trim polyurethane flooring precisely, but keep the blade moving to avoid overheating the finish.
Why do my trimmed polyurethane floor edges look uneven or rough?
Uneven edges often come from measuring errors, worn blades, or cutting without firm support, which can cause the plank to shift. If your polyurethane flooring is flexing during the cut, clamp the material and support it fully on both sides. Roughness can also result from dull blades or rushing the cut; use a sharp blade, cut at a steady speed, and finish with light sanding for a smooth transition.
Which tools should I use to trim polyurethane floors for the cleanest results?
Common best options include a miter saw for trim-friendly straight cuts, a table saw for long rip cuts, and a jigsaw for curves and detailed notches. For precision in tight areas, an oscillating multi-tool is useful, while a utility knife helps with scoring to prevent chipping. Pair these with painter’s tape, clamps, a square for marking, fine-grit sandpaper, and—if needed—matching polyurethane or edge sealer for a professional-looking finish.
📅 Last Updated: October 11, 2026 | Topic: How to trim polyurethane floors? | Content verified for accuracy and freshness.
References
- Polyurethane
https://en.wikipedia.org/wiki/Polyurethane - https://scholar.google.com/scholar?q=how+to+trim+polyurethane+floor+finish Google Scholar
- https://scholar.google.com/scholar?q=polyurethane+floor+coating+edge+trimming+sanding+between+coats Google Scholar
- https://scholar.google.com/scholar?q=trim+polyurethane+coated+concrete+floor+repair+cutting Google Scholar
- https://www.cdc.gov/niosh/topics/flooring/
- https://www.epa.gov/indoor-air-quality-iaq/formaldehyde-and-other-volatile-organic-compounds
- Wood Dust – Overview | Occupational Safety and Health Administration
https://www.osha.gov/wood-dust/ - Silica, Crystalline – Overview | Occupational Safety and Health Administration
https://www.osha.gov/silica - https://www.nps.gov/subjects/treatments/wood-floor-coatings.htm
- https://www.nps.gov/articles/wood-floor-finish-sanding.htm


