


Want to seal porcelain tile floors the right way? This step-by-step guide tells you exactly how to choose the correct sealer and apply it for durable protection against stains and water damage. Follow the sequence from prep to cure and you’ll finish with a uniform, professional-looking surface without the common streaks and missed spots.




Sealing porcelain tile floors usually matters most for protecting grout, not the porcelain itself. The right approach is to confirm whether your porcelain is truly non-porous, prep and repair properly, then apply the correct sealer type so you don’t trap haze or create adhesion issues.
Sealing becomes urgent when grout lines darken after mopping, stains persist, or you see recurring water spotting. As of 2026, the best results still come from following manufacturer compatibility guidance and using correct dwell/wipe and cure times—because most “sealer failure” problems are actually prep and application failures.
If you’re not sure whether porcelain needs sealing, you’re in the right place—this guide breaks down what to seal, what to skip, and how to do it in a practical, low-risk order.
Confirm whether you actually need to seal porcelain
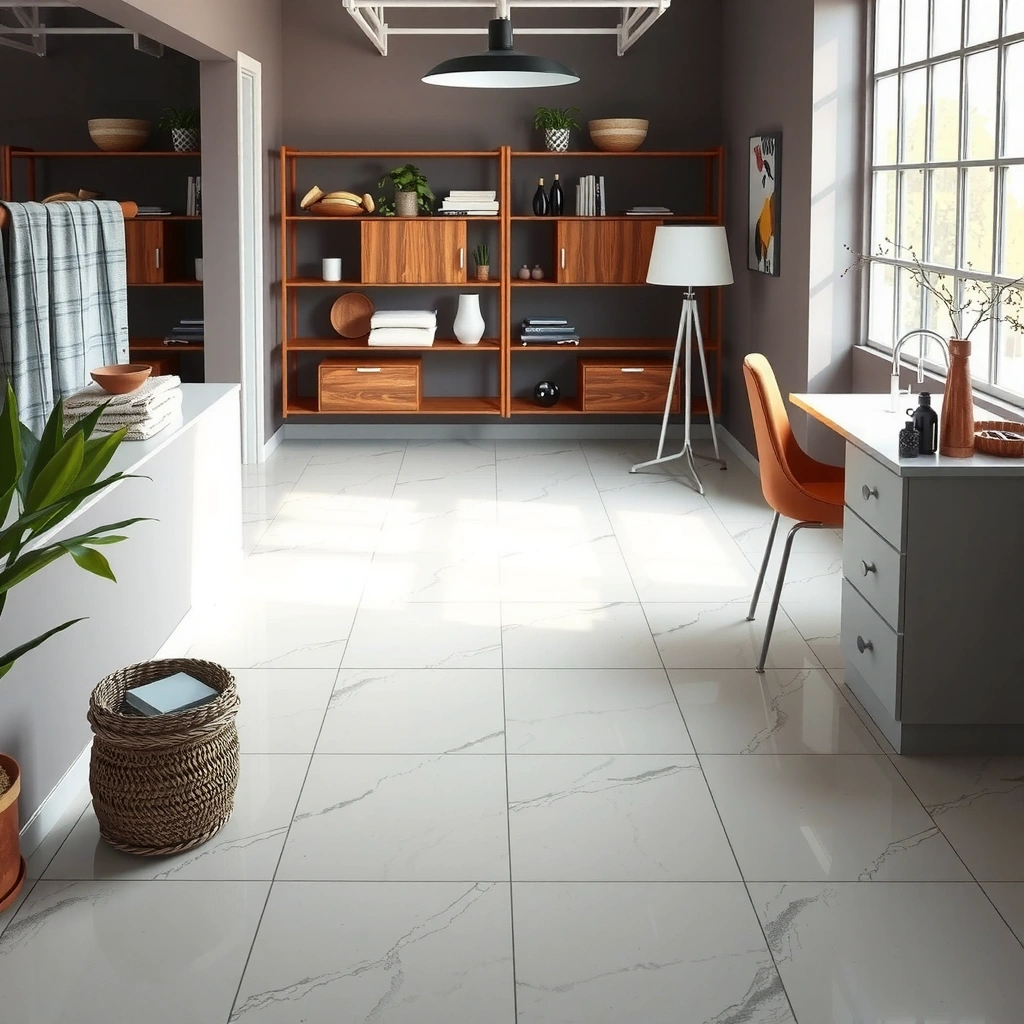
You often don’t need a penetrating sealer for the porcelain surface itself, because porcelain tile is designed to be extremely low-absorption. What typically needs protection is the grout (and sometimes porous mortar beds) where staining and water migration start.
Porcelain tile is generally treated as low-porosity because it meets strict water absorption limits. According to ISO 13006, porcelain ceramic tile has water absorption typically ≤ 0.5% (by test method referenced in the standard), which is why many installations don’t benefit much from penetrating sealers on the tile face.
Porcelain tile is manufactured to be very low-absorption; ISO 13006 defines porcelain with water absorption ≤ 0.5%.
In most floor systems, the grout joint is the more vulnerable “entry point” for waterborne staining because grout is more absorptive than porcelain.
Tile and grout manufacturers often specify whether sealing is required, recommended, or prohibited for their particular system.
That said, “porcelain” doesn’t always mean “no maintenance.” Some porcelain finishes (especially textured or honed surfaces) can behave differently in real life: residue buildup, micro-scratches, and poor cleaning habits can make a surface appear “stained,” even if the porcelain itself isn’t absorbing much.
How to quickly decide (tile + grout)
1. Read both labels: the porcelain product and the grout product (including any admixed grout) may have different sealing guidance.
2. Do a simple water test (spot test, not a full-floor commitment): apply water to a small inconspicuous area and observe after the recommended dwell time from the label.
– If water beads and doesn’t darken the grout line, you may already have protection.
– If grout lines darken quickly or blotch, grout is likely the primary protection target.
3. Look for grout-related symptoms:
– Darkening grout lines after wetting
– Tea/coffee/oil staining that “lives” in joints
– Water spotting that reappears in the same pattern after each cleaning
Why grout is usually the weak point
Grout joints are a composite of cementitious materials (or polymer-modified systems) and sand/fines. Even with good installation, grout can be the path where contaminants dissolve and later re-deposit as stains or discoloration. That’s why many “porcelain floor” sealing conversations really end up being “how do I seal grout correctly?”
If your grout is failing structurally (cracks, gaps, missing material), sealing can’t fix movement—repair comes first.
Choose the right sealer for tile vs. grout
The best sealer is the one matched to what you’re protecting: grout typically needs a penetrating, breathable sealer, while the porcelain face generally needs only stain/spot control if the finish demands it. The wrong product (especially a film-forming topical sealer) can cause haze, reduce traction, or complicate future maintenance.
In practice, “sealer type” matters as much as brand. Penetrating sealers are designed to reduce absorption without forming a thick surface layer, while topical systems can create a more noticeable film that changes sheen and sometimes slip characteristics.
Penetrating, breathable sealers are commonly used to reduce grout absorption without sealing moisture “in” behind the surface.
Topical/wet-look sealers can change traction; testing on a hidden area is critical before treating the entire floor.
Compatibility is product-specific—confirm the sealer is approved for your porcelain finish and your grout type (cementitious vs. epoxy, etc.).
Sealer selection matrix (tile face vs. grout joints)
Below is a practical comparison to help you choose the correct category. It’s not a substitute for the sealer label, but it’s a fast way to sanity-check your plan.
| Feature | Penetrating sealer (typical grout focus) | Topical sealer (film-forming / wet-look focus) |
|---|---|---|
| Primary goal | Reduce absorption and staining | Change appearance and/or add surface protection |
| Effect on breathability | Generally maintains “breathing” | Can reduce vapor exchange at the surface |
| Haze risk if over-applied | Lower with correct wipe/dwell | Higher—film must cure cleanly |
| Slip/traction impact | Often minimal, but still test | Can increase or decrease slip depending on finish |
| Maintenance | Periodic reapplication expected | May require recoat schedules; stripping may be harder |
| Best for | Grout staining control in kitchens, baths, living areas | Targeted appearance changes (when approved for your system) |
| Best for porous grout? | Yes, when grout is clean and fully cured | Sometimes, but can trap issues if moisture intrusion exists |
| Recommended testing | Dry + wet appearance + traction check | Traction and sheen consistency must be verified |
Match the product to your finish (and your grout chemistry)
Before you apply anything, confirm:
– Your grout type (cement-based vs. epoxy/methacrylate systems). Epoxy grouts often have different surface chemistry.
– Your porcelain finish (matte, honed, glazed, textured). Some finishes show haze more readily.
– Your application conditions (temperature/humidity windows).
Also remember traction compliance: ADA-style slip guidance uses a measurable coefficient. For example, ADA references the use of ANSI A137.1 testing, where a common benchmark is a Dynamic Coefficient of Friction (DCOF) ≥ 0.42 for level interior wet areas. If you choose a topical/wet-look sealer, test for slip resistance before anyone relies on that area.
ADA references ANSI A137.1 slip testing; a commonly cited benchmark for level interior wet areas is DCOF ≥ 0.42.
Prep the floor thoroughly (this is where most failures start)
Proper preparation is what makes sealer protection last; rushing prep is what causes haze, blotches, and poor performance. Your goal is a clean, fully cured, fully dry surface with no residues that prevent bonding.Sealer failures often trace back to trapped dirt, soap film, grease, or residual curing compounds—not the sealer itself.
You should repair cracked or deteriorated grout and failing joints before sealing, because sealer cannot stabilize an actively moving crack.
Follow label directions for dry time: applying sealer to damp grout increases haze and can reduce long-term stain protection.
Step-by-step prep checklist
1. Deep-clean (remove residues)
– Use a cleaner designed for tile/grout, and avoid waxes or “polish” additives.
– If your floor has curing haze, use a masonry/tile cleaner appropriate for new construction (or the cleaner specified by your grout/sealer manufacturer).
2. Rinse as directed
– Many haze issues come from left-behind salts or surfactants.
3. Let the floor dry completely
– Don’t seal “almost dry.” Follow the moisture requirements on the sealer label (this is usually the difference between a clear finish and a dull cloud).
4. Repair grout and joints
– Replace cracked grout where needed.
– Re-caulk failing expansion joints or perimeter joints.
– If you suspect a leak or ongoing moisture intrusion, resolve it before sealing.
5. Protect edges
– Mask baseboards/trim.
– Use plastic where needed so accidental overspray/overlap doesn’t seal areas you intended to keep paint-safe or caulk-safe.
Data-backed context: how grout cure affects sealing
Sealer performance depends on whether the substrate is chemically and physically ready. Cement-based materials commonly continue curing for weeks. According to ASTM C109/C109M, a standard curing schedule for cementitious materials uses 28 days for strength evaluation, reflecting that ongoing hydration happens well beyond the initial “set.” For grout, that’s a strong reminder: sealing cement grout too early can lock in moisture and residues.
Apply the sealer correctly (avoid streaks and missed spots)
Correct application is simple in principle—clean, apply evenly, respect dwell time, remove excess if required, then cure fully. In reality, most visible defects come from overworking once it starts to set or ignoring wipe/remove instructions.
Most sealers require strict dwell time and, when specified, a final wipe/removal step to prevent a hazy residue.
Working in small sections helps you maintain consistent product wetness and coverage before the sealer begins to flash off.
Cure time is label-specific; you must wait for full cure before foot traffic and before wet exposure to avoid streaking and transfer.
Step-by-step application workflow
1. Do a test spot first
– Choose a hidden area, ideally including a grout line.
– Evaluate after cure: color change, gloss, and slip behavior.
2. Apply using the recommended method
– Grout lines often benefit from brushing or targeted application (so you don’t flood the tile face).
– For even tile-face coverage (when the label calls for it), use a low-shed applicator.
3. Work in sections
– Example workflow: one room quadrant at a time, or a manageable area where you can finish without returning to “re-wet” a portion that’s already flashing.
4. Respect dwell time
– Dwell time is where penetrating sealers “soak” and topical sealers “film” (depending on the product).
– If the label says to remove excess after dwell, wipe it thoroughly and consistently.
5. Let it cure fully
– Don’t rush recoat or traffic.
– If you have pets or heavy-traffic households, schedule the work so you can keep the floor unused for the full cure period.
A practical “avoid this” reminder
From my experience helping property teams manage floor finishes (and from repeated field observations), the most common visible defect is haze caused by either:
– sealer left too long without removal (when removal is required), or
– sealer applied over residue/soap film that reacts and dries unevenly.
If you see haze, stop further work and identify whether the issue is prep, dwell, or wipe.
What can go wrong (and how to prevent it)
Sealer problems usually fall into a handful of predictable categories: haze, blotchy grout, traction issues, or moisture being trapped behind the surface. If you treat those root causes, you can prevent most “mystery” outcomes on porcelain floors.
Haze and sticky residue commonly result from sealing over insufficiently cleaned or insufficiently dry surfaces or from skipping required wipe/removal steps.
Blotchiness and uneven darkening often indicate inconsistent surface moisture conditions or applying too much sealer in one pass.
If there is ongoing moisture intrusion, sealing can worsen symptoms by reducing drying to the surface—fix the water source first.
Common failure modes (with prevention)
– Haze or sticky film
– Prevention: deep-clean residue; verify dry conditions; follow dwell/wipe steps exactly.
– Dark, uneven grout lines
– Prevention: ensure grout is clean, dry, and fully cured; apply consistently; don’t overload.
– Changed traction (slipperiness)
– Prevention: always test spot on the wet condition you use (mop/bucket conditions vary).
– If your area must meet slip criteria, consider independent testing or choose a sealer category that’s documented as maintaining slip resistance.
– Trapped moisture behind the surface
– Prevention: confirm there’s no active leak or damp slab/membrane issue.
– If you see recurring spotting in the same zones, treat it as a moisture-source problem—not a “sealer needed” problem.
Pros/cons reality check (when to seal vs. when not to)
| Decision factor | Sealing helps when… | Sealing can make it worse when… |
|---|---|---|
| Grout condition | Grout is intact and properly cured | Grout is actively failing, cracked from movement, or missing |
| Moisture source | No ongoing leak or damp slab issue | Recurring wetness suggests an underlying water problem |
| Surface cleanliness | You can remove residue and curing haze | The floor still has soap film, grease, wax, or salts |
| Finish/traction | You verify appearance and slip after cure | You skip testing and later discover sheen/traction problems |
Verdict: seal only what needs sealing—and do a test first
If your porcelain is truly non-porous and your problem is mainly grout staining, your most reliable strategy is to seal the grout (using a compatible penetrating sealer) rather than trying to “seal” the porcelain face. This reduces stains and water-driven discoloration while minimizing haze and future maintenance headaches.
The tradeoffs are real: sealing generally isn’t permanent, and the wrong product or rushed cure can leave an uneven look. You should also skip sealing entirely if your grout is actively failing, you suspect ongoing water intrusion, or the manufacturer specifically advises against sealing your exact tile/grout system.
Most benefits for porcelain floors come from sealing grout, because grout is typically more absorptive than porcelain.
A test spot is the fastest way to confirm final color, sheen, and traction changes after the sealer cures.
If moisture intrusion exists, sealing can slow drying and intensify recurring discoloration—fix the water source first.
When you should NOT proceed
– Grout is cracked through or missing in large areas (repair first)
– You see wetness repeating after rain, plumbing use, or seasonal temperature shifts
– The sealer label prohibits use on your grout/tile combination
– You can’t follow dwell time and wipe/remove steps accurately (haze risk rises fast)
When sealing is a strong choice
– Your grout is intact and clean, and staining shows up in the same grout lines
– You want easier maintenance against everyday spills and water spotting
– You’re prepared to follow cure time and keep foot traffic off until full set
Quick checklist (scan/save)
Porcelain Floor Sealing: What to Verify Before You Start
| # | Checklist item | Why it matters | Status |
|---|---|---|---|
| 1 | Confirm tile + grout type and sealing guidance | Prevents incompatibility and unwanted haze | [ ] |
| 2 | Deep-clean to remove residue and any curing haze | Reduces blotches and sticky film | [ ] |
| 3 | Repair cracked grout and failing perimeter joints | Sealer can’t fix structural failure | [ ] |
| 4 | Verify the floor is fully dry per the sealer label | Prevents hazing and adhesion issues | [ ] |
| 5 | Do a test spot for color + traction after cure | Avoids surprises across the whole floor | [ ] |
| 6 | Apply per label: method, dwell time, wipe/removal steps | Prevents haze, streaks, and uneven absorption | [ ] |
| 7 | Allow full cure before foot traffic or wet cleaning | Reduces transfer marks and streaking | [ ] |
– [ ] Verify tile + grout type and whether manufacturer recommends sealing
– [ ] Deep clean and remove curing haze/soap/grime; rinse as directed
– [ ] Repair grout cracks and failing joints before sealing
– [ ] Fully dry (follow sealer label for moisture requirements)
– [ ] Test in a hidden area for color/finish and traction change
– [ ] Apply per label: coverage method + dwell time + wipe steps
– [ ] Allow full cure before foot traffic and wet exposure
FAQ
Does porcelain tile need to be sealed?
Porcelain tile is often very low-porosity and may not need sealing for stain protection, but grout usually does. Always confirm using the tile and grout manufacturer guidance for your exact products.
Will sealing make grout stain less?
Typically, yes—especially with penetrating sealers designed for cement-based grout. Correct prep and full curing determine whether the protection holds up.
What’s the biggest reason sealer fails?
The most common causes are inadequate cleaning, sealing before surfaces are fully dry, or not following dwell/wipe instructions. Even a high-quality sealer can haze if the prep or application is off.
How long should I wait before walking on it?
Use the cure time on the sealer label. If you don’t have the exact product instructions, [ADD: source for specific cure time based on the sealer you choose] before proceeding.
Can I seal grout that already has old sealer on it?
Sometimes, but it depends on the product type (penetrating vs. topical) and whether the previous sealer has failed. In many cases you’ll need to [ADD: source for recommended removal/compatibility steps for your existing sealer type].
Sources
– ISO 13006 — Requirements for ceramic tiles, including water absorption classifications for porcelain
– ADA (Americans with Disabilities Act) — Slip resistance considerations that reference ANSI A137.1 testing benchmarks (e.g., DCOF guidance)
– ASTM C109/C109M — Standard test method for compressive strength and cementitious curing schedule concepts (used as a basis for 28-day curing context)
– [ADD: manufacturer documentation/spec sheet for your specific porcelain tile and grout—especially any “sealing required/not required” guidance]
– [ADD: manufacturer instructions for the sealer brand you plan to use, including cleaning/compatibility, dwell time, and cure/foot-traffic timing]
Sealing porcelain tile floors is most effective when you treat grout as the priority and keep the process label-accurate: verify the need, prep thoroughly, apply in controlled sections with correct dwell/wipe, then cure fully. If you’re unsure, do a test spot first and fix any underlying moisture or grout integrity issues before you apply a sealer—those two decisions usually determine whether the finish looks great or turns hazy.
Frequently Asked Questions
What sealer is best for sealing porcelain tile floors?
The best sealer for porcelain tile depends on whether your tile is glazed (most porcelain) or unglazed and how much you want to enhance stain resistance. In most cases, a penetrating sealer rated for porcelain/grout works well because it helps repel liquids without changing the look much. If you want a higher-gloss finish or a more dramatic look, consider a topical sealer, but test a small inconspicuous area first since porcelain can be naturally low-porosity and some sealers may not adhere evenly.
How do I prepare porcelain tile floors before applying a sealer?
Start by deep-cleaning the tile and grout with a pH-neutral cleaner to remove dirt, soap residue, and any film that can block sealer penetration. If there are stains or discoloration, address them before sealing using a cleaner appropriate for the stain type (especially oil/grease). After cleaning, rinse thoroughly, allow the floor to dry completely, and verify the tile is fully dry—most sealing failures happen from trapped moisture.
How do I apply a penetrating sealer to porcelain tile without streaks?
Work in small sections and apply sealer evenly using a clean brush or low-lint applicator, keeping a consistent “wet” coat rather than going back repeatedly. Allow the sealer to penetrate for the time listed on the product label, then wipe off any excess so it doesn’t leave a hazy residue. Avoid sealing in humid conditions or on a warm surface, because those factors can cause streaking or blotchy results.
Why do I still have stains after sealing porcelain tile floors?
Porcelain tile is often very low-porosity, so if the sealer isn’t compatible or the surface wasn’t properly cleaned and dry, stain protection may be limited—especially in grout, where staining is most common. Some stains also come from grout discoloration, mineral deposits, or prior contaminants that need targeted treatment before sealing. To troubleshoot, identify whether the stain is on grout versus tile, clean appropriately, and reseal with a sealer designed for porcelain tile and masonry/grout.
Which sealer is safer for porcelain tile floors in wet areas like bathrooms and kitchens?
For wet areas, choose a sealer that is specifically labeled for floors, grout, and wet environments, and that provides stain repellency without making surfaces overly slippery. Penetrating sealers are commonly preferred for porcelain tile because they reduce water and stain absorption while maintaining the tile’s natural texture. After sealing, ensure the surface is fully cured before using the area, and apply a light, even coat to avoid uneven sheen or slip-prone buildup.
📅 Last Updated: October 08, 2026 | Topic: How to seal porcelain tile floors? | Content verified for accuracy and freshness.
References
- Google Scholar Google Scholar
https://scholar.google.com/scholar?q=how+to+seal+porcelain+tile+floor+grout - Google Scholar Google Scholar
https://scholar.google.com/scholar?q=porcelain+tile+sealer+penetrating+impregnator+water+absorption - Google Scholar Google Scholar
https://scholar.google.com/scholar?q=grout+sealing+effectiveness+water+penetration+study - Google Scholar Google Scholar
https://scholar.google.com/scholar?q=tile+and+stone+sealers+film+forming+penetrating+impregnating+properties - Google Scholar Google Scholar
https://scholar.google.com/scholar?q=ceramic+tile+surface+sealer+durability+and+cleaning - Google Scholar Google Scholar
https://scholar.google.com/scholar?q=sealing+cementitious+grout+penetration+chloride+ingress+water+permeability - Grout
https://en.wikipedia.org/wiki/Grout - Porcelain tile
https://en.wikipedia.org/wiki/Porcelain_tile - Tile
https://en.wikipedia.org/wiki/Tile - https://pubmed.ncbi.nlm.nih.gov/?term=tile+grout+sealer+penetration


