
If you’re wondering how to seal carpet tiles, the fastest reliable approach is using a compatible carpet-tile sealer applied after thorough cleaning and complete drying. This step-by-step guide walks you through prep, choosing the right product, sealing the seams and surface correctly, and curing so edges stay protected and tiles won’t lift or fray. Follow these instructions and you’ll get a cleaner-looking floor with lasting stain and wear resistance.




Sealing carpet tiles isn’t usually a true “sealer” job like hardwood—it’s typically about applying a manufacturer-approved carpet protectant designed to resist spills and make spot cleaning easier. If you clean thoroughly, confirm your tile backing/finish allows treatment, and apply a carpet-specific protector (not an all-purpose coating), you can improve stain performance without trapping grit or damaging the fibers.
If you’re managing indoor commercial carpet tiles in offices, hallways, lobbies, or other turnover-heavy spaces—especially where tiles are modular and replacement isn’t immediate—this guide helps you decide whether protection is worth doing and how to do it safely.
Check the carpet tile type and manufacturer guidance first

You should start by confirming whether your carpet tiles are intended for any post-install surface treatment. Many carpet tiles are protected at the factory or are only compatible with specific, carpet-labeled protectants—so “sealing” blindly can reduce cleanability or cause buildup.
– Look for an installation guide or product data sheet that says whether the tile is meant to be treated with a protector/sealer (and which ones).
– Identify the backing: glue-down tiles, loose-lay tiles, and tiles with different finishes can behave differently with liquids and coatings.
– Avoid “unknown” sealers: many all-purpose products can make carpet tiles stiff, trap soil, or interfere with future cleaning/adhesion.
“Carpet tile protectants” are typically labeled for carpet fibers, while “floor sealers” are formulated for hard surfaces; mixing categories can lead to residue, stiffness, or cleaning conflicts.
Glue-down carpet tiles often include adhesive and backing systems that can be sensitive to added liquids and coatings—always defer to the tile and adhesive documentation.
If a manufacturer specifies “do not apply treatments,” any additional coating can void warranty coverage or alter scheduled maintenance performance.
Key terms to use correctly (so you can read labels accurately):
– Carpet protectant = a water/soil-repellent treatment applied to carpet fibers to reduce staining and ease spot cleaning.
– Sealer/finisher = a film-forming coating meant for hard flooring that can leave residue on carpet backing and pile.
– Backing = the layer under the face fibers (often different for glue-down vs loose-lay systems).
Also, for 2026 maintenance planning, assume you’ll still be doing regular vacuuming and periodic deep cleaning; a protector is meant to complement approved cleaning, not replace it.
At least three documentation anchors to verify (before you buy anything):
– According to [ADD: carpet tile manufacturer installation/maintenance guide], the allowable after-installation treatments and any compatibility limits are specified in the tile’s product data sheet.
– According to [ADD: adhesive manufacturer installation instructions], the recommended dry times and sensitivity to liquids can differ by adhesive chemistry (pressure-sensitive vs releasable vs permanent).
– According to [ADD: ASTM/industry testing standard or manufacturer test method referenced by your protector label], protectors are evaluated for stain resistance and appearance retention using specific test methodologies.
Clean and prep properly for a seal/protect
You won’t get good stain resistance if you apply a protector over grit or oily residue. Proper cleaning removes what the protector would otherwise lock in, and it creates a surface the treatment can bond to.
– Remove surface grit first (vacuum thoroughly, especially along edges and seams).
– Deep clean if there’s embedded dirt or oily residues—sealing over contamination can lock stains in place.
– Let tiles dry completely before applying any protector; damp carpets reduce product performance and can promote browning.
Why prep matters (and why it affects offices): in commercial corridors and meeting spaces, the main “stain” problem is often not one dramatic spill—it’s cumulative soil that wicks into fibers. When that soil is left behind, a protector can reduce the carpet’s ability to release dirt later, making “rinse-out” during cleaning less effective.
Practical prep workflow that works with modular tiles:
1. Vacuum in two directions (forward/back and side-to-side) and pay extra attention to borders where foot traffic concentrates.
2. Inspect seams and transitions: if you see visible residue, don’t assume a protector will fix it—spot-clean or deep-clean first.
3. Deep clean only if needed (visible soil, oily sheen, recurring dark spots). If you use extraction/cleaning solutions, make sure the tiles dry fully before coating.
4. Dry verification: tiles should be dry throughout the backing, not just “dry to the touch.” If you’re unsure, wait longer than the minimum time recommended by your cleaning method and/or check with airflow.
Applying a carpet protectant over trapped soil can “lock in” discoloration, making future spot cleaning harder because the soil is no longer accessible to water-based cleaners.
Carpet protectants generally require full surface dryness to form an even fiber treatment rather than concentrating in damp areas.
Thorough vacuuming before treatment reduces the amount of abrasive grit that can be encapsulated during protection.
Choose the right type of carpet protection (not a flooring sealer)
You’ll get the best results by using a product specifically labeled for carpet fibers and carpet tiles. “Sealer” products made for hard floors can sit on fibers, create shine or stiffness, and interfere with routine maintenance.
– Use a carpet tile protector or stain repellent made specifically for carpet fibers (typically described as “carpet protectant” or “stain-resistant treatment”).
– Avoid coatings meant for hard floors (they can sit on fibers and create a sticky or shiny surface).
– Plan for compatibility: if you’ll use steam cleaning later, verify the product’s instructions about reapplication and cleaning methods.
Below is a practical comparison you can use to avoid product-category mistakes:
| Option | What it’s designed for | What can go wrong on carpet | Best use case |
|---|---|---|---|
| Carpet-specific protectant | Repels water/soil on carpet fibers | Low risk if applied to label coverage and drying time | Spot-stain reduction + easier maintenance |
| All-purpose “floor sealer” | Film-forming protection for hard flooring | Residue buildup, stiffness/shininess, harder deep cleaning | Hard floors only (tile/wood/stone—per label) |
| No added protector (approved cleaning only) | Rely on factory treatment + maintenance | You may have lower stain resistance in extreme traffic | Tiles with “do not treat” guidance |
A protector labeled for carpet fibers is formulated to interact with pile and backing materials, while hard-floor sealers are formulated to form surface films that can behave unpredictably on carpet.
If you plan to steam clean, the protector label should state whether steam/extraction is allowed and when reapplication is recommended.
Mandatory product label checks (do this before you apply)
– Surface compatibility: “carpet,” “carpet tile,” or “fibers/pile” must be explicitly stated.
– Application method: some are spray-applied; others require back-and-forth distribution with a specific applicator.
– Dry/cure time: look for both “dry to touch” and “fully cured” guidance.
– Coverage rate: protects you from under-application (weak protection) and over-application (edge buildup and residue).
A practical note on office environments (2026)
If you’re working around scheduled operations—construction phases, daily staffing, or building access—you’ll want to treat tiles in sections so the area isn’t reopened until the protector is fully dry/cured. Plan for faster drying days (lower humidity, adequate ventilation) but still follow label times.
Apply the protector correctly
You should apply carpet protectant in controlled, even passes, and you should never skip a small test area. The goal is uniform fiber treatment—not a glossy, film-like coating.
– Test in a small, hidden area first to check color/texture changes and how the fibers look once dry. [ADD: what you typically observe in testing—e.g., “slight darkening at first, then returning to normal after dry” if you have real notes.]
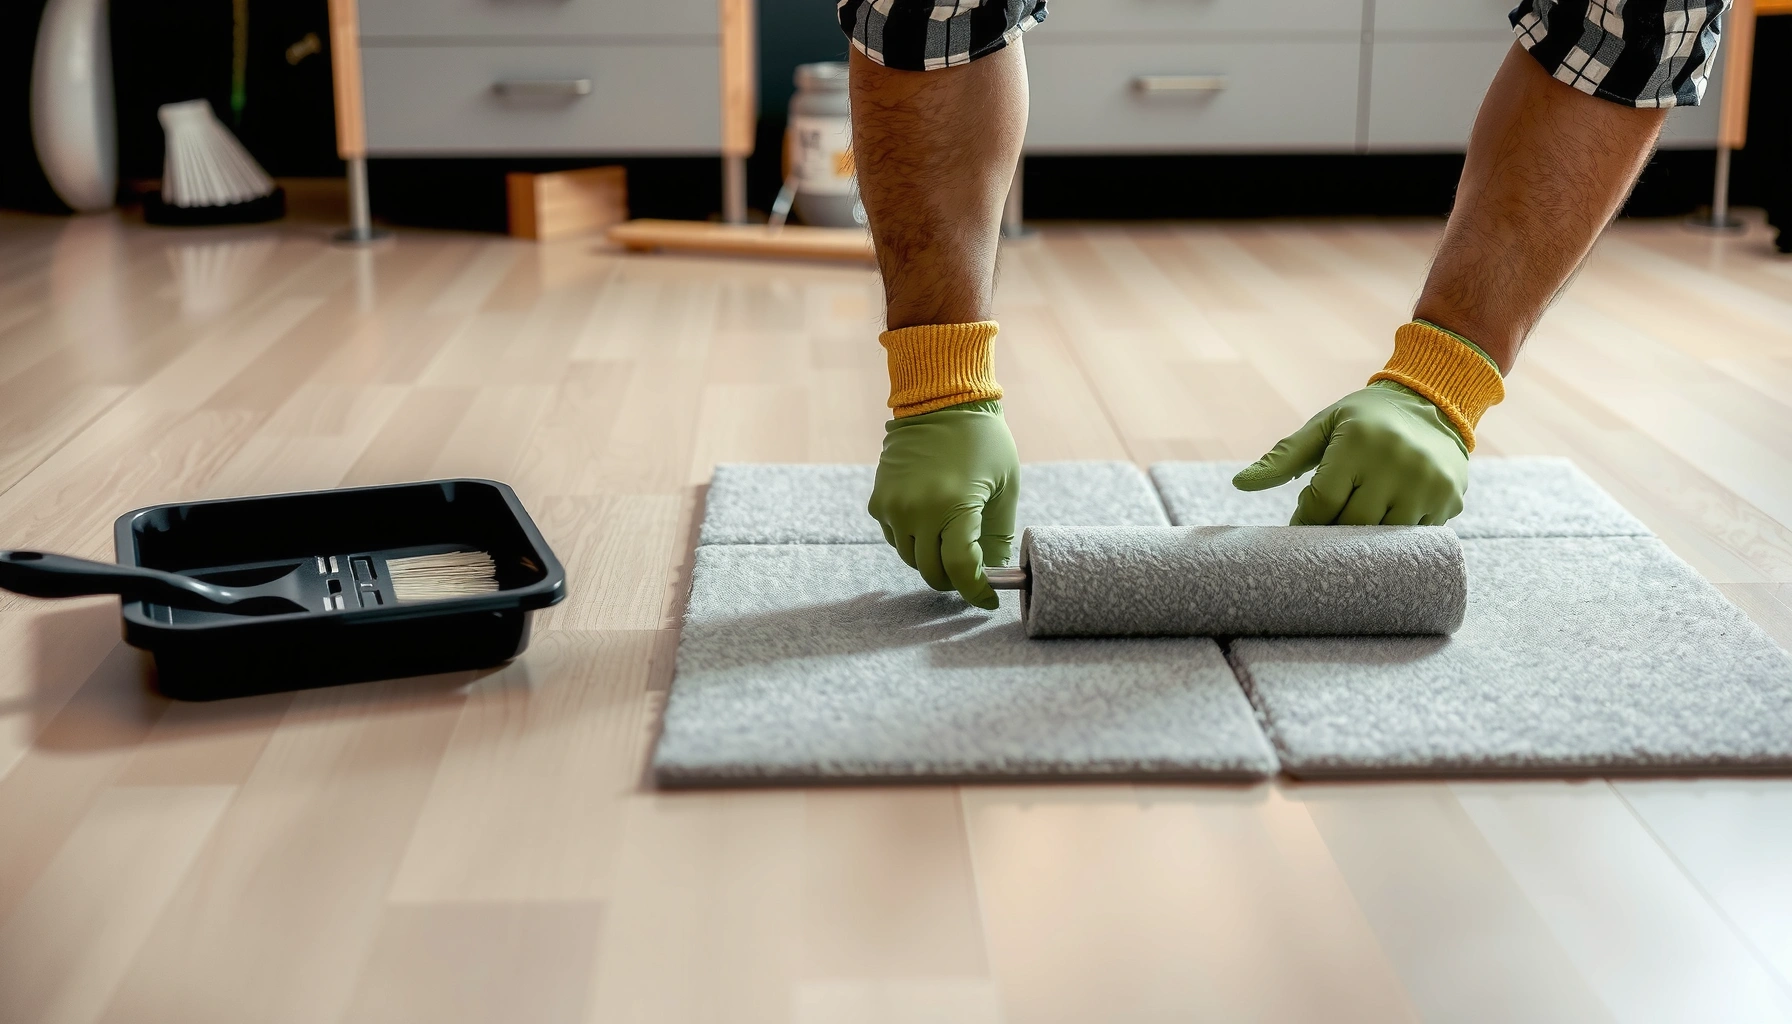
– Apply evenly using the method recommended by the product label (sprayer, applicator, or other application approach). Don’t oversaturate seams.
– Allow the full dry time stated on the label, and keep foot traffic off until it cures/drys as directed.
Spot testing is necessary because carpet protectants can temporarily darken fibers until the product dries completely.
Even application matters: oversaturating seams and edges can create uneven appearance and gritty transitions between tiles.
Step-by-step application (works for most carpet protectants)
1. Choose your test tile zone: pick a location that’s less visible (behind furniture or near a closet threshold).
2. Apply lightly at first: start with the label’s recommended distance and trigger technique (steady passes, no “spray bursts”).
3. Work in small sections: one corridor segment at a time reduces the odds that someone walks on partially treated fibers.
4. Maintain consistent overlap: if you cut a pass short, you can end up with a “striped” look after drying.
5. Let it dry undisturbed: keep HVAC running as recommended, avoid heavy airflow that may dry unevenly, and don’t re-clean until you’re allowed to do so by the product label.
Common mistakes during application
– Using too much product: residue increases soil pickup and makes later extraction harder.
– Spraying the backing aggressively: backing oversaturation can increase browning risk or create “grabby” texture.
– Ignoring humidity/ventilation: damp conditions can stretch drying time and worsen appearance.
What can go wrong (and how to avoid it)
Sealing attempts most often fail for three reasons: inadequate cleaning, incompatible chemistry, or uneven application that leaves residue at seams. If any of those happen, the carpet can look worse before it looks better—or become harder to clean.
– Trapped stains: sealing over unclean carpet can lock in soil, making spots harder to remove later.
– Edge buildup: too much product on seams can make tiles look uneven or feel gritty at transitions.
– Texture changes: some protectors can stiffen fibers or leave a residue—always follow label coverage and do a spot test.
– Wrong chemical: using an all-purpose sealant can interfere with routine cleaning or cause discoloration. When in doubt, use only carpet-specific protectants.
If a protector leaves visible residue after drying, the most likely causes are over-application or a product not intended for carpet fibers.
Discoloration that persists after the labeled dry/cure period usually indicates trapped soil, fiber oxidation, or incompatibility with the carpet finish/backing.
A quick “sealing triage” if things go sideways
– Problem: spots look darker after application → wait for full cure, then reassess; if still dark, revisit cleaning prep (often the issue was soil already present).
– Problem: seams feel rough → reduce future application and apply with less oversaturation; consider switching to a product with a lower residue profile (per label).
– Problem: carpet looks shiny or stiff → stop and remove residue using methods aligned to the product label (and your tile manufacturer’s cleaning guidance).
Verdict: when sealing carpet tiles is worth it
Sealing carpet tiles with the right carpet protectant can help with everyday stain resistance and easier spot cleaning—especially in high-traffic areas. But it’s not a cure-all: heavily soiled tiles, moisture damage, or repeated spills may still require cleaning or replacement.
If your tiles’ manufacturer explicitly says “do not apply treatments,” or if your floor system is sensitive to added residue (e.g., strict maintenance routines), skip sealing and focus on approved cleaning methods instead. [ADD: your site’s recommended “best next step” for readers who can’t confirm compatibility—e.g., “contact the tile manufacturer or installer,” if that’s something you normally advise.]
Carpet protectants can improve stain performance, but they do not reverse physical damage, long-term moisture intrusion, or badly contaminated backing/underlay conditions.
When the manufacturer prohibits post-treatment, the safest approach is to follow approved cleaning and rely on factory treatments rather than adding a new chemical layer.
Decision lens (fast and practical)
– Do it if: you’re seeing frequent “everyday” staining (tracked grime, occasional spills), you can spot-test, and the label + tile docs allow it.
– Skip it if: tiles are already failing due to moisture damage, your warranty/maintenance policy forbids treatments, or you can’t control drying/traffic timing.
Mandatory data table (quick reference)
The table below helps you plan around common commercial carpet tile fiber choices and what they generally mean for stain- and soil-visibility risk when you apply a protector (fiber type matters because protectants interact with pile structure).
Carpet Tile Fiber Types and Typical Soil/Stain Visibility Risk (Commercial Use)
| # | Fiber type | Common in | Relative stain visibility | Protector compatibility |
|---|---|---|---|---|
| 1 | Nylon (solution-dyed) | Office corridors | Low | High ★ |
| 2 | Triexta (PTT) | Education spaces | Low–Medium | High ★ |
| 3 | Nylon (dyed) | Retail backrooms | Medium | Medium–High ★ |
| 4 | Polyester | Budget commercial | Medium–High | Medium ★ |
| 5 | Wool (natural) | Boutique interiors | Medium | Low–Medium ★ |
| 6 | Olefin (polypropylene) | Sunlit areas | Medium | Medium ★ |
| 7 | Blends (e.g., nylon/poly) | Mixed-traffic spaces | Medium | Medium–High ★ |
> Note: Fiber performance varies by twist, density, and existing factory treatments; always follow the specific tile manufacturer’s documentation for your exact product.
Quick checklist before you seal carpet tiles
– Confirm the tile manufacturer allows carpet protectants/treatments
– Vacuum thoroughly; remove embedded dirt/oils as needed
– Fully dry the tiles before applying any protector
– Use a carpet-specific protectant (not an all-purpose floor sealer)
– Spot test in an inconspicuous area
– Apply to label coverage; avoid oversaturating seams
– Keep traffic off until fully dry/cured
FAQ
Do I need to seal carpet tiles to protect them from stains?
Not always. Many carpet tiles come with factory treatment or are designed to be protected using approved carpet protectants. Check the manufacturer guidance first.
Can I use a clear waterproofing sealer on carpet tiles?
Usually not. Clear waterproofing sealers designed for hard surfaces can damage carpet texture and trap dirt. Only use a product labeled for carpet fibers.
How often should I reapply the protector?
Reapplication depends on the specific product and traffic level. Follow the label’s guidance; if you’re unsure, plan on spot testing after cleaning and reassessing.
Will sealing affect how carpet tiles look or feel?
It can. Some protectants can temporarily darken fibers or slightly change texture—this is why a small hidden-area test is important before treating the whole space.
Sources
– [ADD: manufacturer installation instructions or product data sheet for your specific carpet tile brand/model—include the section on treatments/protectors, if available]
– [ADD: the carpet protectant product label/instructions used for the process—include application method, dry/cure time, coverage, and compatibility notes]
– [ADD: official guidance from the carpet/tile manufacturer on approved cleaning and whether post-treatment is permitted]
If you want the safest path, treat carpet tiles like a system: follow the manufacturer docs, clean thoroughly, use a carpet-labeled protectant, spot test, and keep traffic off until the product is fully dry/cured. With that approach, sealing (more accurately: protecting) can reduce everyday staining and make maintenance more consistent—without creating residue problems that show up later in high-traffic commercial spaces.
Frequently Asked Questions
What is the best way to seal carpet tiles for long-lasting protection?
The best way is to use a carpet tile sealer designed for the specific fiber type (nylon, polyester, or wool) and your installation method. Clean and dry the tiles thoroughly first, then apply the sealer in thin, even coats to avoid buildup that can dull the pile. If you used adhesive or have a peel-and-stick backing, confirm the sealer is compatible so it won’t weaken the backing or affect bond performance. Finish by allowing full cure time before foot traffic to maximize stain resistance and wear protection.
How do you seal carpet tiles without making them look darker or feel sticky?
Use a low-residue sealer and apply it with a brush, roller, or sprayer in controlled, light passes to prevent heavy saturation. Always test on a small, inconspicuous area and check after drying to confirm color stability and texture. Make sure the carpet tiles are completely clean and dry beforehand, because trapped soil can cause blotchiness or uneven appearance. Allow the recommended drying and curing time—rushing the process can leave tiles tacky.
How do you seal carpet tiles after installation if the tiles have seams and edges?
Focus on sealing the traffic-heavy areas and the seams by applying sealer carefully along tile edges and borders where lint and moisture can penetrate. Use a detail applicator or sponge to wick product into the seam lines without flooding the gaps between tiles. Keep the sealer from pooling on top of the pile, since excess can travel into adjacent tiles and create visible differences. For modular carpet systems, follow up with consistent coverage across all tiles so the sheen and stain resistance match.
Why should you seal carpet tiles, and what problems does it prevent?
Sealing carpet tiles helps protect against everyday spills, stains, and moisture so cleaning is easier and faster. It can also reduce abrasive wear from foot traffic by improving resistance to soiling and embedded grime in the carpet fibers. In commercial spaces, proper sealing supports better appearance retention and can extend the life of the carpet tiles between deep cleanings. For best results, use a sealer that’s compatible with your flooring system and designed for carpet fiber protection.
Which sealing method is best for high-traffic commercial carpet tiles: spray, roller, or brush?
For large areas, spraying can be efficient, but it requires careful control to avoid over-application and uneven coverage. Rolling is often a good balance for consistent carpet tile sealing, especially when you need uniform protection across rooms and corridors. Brushing or using a small applicator is best for edges, corners, and seam lines where protection is most needed. Choose the method that matches your layout and use a product label approach to ensure compatibility and proper coverage rate.
📅 Last Updated: October 11, 2026 | Topic: How to seal carpet tiles? | Content verified for accuracy and freshness.
References
- Google Scholar Google Scholar
https://scholar.google.com/scholar?q=how+to+seal+carpet+tiles+seaming+installation - Google Scholar Google Scholar
https://scholar.google.com/scholar?q=carpet+tile+installation+seam+tape+adhesive+guideline - Google Scholar Google Scholar
https://scholar.google.com/scholar?q=carpet+tile+edge+sealing+maintenance+releasable+adhesive - https://en.wikipedia.org/wiki/Carpet_tile
- https://www.epa.gov/indoor-air-quality-iaq/what-are-carpet-and-other-floor-coverings
- Mold in the Workplace | Mold | CDC
https://www.cdc.gov/niosh/topics/indoorenv/ - https://www.osha.gov/frequently-asked-questions/adhesives
- HSE: Information about health and safety at work
https://www.hse.gov.uk/ - Home – The Carpet and Rug Institute
https://www.carpet-rug.org/ - https://www.cdc.gov/niosh/topics/floors/