
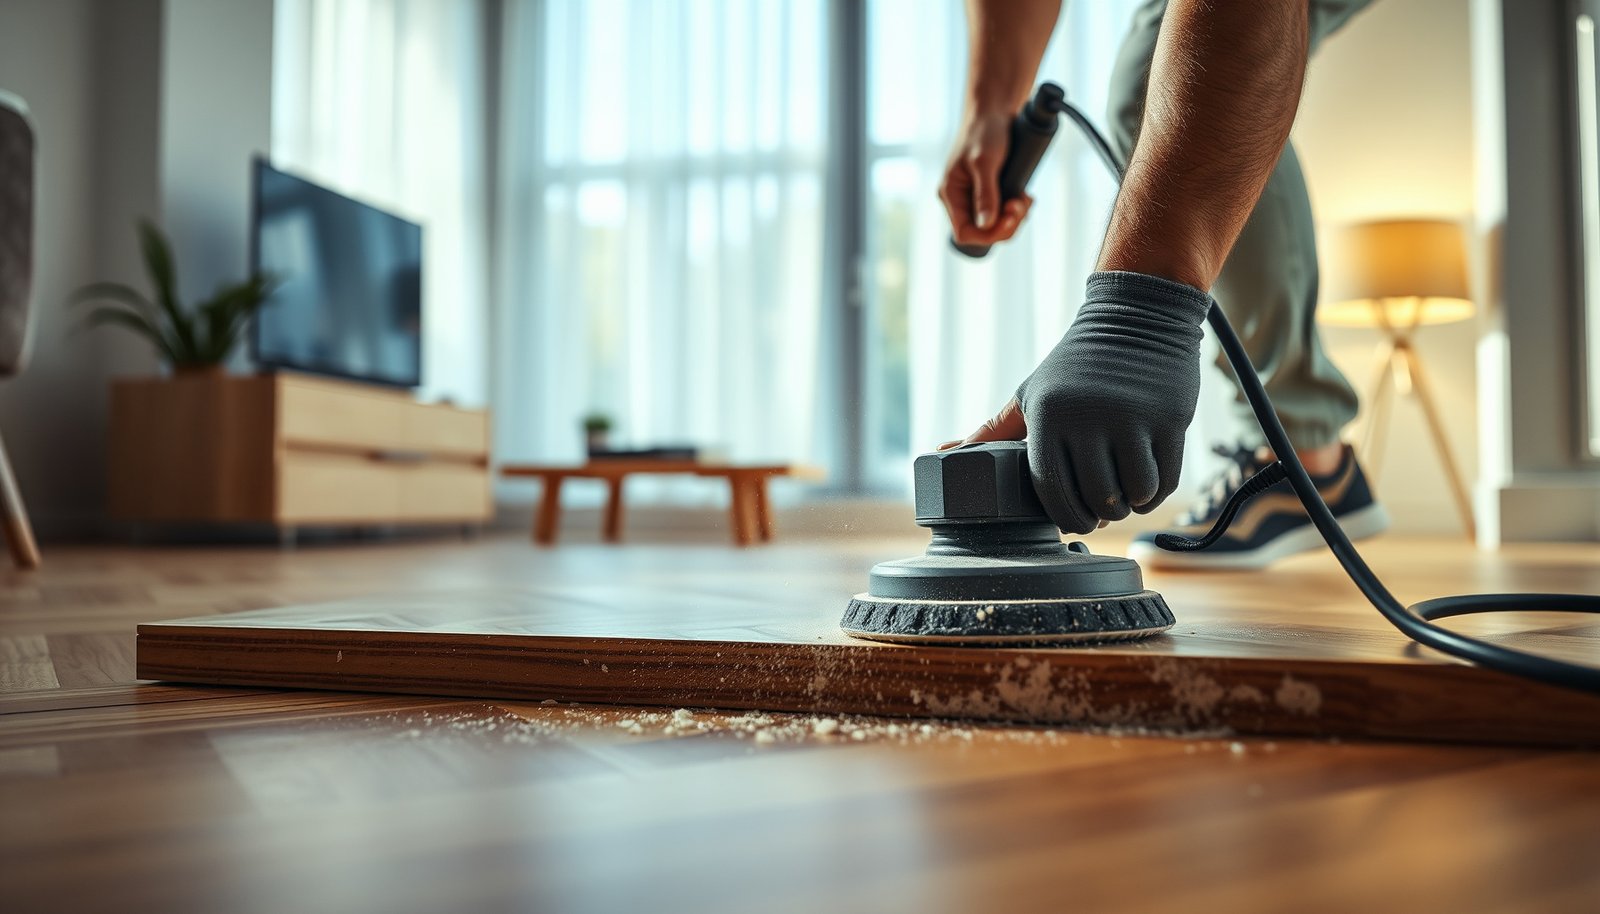

If you’re restoring parquet floors, the fastest path to a flawless finish is clear: repair any damaged slats, sand to remove old wear and coatings, then refinish with the right sealant for your traffic level. This step-by-step process shows exactly what to fix before you sand, how to keep the parquet pattern crisp, and how to choose the final topcoat so the restored surface holds up. Answer the real question—how to restore parquet floors so they look new and last—without guesswork.




Restore parquet floors by repairing damaged boards first, sanding to remove the old sheen, and then applying a compatible new sealer (oil or lacquer/polyurethane). If the parquet is mostly dull or lightly scratched, you can usually refinish; if boards are lifting or badly cupped, fix movement first or the new finish won’t last.
Parquet restoration is very doable for homeowners, but the order of operations matters: you can’t “coat over” loose boards, moisture-driven cupping, or contamination from waxes and silicone cleaners. This guide walks through the practical repair → sand → refinish workflow so your finished floor looks level, bonds correctly, and cures properly—without accidentally trapping problems under a new topcoat.
Assess the floor and choose the right repair route
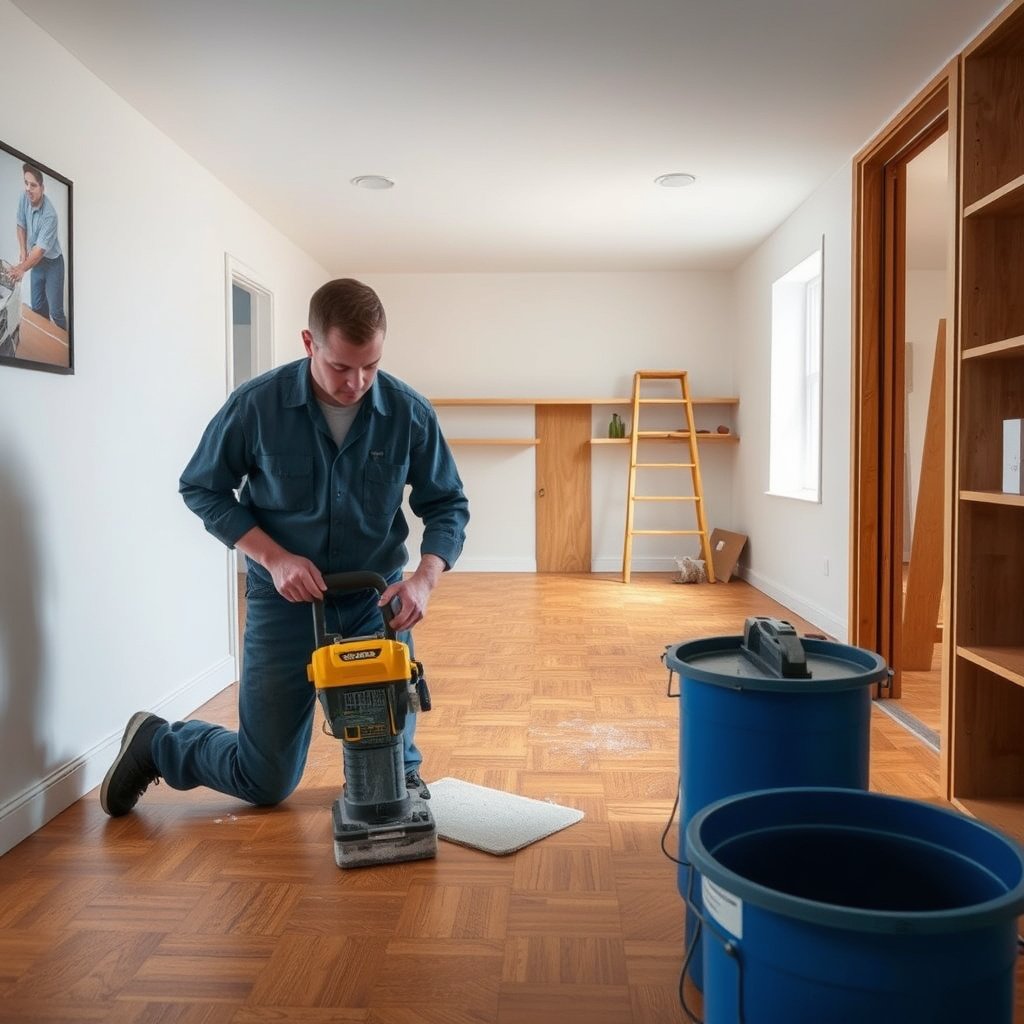
Start by deciding whether your parquet needs a light recoat or a full restore. In plain terms: if the floor is stable, you can sand and refinish; if boards are moving or swelling, you must repair the cause first.
A wood-floor finish can only bond well to a stable substrate—if parquet boards are lifting or cupped due to moisture, refinishing usually fails prematurely.
Many manufacturers require sanding/abrading the existing finish to create a suitable surface profile before applying a new sealer, which is why “recoat without sanding” is limited to specific systems.
What to look for (and what to do first)
– Check for lifting boards and soft spots. Walk the floor and press near seams and along edges. If you feel movement, the first job is re-glue/repair, not sanding.
– Inspect for deep swelling or cupping. When parquet cups, gaps may widen and the “dish” shape transfers to your finish. Fixing only the look rarely fixes the cause.
– Find the moisture source. Common triggers include HVAC imbalance, steam from showers, leaks under walls, high humidity crawlspaces, or seasonal subfloor moisture swings.
Choose your workflow: recoat vs full restore
– Light recoat (finish only): The surface is uniformly dull, you see light scuffs, and boards are flat with only minor gaps.
– Full restore (sand + repair + refinish): You have scratches that break through the finish, uneven sheen, visible wear-through spots, or any areas where repairs will be blended.
Identify the finish type if possible
Finish compatibility is one of the biggest “why it won’t bond” causes.
– Oil finishes tend to penetrate and leave a different base surface than film-forming coatings.
– Lacquer and polyurethane are film-forming. If the existing finish is oil-based and you apply the wrong product—or if the opposite happens—you can get peeling, tackiness, or patchy gloss.
According to the National Wood Flooring Association (NWFA), wood floors respond strongly to indoor humidity and moisture conditions, which is why stable substrate conditions are essential before refinishing. (NWFA guidance; )
According to ASTM D4442 (oven-dry method), wood moisture content is determined by comparing the mass of a wood sample before and after oven-drying to constant mass. (ASTM D4442-20; )
Quick decision rule:
If your parquet floors are stable and clean, you’re a refinish candidate. If you feel movement or see significant cupping/swelling, start with repairs and moisture control.
Prep the room and protect the rest of the home
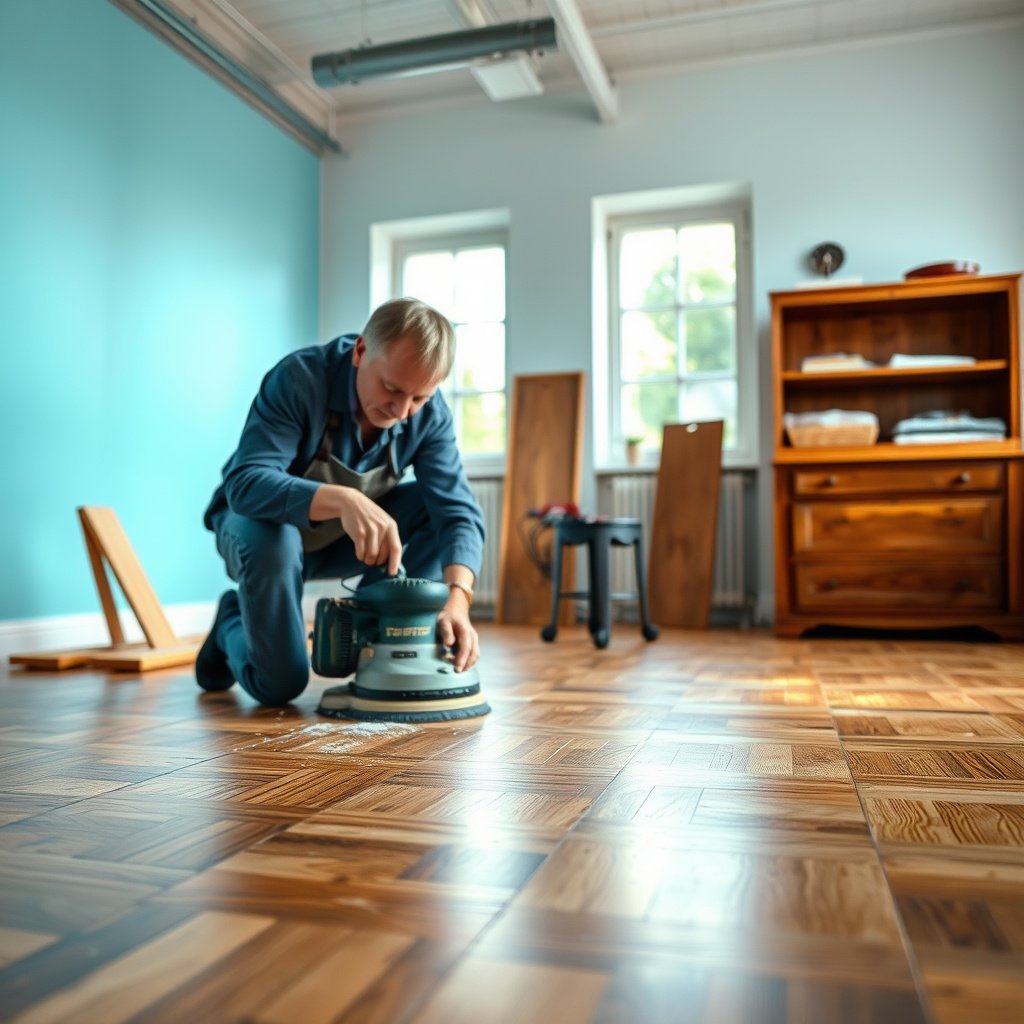
Prep determines whether your parquet looks “finished” or “unfinished.” Do the cleaning, masking, and dust control correctly before you sand, and you prevent contamination and cleanup nightmares.
Dust contamination is one of the most common causes of a dull haze, fisheyes, or patchiness after parquet refinishing.
Leaving wax, silicone-based cleaners, or unknown residues on parquet floors can interfere with adhesion of new sealers, leading to peeling or weak bonding.
Clear, mask, and control dust
– Clear the area completely. Remove rugs, furniture, and anything that can trap dust. If needed, remove baseboards or quarter-round for clean edges.
– Mask walls and nearby fixtures. Use painter’s tape and plastic sheeting; sanding grit goes farther than people expect.
– Plan your dust management. Use a shop vac designed for dust extraction and position it to capture particles at the sanding point. Parquet restoration gets messy fast—especially with narrow inlays where grit lands in corners.
Clean properly (no residue “left behind”)
For parquet floors, “clean” means contaminant-free, not just “looks clean.”
– Avoid waxes and silicone cleaners. These residues can remain even after wiping.
– Use a wood-floor-appropriate cleaner and follow the label precisely.
– Let the parquet acclimate to the room conditions before sanding and finishing so the wood is at a consistent equilibrium.
From my experience with parquet restoration workflows, the biggest quality difference comes from how thoroughly the surface is cleaned and how carefully sanding dust is removed between steps—both stages are where most small “failures” are born.
Sand and strip the worn surface
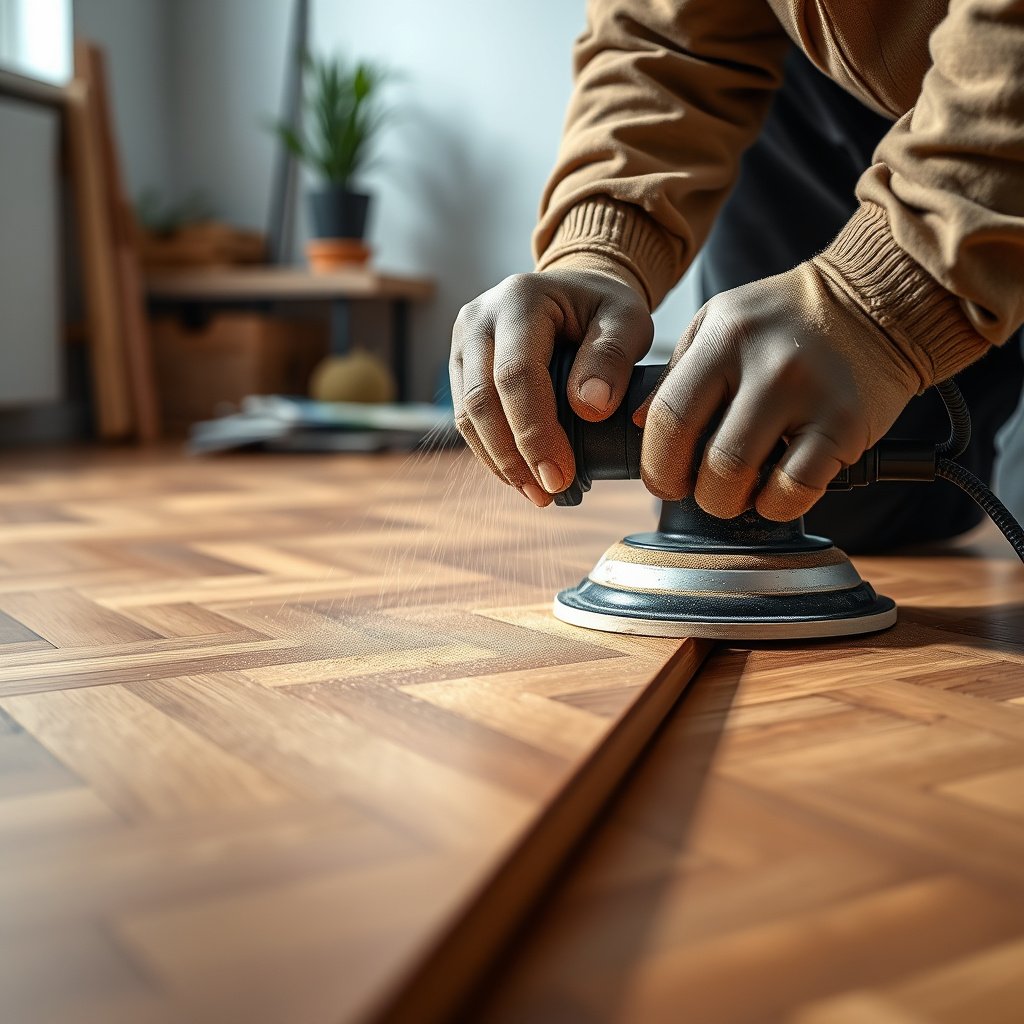
Sand enough to remove scratches and break the old finish sheen, but stop short of creating uneven parquet ridges. A proper sanding progression levels the surface without turning parquet seams into raised channels.
Refinishing success depends on creating a consistent, uniformly abraded surface profile so the new sealer can bond evenly across parquet floors.
Changing grit too abruptly can leave scratches that telegraph through the new finish, especially on light-colored stains over parquet.
Follow finish-compatibility guidance for abrasives
Even within “wood floor sanding,” systems differ:
– You’re not sanding to bare wood everywhere unless the floor needs full color reset or wear-through repair. Often you’re sanding enough to remove the worn top layer and create an even profile.
– Match your sanding method to the existing finish. If the base is oil vs film-forming, the required prep can differ—check the final coating’s technical data sheet (TDS).
Progress from heavier correction to light smoothing
Use a progression that corrects, levels, and refines:
– Start with the grit that removes the visible damage.
– Move to medium grits to erase heavy sanding marks.
– Finish with a finer grit to reduce scratch visibility and improve final gloss uniformity.
Clean between sanding stages
– Vac thoroughly (not just a quick sweep).
– Wipe using a product intended for sanding dust removal (often tack cloth or a lint-free wipe per system guidance).
– Avoid pressing grit into parquet grooves—between stages is where you prevent “grit telegraphing” through the new finish.
Common Hardwood/Parquet Sanding Grit Progression (Typical Workflow)
| # | Sanding stage | Grit range | Primary goal | Surface readiness before next step | Result expectation ★ |
|---|---|---|---|---|---|
| 1 | Damage correction | 36–40 | Cut through wear and remove scratch edges | Visible damage reduced; overall dulling begins | ★★★☆☆ |
| 2 | Mid-scratch erase | 50–60 | Remove remaining deep scratches from stage 1 | Uniform scuff pattern across parquet floors | ★★★★☆ |
| 3 | Matte leveling | 80 | Erase finer scratch lines; level the surface | Even matte look with minimal visible crosshatch | ★★★★★ |
| 4 | Pre-finish refinement | 100 | Reduce risk of visible sanding marks under gloss | Smooth scuffing; ready for staining/first coat | ★★★★★ |
| 5 | Gloss control (optional) | 120 | Further minimize telegraphing for higher-sheen looks | Consistent “tooth” without deep scratch lines | ★★★★☆ |
| 6 | Edge/contour smoothing | 150 | Refine hard-to-level edges and corners | Reduced risk of edge gloss differences | ★★★☆☆ |
| 7 | Scuff before topcoat (when required) | 180–220 | Lightly abrade for adhesion if system instructs | Uniform dulling for coat-to-coat bonding | ★★★★☆ |
Repair gaps, scratches, and damaged boards
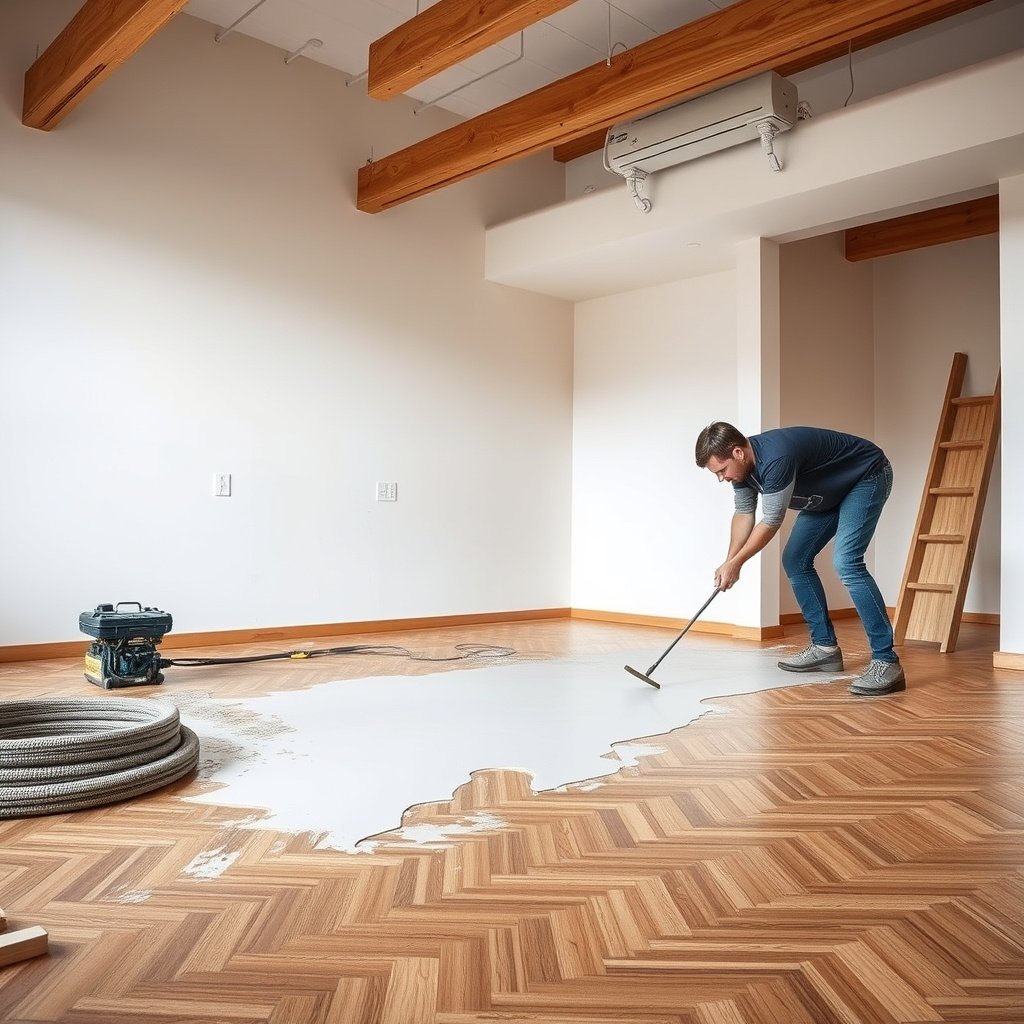
Repairing parquet floors is what stops the “new finish over old movement” problem. Fix gaps and height differences before you sand to final smoothness, and re-glue or replace boards that are lifting or broken.
Sanding and finishing cannot correct board movement—lifting or cupped parquet can telegraph as seam lines, ridges, or premature coating failure.
A wood-floor filler should be compatible with the sanding profile and compatible with your final oil or lacquer/polyurethane system to avoid soft spots or adhesion issues.
Fill minor gaps and rework scratches
– Match filler type to the project. Use a filler designed for wood floors (not generic drywall patch).
– Blend the repair area. Overfill slightly, then sand flush so the parquet seam pattern remains crisp.
Re-glue or replace badly lifting/broken pieces
If parquet pieces move:
– Re-glue with an appropriate adhesive system (thin-set where allowed, and per manufacturer guidance).
– Replace broken boards/parquet blocks rather than trying to bridge failures with filler and hope.
Level height differences so the pattern stays true
Even small elevation changes can show through as:
– Raised parquet lines
– Wavy gloss reflections
– Shadowing in angled light
Approach:
– After repairs cure, spot-sand to level.
– Re-check with a straightedge or by running your hand across—parquet floors reveal imperfections under finish lighting.
Refinish and seal (choose oil vs. lacquer/polyurethane)
Choose the sealer based on desired appearance, maintenance expectations, and compatibility with your current parquet finish. Oil systems typically emphasize warmth and easier spot-touchups, while lacquer/polyurethane systems generally build a more protective film surface.
Most film-forming finishes require proper surface abrasion so the new coating can bond rather than sit on top of contaminants or an incompatible base.
Oil and polyurethane systems behave differently on parquet floors—oil can rely on penetration while lacquer/polyurethane relies on film formation for durability.
Decide whether you need stain (and when)
– If you want a color change, apply stain only after sanding to the correct level and after dust removal.
– Keep in mind that parquet wood species and prior wear can affect absorption, so test in an inconspicuous area.
Apply an oil or lacquer/polyurethane system (per TDS)
– Follow the product’s technical data sheet (TDS) for:
– coat count
– application method (roller/brush/sprayer)
– drying time between coats
– cure time before foot traffic and furniture
Important: Do not rush cure. Moving furniture too soon can imprint soft finish and create “ghost dents.”
| Oil vs. lacquer/polyurethane for parquet floors | Oil-based systems | Lacquer/Polyurethane systems |
|---|---|---|
| Primary look | Natural, low-film appearance; warmth | Film-sheen options; more uniform gloss |
| How damage shows | Surface wear can blend more easily with maintenance | Scratches may show more at higher sheen |
| Maintenance | Often requires periodic re-oiling/spot refresh | Typically simpler cleaning; refinishing intervals depend on traffic |
| Adhesion sensitivity | Still sensitive to wax/silicone residue; base must be clean | Sensitive to sanding prep and base compatibility |
| Best fit | Homes that prioritize look and manageable spot touch-ups | Rooms needing a stronger surface film and consistent sheen |
| Compatibility warning | Oil-on-film vs film-on-oil can be problematic without guidance | Wrong base finish can cause peeling or adhesion loss |
Respect cure time and traffic limits
On parquet floors, “dry” is not the same as “cured.” Follow the exact cure/traffic numbers from your chosen finish TDS:
– Dry to recoat:
– Light foot traffic:
What can go wrong (and how to avoid it)
Most parquet restoration problems come from skipping prep steps or ignoring compatibility and moisture. If you approach the project as a system—substrate + sanding + filler/repairs + finish—you avoid the most common failures.
Adhesion failures often occur when wax, silicone cleaners, or other residue remain on parquet floors before applying new finish.
Patchiness frequently traces back to uneven sanding, dust contamination, or stain/finish compatibility problems rather than “bad luck.”
Common failure modes
– Bad adhesion
– Cause: coating over residue or incompatible prior finish type
– Fix: clean appropriately; verify compatibility in the TDS; sand to an even profile
– Uneven look
– Cause: inconsistent sanding progression or unlevel repairs
– Fix: spot-sand repairs flush; maintain consistent grit progression; remove dust between stages
– Finish mismatch
– Cause: oil-on-lacquer or lacquer-on-oil without a compatibility plan
– Fix: confirm compatibility (TDS or manufacturer technical support) before applying
– Moisture issues ignored
– Cause: cupping/rising boards persist after refinishing
– Fix: correct moisture source first, then refinish only once stable
Pros and cons (a decision lens)
If you’re still deciding whether DIY is worth it, here’s the honest tradeoff:
Pros of DIY parquet restore
– You can spot issues early during prep and repair.
– You control surface blending around parquet seams.
– You can refresh the look without full replacement.
Cons and risks
– A wrong topcoat or incomplete cleaning can cause peeling or tackiness.
– It’s easy to create waves or raised seams if repairs aren’t leveled.
– Dust control and cure timing are unforgiving—especially in occupied homes.
Verdict + quick checklist (and who should skip DIY)
DIY parquet floors refinishing is reasonable for cosmetic wear and minor gaps—provided the floor is stable and you follow the exact finish system instructions. Skip DIY (or hire a pro) if you see widespread board movement, major cupping, or structural damage, because refinishing won’t correct an unstable substrate.
When parquet boards are lifting or cupped due to moisture, refinishing can mask the symptom while the underlying movement continues.
A successful parquet finish depends on surface cleanliness, correct sanding progression, and exact coat-and-cure timing from the product’s TDS.
Who should skip DIY
– You find multiple lifting boards and can’t confidently determine/resolve the cause.
– The parquet is badly cupped or there are persistent gaps widening over days/weeks.
– You can’t manage dust control and cure/traffic timing (dry times are not “optional”).
Quick checklist (scan before you start)
| Step | What to confirm | Done? |
|---|---|---|
| Inspect | Any lifted/soft boards or moisture signs? | ☐ |
| Clean | No wax/silicone/residue left behind | ☐ |
| Sand/level | Surface is uniformly scuffed and smooth | ☐ |
| Repairs | Filled gaps/scratches + any re-glued boards cured | ☐ |
| Finish system | Oil vs. lacquer chosen; compatible with your base | ☐ |
| Apply + cure | Follow TDS for coats + cure/traffic times | ☐ |
Conclusion
Restoring parquet floors comes down to sequencing: stabilize the boards, clean the surface to eliminate residues, sand to create an even bonding profile, then repair seams and reseal with a finish system that’s compatible with your base. If you treat parquet restoration as a matched system—repairs + sanding + oil vs lacquer/polyurethane + exact cure timing—you’ll get a smoother, more uniform result that lasts instead of failing quickly.
Sources
– National Wood Flooring Association (NWFA) guidance on wood flooring maintenance and refinishing practices. (NWFA official association resources; )
– Manufacturer Technical Data Sheets (TDS) for your sanding system, filler, stain (if used), and final coating (oil or lacquer/polyurethane) you choose. (Use the specific product’s TDS; )
Frequently Asked Questions
How do you restore parquet floors that are scratched or dull?
Start by cleaning the parquet thoroughly and removing any wax, grime, or old polish using a wood-safe cleaner. Sand the damaged areas lightly (usually starting with 80–100 grit, then refining with 120–150 grit) to level scratches before applying a compatible wood finish such as polyurethane, oil, or lacquer. After sealing, maintain gloss and protection with periodic refinishing or refreshed top coats rather than harsh re-polishing.
What is the best way to repair damaged parquet boards before refinishing?
Inspect for loose, lifting, cracked, or missing pieces and address subfloor issues first so the parquet won’t fail again. Replace broken slats with matching wood strips where possible, re-glue loose sections using the correct adhesive for parquet type, and fill gaps with a wood filler tinted to the floor. Once repairs cure, sand flush with the surrounding surface so the new finish adheres evenly and looks consistent.
Why do parquet floors turn cloudy after cleaning or refinishing?
Cloudiness often comes from trapped moisture, incompatible cleaning products, or finish breakdown that leaves a haze. Avoid soaking the floor; instead, use a slightly damp, pH-neutral wood cleaner and dry the surface promptly. If the haze is from an old finish or moisture damage, you may need to lightly sand the top layer and reapply the correct sealant to restore clarity and protect the parquet.
How do you restore parquet floors with water stains or discoloration?
Identify whether stains are surface-level discoloration or deeper water penetration by testing the area gently and checking whether the stain disappears after light sanding. For light, superficial marks, localized sanding and spot re-finishing with the same finish system can work well. For deeper water damage, you may need more extensive sanding (or plank replacement) and then a stain-blocking primer or sealer before applying the final protective top coat.
Which finish and sealant are best for restoring parquet floors?
The best finish depends on your parquet condition, traffic level, and the look you want—oil, hardwax oil, or polyurethane lacquer each performs differently. For high-traffic homes, a durable polyurethane or lacquer top coat often provides strong wear resistance, while oil or hardwax oil can enhance natural grain and is easier to spot-repair. Always match the finish to the floor’s existing coating (or sand to bare wood) and follow proper drying times to prevent peeling, dullness, or adhesion issues.
📅 Last Updated: October 14, 2026 | Topic: How to restore parquet floors? | Content verified for accuracy and freshness.
References
- Parquet
- Wood flooring
- https://www.fpl.fs.fed.us/documnts/fplgtr/fpl_gtr190.pdf
- https://www.historicengland.org.uk/advice/your-home/looking-after-your-historic-home/wooden-floors/
- Lead Renovation, Repair and Painting Program | US EPA
- https://www.cdc.gov/niosh/topics/wooddust/
- Wood Dust – Overview | Occupational Safety and Health Administration
- https://scholar.google.com/scholar?q=parquet+floor+restoration+sanding+refinishing Google Scholar
- https://scholar.google.com/scholar?q=parquet+floor+repair+replacement+gap+filling+oil+varnish Google Scholar
- https://scholar.google.com/scholar?q=historic+wood+floor+conservation+parquet+refinishing Google Scholar


