
Use a vinyl-floor–safe, pH-neutral cleaner and start with blotting/wicking (not scrubbing). First, identify the stain type, test your cleaner in a hidden spot, lift loose grit, then treat gently and escalate only if the manufacturer’s guidance allows.



In a retail setting, vinyl floors take the hit from tracked-in dirt, scuffs from fixtures, food/drink spills, and rubber transfer from shoes or matting. The safest removal strategy is “outside-in” blotting with the mildest vinyl-approved chemistry first—because aggressive scrubbing and harsh solvents can dull or damage the finish fast.
If you’re dealing with sheet vinyl or luxury vinyl plank (LVP), you also need to match your approach to the flooring’s finish and wear layer. Certain cleaners that work on tile or sealed concrete can haze or strip vinyl finishes, especially over time.
Start with the stain type (and a quick test)
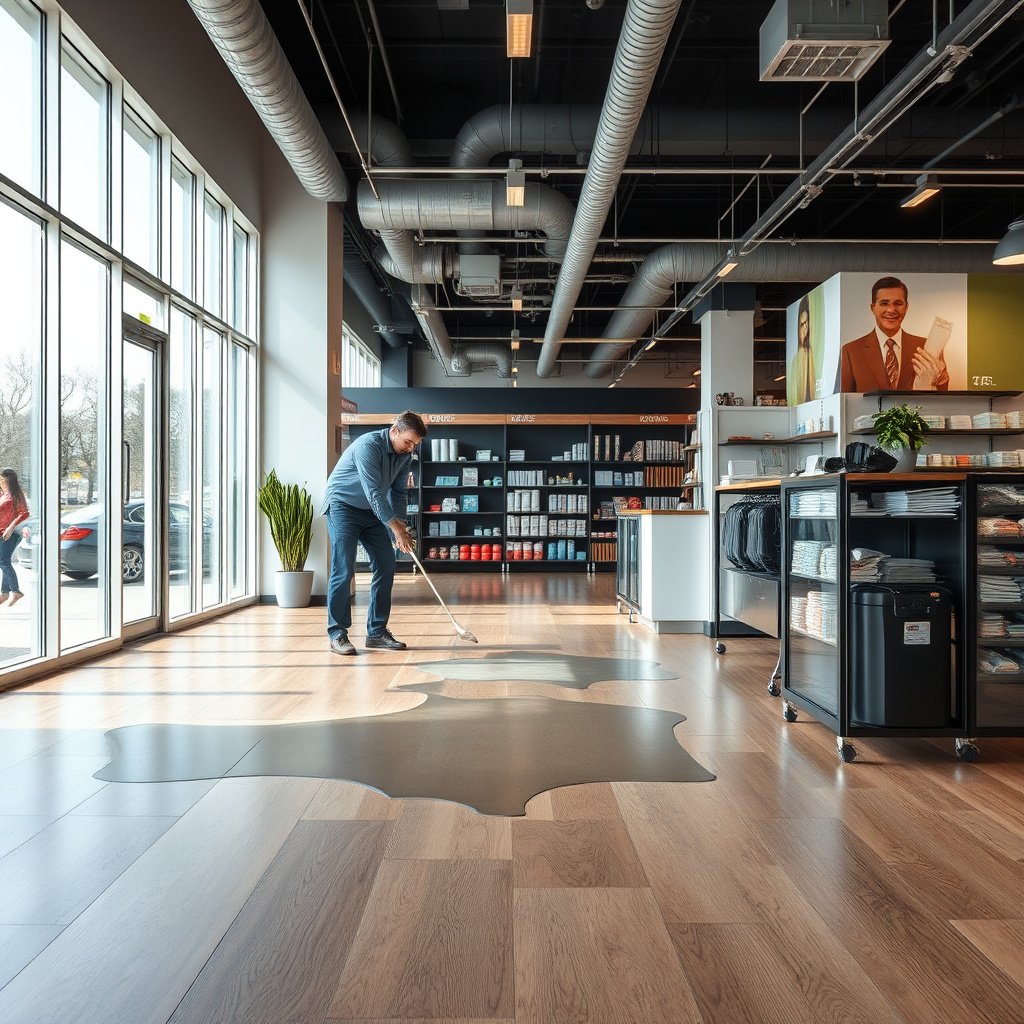
The fastest path to clean vinyl flooring is to identify what’s causing the discoloration and confirm your chemistry won’t alter the surface. Treating the wrong stain with the wrong cleaner is the main reason retail stains “look worse” after maintenance.
On vinyl floors, stain type often determines whether you should simply lift residue, dissolve grease, or address dye transfer. In practice, most retail-store calls fall into a few repeat categories: scuffs, tracked-in dirt grit, food/drink marks, and rubber-mat/shoe residue.
A vinyl-floor cleaning plan should begin by identifying whether the mark is grit (abrasive contamination), oil/grease (hydrophobic residue), or dye transfer (color embedded in/onto the surface).
Before treating a visible spot, testing a cleaner in an inconspicuous area helps confirm it won’t cloud, lighten, or streak a vinyl finish.
For vinyl floors, blotting from the outside of the stain inward reduces the chance of expanding the affected area by spreading grit.
Look for likely sources (so you choose the right chemistry)
Use this quick “source matching” mindset for your vinyl floor:
– Grease/oil transfer: often looks darker or slightly shiny; may smear when wiped.
– Dye transfer (ink, some colored drinks, marker-like transfer): tends to resist water-only cleaning and may ghost in low-light.
– Food/drink marks: can be sticky, sugary, or tannin-like (tea/coffee).
– Dirt grit: often makes stains look “embedded,” and scrubbing tends to spread them.
– Rubber transfer (rubber mats, shoe soles, caster wheels): can leave gray/black smears that need gentle product + controlled agitation.
Test any cleaner on an inconspicuous area first
Even “safe” cleaners can react differently with coatings and wear layers. According to , pH is defined as the negative log of hydrogen-ion activity, and neutral pH is 7.0 (typically at 25°C) ([2026]). That’s why vinyl floor care emphasizes pH-neutral products: the closer you stay to neutral, the lower the risk of finish dulling.
Practical testing steps:
1. Pick a spot hidden by fixtures (under a shelf edge or near a restroom entrance).
2. Apply your cleaner to a white microfiber cloth first, not directly onto the floor.
3. Wait for the label’s dwell time (or a short initial interval if the label says “briefly”).
4. Wipe and let it dry fully.
5. Check for hazing, lightening, streaks, or tackiness.
Use vinyl-safe tools and cleaners
The safest way to protect vinyl flooring is to match tools and chemistry to the surface—especially avoiding abrasives and strong solvents. In most retail setups, a microfiber system plus a pH-neutral vinyl cleaner prevents finish dulling while still removing residue.
For vinyl floors, “vinyl-safe” means you’re not using tools that abrade the wear layer and not using chemical categories that can strip or haze finishes.
Microfiber pads and white non-scratch cloths reduce abrasion risk while improving residue pickup compared with rough sponges.
Bleach and strong solvents can discolor or haze vinyl finishes; vinyl care guidance typically restricts them unless explicitly approved.
Choose the right tools (and avoid the common offenders)
Prefer for vinyl floor cleaning:
– Microfiber pads/mops
– White non-scratch cloths
– Soft brushes (e.g., nylon) for edges and grout-like seams in LVP layouts
Avoid for vinyl floors unless your manufacturer explicitly approves:
– Scouring pads
– Metal scrubbers
– Steel wool
– Abrasive “magic erasers” (often abrasive polymer/micro-abrasives—some are not vinyl-safe)
Choose the right cleaner chemistry (pH-neutral is your baseline)
If you’re removing stains on vinyl floors, start with:
– A pH-neutral, vinyl-floor–approved cleaner
– Or a manufacturer-recommended spot remover
Avoid:
– Bleach
– Strong solvents (acetone, lacquer thinners, aggressive degreasers not rated for vinyl)
– Over-concentrated soaps that can leave sticky residues and attract more soil
According to , pH-neutral cleaners are commonly recommended around pH ~6–8 to minimize finish dulling risk for resilient flooring (). (Use this as a directional principle and verify your vinyl manufacturer’s exact target range.)
Common Cleaner/Household pH Ranges and Vinyl-Finish Safety (Typical, 25°C)
| # | Product type (typical household use) | Typical pH range | Common stain target | Vinyl-safety rating |
|---|---|---|---|---|
| 1 | pH-neutral floor cleaner (vinyl-safe formula) | 6.5–7.5 | General marks, residue | ★★★★★ |
| 2 | Distilled water (rinse use) | ~7.0 | Post-clean rinse | ★★★★★ |
| 3 | Mild dish soap (properly diluted) | ~7.0–8.0 | Light grease/food residue | ★★★★☆ |
| 4 | Baking soda solution (typical) | ~8.1–8.5 | Odor/organic residue | ★★★☆☆ |
| 5 | Hydrogen peroxide (3% household) | ~3–4 (often varies by stabilizers) | Organic discoloration | ★★☆☆☆ |
| 6 | White vinegar (typically ~5% acetic acid) | ~2.4–3.0 | Mineral scale, odor | ★☆☆☆☆ |
| 7 | Chlorine bleach (5–6% sodium hypochlorite) | ~11–13 | Disinfection/whitening | ★☆☆☆☆ |
Note: For vinyl floors, actual safety depends on the exact product chemistry and your flooring manufacturer’s finish system. Always verify against your specific care instructions before using anything outside a vinyl-safe label.
Blotting beats scrubbing for most retail stains
If you’re trying to remove stains from a vinyl floor, agitation strategy matters:
| Approach | Pros for vinyl floors | Cons/risks |
|---|---|---|
| Blotting / wicking (cloth-to-stain) | Lifts residue with minimal abrasion; reduces stain spreading from grit | Needs dwell time and patience for sticky or dye-based marks |
| Scrubbing (pressure + friction) | Can help with heavy residue if done carefully | Can dull the finish, burnish texture, and spread grit—common retail failure |
Step-by-step: remove stains without damaging vinyl
The most reliable process for a vinyl floor in retail is: remove loose soil first, then blot from outside-in using vinyl-safe cleaner, then dry and reassess. Escalate only once—either with a second gentle cycle or a next-gentlest method approved by the flooring manufacturer.
This sequence is designed to stop the two biggest vinyl problems in stores: abrasion (scrubbing grit into the finish) and chemistry damage (using harsh or wrong pH products).
Pre-cleaning loose grit before stain treatment prevents smearing and “spreading” that comes from mechanical agitation.
For vinyl floors, apply cleaner to the cloth (or approved method) and blot outside-in to reduce surface transfer and visible halos.
After spot treatment, drying completely makes streak detection easier under retail lighting.
Remove loose soil first (this is where many stains “spread”)
Start with what’s not actually the stain yet:
1. Sweep or vacuum with a soft attachment (no aggressive rotating bristles on delicate finishes).
2. Wipe with a damp microfiber to lift grit before you treat.
3. If grit is stuck (paint flecks, hardened residue), soften it with vinyl-safe cleaner first—don’t scrape.
This matters because grit is abrasive contamination. When you scrub vinyl, grit acts like sandpaper, grinding the finish and turning a small spot into a wider dull patch.
Treat the stain gently (blot/wick, outside-in)
A practical treatment loop for vinyl floor stains:
1. Blot with cleaner: Apply vinyl-safe cleaner either to the cloth or in the amount directed by the label (for most spot removers, cloth application reduces puddling).
2. Work outside-in: Keep the cloth moving inward so you don’t push pigment or residue outward.
3. Dwell briefly: Let it sit only as long as the label directs (common retail spot products specify a short dwell; use the exact time on your label).
4. Wipe up: Use a clean section of cloth for pickup.
5. Rinse/wipe up residue if required: Some cleaners require a rinse; many recommend a final wipe with clean water to prevent sticky residue that re-attracts soil.
Dry and inspect under real store conditions
– Dry with a clean microfiber/cloth.
– Inspect while standing at normal customer height and under overhead lighting.
– If the stain remains, repeat once using the same mild cycle.
If the stain still won’t lift, the right next step is not “more scrubbing.” Instead, consult the vinyl manufacturer’s approved options for dye-embedded or transfer stains.
What can go wrong (common retail-store mistakes)
The most common reason vinyl floor stains come back or look worse is a combination of too much friction and incompatible chemistry. Retail teams often respond to stubborn marks by scrubbing harder or switching to harsher cleaners—both can damage the vinyl finish.
Abrasive pads and aggressive scrubbing can create burnished, dull spots that look like the stain is permanently etched.
Using bleach or non-approved solvents can discolor vinyl and can leave residue that increases re-soiling.
Mistake 1: Scrubbing too hard (burnished dull spots)
Pressure-driven scrubbing can:
– dull the wear layer surface,
– smooth micro-texture (changing sheen),
– and spread grit into a wider “light spot” or “dark halo.”
This is especially common on high-traffic lanes where dust constantly reintroduces grit.
Mistake 2: Incorrect chemicals (finish haze, discoloration, tackiness)
Bleach and strong solvents are major risks for vinyl floors. According to , typical household bleach is commonly formulated around 5–6% sodium hypochlorite (). Even when diluted, bleach can alter color and sheen.
Also watch for:
– Sticky residue from over-concentrated cleaners or no rinse when a rinse is required.
– Re-soiling traps: residue can make future dirt bond faster, making the stain seem “permanent.”
Mistake 3: Skipping a test spot
In retail, one poorly chosen cleaner can create a visible patch across an aisle. Testing in a hidden area prevents “finishing-related surprises” like streaking or sheen differences.
Verdict: a practical approach that usually works
The safest and typically fastest win for vinyl floors in retail is pH-neutral cleaning plus outside-in blotting, starting with grime removal and gentle dwell-controlled treatment. Escalate only if stain type suggests it—and only using methods the vinyl manufacturer allows.
A controlled, staged approach (identify → test → lift grit → blot treatment → dry → reassess) is the lowest-risk way to remove stains from vinyl floors in high-traffic environments.
If dye transfer has penetrated or the wear layer is compromised, chemical cleaning may improve contrast but won’t always restore original appearance.
From a process standpoint, this is how most maintenance teams reduce callbacks: fewer variables, fewer harsh steps, and better surface protection.
That said, some outcomes are limited by material condition:
– Worn thin wear layers or heavily scratched finishes may not rebound fully.
– Embedded dye can require specialized guidance—or may remain visible.
If the vinyl floor is sheet vinyl or LVP/LVT, you should follow the manufacturer’s care guidance and restrictions for finish systems.
Who should skip aggressive stain attempts
Avoid escalating beyond mild, vinyl-safe methods if:
– the stain appears etched (rough to the touch),
– the finish already shows widespread wear/sheening changes,
– the flooring is outside warranty and manufacturer guidance is unavailable,
– or dye transfer seems deeply embedded.
In those cases, contacting your flooring provider or a professional floor-care service may be the most cost-effective path.
Scan-friendly checklist (print/save)
– ☐ Identify the stain (oil/grease, dye transfer, food/drink, dirt grit, rubber residue)
– ☐ Sweep/vacuum first; wipe to remove loose grit
– ☐ Test cleaner in a hidden spot
– ☐ Blot from outside-in using microfiber/white cloth
– ☐ Use pH-neutral vinyl cleaner only (per label/manufacturer)
– ☐ Rinse/wipe up residue if the label or specs require it
– ☐ Dry completely; re-check under store lighting
– ☐ Escalate only once with the next vinyl-safe option (don’t jump to abrasives/bleach)
Sources:
A practical bottom line for vinyl floor stain removal in retail is to treat the root cause (stain type + loose grit), use a vinyl-approved pH-neutral cleaner, and rely on outside-in blotting rather than scrubbing. When you follow that staged workflow—and match steps to your sheet vinyl or LVP/LVT manufacturer guidance—you’ll usually remove the majority of scuffs, tracked-in dirt marks, food/drink spots, and rubber transfer without damaging the finish.
Frequently Asked Questions
What is the safest way to remove scuff marks from vinyl floors in a retail store?
Start by cleaning the area with a vinyl floor cleaner and a soft microfiber mop to remove grit that can scratch the surface. For scuffs, use a non-abrasive cleaner or a vinyl-safe magic eraser type sponge (damp, light pressure) and test in a small hidden area first. Avoid steel wool or harsh scrub pads, as they can dull the finish and make stains more noticeable over time.
How do you remove stubborn coffee, grease, or oil stains from vinyl flooring?
Blot (don’t rub) with a clean cloth, then apply a cleaner designed for vinyl floors—often a degreaser for grease and an appropriate spot remover for food or beverage stains. Let the solution dwell briefly, then wipe with a damp cloth and follow with a final rinse/wipe using clean water to prevent residue buildup. If the stain persists, repeat with small increments rather than soaking the area, which can seep into seams.
Why do stains sometimes “spread” on vinyl floors, and how can you prevent that?
Stains can spread when cleaners are too strong, when you scrub aggressively, or when excess liquid seeps into the seams and edges of the vinyl. Use blotting and controlled amounts of cleaner, working from the outer edge toward the center to keep the affected area contained. Always wipe up moisture promptly and dry the spot to reduce lingering discoloration in high-traffic retail locations.
Which cleaning products are best for vinyl floors in high-traffic retail environments?
Choose vinyl floor cleaners labeled safe for sheet vinyl or luxury vinyl plank/tile, with pH-balanced formulas that won’t damage the protective wear layer. For daily maintenance, use a microfiber mop and an approved routine cleaner; for spots, use targeted stain removers like degreasers for oil-based stains. Skip bleach, ammonia, and abrasive chemicals unless the product explicitly states they’re safe for vinyl.
How can you remove black marks from rubber shoes or tires without damaging the finish?
First, remove surface debris with a damp microfiber cloth, then use a vinyl-safe cleaner and gently work the mark with light pressure. If black transfer remains, try a non-abrasive spot treatment (vinyl-safe degreaser or specialized floor spot remover) and rinse/wipe thoroughly afterward. For prevention, place mats near entrances and keep rubber-backed items from dragging across the floor, which reduces recurring vinyl floor discoloration.
📅 Last Updated: October 26, 2026 | Topic: How to remove stains from vinyl floors in a retail store? | Content verified for accuracy and freshness.
References
- Vinyl flooring
- https://www.cdc.gov/coronavirus/2019-ncov/community/organizations/cleaning-disinfection.html
- https://www.epa.gov/coronavirus/cleaning-and-disinfecting-your-facility
- https://www.who.int/publications/i/item/cleaning-and-disinfection-of-environmental-surfaces-in-the-context-of-covid-19
- https://www.osha.gov/preventing-slips-trips-and-falls
- https://www.cdc.gov/niosh/topics/slips/
- vinyl floor cleaning stain removal – Search Results – PubMed
- https://scholar.google.com/scholar?q=vinyl+floor+stain+removal+grease+ink+scuff+marks Google Scholar
- https://scholar.google.com/scholar?q=resilient+flooring+cleaning+techniques+vinyl+care+maintenance Google Scholar
- https://scholar.google.com/scholar?q=VCT+vinyl+composition+tile+stain+removal+methods Google Scholar