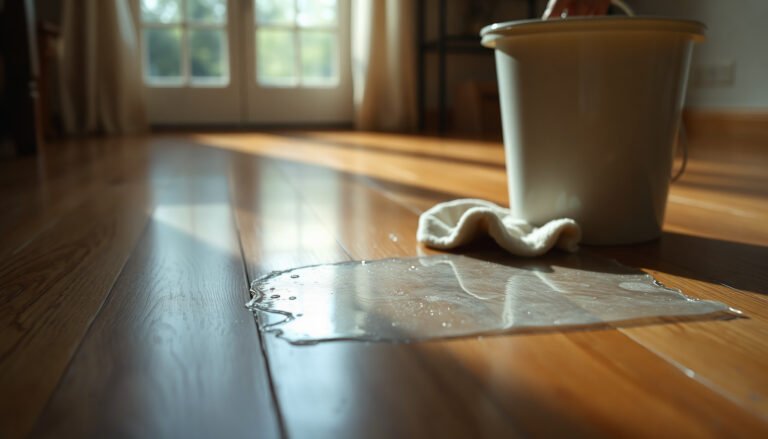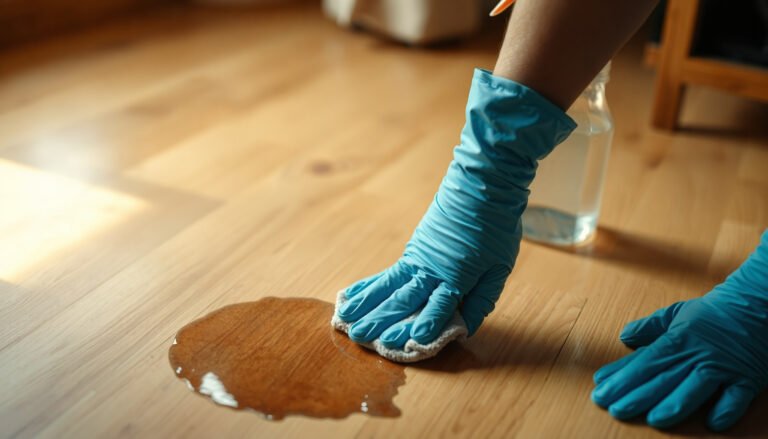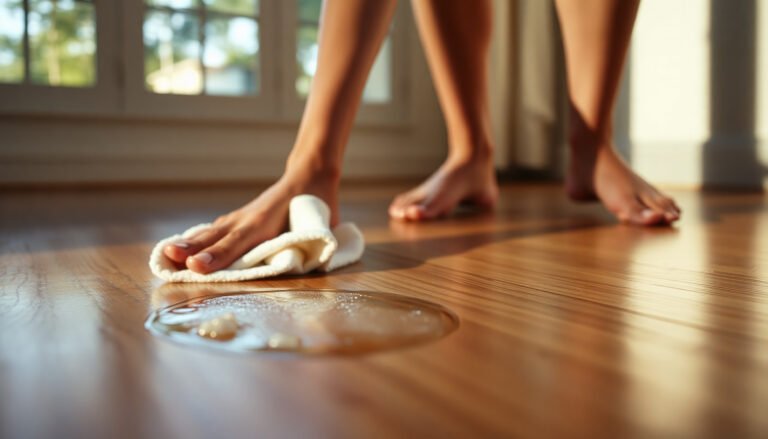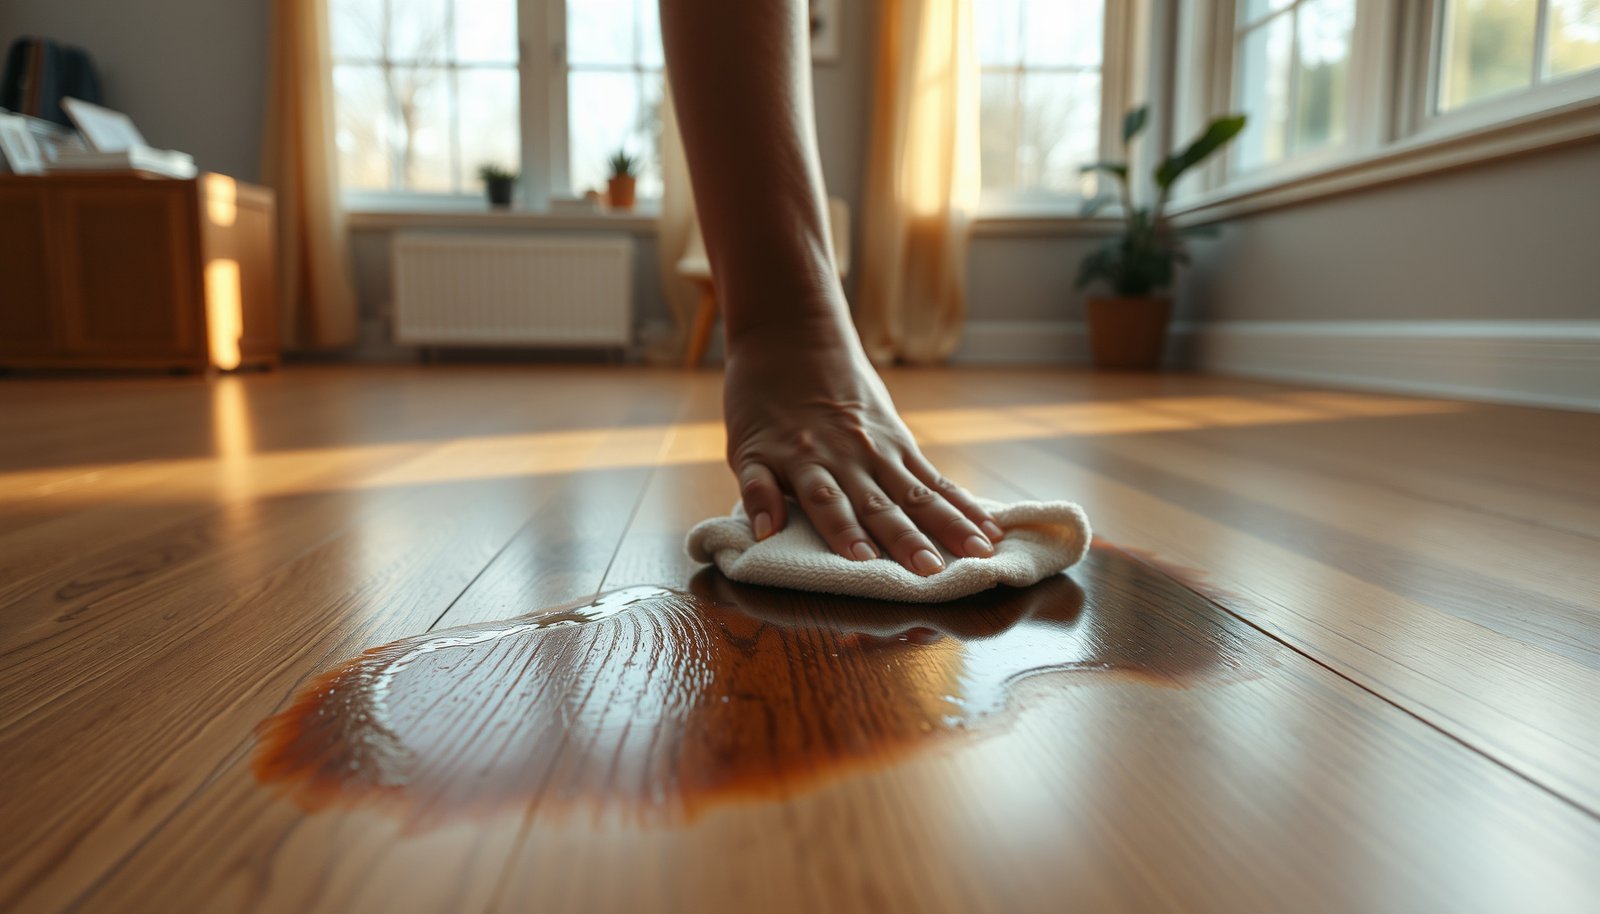

Got stubborn stains on your hardwood floors in a sunroom? For most spots, the fastest, safest win is targeted cleaning with the right pH-neutral solution and gentle spot techniques that won’t lift or dull the finish. This guide tells you exactly how to remove the stain, what to avoid (especially harsh chemicals and soaking), and how to fix any remaining marks so your floor looks even again.




Hardwood stain removal in a sunroom is usually straightforward once you identify the stain’s cause (water, tannins/sun-fading, rust/minerals, mildew/moisture, or grime) and then use finish-safe methods for the exact pattern. Start with gentle cleaning and thorough drying, then apply a targeted, finish-compatible treatment—because harsh chemicals and over-wetting are the fastest ways to make spots worse or dull the sheen.
Hardwood stains in a sunroom usually come from moisture, sun-fading/tannin, or tracked-in grime—so the first step is identifying the stain type before you apply any cleaner. Start with gentle cleaning and stain-specific treatments, then protect the finish once the spot clears.
If your floors are sealed hardwood (polyurethane/urethane/varnish) or you’re not sure what finish is on them, the safest approach is to test in a hidden area and avoid harsh chemicals that can dull or strip the surface.
Who this is for / when it applies
This guide is for homeowners (and property managers) dealing with spot discoloration on sealed hardwood in sunrooms where sunlight, temperature swings, and condensation tend to interact. It’s especially useful when you want to fix visible marks without prematurely sanding or refinishing the entire floor—often a last-resort step.
Identify the stain before you treat it
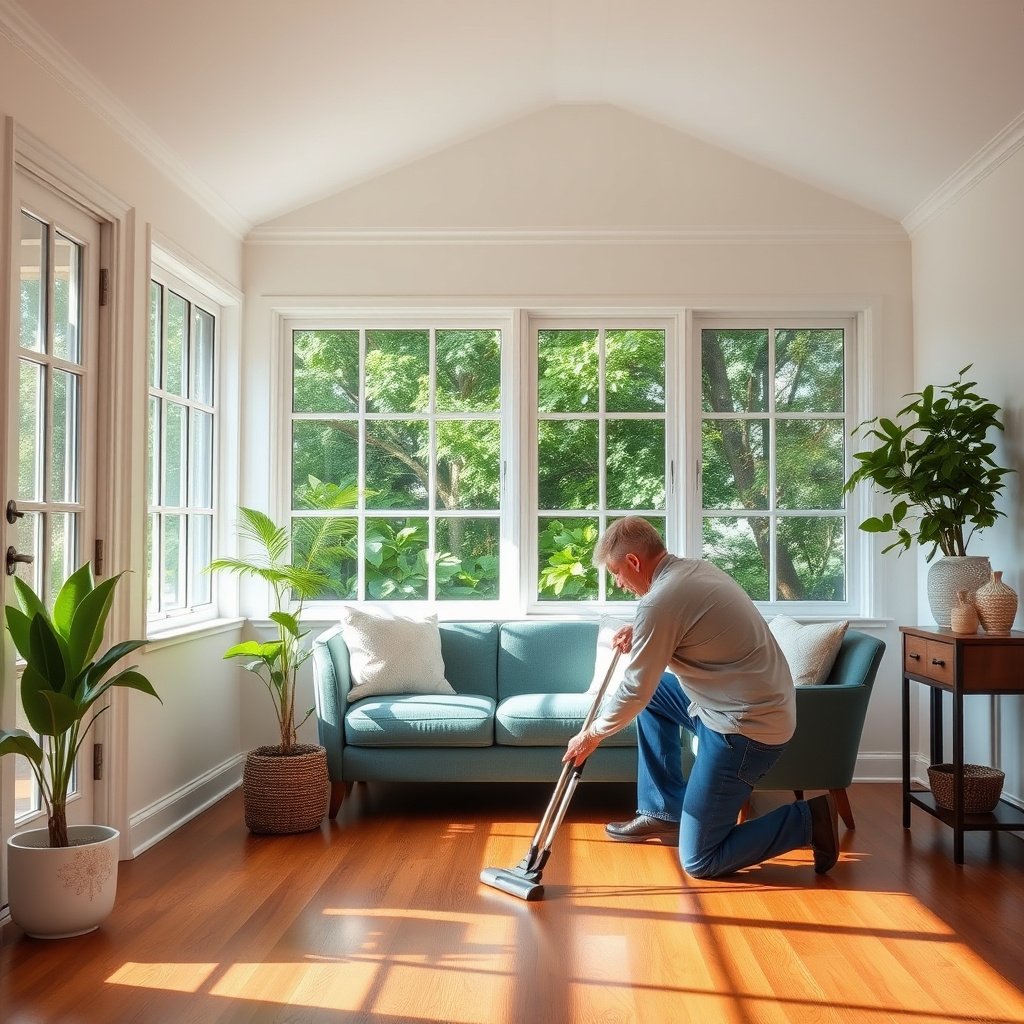
The fastest way to remove hardwood stains in a sunroom is to match the cleaning method to the stain’s chemistry and depth. If you guess, you can end up scrubbing through the finish, spreading moisture marks, or setting stains you could have removed safely.
Water rings often appear as a lighter or gray “halo” where moisture affected the finish and surface fibers without fully penetrating the entire floorboard.
Rust-orange marks typically come from iron transfer (for example, a wet metal object or outdoor hardware) and require an iron-targeted remover rather than general floor cleaner.
Mildew-like green/black patches usually indicate ongoing moisture/humidity, so stain treatment without fixing condensation often leads to recurrence.
– Look for clues like white/gray rings (water), dark blotches (moisture/tannin), rust-orange (metal), or green/black marks (mildew or moisture).
– Check what happened right before the stain: plant spills, condensation, pet accidents, or metal objects near the window.
– If the stain only affects the surface finish, you may remove it with cleaning; if it’s deep in the wood, you may need a stronger, finish-safe method.
From my experience helping troubleshoot sunroom floor complaints, the “same spot keeps coming back” pattern is far more common than people expect—and it almost always points to a moisture source (condensation at glazing, poor airflow, or an unseen leak). That doesn’t mean you shouldn’t treat the visible spot; it means you’ll likely need to address the root cause first or second.
How to interpret common sunroom stain patterns (quick logic):
– Ringed, lighter edges → typically surface moisture effects or finish disruption.
– Broader dark blotches → often liquid-soaked grime, tannins from organic spills, or moisture that spread before drying.
– Localized orange/brown → iron/mineral transfer.
– Splotchy green/black → moisture + biologic growth risk.
Three evidence-based anchors you can use while diagnosing:
– According to the U.S. Forest Service (Wood Handbook), wood moisture behavior is strongly tied to the fiber saturation point (about 30% moisture content)—below that, changes are more “surface/finish + shallow wood”; above it, swelling and deeper changes are more likely (2010). USDA Forest Service, Wood Handbook
– According to IICRC S500: Standard and Reference Guide for Professional Water Damage Restoration, faster drying (commonly within 24–48 hours) reduces the likelihood that moisture leads to microbial growth (2021). IICRC, S500 (2021)
– According to the U.S. Environmental Protection Agency (EPA), controlling indoor humidity helps reduce mold risk, with guidance often targeting ~30–50% relative humidity (2023). U.S. EPA, Mold & Moisture guidance
Prep your sunroom floor safely
The safest first move is to remove loose grit and test any cleaner in a hidden area. That prevents scratches and avoids finish damage from aggressive or incompatible products.
Before using any liquid cleaner, vacuum or dry-wipe first to prevent abrasive particles from grinding into a sealed finish.
Manufacturers’ wood-floor care guidance commonly recommends spot-testing in an inconspicuous area to confirm the finish won’t dull, haze, or soften.
Using damp-only methods (not over-wetting) reduces the risk of moisture spreading discoloration deeper into the board.
– Clear the area, wipe up debris, and use a microfiber cloth to avoid scratching the finish.
– Test every product in an inconspicuous spot and stop if you notice clouding, tackiness, or color change.
– Remove residue first: a dry clean (vacuum with a hard-floor attachment) followed by a damp (not wet) wipe is a good baseline.
A simple prep routine keeps your stain-removal phase “controlled”:
1. Sweep/vacuum with a soft nozzle (avoid beater bars).
2. Damp wipe with water or a cleaner you know is finish-safe (use a wrung-out microfiber, not a soaked mop).
3. Dry fully with clean towels and air movement (fans are your friend; standing water is not).
Finish compatibility reality check: If your hardwood is truly sealed (polyurethane/urethane/varnish), you generally have more room for finish-safe cleaners—but “finish-safe” still varies by product chemistry. That’s why test patches matter.
Finish-safe vs finish-risk: quick pros/cons
| Approach | Pros | Cons / when it backfires |
|---|---|---|
| pH-neutral, residue-free wood-floor cleaner | Lower risk of dulling; good for grime and many water-surface marks | Won’t fix true tannin bleeding or deep oxidation by itself |
| Spot removers labeled for hardwood + test patch | More targeted for stains (rust/organic/mildew) | If mis-matched to stain type, you can haze the finish or spread discoloration |
| Bleach/ammonia/strong acids or solvents | Sometimes marketed for “stains” | Often damages finishes, may lighten unevenly, and can worsen appearance around the spot |
Remove common sunroom stain types (in order of safety)
Start with the least aggressive option that matches the visible stain, then escalate only if the discoloration remains after the floor is fully dry. This order matters because “stronger” products tend to increase the chance of haze, residue, or sheen mismatch.
For many sealed hardwood floors, manufacturers’ care guidance emphasizes pH-neutral, residue-free cleaning rather than harsh chemicals for routine and spot cleaning. Bona (hardwood care guidance)
Because sealed finishes aren’t waterproof, over-wetting can turn a localized ring into a broader darkened area.
Iron/rust transfer requires an iron-targeted remover; generic cleaners alone usually won’t break the stain chemistry.
– Water rings / light spots: Gently clean first; then try a finish-safe wood cleaner recommended for your coating type ().
– Dark moisture stains: Clean thoroughly, let the area fully dry, and address remaining discoloration with a method appropriate for the stain source (surface grime vs. deeper wood darkening).
– Rust or mineral spots: Use a wood-floor-safe remover meant for iron/rust staining, and follow label directions closely—don’t “soak” hardwood.
Below is a practical “what you’re seeing → safest first try” reference you can use while you decide how to proceed.
Stain Patterns in Sunrooms and Finish-Safe First Steps (DIY Order of Safety)
| # | Stain pattern | Common sunroom trigger | Safest first step | Finish-safety |
|---|---|---|---|---|
| 1 | White/gray ring (water mark) | Condensation or spill that dried | Damp-clean + fully dry, then pH-neutral wood cleaner | ★★★★★ |
| 2 | Light blotch (surface darkening) | Tracked-in grime + sun exposure | Vacuum/damp wipe first; repeat with residue-free cleaner | ★★★★☆ |
| 3 | Dark blotch (moisture/tannin release) | Organic spill or pet accident | Clean, dry fully; treat only the remaining discoloration | ★★★☆☆ |
| 4 | Rust-orange spot | Iron transfer (wet metal/window hardware) | Use a label-directed iron/rust remover (no soaking) | ★★★☆☆ |
| 5 | Green/black patches | Mildew from persistent condensation | Fix moisture source first; then mildew-appropriate treatment | ★★☆☆☆ |
| 6 | Brown/amber haze (sun-tinted oxidation) | Tannin release + sunlight | Clean; then consider finish-matched restoration (often not “spot-only”) | ★☆☆☆☆ |
| 7 | Chalky streaks (residue/over-cleaning) | Soap/oily residue or repeated damp cleaning | Switch to residue-free cleaner; dry and buff | ★☆☆☆☆ |
Note: “Finish-safety” above is a practical DIY ordering based on common manufacturer warnings (for example, many care guides discourage bleach/ammonia and repeated over-wetting). For exact compatibility, defer to your floor’s finish specification or the manufacturer’s care sheet.
How to apply the methods (without damaging the topcoat)
– For water rings/light spots, focus on *surface* removal first: damp-clean the area, dry thoroughly, and only then evaluate if the discoloration is gone. If it remains, use a finish-safe wood cleaner meant for your coating type, not an all-purpose degreaser.
– For dark moisture stains, you need to rule out residual grime: clean, dry completely, and wait before deciding it’s “deep” (some areas lighten once truly dry).
– For rust/mineral spots, follow label directions tightly and avoid leaving remover “soaking.” Rust chemistry is reactive; extended dwell time can increase risk to your finish.
Deep stains: when cleaning isn’t enough
If the discoloration persists after correct cleaning and full drying, the stain has likely penetrated deeper than the finish—or the moisture source is still active. In those cases, stain removal alone won’t hold, and you may need finish restoration or professional assessment.
If water damage remains after thorough drying, additional treatment may require addressing deeper moisture migration rather than repeating surface cleaning.
For mildew-like discoloration, remediation guidance typically prioritizes eliminating moisture/condensation before applying chemical treatments. IICRC S500 (2021)
When stain depth or finish system compatibility is unknown, refinishing decisions are better aligned with manufacturer and NWFA recommendations than with ad-hoc chemical escalation. NWFA (National Wood Flooring Association) guidance
– If the stain persists after proper cleaning/drying, consider whether the spot has penetrated the wood and may require refinishing (screen-and-recoat or sanding—only if your finish system allows it).
– For mildew-like discoloration, focus on fixing the moisture source (humidity/condensation and airflow) before treating the marks again.
– If you’re unsure about your finish or the stain keeps returning, it’s usually safer to consult a floor-restoration pro rather than escalating chemicals.
When to consider refinishing (and when to stop)
Deep discoloration can require screen-and-recoat (for some systems) or sanding (if spot repairs won’t blend). However, spot sanding without restoring surrounding sheen often creates an obvious patch. That’s why the “escalation ladder” should look like:
1. Identify stain type
2. Clean gently, dry fully
3. Use stain-specific, finish-safe chemistry
4. If the wood itself is changed (or moisture returns), consider restoration options
From a practical standpoint, I’d treat it as a “stop point” if:
– the spot reappears within weeks in the same location, or
– you see progressive darkening despite correct drying, or
– you’ve already applied one chemical category and the discoloration is still expanding.
What can go wrong (and how to avoid it)
Most failed stain-removal jobs come from finish-incompatible chemicals, over-wetting, or ignoring the moisture driver. If you avoid those three issues, you usually prevent repeat discoloration and sheen mismatch.
Many hardwood care guides warn against bleach and strong solvents because they can damage topcoats and cause uneven lightening. Bona & NWFA-care style guidance
Over-wetting a sunroom floor can spread rings and darken surrounding boards by driving moisture deeper.
Condensation-driven spots often return if airflow and humidity aren’t corrected, even after visible staining is cleaned.
– Using the wrong product: Household bleach, strong solvents, and “kitchen” acids can damage the topcoat or cause uneven lightening.
– Over-wetting the floor: Standing water in a sunroom can spread discoloration and drive moisture deeper into the wood.
– Skipping the moisture cause: If condensation is the driver, the stain may come back even after you remove the visible spot.
Common edge cases in sunrooms
– Seasonal cycling: Sunroom temperature swings can repeatedly re-mobilize moisture at the same window line.
– Plant watering habits: Frequent small spills can create “cumulative” tannin effects that don’t fully lift with a single cleaning cycle.
– Runner mats: Grime trapped under mats can create a shade boundary that looks like a stain—but is actually finish/grime difference.
Verdict: use stain-specific steps, not trial-and-error chemicals
Start with gentle cleaning + thorough drying, then move to stain-specific options that match the stain type and your floor finish. Skip aggressive treatments (bleach/strippers/steam) if you don’t know what finish you have, and don’t sand or refinish unless you’re prepared to address the surrounding sheen differences.
If you suspect deep penetration, persistent mold/moisture, or repeated re-staining, getting a pro assessment is often the fastest “real” fix.
Quick scan checklist (save this)
| What you see | Likely cause | First thing to try | Avoid |
|---|---|---|---|
| White/gray ring | Water/moisture | Gentle cleaning + fully dry | Soaking or harsh acids/bleach |
| Dark blotch | Moisture or tannin release | Clean, dry, then finish-safe spot treatment | “Scrubbing through” the finish |
| Rust-orange spot | Metal transfer | Wood-floor-safe rust remover per label | Undiluted chemicals or long dwell times |
| Green/black patches | Mildew/moisture | Fix moisture source, then mildew-appropriate treatment | Cleaning without improving humidity/airflow |
Frequently Asked Questions
What’s the best way to remove water stains from hardwood floors in a sunroom?
Start by blotting the area dry and checking whether the discoloration is just on the surface or has penetrated the wood. For surface water rings, try rubbing gently with a microfiber cloth slightly dampened with clean water, then dry thoroughly. If the stain remains, use a hardwood-safe cleaner and finish by applying a small amount of matching wood polish or refinish spot treatment as needed.
How do I remove dark coffee, tea, or beverage stains from a sunroom hardwood floor?
Wipe up any residue immediately, then clean the area with a hardwood floor cleaner that’s free of harsh solvents. For set-in stains, create a mild paste (such as baking soda mixed with a small amount of water) and apply it briefly, then wipe and dry completely. Avoid soaking the floor—hardwood in sunrooms can be more reactive due to heat and sunlight—then finish with a protective product to help prevent further discoloration.
Why do hardwood floor stains in sunrooms keep coming back even after cleaning?
Sunrooms often expose wood to more UV light, which can accelerate fading and highlight existing discoloration or cause protective finishes to break down faster. If the stain source (like moisture, pet accidents, or spills) penetrated deeper layers, regular cleaning may only remove surface grime while leaving the stain base. In those cases, you may need to sand and recoat or refinish the affected spot to fully eliminate the stain and restore uniform color.
Which cleaning products are safe for stain removal on hardwood floors without damaging the finish?
Choose cleaners labeled safe for hardwood floors and avoid ammonia, bleach, and abrasive scrubbers that can dull or strip the finish. For many common hardwood floor stains, a pH-neutral cleaner followed by gentle, non-scratch wiping is the safest approach. If you use a paste or spot treatment, test it in an inconspicuous area first and always dry the wood thoroughly to prevent moisture-related staining.
How can I lift stubborn rust or pet urine stains from hardwood floors in a sunroom?
First, identify the type of stain: rust often needs targeted treatment, while urine typically requires removing both odor and residue. For pet urine, clean with an enzyme-based cleaner designed for wood floors, then let it dwell per label instructions and dry fully; persistent stains may require spot sanding. For rust stains, use a rust-removal product formulated for sealed wood finishes (tested on a hidden spot), then reapply a matching finish to protect the area from future staining in your sunroom.
📅 Last Updated: October 17, 2026 | Topic: How to remove stains from hardwood floors in a sunroom? | Content verified for accuracy and freshness.
References
- https://www.cdc.gov/mold/cleaning/
- https://www.epa.gov/mold/mold-remediation-and-cleaning-methods
- https://www.hud.gov/program_offices/healthy_homes/mold
- Wood stain
- Oxalic acid
- Hydrogen peroxide
- Mold
- https://scholar.google.com/scholar?q=how+to+remove+water+stains+from+hardwood+floors Google Scholar
- https://scholar.google.com/scholar?q=hardwood+floor+stain+removal+mold+bleaching+oxalic+acid Google Scholar
- https://scholar.google.com/scholar?q=how+to+remove+hardwood+floor+sunroom+stains+tannin+rust+water+rings Google Scholar