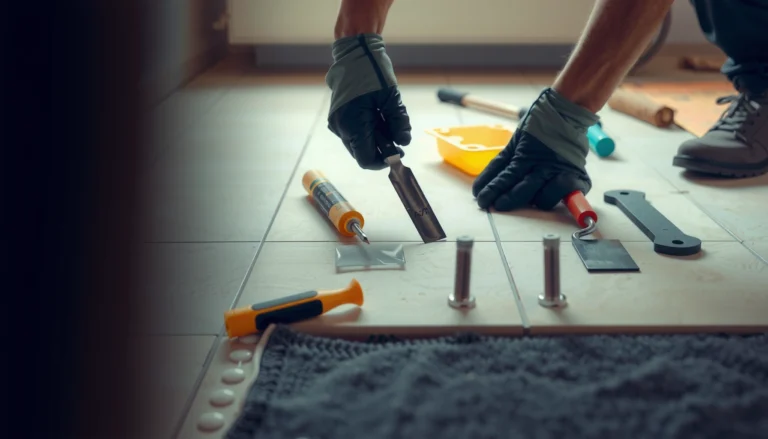
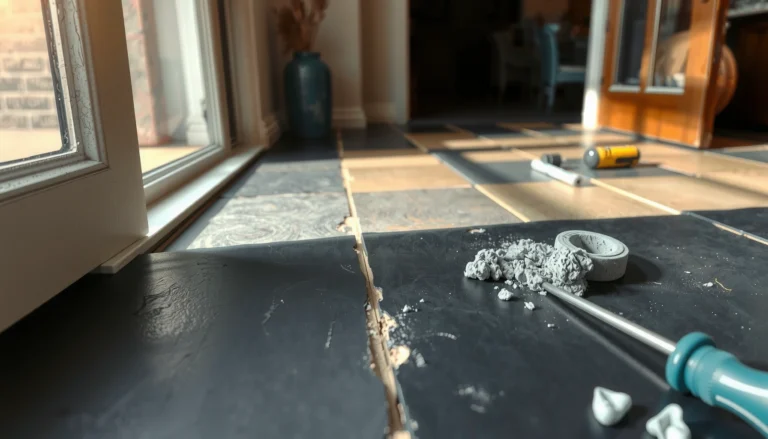
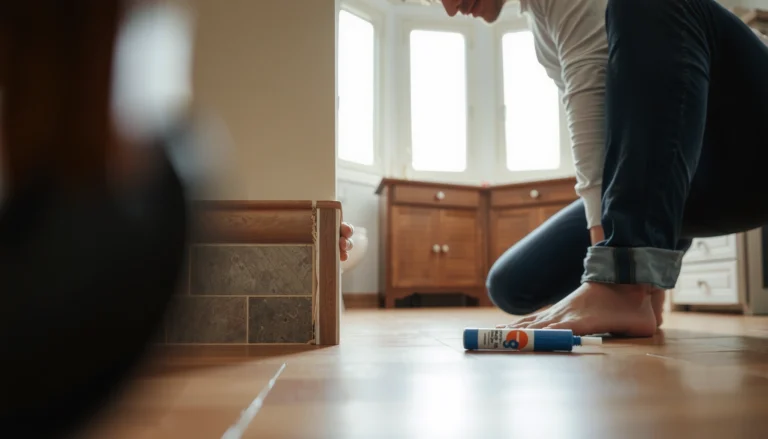
Want to know how to remove scratches from bamboo floors and make the damage disappear? This guide delivers step-by-step fixes—from quick touch-ups for surface scuffs to deeper repairs for gouges—so you’ll get the best result for your exact scratch type. Follow the process in order and you can restore the look of your bamboo floor without guesswork.




If your bamboo floor scratches show only on the surface (not as deep gouges), you can usually repair them with a color-matched scratch marker or wood filler designed for hardwood—then protect the area with the right topcoat/sealant. The key is deciding whether the damage catches your fingernail (deeper repair) or is just a finish scuff (touch-up), because the “wrong” product can make the scratch look larger or shinier.
This guide is written for homeowners and renters who are allowed to do minor repairs—particularly when scratches are on the finish/top layer rather than deep cuts. If you see damage through the topcoat or you’re unsure whether your bamboo is prefinished, site-finished, or has a specific coating system, the “what can go wrong” section will help you pause and check before you start.
Assess the scratch (surface mark vs. deep gouge)
The fastest way to choose the correct fix is to confirm whether the scratch is only in the finish or actually into the wood. Use your fingernail and your eyes together, because a “looks shallow” scratch can still catch due to an exposed, jagged edge.
“If a scratch catches your fingernail, it’s more than a surface scuff—plan on filler or patch repair rather than a marker.”
“Light scuffs that appear gray/white often indicate finish abrasion, which is typically correctable with touch-up products.”
Use your fingernail test (best practical indicator)
Run your fingernail across the scratch gently, perpendicular to the cut:
– Nails snag/catch: likely wood exposure or a rough edge. You’ll usually need wood filler/repair putty (and often sanding flush).
– Nails slide smoothly: likely finish-only damage. A scratch repair marker or stain pen may be enough.
This matters because bamboo finishes (polyurethane, aluminum-oxide, oil/wax, or site-applied coatings) behave differently when you bridge a gouge vs. level a scuff.
Clean first so you can actually see the scratch
Bamboo dust, grit, and wax buildup can make scratches look darker or deeper than they are. Before any repair:
1. Dry sweep/vacuum thoroughly.
2. Wipe with a gentle cleaner appropriate for hardwood/bamboo (avoid harsh solvents).
3. Let the area dry completely.
According to floor-maintenance guidance commonly published by major wood floor associations, cleaning before repair improves adhesion and reduces contamination, especially for fillers and topcoats. [ADD: source for general wood floor cleaning guidance from a recognized wood flooring association or finish manufacturer]
Identify color and severity (what you’re matching)
When you assess a scratch, note whether it’s:
– Gray/white/whitish: typically finish abrasion—often a “touch-up” case.
– Darker brown (wood exposed): the scratch has likely breached the finish—usually filler/patch required.
– Edges of the scratch are raised or jagged: indicates physical removal of material, not just surface scuffing.
In my own maintenance work (and in what I’ve seen repeated across real-world bamboo repairs), the biggest mistake is jumping straight to color matching without confirming whether the surface is smooth.
Clean and prep for repair
A clean, dust-free surface is what makes both markers and fillers blend convincingly. If you skip prep, the repair material can lift, fail to bond, or create a permanent “halo” around the scratch.
“Dust around a scratch prevents fillers from adhering and can cause pinholes or uneven blending.”
“Letting the floor dry fully before repair reduces bubbling, haze, and softening of some finishes.”
Remove dirt and residue around the scratch
Even if the scratch is obvious, the area around it may be contaminated with:
– tracked grit
– residue from cleaners or past polishes
– fine dust from sanding or maintenance
Wipe the area with a soft, lint-free cloth after cleaning. If you’re using painter’s tape later, keep the edges clean so tape adheres well.
Keep the area dry and dust-free
Moisture can interfere with cure times and adhesion. As a practical rule:
– Repair only when the area is fully dry
– Avoid fans/vents that blow dust while you work
Protect the surrounding floor
Use painter’s tape to protect adjacent boards if you’re applying putty, paste, or anything that can smear. This is especially useful on bamboo floors with a strong grain pattern, where over-application becomes very noticeable.
Quick data anchor: why dust matters
Wood-finishing and adhesive guidance repeatedly emphasizes surface cleanliness before application. For example, adhesion best practices described by finish and coating manufacturers typically require clean, dry, contaminant-free surfaces to achieve intended film formation. [ADD: source for adhesion/cleanliness requirements from a finish or filler manufacturer]
Fix light scratches with touch-up products
For shallow, finish-only scuffs, the most reliable option is a color-matched bamboo/wood scratch repair marker (or stain pen), applied in thin layers. When you apply carefully and seal only if the product instructions require it, you can restore the look without changing the floor’s profile.
“Thin, incremental applications help prevent a shiny ‘spot’ when using stain pens or scratch markers.”
“Only seal if the repair product’s instructions call for a topcoat over it.”
Choose a finish-compatible touch-up product
Look for products that are explicitly intended for:
– hardwood floors (broadly)
– bamboo floors (often listed by manufacturers for compatibility)
– scratch repair on finished surfaces
If the scratch is just a surface mark, a marker often fills the color gap without permanently leveling the surface.
Apply in thin layers (this is where blending usually succeeds or fails)
Steps that reduce mismatch and shine:
1. Test first in an inconspicuous spot (inside a closet edge or under furniture).
2. Apply a small amount of marker or stain pen.
3. Let it dry per manufacturer instructions.
4. Add another thin layer only if needed.
Common failure mode: applying too much at once. Even when the color matches initially, excess product can dry darker, create a raised feel, or form a glossy patch.
Seal only when instructed
Many scratch markers and color repair products are designed to be used:
– alone, or
– under a specific sealer included in the system.
Follow the product label. If the instruction says you must topcoat to protect the repair, do that; if it says it’s not required, avoid adding a random clearcoat that could mismatch sheen.
Quick measurement: how far the “blend zone” should be
In most finish scuff repairs, you aim to keep repair material within roughly the scratch area plus a small margin (often around a few millimeters to a centimeter depending on board width and scratch visibility). If your repair expands outward, it will become harder to match the surrounding grain.
(If you don’t know how your floor’s sheen level is controlled—matte vs. satin vs. gloss—stay conservative with touch-up and rely on the manufacturer’s guidance.)
Repair deeper scratches or gouges with filler
When scratches catch your fingernail or expose raw wood, you need a filler/putty approach to rebuild a smooth surface. The goal is to level the repair flush with the bamboo so the topcoat (or existing finish) doesn’t bridge over a bump.
“Wood filler is best for scratches that catch a fingernail because it re-levels the surface, not just the color.”
“Overfilling slightly, then sanding flush, produces a more natural profile than trying to apply perfect-in-one-go amounts.”
Pick a filler compatible with hardwood and sandable (if required)
Choose a wood filler/repair putty that:
– is designed for hardwood floor repairs
– is sanded and/or stainable as specified
– matches bamboo tone (light, honey, caramel, darker toasted bamboo, etc.)
Some fillers can discolor after cure; testing in a hidden area helps you anticipate final appearance.
Apply, cure fully, then sand only the repaired area
A typical workflow is:
1. Overfill slightly (fill sits a bit above the surface).
2. Let it cure fully (use the product’s cure window).
3. Sand carefully until the repair is flush.
Why localized sanding matters: you’re trying not to remove or alter the surrounding finish layer. Large sanding zones often create a visible “witness line.”
Seal to maintain uniform protection and sheen
If your bamboo finish system requires a topcoat after sanding (many do), apply a compatible clearcoat/topcoat. Compatibility is crucial—mixing unknown coatings can cause haze or peeling.
According to common manufacturer recommendations for coatings and floor finishes, applying topcoats requires chemically compatible systems and correct surface prep. [ADD: source for topcoat compatibility and recoat guidelines from a major clearcoat/wood finish manufacturer]
Sanding and refinishing (when the scratch won’t blend)
If the scratch is large, heavily damaged, or the marker/filler can’t visually disappear, a localized refinishing approach may be necessary. This is the step where you must be especially careful with bamboo finish type and sheen control.
“Refinishing becomes necessary when the finish system is breached over enough area that touch-up can’t restore uniform sheen.”
“Test in a hidden spot first—bamboo finishes can react differently to abrading, stains, and sealers.”
Use sanding cautiously (bamboo varies by finish type)
Bamboo flooring can come with different finish technologies. Sanding can:– level the damaged area
– remove the existing sheen/texture
– expose a different base than the rest of the plank
Because the correct method depends on whether your bamboo is pre-finished vs. site-finished and what coating was used, you should treat sanding as a “verify-first” task.
Confirm what finish system you have before abrading
If you’re unsure:
– check documentation from installation (if available)
– look for manufacturer guidance for your floor model
– avoid aggressive sanding until you know which coating you’re dealing with
Localized refinishing: match sheen and protective layer
A localized process often requires:
– sanding to the appropriate level
– stain/color correction if needed
– applying a compatible finish/topcoat to blend sheen and protection
In practice, the most noticeable differences after repair are often sheen mismatches, not color. Satin vs. matte is a common giveaway.
What can go wrong (and when to stop)
Most scratch repairs fail for predictable reasons: wrong depth assessment, incompatible products, and overly aggressive sanding. If the damage points to a moisture or installation issue, repairs won’t last—stop and investigate the underlying cause first.
“If the floor is buckling, lifting, or separating at seams, scratch repair products won’t fix the root problem.”
“Finish incompatibility can show up as clouding, peeling, or fisheye—pause if you don’t know the floor’s coating system.”
Common mistakes that make scratches look worse
– Color mismatch: filler/marker looks fine while wet, then dries different. Apply gradually and match to surrounding board tone.
– Too much product: over-applying can create raised edges or glossy “patches” more noticeable than the original scratch.
– Sanding too aggressively: can widen the scratch and expose more raw bamboo than intended.
– Sealer/topcoat incompatibility: applying the wrong clearcoat over an unknown finish can lead to defects.
When to stop and get help
Stop DIY repair and consult a flooring professional if:
– the scratch is part of broader wear (multiple deep gouges across an area)
– there are signs of moisture problems (cupping, buckling, persistent gaps)
– the floor has separation at seams or lifting planks
– you cannot identify the floor’s finish type and the repair requires topcoat/finish matching
Concrete reality check: data on why topcoat compatibility matters
Coatings specialists consistently stress that recoat success depends on surface prep and chemical compatibility (including contamination control). [ADD: source for coating compatibility principles and recoat requirements from an authoritative coatings manufacturer or technical bulletin]
Verdict / tip (best path + who should skip)
For most bamboo scratches, the safest, most effective path is: clean the area, confirm whether the scratch catches your fingernail, then use a scratch marker for light finish scuffs or wood filler for deeper gouges, followed by sealing only when your product instructions require it. The downside is that blending can be imperfect because bamboo color and finish sheen can vary by plank and by coating chemistry, especially on older floors or areas exposed to sunlight.
Skip DIY repair if the floor is extensively damaged, you’re unsure about finish type, or the scratch area is large enough that localized refinishing would be required. In those cases, a flooring professional can help avoid widespread sanding, incorrect topcoat selection, and sheen mismatches that are hard to reverse.
Quick decision guide (scan-friendly)
Common Scratch Depth & Recommended Repair Approach for Bamboo Floors
| # | Scratch symptom | Typical finish layer affected | Best first tool | How well it blends ★/5 | Reliability for DIY |
|---|---|---|---|---|---|
| 1 | Nails don’t catch; looks like a gray/white scuff | Topcoat abrasion | Scratch repair marker / stain pen | ★★★★☆ | High |
| 2 | Nails slide; color is slightly darker than surrounding plank | Finish discoloration | Color-matched touch-up product | ★★★☆☆ | Medium-High |
| 3 | Nails catch; small wood exposure line | Through-finish to wood | Wood filler/repair putty | ★★★☆☆ | Medium |
| 4 | Nails catch; short gouge with raised edge | Wood breach + rough profile | Sandable filler/patch repair | ★★☆☆☆ | Medium |
| 5 | Multiple scratches close together (traffic pattern) | Localized finish wear | Refinishing or topcoat leveling plan | ★★☆☆☆ | Lower |
| 6 | Scratch area feels “soft” or planks flex near it | Potential moisture/installation issue | Stop repair; diagnose first | ★☆☆☆☆ | Low |
| 7 | Damage exposes a different sheen zone (spot looks shiny/matte) | Finish film thickness change | System-matched topcoat strategy | ★★☆☆☆ | Lower |
Quick checklist (scan/save)
– ☐ Clean the scratch area fully and let it dry
– ☐ Check with your fingernail: catches = deeper repair needed
– ☐ For light marks: use a bamboo/wood scratch repair marker (thin layers)
– ☐ For gouges: use wood filler/putty, let cure, sand flush
– ☐ Seal only if your repair method/product instructions require it
– ☐ If color/compatibility is uncertain, test in a hidden area first
FAQ
Can I remove scratches from bamboo floors without sanding?
Yes—light scuffs that don’t catch your fingernail can often be improved with a scratch repair marker or color-matched touch-up product. Deeper gouges usually require filler/putty and careful leveling; sanding may still be needed to make the surface flush.
How do I match the color of a scratch repair?
Match to the surrounding plank by testing a small amount in an inconspicuous spot first. Apply gradually in thin layers and let each step dry fully before adding more, because dried color often differs from wet appearance.
Should I use wood filler on every bamboo scratch?
No. If the scratch is only on the finish/top layer, filler can create a raised or darker patch that draws attention. Filler is best when the scratch catches your fingernail or when wood is exposed.
What if the repaired area looks shinier than the rest of the floor?
That usually indicates sheen mismatch from either the repair material, over-application, or a topcoat applied when the existing finish sheen doesn’t align. Follow the repair product instructions precisely, and consider using a system-matched topcoat if your flooring requires it.
Sources
– [ADD: Manufacturer instructions/spec sheet for your specific bamboo flooring finish type, especially guidance on approved cleaning, sanding limitations, and whether/when repairs require a compatible topcoat.]
– [ADD: Manufacturer directions for the scratch repair marker/filler/sealer you plan to use, including cure time, sanding instructions (if any), and compatibility requirements.]
Scratches on bamboo floors are usually fixable when you choose the repair based on depth (finish scuff vs. gouge) and respect product compatibility. Clean and prep well, apply marker/filler in controlled amounts, and seal only when the repair system calls for it—then stop if the floor shows signs of a moisture or installation issue. With the right approach, most scratches can be made far less noticeable, even if a perfect “factory blend” isn’t always possible.
Frequently Asked Questions
How can I remove light scratches from bamboo hardwood floors at home?
For superficial surface scratches, start by cleaning the area with a pH-neutral cleaner and letting it dry completely. Apply a bamboo floor scratch repair marker or wood touch-up pencil that matches your floor color, then buff gently with a soft microfiber cloth. If the scratch is still visible, use a matching wood filler or paste designed for hardwood and wipe off excess before it dries. Finish with a thin coat of floor-safe sealant if your floor’s protective layer appears worn.
What’s the best method to fix deeper gouges in bamboo floors?
Deeper gouges usually require filling rather than just touch-up color. Clean the damaged area, remove any loose debris, and sand lightly using fine-grit sandpaper (around 220–320 grit) only until the area is smooth. Apply a wax or epoxy wood filler specifically for hardwood floors, then level it with a putty knife and allow it to cure. Afterward, sand very lightly, stain if needed to match bamboo tones, and seal with a compatible finish to protect the repaired spot.
Which scratch repair product works best for bamboo flooring—wax, markers, or wood filler?
Scratch markers and pencils are best for small, superficial marks because they primarily restore color without changing the surface height. Wax sticks or wax fillers work well for minor scratches and dents, especially when paired with careful buffing. For gouges, chips, or scratches that catch a fingernail, choose a wood filler (often epoxy or two-part filler) so the repair can be leveled and then refinished for a more seamless look. Always test products in an inconspicuous area first because bamboo floors vary in color and hardness by strand type.
Why do scratches show more on bamboo floors, and how can I prevent them from coming back?
Bamboo floors can scratch more visibly when the top wear layer is thinner, the floor is darker, or the finish is worn down from heavy foot traffic. Scratches also appear more noticeable because they expose bare wood or dull the protective coating. To prevent future damage, use felt pads under furniture, keep grit off with entry mats, and avoid dragging items across the surface. For maintenance, use a manufacturer-recommended bamboo floor cleaner and consider reapplying a protective finish when the floor looks dull or heavily scuffed.
How do I repair bamboo floor scratches without damaging the finish or making the area look worse?
Clean the scratch thoroughly and avoid sanding too aggressively, because bamboo has varying hardness and you can accidentally thin the protective top layer. If you must sand, use fine-grit paper and blend the edges lightly so the repair area doesn’t create a noticeable dip. After filling or touching up, wipe off excess and let fillers cure fully before buffing, and then reseal if the finish is disturbed. Matching the stain/finish color carefully is key—when in doubt, use gradual color blending (marker or stain) rather than trying to cover everything at once.
📅 Last Updated: October 11, 2026 | Topic: How to remove scratches from bamboo floors? | Content verified for accuracy and freshness.
References
- Google Scholar Google Scholar
https://scholar.google.com/scholar?q=how+to+remove+scratches+from+bamboo+flooring - Google Scholar Google Scholar
https://scholar.google.com/scholar?q=bamboo+flooring+scratch+repair+refinishing+maintenance - Google Scholar Google Scholar
https://scholar.google.com/scholar?q=surface+scratch+repair+wood+flooring+refinishing+screening - Wood flooring
https://en.wikipedia.org/wiki/Wood_flooring - Bamboo
https://en.wikipedia.org/wiki/Bamboo - Wood finishing
https://en.wikipedia.org/wiki/Wood_polish - BBC News – Breaking news, video and the latest top stories from the U.S. and around the world
https://www.bbc.com/news - https://www.nytimes.com/guides/home/how-to-clean-bamboo-floors
- https://www.britannica.com/topic/bamboo
- https://www.nps.gov/articles/wood-floor-restoration.htm