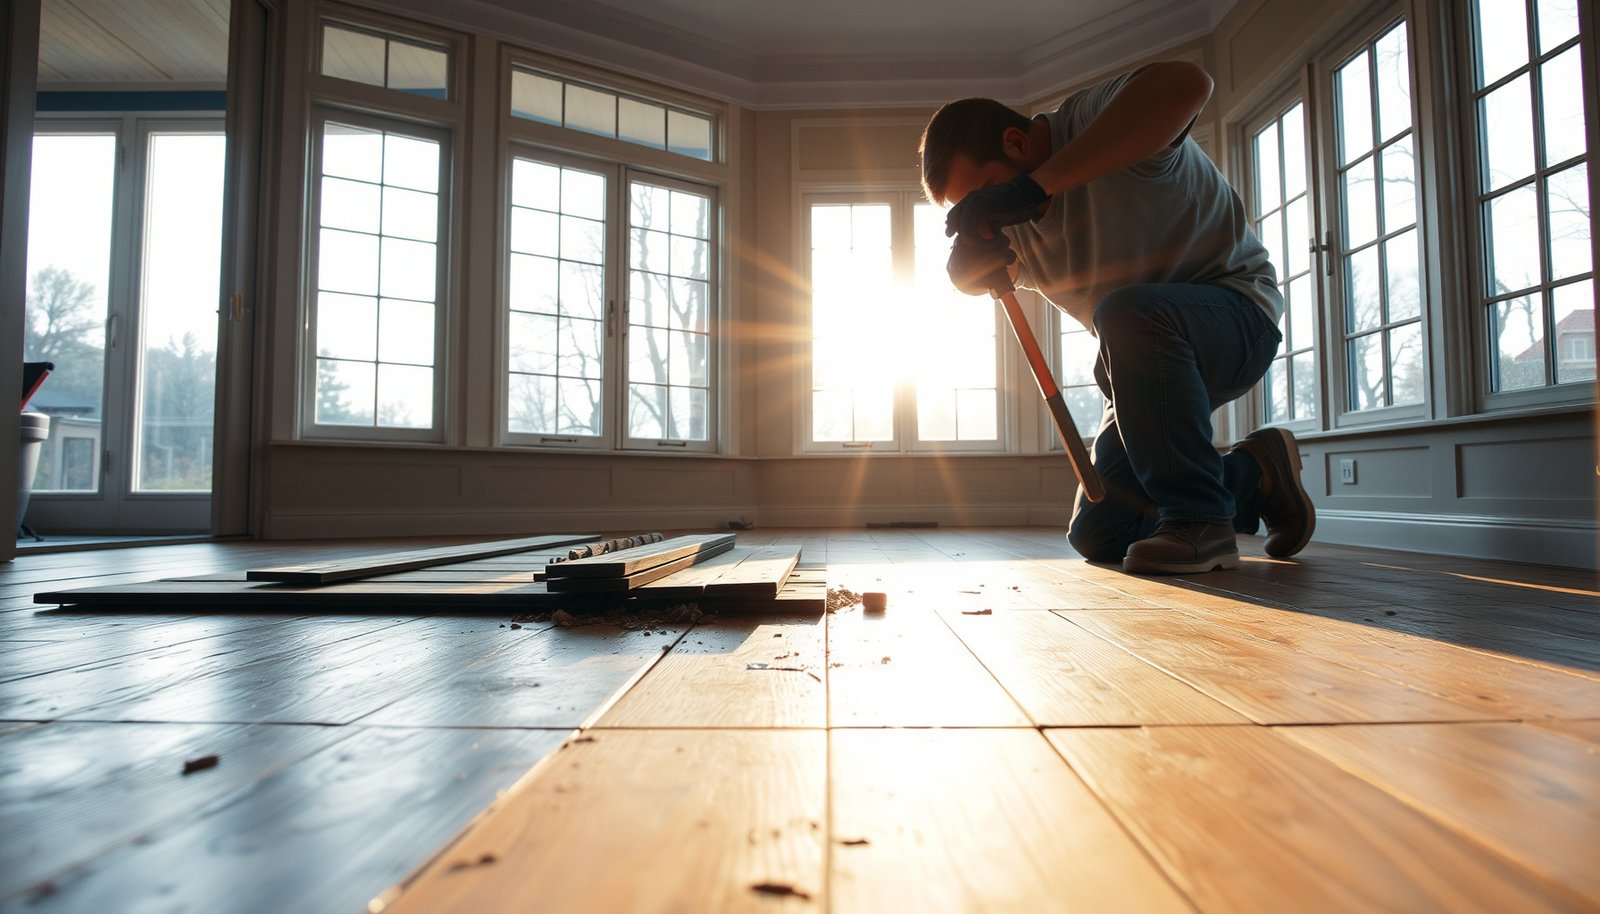

Removing hardwood floors from a sunroom is a straightforward, DIY-capable job when you follow the right sequence for prep, removal, and subfloor handling. This step-by-step guide tells you exactly how to lift planks without damaging the slab, trim, or doorway transitions—and what to do if the floor is nailed, stapled, or glued. By the end, you’ll know what tools you need, the safest way to handle dust and moisture concerns, and how to prep the sunroom for the next step.




Removing hardwood floors from a sunroom is usually a matter of identifying how the boards are fastened (nail-down vs. glue-down vs. click-lock) and then working from an edge to avoid damaging the subfloor. Protect the sunroom’s trim and adjacent surfaces first, and then remove boards using the least-destructive method for that specific installation type—because glue residue and brittle wood are common in sunrooms, especially in 2026 conditions of heat and humidity.
Who this is for

This guide is for homeowners who need to refresh, remodel, or replace a sunroom floor and want to reduce the chance of damaging the subfloor. It’s especially useful when your sunroom cycles through hot, bright days and cooler nights—conditions that can make nail-down boards slightly more brittle and glue-down residue harder to lift cleanly.
Sunrooms tend to experience larger temperature swings than interior rooms, which can make wood flooring expand and adhesives release differently during removal.
The safest DIY removals start by identifying nail-down, glue-down, or click-lock construction, because each method requires a different leverage and scraping strategy.
Tools and prep before removal
You’ll remove hardwood more safely when you confirm the install type first and then prep the room for dust control and protection of the sunroom’s boundaries. In most sunrooms, the goal is simple: expose the fastening method early (before aggressive prying) and keep debris contained so you can work cleanly and inspect the subfloor as you go.
If you’re disturbing older flooring, confirm whether lead-based paint or other hazardous materials could be present before you start—renovation rules can trigger based on square footage.
For dust hazards, OSHA’s respirable crystalline silica standard sets a PEL of 0.05 mg/m³ (50 µg/m³) as a time-weighted average (TWA) for many abrasive cutting/sanding tasks.
EPA’s RRP rule generally applies when renovation work disturbs more than 6 square feet of painted surface area in the interior or more than 20 square feet on the exterior.
Figure out what you’re dealing with (fastening method)
– Nail-down solid hardwood: Boards are secured with nails or staples at the edges/face.
– Engineered hardwood: May be glue-down or click-lock/float-style depending on product design.
– Click-lock/float-style (common with engineered products): Planks interlock and are typically installed over underlayment with limited fastening to the subfloor.
Remove obstacles before you pry
– Take off baseboards/quarter-round and transition strips (door thresholds, reducers, and any adjoining flooring transitions).
– Removing trim first reduces the chance of cracking trim corners and—critically—lets the first row(s) release without binding against the wall.
Plan for dust and debris (especially in sunrooms)
– Contain dust with plastic sheeting and tape around doors and openings.
– Use eye protection and a respirator appropriate for fine particulates if your work generates dust (e.g., scraping and sanding leftover adhesive).
– If you suspect older adhesives/finishes, treat the work as potentially hazardous until you verify what’s present.
U.S. regulatory trigger values that affect hardwood removal safety
| # | Rule trigger (what to check) | Applies to | Key numerical threshold | Control strictness |
|---|---|---|---|---|
| 1 | EPA RRP (interior lead-based paint disturbance) | Interior | > 6 sq ft | ★☆☆☆☆ |
| 2 | EPA RRP (exterior lead-based paint disturbance) | Exterior | > 20 sq ft | ★★★☆☆ |
| 3 | OSHA respirable crystalline silica PEL | Airborne dust | 0.05 mg/m³ (50 µg/m³) | ★★★☆☆ |
| 4 | OSHA respirable crystalline silica action level | Airborne dust | 0.025 mg/m³ (25 µg/m³) | ★☆☆☆☆ |
| 5 | OSHA lead action level (8-hr TWA) | Airborne lead dust | 30 µg/m³ | ★☆☆☆☆ |
| 6 | OSHA lead PEL (8-hr TWA) | Airborne lead dust | 50 µg/m³ | ★★★☆☆ |
| 7 | OSHA asbestos PEL (TWA) | Asbestos fibers | 0.1 f/cc | ★☆☆☆☆ |
Remove hardwood planks the right way (based on installation)
You’ll get the cleanest results when you remove hardwood using the correct technique for the board attachment style—because the “right” leverage point depends on whether nails, adhesive, or a locking joint holds the planks. Work from a perimeter edge, protect the subfloor, and adjust tools only after you confirm what’s actually underneath.
Start removals at a wall or threshold edge where expansion gaps and board ends make it easier to lift without prying through the subfloor.
Glue-down installations often leave adhesive residue behind, so plan on scraping and subfloor flattening rather than expecting whole-board removal.
Click-lock floors release via the locking seam direction—forcing planks upward in the wrong direction commonly causes edge damage.
Use a fastening-method comparison before you pry
Below is a practical way to choose your approach based on what you find during the first few minutes of work:
| Installation type | Best first move | Main risk | Least-destructive tool angle |
|---|---|---|---|
| Nail-down solid hardwood | Find edge gap and lift slowly along board grain | Chipping subfloor around nail heads | Use pry pressure near the nail lines only after confirming nail location |
| Glue-down engineered/solid hardwood | Work board-by-board, then scrape residue as you go | Gouging plywood/underlayment with an aggressive scraper | Keep the scraper flat; take thin passes to reduce gouge risk |
| Click-lock / float-style | Release the locking seam in the correct direction | Breaking tongues/grooves near walls | Lift minimally to unlock; don’t pry across the seam |
If you nail-down (solid) hardwood
– Start at a perimeter edge and look for nails/staple points as you lift the first section.
– Break the bond along the grain: board fibers and finish typically resist damage when you pry gradually rather than “snap-lifting.”
– Remove remaining fasteners promptly (nails/staples left behind snag later rows and prevent subfloor cleaning).
When you find nail-down construction, switching from brute prying to controlled lifting after locating fastener lines reduces subfloor chipping.
If it’s glue-down hardwood
– Expect adhesive residue: many glue-down floors don’t lift as a complete sheet because adhesive bonds remain on the subfloor.
– Use scraping instead of leverage alone: lift what comes up, then scrape residue with controlled passes.
– Protect the subfloor: keep your scraper flat to avoid gouging—particularly if the sunroom subfloor is thin plywood or has underlayment layers.
Glue-down removals usually require two phases: board removal first, then adhesive removal and flattening afterward for a successful re-install.
If it’s click-lock / float-style (engineered common installs)
– Work toward the locking seam and follow the intended unlock direction.
– If you hit resistance, stop and verify you’re at the seam you need—hidden nailers, patch repairs, or transition fasteners are common near walls and thresholds.
Resistance in a click-lock floor often signals you’re prying against the seam direction or encountering an anchoring strip near transitions.
Clean up: nails, adhesive, and subfloor prep
You’ll get the best results after removal when the subfloor is clean, flat, and free of leftover fasteners and adhesive buildup. In sunrooms, even small irregularities telegraph through new flooring because the floor area can expand/contract with ongoing temperature and humidity changes in 2026.
Before installing replacement flooring, fully remove fasteners and scrape high spots so the new layer sits flat and doesn’t create hollow spots.
A subfloor that’s not level or smooth is one of the most common causes of squeaks, gaps, and premature wear after hardwood replacement.
Remove debris and fasteners thoroughly
– Sweep and vacuum until the surface is clean enough to run a hand across without snagging.
– Pull nails/staples and remove any metal debris—leftovers can prevent flooring panels from seating properly.
Flatten high spots (especially after adhesive)
– Scrape off adhesive ridges and leftover buildup.
– Check subfloor condition while you scrape: soft/delaminated areas must be corrected before new flooring goes down.
Inspect subfloor condition for sunroom suitability
– Look for bubbling, delamination, or damaged underlayment.
– In hot/sunny rooms, moisture management and ventilation matter; if you see recurring issues, address the underlying cause before replacing flooring.
What can go wrong (and how to avoid it)
Most problems happen when homeowners skip the fastening-method check or use the wrong tool angle early in the removal process. In sunrooms, the combination of brittle boards, stubborn adhesive residue, and fragile trim makes damage more likely—especially if you rush near thresholds and glass boundaries.
Random prying and aggressive scraping are the fastest ways to gouge plywood and create unevenness that later shows up as gaps or squeaks.
Older adhesives and finishes can create additional dust and debris hazards during scraping, so containment and respiratory protection matter even for “small” DIY jobs.
Damaging the subfloor
– Avoid: prying randomly, skipping baseboard removal, or forcing boards past resistance.
– Do instead: remove trim/transition first, lift slowly from edges, and switch tactics when you confirm adhesive vs. fasteners.
Creating dust hazards
– If you generate fine dust during scraping or sanding, follow OSHA dust safety expectations for respirable particles.
– According to OSHA, the respirable crystalline silica PEL is 0.05 mg/m³ (50 µg/m³) TWA for covered exposures (and an action level exists as well) OSHA respirable crystalline silica standard (29 CFR 1926.1153).
Discovering unexpected layers
Some sunrooms include underlayment, moisture barriers, repair patches, or radiant heat systems. If you see wiring, unusual mats, or heater manifolds, stop and verify what’s present before continuing removal—because “safe removal” changes when heated systems are involved.
– Note: If you suspect lead-based paint on trim or adjacent surfaces, EPA’s renovation requirements often hinge on the disturbed surface area U.S. EPA Renovation, Repair and Painting (RRP) Rule.
Breaking transitions and trim
– Protect door jambs, thresholds, and glass edges by removing transitions intentionally and lifting boards without levering against trim.
– Work in small sections so you don’t stress the last planks before they release.
Verdict + quick checklist (and when to skip DIY)
DIY removal is often workable when you can clearly identify whether the floor is nail-down, glue-down, or click-lock, and you’re prepared to do careful scraping or seam-release work. The biggest DIY downsides are subfloor damage and adhesive residue—both of which can be amplified in sunrooms due to ongoing expansion/contraction over time in 2026 and beyond.
If you can confirm the installation method early, you can choose the correct removal tactic and substantially reduce subfloor gouging and cleanup time.
Skip DIY when you suspect radiant heat, significant subfloor deterioration, or materials that require specialized testing/abatement.
When to skip DIY and hire a pro
Skip DIY and hire a licensed contractor if:
– You suspect a radiant heat system or hidden electrical components.
– The subfloor appears soft, delaminated, or water-damaged.
– You’re removing flooring from an older structure where lead or asbestos concerns are plausible and you can’t confirm what’s underneath.
– You expect the job to require extensive dust-producing abrasion without proper controls.
If hazardous materials might be present, follow the relevant EPA and OSHA guidance for renovation/demolition safety U.S. EPA and OSHA renovation/dust safety guidance.
Scan-and-save checklist
– [ ] Confirm installation type (nail-down, glue-down, click-lock)
– [ ] Remove baseboards/trim and transitions before lifting
– [ ] Protect adjacent surfaces and contain dust
– [ ] Start from a perimeter edge and use the least-destructive lift/unlock method
– [ ] Clear nails/staples and scrape adhesive residue as needed
– [ ] Vacuum/sweep thoroughly and inspect subfloor flatness/condition
Sources (primary references to follow for safety/specs):
– U.S. EPA: Asbestos guidance for renovation/demolition activities ()
– U.S. EPA: Lead safety guidance for renovation work ()
– OSHA: Respiratory protection and silica/dust safety information ()
Frequently Asked Questions
What’s the safest way to remove hardwood floors from a sunroom?
Start by checking for moisture issues common in sunrooms, then wear eye protection, gloves, and a dust mask because hardwood removal can create fine debris. Disconnect and protect any nearby heat registers, baseboards, and trim, and keep plastic sheeting down to control dust. If the floor is glued down or sits over radiant heat tubing, confirm the construction before prying or you risk damaging subfloor materials.
How do I remove hardwood planks without damaging the subfloor?
Begin by removing shoe molding and baseboards, then locate the fastening method by testing a small section near a seam or corner. If the boards are nailed, use a pry bar with a wood block as a buffer to avoid gouging the subfloor and pull nails with a nail puller. If the boards are nailed over a thin underlayment, move slowly and keep heat and leverage minimal so the subfloor stays flat for refinishing or replacement.
How can I tell whether the hardwood floor is nailed or glued before removal?
Look for nail holes, countersunk spots, or plank edges that show mechanical fasteners, especially along seams and near walls. In a sunroom, boards may also be glued to a slab or underlayment, so check for a change in sound when tapped and for any visible adhesive residue along gaps. If you can lift a board corner carefully, you’ll usually find nails/staples or see adhesive directly under the plank, which determines whether you should pry or use adhesive removal methods.
Which tools and materials do I need to remove hardwood floors in a sunroom?
Plan on using a flooring pry bar (or cat’s paw for nails), oscillating multi-tool for trimming, a hammer, utility knife, pry blocks, and a dust-control system like a shop vacuum with a HEPA filter. For glued hardwood, you may also need a floor scraper, adhesive remover, and plastic sheeting for containment. Don’t forget PPE—gloves, eye protection, and a respirator—since sunroom hardwood removal often stirs dust and adhesive fumes.
Why does removing hardwood from a sunroom take extra care, and how do I prevent damage?
Sunrooms often experience temperature and humidity swings, which can cause hardwood to expand, warp, or weaken adhesive bonds, making boards harder to lift cleanly. Acclimate yourself and the workspace by keeping conditions stable, then work section-by-section to reduce stress on the planks and reduce splintering. Finally, manage moisture and ventilation during the project so you don’t trap dust or exacerbate subfloor issues after the hardwood removal.
📅 Last Updated: October 17, 2026 | Topic: How to remove hardwood floors from a sunroom? | Content verified for accuracy and freshness.
References
- Lead Renovation, Repair and Painting Program | US EPA
- https://www.epa.gov/mold/remediation
- Asbestos | US EPA
- Lead – Overview | Occupational Safety and Health Administration
- https://www.osha.gov/woodworking/wood-dust
- https://www.cdc.gov/niosh/topics/wooddust/
- https://www.hud.gov/program_offices/healthy_homes/lead
- https://scholar.google.com/scholar?q=remove+hardwood+flooring+steps Google Scholar
- https://scholar.google.com/scholar?q=hardwood+floor+removal+moisture+sunroom Google Scholar
- https://scholar.google.com/scholar?q=hardwood+flooring+lead+safe+work+dust+controls Google Scholar