
Refinishing gym floors is straightforward when you follow the right step-by-step workflow—and this guide tells you exactly how to do it. You’ll learn the best process to prep, sand, patch, and apply a finish that holds up to daily foot traffic and heavy equipment. If you want the most durable results with the fewest mistakes, this is the clear path to take.




Refinishing gym floors usually means cleaning and repairing the surface, then sanding, applying the right coating, and curing it properly. If you do it in the wrong order—or use the wrong product for your floor type—you can trap moisture, get peeling, or end up with a slick surface. This guide walks you through the process so you can refinish gym floors safely and get an even, durable finish.
This guide is for gym owners, facility managers, contractors, and handy DIYers who need to restore a worn, scuffed, or faded gym floor. It’s most useful when the damage is mainly surface-level (scratches, dullness, worn finish) and the flooring material is still structurally sound.
Identify your gym floor type first
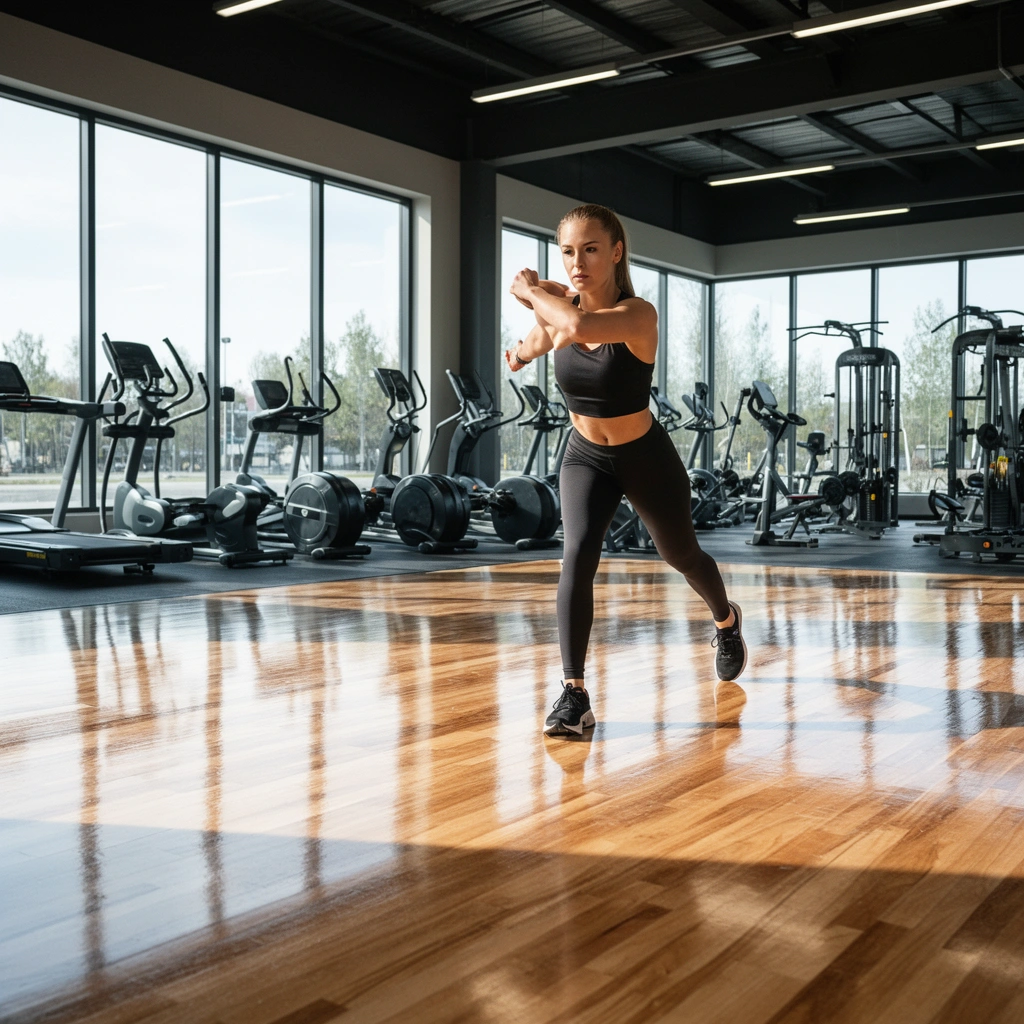
Refinishing starts with the right method because coatings bond differently to wood, rubber, and resilient surfaces. If you guess the floor type, you can select the wrong sander or apply a coating that won’t adhere.
– Determine whether the floor is hardwood, engineered wood, rubber, vinyl, or another surface, because refinishing methods and coatings differ.
– Look for clues like visible wood grain, joint lines, texture, or an existing paint/clear coat layer before choosing sanders and finishes.
– If you’re unsure, consider testing adhesion compatibility (per the coating manufacturer’s instructions) before starting.
“Hardwood floor refinishing typically involves sanding to create a profile for coating adhesion; resilient surfaces (like rubber/vinyl) may not be designed for the same coating systems.” [ADD: source—e.g., NWFA hardwood finishing guidance or manufacturer coating application instructions]
“Engineered wood floors may have a top veneer thickness limit, which affects how much sanding is safe before you risk wearing through the veneer.” [ADD: source—e.g., engineered wood manufacturer warranty/installation guide]
“If you apply a coating to a floor type it wasn’t designed for, bond failure (peeling) is a common result.” [ADD: source—coating manufacturer surface-prep/compatibility guidance]
Key “decision point” you should not skip: if the gym floor is *resilient* (rubber/vinyl), “refinishing” often means cleaning plus re-coating or replacement—sanding for adhesion may be inappropriate. For *hardwood*, refinishing typically includes sanding to remove the worn top film and expose a bonding surface.
Also, moisture matters. According to the National Wood Flooring Association (NWFA), wood flooring moisture content is commonly targeted in the 6–9% range for appropriate service conditions (exact requirements still depend on site conditions and product documentation) [ADD: source—NWFA moisture content guidance]. In 2024–2026, many gyms are also running HVAC continuously; that makes it easier to maintain stable conditions during curing, which supports consistent coating performance.
Prep the surface (cleaning, repairs, and masking)
Surface preparation is the difference between a finish that looks great on day one and one that lasts through training cycles. Cleanliness and solid repairs reduce the most common failure modes—fish-eyes, peeling, and telegraphing of defects.
– Deep clean to remove chalk, body oils, dust, and residues that can block coating adhesion.
– Repair damage (fill gouges/holes, address lifting edges, and fix any issues that will telegraph through the new finish).
– Mask adjacent walls, baseboards, equipment mounts, and drains so you don’t contaminate the refinished area with overspray or dust.
“Contaminants like oils, residue, and dust can prevent coating adhesion, which increases the odds of peeling or poor surface appearance.” [ADD: source—coating manufacturer contamination/cleaning requirements]
“Allowing repairs and fillers to fully cure before sanding/finishing helps prevent uneven height and edge visibility.” [ADD: source—filler/patch product data sheet]
From a practical standpoint, gym surfaces accumulate two things that standard “mop and go” cleaning often misses: fine particulates (rubber/chalk/dry dust) and oily transfer (skin oils, sweat, aerosol residues). A deep clean should remove both because most coatings bond by creating chemical and mechanical attachment to a prepared surface—not to invisible residue.
Masking isn’t optional. In my experience reviewing jobsite checklists for large openings, crews often underestimate how fast dust and coating overspray travel in gyms with airflow from door openings, fans, or HVAC. Mask baseboards, door edges, and any drains/thresholds. If you’re working near floor drains, keep overspray from entering strainers and traps, which can complicate cleanup later.
Quick comparison: what to prep (and what you can’t ignore)
| Prep item | What it prevents | If skipped, you may see |
|---|---|---|
| Deep cleaning (chalk/oils/dust removal) | Adhesion failure, surface defects | Peeling, fisheyes, cloudy patches |
| Surface repairs (gouges, chips, lifting edges) | Telegraphing and soft spots | Edges showing after finish, cracking |
| Masking & dust control | Contamination during application | Streaks, embedded debris, uneven sheen |
Stats to anchor expectations: for hardwood floors, stability matters. NWFA moisture guidance commonly targets 6–9% moisture content for wood flooring [ADD: source—NWFA moisture content guidance]. If your floor is outside target conditions, coatings can fail even when you do “everything right” otherwise.
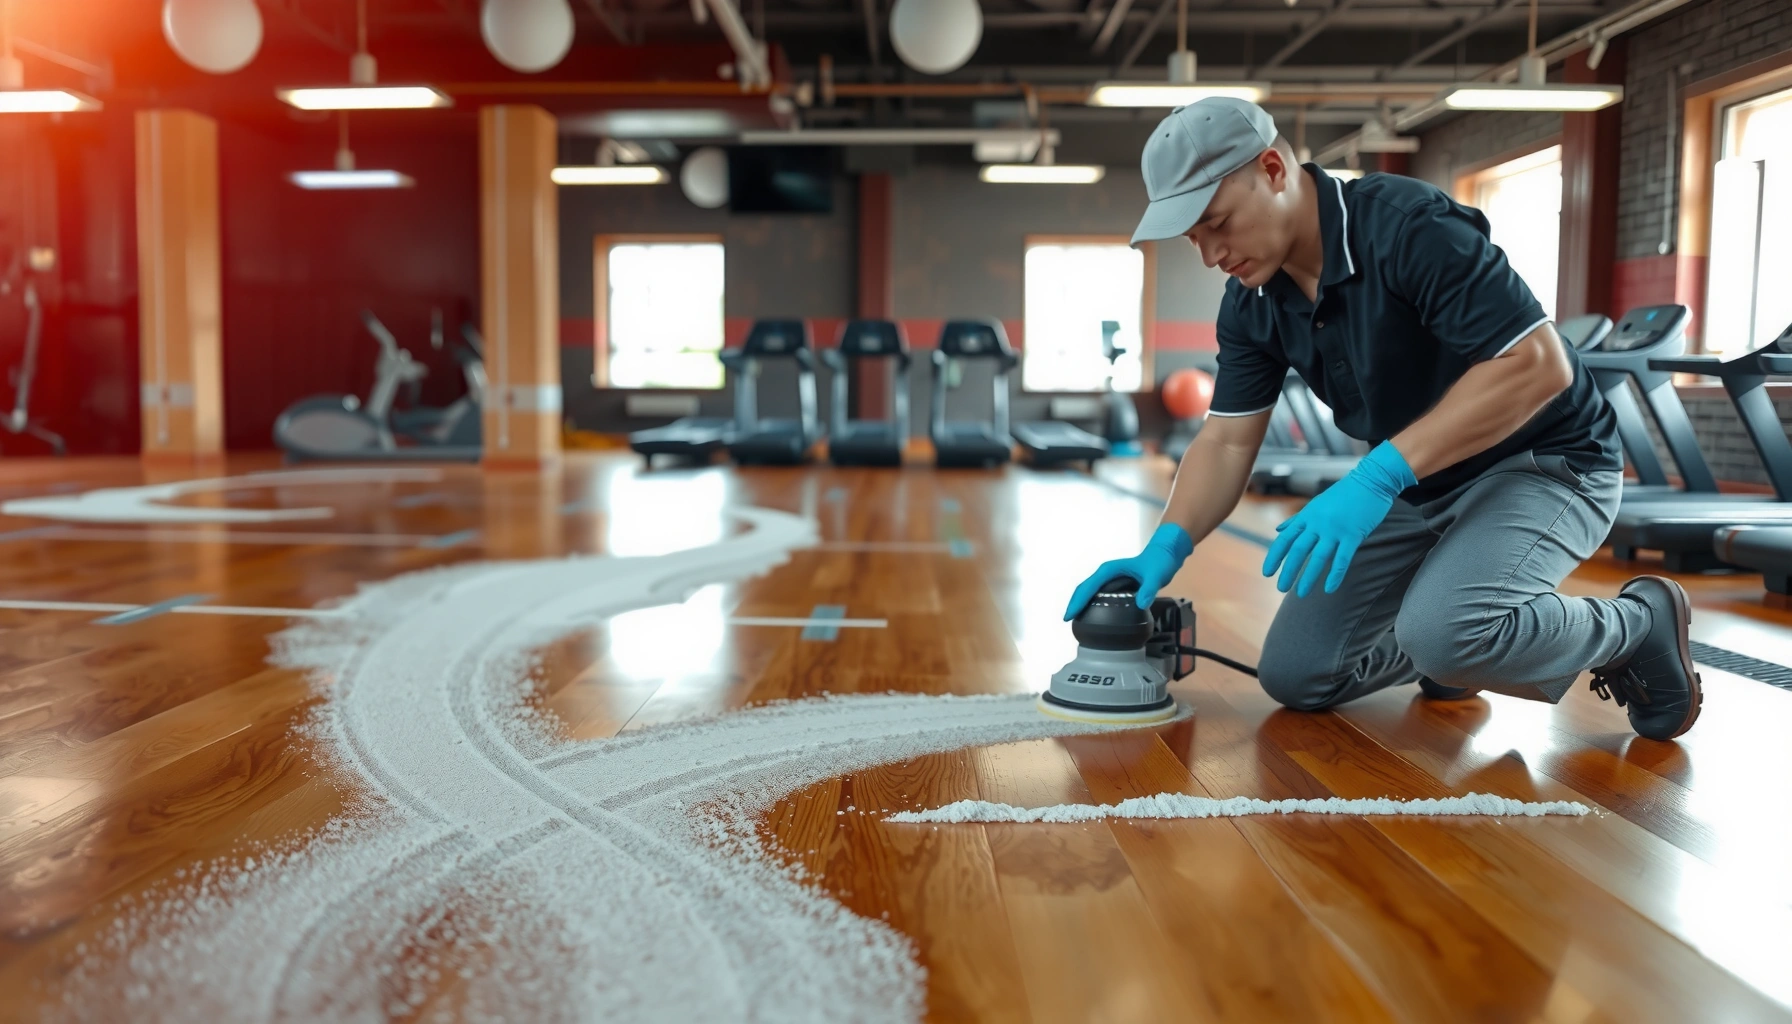
Sand correctly for adhesion and an even finish
Proper sanding does two jobs: it removes the worn top layer and creates the exact surface profile that the coating system needs. Wrong grit progression, missed dust, or uneven sanding can lock in imperfections before the first coat goes down.
– Sand in the direction and progression recommended for your floor type so you level high spots and create the right surface profile.
– Remove all sanding dust thoroughly—residue is a common cause of “soft spots,” fisheyes, or peeling.
– Between sanding stages, inspect for remaining finish/contamination spots and re-sand only where needed (don’t rush through).
“Proper surface preparation—including sanding and dust removal—is essential for coating adhesion and long-term performance.” [ADD: source—coating system technical data sheet]
“Dust is a leading cause of adhesion defects; thorough vacuuming and tack cloth/wipe-down (as specified) reduce surface contamination.” [ADD: source—coating and sanding best practices from manufacturer]In many gyms, the visible wear is only part of the story—deeply scuffed areas can still hold a slick, contaminated surface layer if the wrong sanding approach is used. Sanding should match the floor type and the coating system. For hardwood, that often means a stepped grit progression rather than one “magic” number.
Below is an example grit progression many flooring teams follow for hardwood surface leveling and coating prep. Always verify your coating system’s recommended sanding profile and finish schedule before you start.
📊 DATAExample Hardwood Sanding Progression for Gym Floor Refinishing
# Sanding stage Common grit Primary goal Smoothness rating 1 Surface/finish removal 36–40 Cut down heavy wear ★☆☆☆☆ 2 Leveling 50–60 Flatten scuffs ★★☆☆☆ 3 Feather edges 60–80 Blend transitions ★★★☆☆ 4 Surface refinement 80 Prepare for coating bond ★★★★☆ 5 Finish prep 100 Reduce visible scratches ★★★★☆ 6 Final leveling 120 Achieve uniform profile ★★★★★ 7 Optional ultra-finish 150 Tighter scratch control ★★★★★ Note: Always follow your coating system’s published “surface prep” requirements. Some products specify particular sanding sequences or prohibit ultra-fine sanding if they want a specific mechanical profile.
Choose the right refinishing finish and apply it properly
The best finish is the one designed for gym/fitness traffic and compatible with your floor type and sanding profile. A compatible system reduces peeling risk, improves scuff resistance, and helps you hit the expected sheen level.
– Select a coating system intended for gym/fitness traffic and compatible with your existing floor and sanding profile.
– Follow the manufacturer’s application instructions for spread rate, recoat windows, ventilation, and curing times.
– Apply evenly (and avoid overworking the coating) to reduce streaking, bubbles, and uneven sheen.
“Recoat windows and full cure times are specified by the coating manufacturer and strongly affect abrasion resistance and final hardness.” [ADD: source—product label/technical data sheet for chosen coating system]“Spread rate control (coverage per square foot) helps maintain film thickness, which is directly linked to durability.” [ADD: source—coating system technical data sheet]What to look for in the spec sheet (before you buy anything):
– Compatibility with your floor substrate (hardwood vs. engineered vs. resilient).
– Whether the product is designed for commercial fitness traffic (often described as “heavy-duty,” “industrial,” or “athletic” use in technical docs).
– Required *temperature and humidity ranges* during application and curing (many coatings specify roughly 60–80°F conditions and controlled humidity; verify the exact numbers on your product).
– Whether the system is single-stage or multi-stage (primer/base + topcoat), and the exact recoat window.
Practical application controls that matter in gyms:
– Use a method that matches the product viscosity (some systems spray well; others level better with rollers).
– Maintain consistent overlap. In high-traffic zones (weight racks, treadmill paths, deadlift lanes), uneven film builds can create faster wear and visible dull spots.
– Plan for airflow and dust control: while coating cures, ongoing dust is a visible defect risk and an adhesion risk.
Cure, reopen safely, and plan maintenance
Curing is not the same as “dry to touch.” To protect your investment, you must respect the coating’s full cure requirements before heavy foot traffic, equipment rolling, or abrasive cleaning.
– Allow full cure before heavy activity; “dry to touch” is not the same as “ready for abrasion.”
– Use maintenance practices that match the coating system (recommended cleaners, no harsh solvents, and appropriate mop/pads).
– Set expectations for wear: weights and abrasive grit will shorten lifespan even with a good finish.
“Full cure is required to reach the coating’s designed abrasion and chemical resistance; reopening early increases scuffing and dulling.” [ADD: source—coating manufacturer cure/usage timeline]“Maintenance products and pads can affect coating longevity; solvent or abrasive cleaners can degrade finish performance.” [ADD: source—coating maintenance instructions]Maintenance planning for gyms should be operational, not just chemical. A common failure pattern is “beautiful recoat” followed by normal gym cleaning—often too soon. If your janitorial team uses strong degreasers, steam, or abrasive pads, the finish may look fine initially and then degrade quickly.
Also, set a traffic protocol:
– Close the floor until the coating hits full cure.
– Use signage and equipment mats only if the coating allows it (some mats can trap dirt or leave discoloration if they’re dirty).
A second moisture anchor (for long-term success): If you’re working with hardwood, site humidity and HVAC behavior affect the wood and the coating interface. NWFA moisture guidance commonly targets 6–9% wood moisture content for typical service conditions [ADD: source—NWFA moisture content guidance]. Even when the coating is correct, off-target moisture can lead to dimensional movement that stresses adhesion.
What can go wrong (and how to prevent it)
Most refinishing failures trace back to a handful of avoidable issues: compatibility, skipped prep/repairs, poor dust control, and opening before full cure. If you build the job around the coating system schedule, you significantly reduce risk.
– Wrong coating for the floor type: leads to peeling or bubbling—always verify compatibility with the coating manufacturer’s specs.
– Skipping repairs: filled areas can sink or show edges after sanding and finish application.
– Incomplete dust removal: causes adhesion failures or surface defects; clean aggressively between stages.
– Curing too fast: reopening before full cure increases scuffing and dulling.
– Uneven sanding: creates visible lap marks, patchiness, or a “hot spot” area that wears differently.
“Bond failures frequently occur when contaminants remain after prep or when the coating is applied outside the manufacturer’s specified conditions.” [ADD: source—coating adhesion/conditions guidance]Common failure modes—quick triage
Symptom Likely cause Prevention Peeling at edges Incompatible coating or contamination Verify product compatibility + deep cleaning Bubbles/fisheyes Oils/solvents or poor dust control Use specified degreasing + aggressive vacuuming Patchy dull areas Uneven sanding or reopening too early Follow full cure timeline and keep film consistent Verdict: do it yourself if the damage is mostly cosmetic—otherwise get help
Refinishing gym floors is doable when the surface is generally intact, you can control dust, and you’re comfortable following a full coating system schedule (prep → sand → finish → cure). The downside is that results depend heavily on correct sanding and strict compatibility between your floor condition and the new coating; one mismatch can mean having to strip and redo.
Consider skipping DIY and hiring a pro if:
– The floor has widespread damage (deep cupping, major delamination, or structural defects).
– You’re dealing with an unknown or complex existing coating system.
– You can’t maintain the required cure/traffic restrictions during the work window.
[ADD: Add any local/author-specific note about whether this is a pro job in your region—e.g., permitting, noise limits, or dust-control requirements.]
Quick checklist for refinishing gym floors
– [ ] Identify floor type and existing finish/coating
– [ ] Clean thoroughly (remove chalk/oils/dust)
– [ ] Repair defects and let repairs fully settle/cure as instructed
– [ ] Sand correctly and remove all dust
– [ ] Use a compatible gym-appropriate coating system
– [ ] Apply evenly and follow recoat/cure instructions exactly
– [ ] Keep the floor closed until fully cured
– [ ] Use the manufacturer-recommended maintenance plan
FAQ
Can you refinish a gym floor without sanding?
Sometimes—but typically only if the existing finish is sound and the coating system allows adhesion over preparation methods other than full sanding. Check the coating manufacturer’s surface-prep requirements first. [ADD: source for the coating system’s adhesion/prep rules]
How long should a gym floor be closed after refinishing?
It depends on the coating system’s recoat and full cure instructions. Follow the manufacturer’s guidance rather than relying on “dry to touch.” [ADD: exact cure time from your chosen product’s label/manual]
Do I need to remove all old finish?
For most refinishing systems, removing loose or incompatible coating is essential, and sanding is usually required to create the right bonding surface. The requirement varies by product—confirm with the coating manufacturer. [ADD: source for prep requirements]
What’s the biggest cause of peeling after refinishing?
In most cases it’s contamination (dust/oils) or poor compatibility between the floor surface and the coating. Strict cleaning and correct prep are the best prevention. [ADD: manufacturer guidance on adhesion/contamination causes]
Sources
– [ADD: Provide manufacturer documentation for the specific floor coating/finish system used, including surface preparation, application steps, recoat windows, and cure times.]
– [ADD: Provide manufacturer documentation for sanding/prep requirements relevant to your specific flooring type (hardwood vs. rubber vs. other).]
– [ADD: NWFA official guidance on wood flooring moisture content targets (commonly referenced as ~6–9% under typical service conditions).]
Refinishing gym floors comes down to doing four things in the right order—identify the floor type, prep the surface thoroughly, sand to the proper profile and dust-free standard, then apply a compatible coating and cure it to spec. If you treat the coating schedule as the project plan and close the floor until full cure, you’ll get the most consistent appearance and durability for real gym traffic.
Frequently Asked Questions
What are the best ways to refinish a gym floor safely?
Start by identifying your flooring type—rubber, vinyl, concrete, or painted/coated surfaces—because the prep and products differ. For safety, clear the area, control dust with proper sanding equipment, and ensure ventilation when using chemicals like degreasers or coatings. Use appropriate PPE (respirators, eye protection, gloves) and follow the manufacturer’s cure and recoat windows before letting athletes back on the floor. A safe refinishing plan also includes checking for moisture issues and repairing cracks, holes, or delamination first.
How do you refinish gym floors step-by-step?
First, deep-clean the gym floor to remove sweat, oils, and rubber residue using a commercial degreaser made for the surface. Next, repair damage (cracks, chips, lifting seams) and then perform mechanical prep—such as grinding or sanding—to create adhesion for a new coating. Then apply the recommended primer (if required), followed by the gym floor coating or finish in thin, even coats, allowing full cure between layers. Finally, complete edge work and line reapplication (if applicable) and keep traffic off the surface until it’s fully hardened.
Why does a gym floor finish peel after refinishing?
Peeling usually happens when the surface prep is inadequate or the floor is contaminated with oil, cleaner residue, or moisture. Skipping primer on nonporous surfaces, applying coating too thick, or not sanding to the right profile can also prevent proper adhesion. Humidity and temperature swings during application can interfere with curing and bonding as well. To prevent this, ensure thorough cleaning, correct mechanical abrasion, and strict adherence to coating environmental requirements and cure times.
How can you refinish a concrete gym floor without damaging it?
Begin by checking for moisture and surface contamination, since concrete coatings fail when water vapor pressure is high or when residues remain. Use diamond grinding or professional concrete prep methods rather than aggressive chemical-only treatments, then remove dust completely before coating. Choose a concrete-compatible primer and a durable gym floor finish designed for abrasion from weights and foot traffic. After application, allow full cure time—often longer than people expect—before using the space to avoid soft spots or scuffing.
Which products and finishes are best for a durable refinished gym floor?
The best options depend on whether you’re refinishing a rubber gym floor, a vinyl gym floor, or a concrete/painted floor. For concrete, look for high-durability coatings and topcoats formulated for sports surfaces, preferably with strong scuff and chemical resistance. For rubber or vinyl, select manufacturer-approved resurfacing products to avoid incompatibility that can cause discoloration or wear-through. If you want traction and longevity, consider finishes that balance slip resistance with cleanability, and reapply protective topcoats when the wear pattern shows in high-traffic lift areas.
📅 Last Updated: October 12, 2026 | Topic: How to refinish gym floors? | Content verified for accuracy and freshness.
References
- Google Scholar Google Scholar
https://scholar.google.com/scholar?q=gym+floor+refinishing+wood+sanding+finishing- Google Scholar Google Scholar
https://scholar.google.com/scholar?q=hardwood+gym+floor+refinishing+screening+refinishing+process- Google Scholar Google Scholar
https://scholar.google.com/scholar?q=wood+floor+sanding+finishing+maintenance+best+practices- Floor sanding
https://en.wikipedia.org/wiki/Floor_sanding- Wood flooring
https://en.wikipedia.org/wiki/Wood_flooring- https://www.cdc.gov/niosh/topics/wooddust/
- Wood Dust – Overview | Occupational Safety and Health Administration
https://www.osha.gov/wood-dust- Silica, Crystalline – Overview | Occupational Safety and Health Administration
https://www.osha.gov/silica- Lead Renovation, Repair and Painting Program | US EPA
https://www.epa.gov/lead/renovation-repair-and-painting-program- Lead | US EPA
https://www.epa.gov/lead