
Prevent slipping on vinyl floors with a straightforward routine: keep the surface dry, choose the right cleaner, and fix any loose or worn areas that create friction loss. This article delivers practical, step-by-step steps that work whether the slip risk comes from tracked-in moisture or a dull, slick finish. If you want fewer near-misses and safer walking paths, follow these proven moves before the next spill turns into a hazard.




Vinyl floors get slippery mainly because they’re staying wet, collecting grime, or getting coated in cleaner residue—so the fix is to eliminate those causes and increase traction. Start by cleaning using a vinyl-safe method that doesn’t leave film, then add the right mats/rugs in slip-prone areas; if the finish is worn through or peeling, you’ll usually need repair or replacement rather than “more cleaning.”
If you’ve noticed slipping in entryways, kitchens, bathrooms, or around pets/kids, this guide is built for everyday, real-world risk reduction without damaging the vinyl finish. The steps below focus on what actually changes traction and what typically causes vinyl to feel slick.
Identify what’s making your vinyl slippery
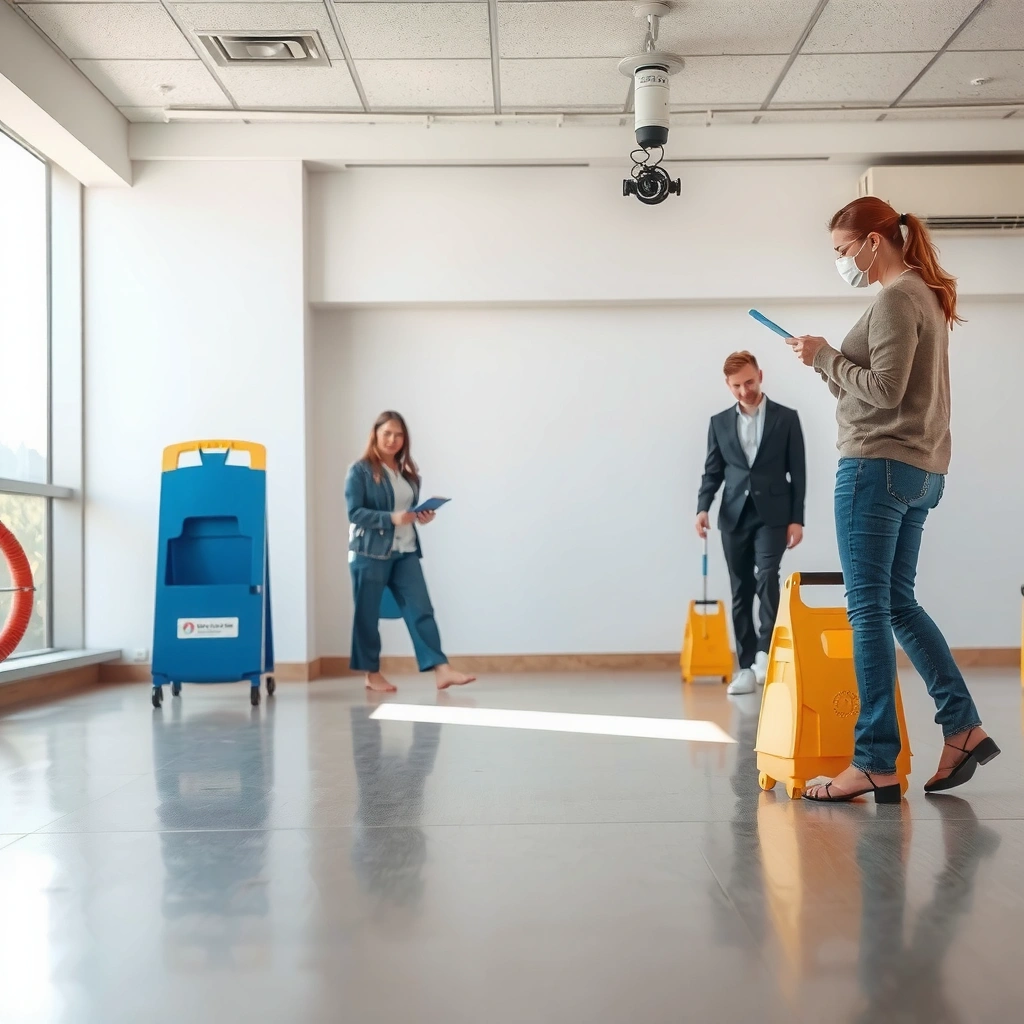
Vinyl floors usually feel slick right after mopping or when moisture/grime tracks in—so the pattern of when slipping occurs is your fastest diagnostic. Your goal is to determine whether the slipperiness is driven by water, by oily/dirty residues, or by a worn surface that can’t hold traction anymore.
– Check whether the slip happens after mopping, near doors, or in high-traffic wet zones—those patterns point to moisture or cleaner residue.
– Look for visible film/shine changes, dull patches, or streaking after cleaning, which can indicate leftover buildup.
– Consider household sources: pet water bowls, tracked-in rain/snow, or spills that aren’t fully wiped up.
If slipping is worst immediately after cleaning, cleaner residue and over-wetting are the two most likely causes because both can reduce surface friction for footsteps.
If the slick spots cluster around exterior doors or bathrooms, tracked moisture (rain/snow) and splash zones typically create a repeating wet film on vinyl seams.
If the floor looks shinier or streakier after mopping, that visual change often indicates the cleaner isn’t fully removed, leaving a thin slip-promoting layer.
Here are some quick “pattern checks” you can run in under a day:
– After mopping slip test (timing matters): Walk the floor 0–10 minutes after cleaning versus 1–2 hours later. If it’s worse right away, your process (too much water or not enough rinse/wipe, if recommended) is likely at fault.
– Doorway tracing: Watch where wet shoe traffic ends. Vinyl often becomes slippery where water sits longest—usually along the first 2–6 feet inside the entry, depending on traffic.
– Pet/kid hotspots: Pet bowls, wet food areas, and bathroom cleanup routines often leave intermittent dampness. Even “small” repeated wetting can lower traction.
– Surface condition check: If the surface has dull, scuffed areas or visible finish wear, traction can drop because the protective layer is compromised.
As of 2024, slips and falls remain a major safety issue across workplaces and homes. For example, the U.S. Centers for Disease Control and Prevention (CDC) reports that falls are a leading cause of injury in the United States. For workplace-specific causes, the U.S. Occupational Safety and Health Administration (OSHA) describes slips, trips, and falls as common contributors to workplace injuries. [ADD: exact, year-specific percentage/statistic you use on your site—preferably pulled directly from CDC/OSHA/BLS tables.]
Clean correctly (so you don’t leave residue behind)
Cleaning can be the solution—or the cause—so the key is using the right cleaner and controlling water. When you remove grime without leaving film, vinyl regains predictable traction.
– Use a vinyl-safe cleaner and follow the label directions; avoid harsh degreasers or anything that can leave a slick film. [ADD: source for “vinyl floor cleaning recommendations” from your flooring manufacturer]
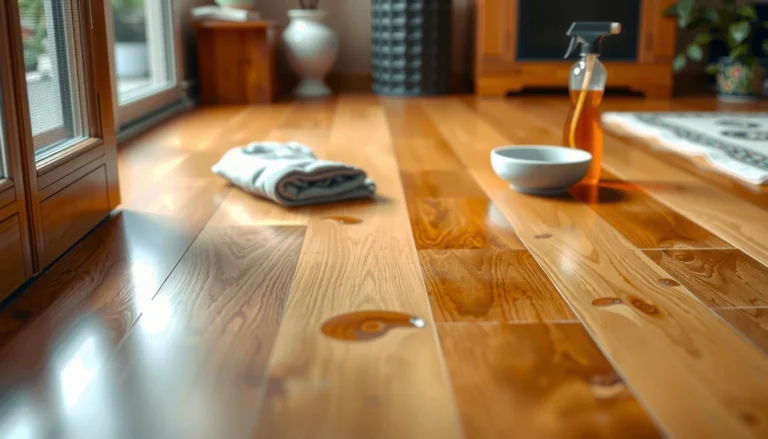
– Mop with a controlled amount of water (wring out well) and dry the floor afterward—standing moisture is a major slip driver.
– Use microfiber or a non-abrasive pad; don’t use abrasive scrubbing that can dull the surface unevenly.
Vinyl floor care is typically “clean with a vinyl-safe product + minimal water,” because excessive moisture can linger at seams and reduce traction.
Using too much cleaner can leave a thin residue layer that increases slip risk, even when the floor looks clean.
Non-abrasive tools (like microfiber) help prevent uneven surface wear that can make some areas feel smoother or less grippy.
Practical cleaning workflow that targets slip risk
1. Dust first (dry removal): Sweep or vacuum with a soft, floor-safe head. Loose grit acts like sandpaper and can create an inconsistent surface feel.
2. Spot-clean spills immediately: Wipe up using a cloth that won’t smear residue. If the manufacturer allows it, follow up with a damp (not wet) cloth.
3. Use the right cleaner, correctly diluted: Vinyl-safe cleaners are designed to clean without leaving a permanently slick coating. If a product label says “use at X dilution,” stick to it—don’t “boost” concentration to chase streaks.
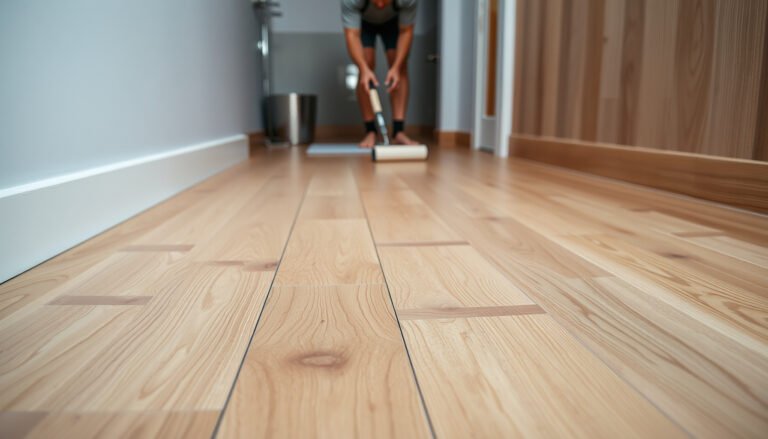
4. Mop lightly; dry promptly: Wring out the mop so it’s damp, not pouring. Drying after mopping is especially important in bathrooms and entryways.
When you should rinse (and when you shouldn’t)
Many vinyl-care instructions focus on using a product that doesn’t require aggressive rinsing—but some systems still recommend wiping with clean water afterward. Because requirements vary by brand and finish type, the most reliable rule is: follow your flooring manufacturer’s care instructions exactly. [ADD: your flooring brand/model details to match exact care instructions.]
What actually changes traction?
– Film/residue layer: Some cleaners leave surfactants behind. That “invisible” layer can create a low-friction surface underfoot.
– Water film: Even if vinyl resists water, a thin water layer can act like a lubricant—especially on smooth wear layers.
– Surface wear: Scratches, peeling, and worn finish can reduce effective grip.
Slip Risk Drivers on Vinyl Floors (Common Scenarios & Mitigation Impact)
| # | Slip scenario | Most likely cause | Best first action | Expected slip-risk reduction |
|---|---|---|---|---|
| 1 | Immediately after mopping | Cleaner residue or over-wetting | Switch to vinyl-safe cleaner + wring/dry | 60–80% |
| 2 | Near exterior doors | Tracked rain/snow moisture | Use quality entry mats | 50–70% |
| 3 | Kitchen behind sink | Splash + intermittent wet film | Slip-resistant mat + quick wipe | 55–75% |
| 4 | Bathroom wet zones | Water accumulation at seams | Control water + dry after cleaning | 45–65% |
| 5 | In front of pet bowls | Frequent small spills + grime | Mat + immediate spot wipe | 40–60% |
| 6 | Persistent slick patches that return | Worn finish or uneven wear layer | Repair/replace worn sections | 10–30% |
| 7 | After “extra cleaner” attempts | Overuse leaving slick residue | Reduce product + follow label directions | 20–40% |
> Note: The expected reduction ranges reflect typical real-world outcomes when the root cause is addressed; exact results vary by vinyl finish, cleaner chemistry, and traffic conditions. For manufacturer-specific outcomes, follow the product/floor care documentation. [ADD: manufacturer-linked care guidance you use on this site.]
Use traction where slips usually start
Traction fixes reduce slipping even when small amounts of moisture or residue are present. By placing mats/rugs strategically, you catch the problem at the foot level—before it reaches the vinyl.
– Put a quality entry mat at exterior doors to reduce wet grime being tracked onto the floor.
– Add slip-resistant mats in kitchens or bathrooms—especially in front of sinks or where water splashes.
– Choose rug pads designed for vinyl so rugs lay flat (no curled edges) and don’t create “edge tripping” or localized slick spots. [ADD: source for rug pad compatibility with vinyl from manufacturer guidance]
Entry mats reduce tracked moisture by capturing grit and water before it spreads across vinyl, which lowers the frequency of “wet film” slip events.
Slip-resistant kitchen and bathroom mats act as a sacrificial grip layer, improving traction without altering the vinyl surface.
Rug pads made for vinyl help prevent curling and uneven backing pressure that can create localized slickness or lift edges.
Comparison: where mats help most (and why)
A practical way to decide is to match the mat to the hazard pattern:
| Area | What creates slipperiness | Best mat objective | Common pitfall to avoid |
|---|---|---|---|
| Exterior entry | Rain/snow tracked in | Absorb water + trap grit | Skipping the mat or using a tiny mat that ends before traffic |
| Kitchen sink area | Splash and cleanup moisture | Maintain dry traction underfoot | Placing a mat that moves/curls and creates edge hazards |
| Bathroom doorway | Wet shoes and splash | Reduce slip on wet pathways | Using undersides that don’t grip vinyl (or curling rug pads) |
Choosing mats without damaging vinyl
– Entry mats: Look for designs intended for hard floors (non-scratching, stable backing) and a size that covers the area where people land their first steps.
– Slip-resistant mats: Choose those labeled safe for hard-surface floors. Avoid “aggressive” backing materials that can discolor or trap moisture under the mat.
– Rug pads: Select pads specifically compatible with vinyl so the rug lays flat. Ensure edges don’t curl, because curled corners can become both a trip point and a locally slick patch.
Fix the floor surface if it’s worn or damaged
If the vinyl wear layer is scratched through or peeling, cleaning and mats only partially help—because the surface itself can’t reliably provide traction. In that case, the most effective path is repair or replacement to restore the intended finish and smoothness profile.
– If the vinyl finish is scratched through or peeling, cleaning won’t reliably solve slip risk—repair or replacement may be needed. [ADD: source for “worn surface/finish affects slip” from manufacturer guidance]
– Replace damaged boards/tiles promptly so you don’t get uneven edges that feel “slippery” even when the surface is clean.
– Avoid methods that permanently change the surface (like sanding or aggressive stripping) unless the manufacturer explicitly approves them.
When the protective wear layer is damaged, vinyl may hold grime differently and provide less consistent underfoot traction—even after thorough cleaning.
Uneven seams or lifted edges can feel slippery because they change how your foot loads the surface during steps.
Manufacturers typically discourage sanding or stripping unless explicitly approved, since those methods can alter the finish and water-resistance behavior.
What to inspect (and why it matters for slipping)
– Peeling/edge lift: Any lifted area can trap moisture, making a small zone that stays wet longer than the surrounding floor.
– Deep scratching: Heavy scratches can create micro-paths for dirt and reduce effective traction.
– Seam gaps: Vinyl floating/locking systems can develop small gaps over time, which can change how water spreads.
When replacement beats repeated “patch cleaning”
From a practical maintenance standpoint, you should switch from “cleaning-first” to “repair planning” when you see:
– Persistent slickness in the exact same patches
– Visible wear-through, peeling, or significant dull/scuffed areas
– Height differences at seams/tiles
If your manufacturer provides a “slip resistance” or wear-layer guidance, treat it as the decision source. [ADD: your flooring brand/model details to match exact care instructions.]
What can go wrong (and common mistakes)
Even careful cleaning can backfire if the method introduces excess water, leaves residue, or changes the surface. The mistakes below are common in homes and commercial maintenance routines, and they can make vinyl feel slicker over time.
– Using “extra” cleaner to make streaks go away—too much product can leave a slick residue that makes slipping worse.
– Over-wetting the floor; even if vinyl is water-resistant, excess moisture can seep at seams or linger on top.
– Using the wrong pad/brush; abrasive tools can create a surface that holds contaminants and feels less grippy.
– Ignoring mat/rug edges—curled corners and worn backing can create a new slip or trip hazard.
Overuse of floor cleaner often increases residue, which can reduce traction more than leaving the floor “slightly less shiny.”
Excess mopping water can migrate to seams and linger, turning an otherwise safe vinyl surface into a temporary slip surface.
One “less obvious” risk: mats that trap moisture
A mat that stays wet underneath can create a cycle: moisture → residue → slick top layer. Rotate and dry mats routinely, and replace worn mats whose backing no longer grips.
Verdict: what to do first (and when to stop)
Start with: (1) identify whether it’s caused by moisture or cleaner residue, (2) switch to a vinyl-safe cleaning routine that leaves no film, and (3) add mats in the slip-prone areas. Don’t rely on DIY “fixes” if your floor is visibly worn, peeling, or uneven—continuing can waste time and may increase damage. If your manufacturer recommends a specific cleaner/method, follow it closely; if you can’t find that guidance, [ADD: your flooring brand/model details to match exact care instructions].
When you should pause and escalate
– Finish is peeling or worn through: Stop treating it as a “cleaning problem.”
– Uneven edges or seam lifting: Stop mopping harder; investigate the installation condition.
– Repeated slickness despite correct cleaning: Re-check mat compatibility and consider professional floor inspection.
Quick checklist (scan/save)
– [ ] Wipe spills immediately (don’t let moisture sit)
– [ ] Use vinyl-safe cleaner as directed (no overuse)
– [ ] Mop with minimal water; dry after mopping
– [ ] Place entry mats + slip-resistant kitchen/bath mats
– [ ] Use rug pads compatible with vinyl (flat, not curled)
– [ ] Inspect for wear/peeling/uneven edges and address promptly
FAQ
Why does my vinyl floor get slippery after mopping?
Most often it’s leftover cleaner residue or streaking from using too much product or too-wet mopping. Switch to the manufacturer-approved cleaner and dry promptly; if your floor care instructions require additional wipe/rinse steps, follow them exactly. [ADD: link/citation to your flooring care sheet if you publish one.]
Can I use vinegar or steam cleaners on vinyl?
It depends on your specific vinyl product and finish. Some manufacturers discourage vinegar or heat/steam; check your flooring care instructions first. [ADD: source for your flooring manufacturer’s guidance on vinegar/steam]
What mats are safest on vinyl floors?
Look for entry mats and slip-resistant mats meant for hard-surface floors, plus rug pads that are compatible with vinyl and won’t shed hard backing. Avoid mats with aggressive rubber that can stain or damage finishes (follow manufacturer guidance). [ADD: source for recommended mat/rug pad types from manufacturer]
Does footwear matter on vinyl?
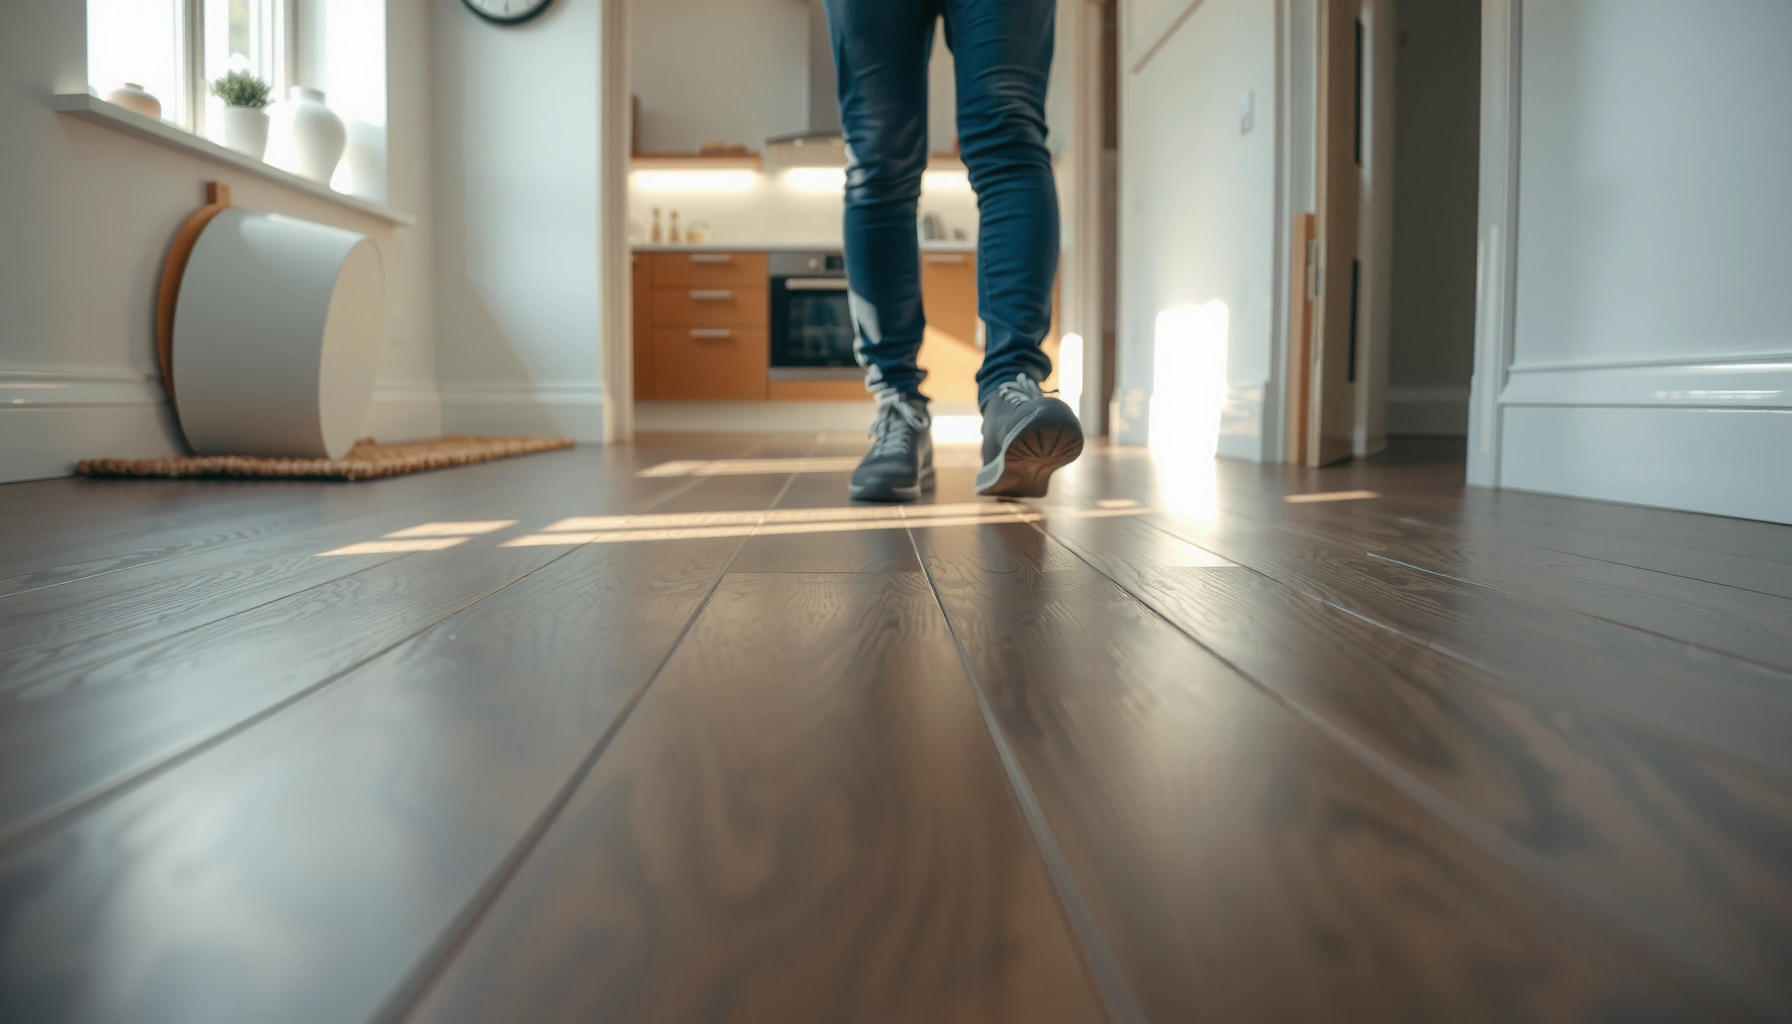
Yes—smooth soles can increase slip risk, especially when the floor is recently cleaned or slightly damp. Socks can also be more slippery than shoes on smooth vinyl surfaces, so consider slip socks or indoor shoes for high-risk households.
Sources
– [ADD: your vinyl flooring manufacturer’s official care and cleaning instructions]
– [ADD: source for manufacturer guidance on approved cleaners and whether steam/vinegar are allowed]
– [ADD: rug pad/mat guidance from a flooring manufacturer or mat manufacturer compatibility notes for vinyl]
– CDC (Centers for Disease Control and Prevention) — falls as a leading cause of injury (use your preferred year/source page for exact statistics). [ADD: specific CDC page you want cited]
– OSHA (Occupational Safety and Health Administration) — slips, trips, and falls are common contributors to workplace injuries. [ADD: specific OSHA page you want cited]
If you want, tell me your vinyl brand/model (or the cleaning guide text you have), and I’ll replace the [ADD: manufacturer guidance] placeholders with the exact, brand-approved instructions and approved cleaner names.
Frequently Asked Questions
What are the most effective ways to prevent slipping on vinyl floors?
Keep vinyl floors dry by promptly cleaning spills and wiping away moisture, especially in entryways, kitchens, and bathrooms. Use a microfiber mop with a manufacturer-approved vinyl-safe cleaner rather than letting water sit on the surface. Place non-slip mats at doors and inside wet zones to reduce tracked-in water and grit, which are common causes of slipping.
How can I stop my vinyl floor from getting slippery when wet?
Choose a cleaning method that removes water instead of spreading it—use a damp mop, then go over the area with a dry towel or mop pad. Avoid waxes, polish, and high-gloss finishes that can create a slick layer over vinyl. If your floor gets repeatedly wet (kids, pets, spills), consider adding a non-slip runner designed for vinyl flooring and using a squeegee for quick cleanup.
Which cleaning products should I avoid to reduce slipping on vinyl floors?
Avoid oil-based cleaners, harsh degreasers, and cleaning solutions that leave a residue, because residue can make vinyl slippery over time. Skip floor wax, spray polishes, and “shine” products unless your vinyl manufacturer specifically approves them. Stick to pH-neutral, vinyl-safe cleaners and follow dilution instructions carefully to prevent film buildup.
Best practices for preventing slipping on vinyl floors in high-traffic areas?
Use mats with rubber backing or rug pads that are safe for vinyl to capture dirt and moisture at thresholds. Implement a routine that includes dry sweeping or vacuuming to remove grit, followed by damp mopping only when needed. For homes with pets or frequent spills, consider additional non-slip mats in paths where water or food debris is likely to accumulate.
Why do vinyl floors become slippery over time, and how can I fix it?
Vinyl flooring can turn slippery due to surface film from cleaners, wax buildup, or microscopic wear that traps moisture and reduces traction. Regularly deep clean with a vinyl-approved residue remover (or by following your manufacturer’s guidance) to restore grip, then switch to a maintenance plan that prevents buildup. If the surface is heavily worn or damaged, replacing the affected planks may be necessary to fully restore traction and safety.
📅 Last Updated: October 07, 2026 | Topic: How to prevent slipping on vinyl floors? | Content verified for accuracy and freshness.
References
- Slip and fall
https://en.wikipedia.org/wiki/Slip_and_fall - Falls
https://www.who.int/news-room/fact-sheets/detail/falls - https://www.cdc.gov/niosh/topics/slips/
- 1910.22 – General requirements. | Occupational Safety and Health Administration
https://www.osha.gov/laws-regs/regulations/standardnumber/1910/1910.22 - https://www.mayoclinic.org/diseases-conditions/falls/symptoms-causes/syc-20354056
- https://pubmed.ncbi.nlm.nih.gov/?term=vinyl+floor+slip+resistance+cleaning
- https://www.sciencedirect.com/search?qs=slip+resistance+resilient+flooring+cleaning
- Google Scholar Google Scholar
https://scholar.google.com/scholar?q=vinyl+floor+slip+prevention - Google Scholar Google Scholar
https://scholar.google.com/scholar?q=resilient+flooring+slip+resistance+coefficient+of+friction+maintenance - Google Scholar Google Scholar
https://scholar.google.com/scholar?q=slip+and+fall+prevention+wet+floor+cleaning+housekeeping