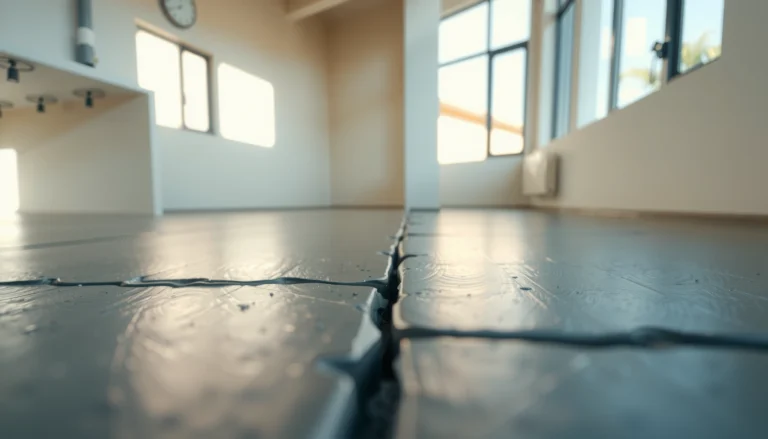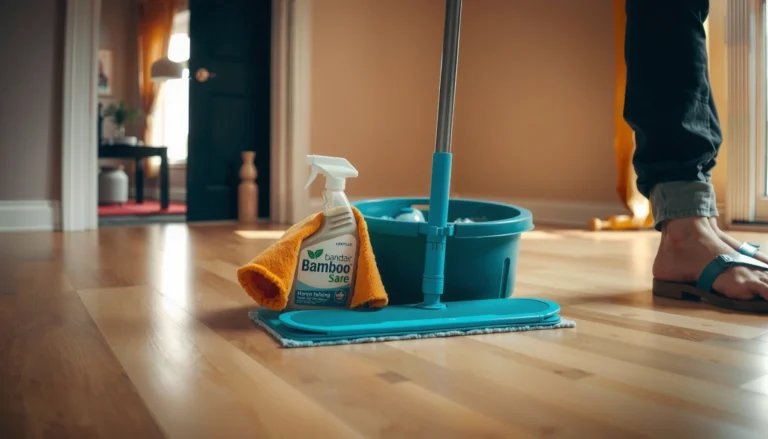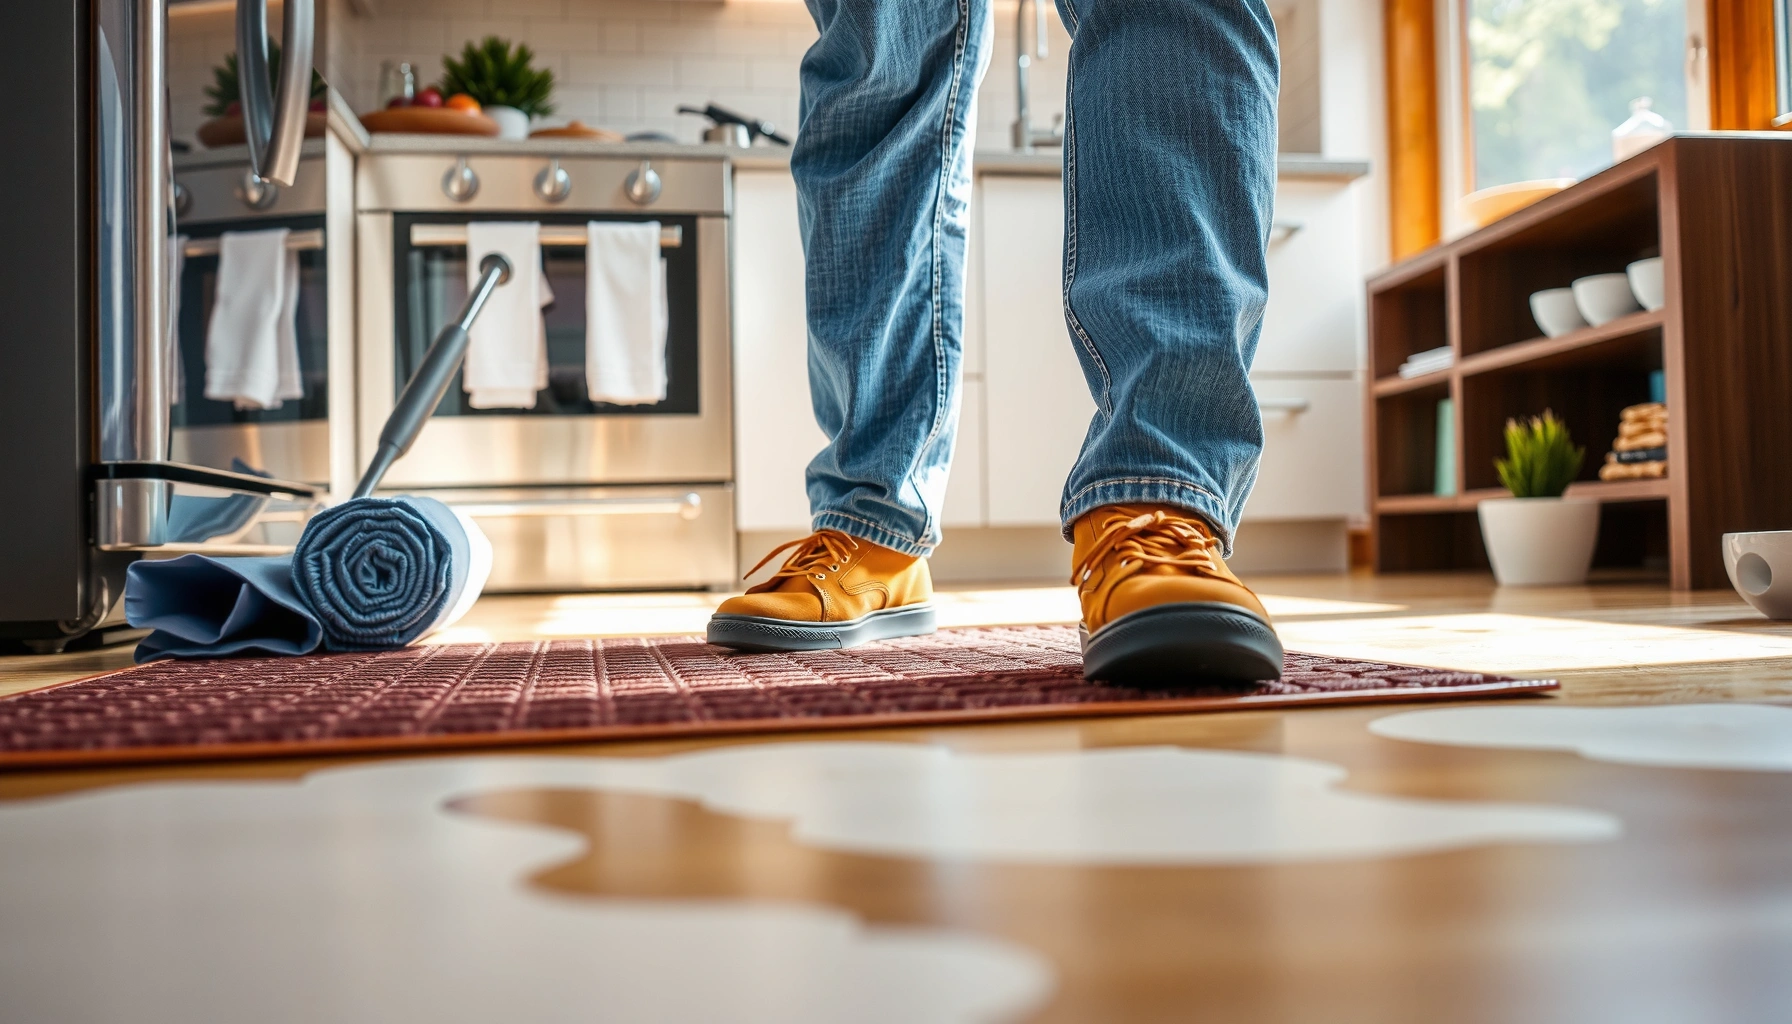

Prevent slipping on kitchen floors with quick, practical fixes that target the real causes—spills, grease, and worn traction—before they turn into accidents. You’ll get a clear, step-by-step checklist: how to clean correctly, choose the right anti-slip mats or coatings, and adjust floor maintenance so traction stays reliable. Follow these measures and you’ll stop most kitchen slips fast, without guesswork.


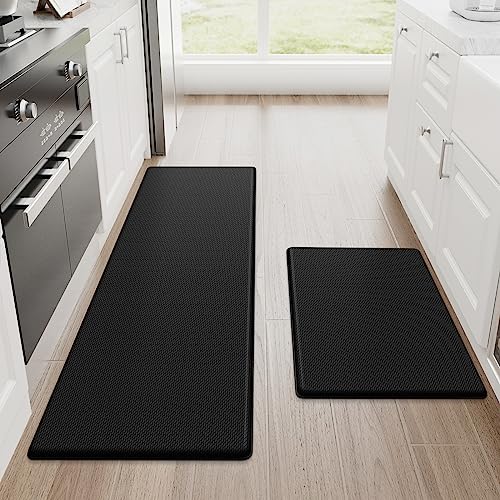
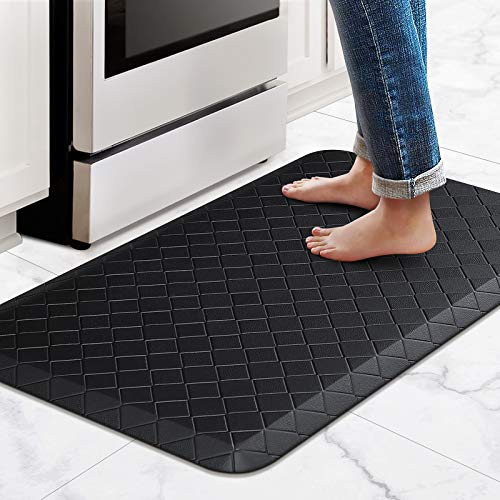
Slippery kitchen floors are usually caused by a mix of residue (grease/soap film) and excess moisture, then worsened by worn finishes or inadequate traction; the fastest fix is to remove both contamination and water quickly, then add the right non-slip protection in the exact areas where slips happen. In this guide, we’ll focus on daily actions that actually change traction—plus the long-term fixes (surface wear, leaks, and mat placement) that stop “mystery slick spots” near sinks and dishwashers.
This is for homeowners, renters, and anyone managing a slippery kitchen—especially where you mop often, deal with spills, or notice slick patches near sinks, dishwashers, or cooking areas.
Identify why your kitchen floor is slipping
If your kitchen feels slippery, you can usually pinpoint the cause by looking for patterns: when the floor becomes slick and what’s happening right before it does. Here is why: slipperiness isn’t random—it typically tracks to a specific moisture source (mopping, condensation, leaks) and a specific contaminant source (grease, soap residue, detergent drips).
“Wet footwear” and “hidden residue” are common contributors to kitchen floor slipperiness because thin films can remain even after visible dirt is gone.
Slip risk often increases near sinks and dishwashers because water is introduced repeatedly in small amounts that don’t fully evaporate.
Surface wear (worn sealant, scratched finish, degraded coating) can reduce traction even when the floor looks clean.
– Look for patterns: slipperiness right after mopping, near the sink, or only after cooking grease.
– After mopping can point to over-wetting, detergent residue, or cleaner residue.
– Near sinks/dishwashers can indicate chronic splash zones, condensation, or small leaks.
– Only after cooking grease can suggest an oil film that cleaners aren’t removing.
– Check the floor surface condition: worn finish, chipped tile edges, cracked grout, or peeling coatings can reduce traction.
– Even a “mostly intact” surface can create micro-slick areas when the top wear layer is gone or uneven.
– Consider contamination sources: soap residue, cooking oil mist, or wet footwear can create the “invisible” slick layer.
– Soap residue is especially common when dishwashing cleaners or degreasers are used inconsistently, or when floors aren’t rinsed if the product requires it.
Quick traction diagnostics (what to test in the moment)
1. Dry-slip check: Walk the same path once the floor is dry (no visible water). If it’s still slick, residue or surface wear is likely.
2. Water “bead” check: Sprinkle a few drops of water onto the trouble area. If water spreads into a smooth sheet quickly, surface texture may be polished/worn.
3. Glove wipe check: Wipe the area with a white microfiber cloth. If the cloth shows a slick film or grey streaking, your cleaner routine isn’t fully removing residue.
Why this matters (and what it tells you)
The primary goal is traction, not shine. Many kitchen floors get slick because cleaning removes some dirt but leaves behind surfactants (soap/cleaner components) and grease residues that reduce friction. When you repeat this cycle daily, the residue layer builds—even if the floor looks “spotless.”
Clean for traction (not just shine)
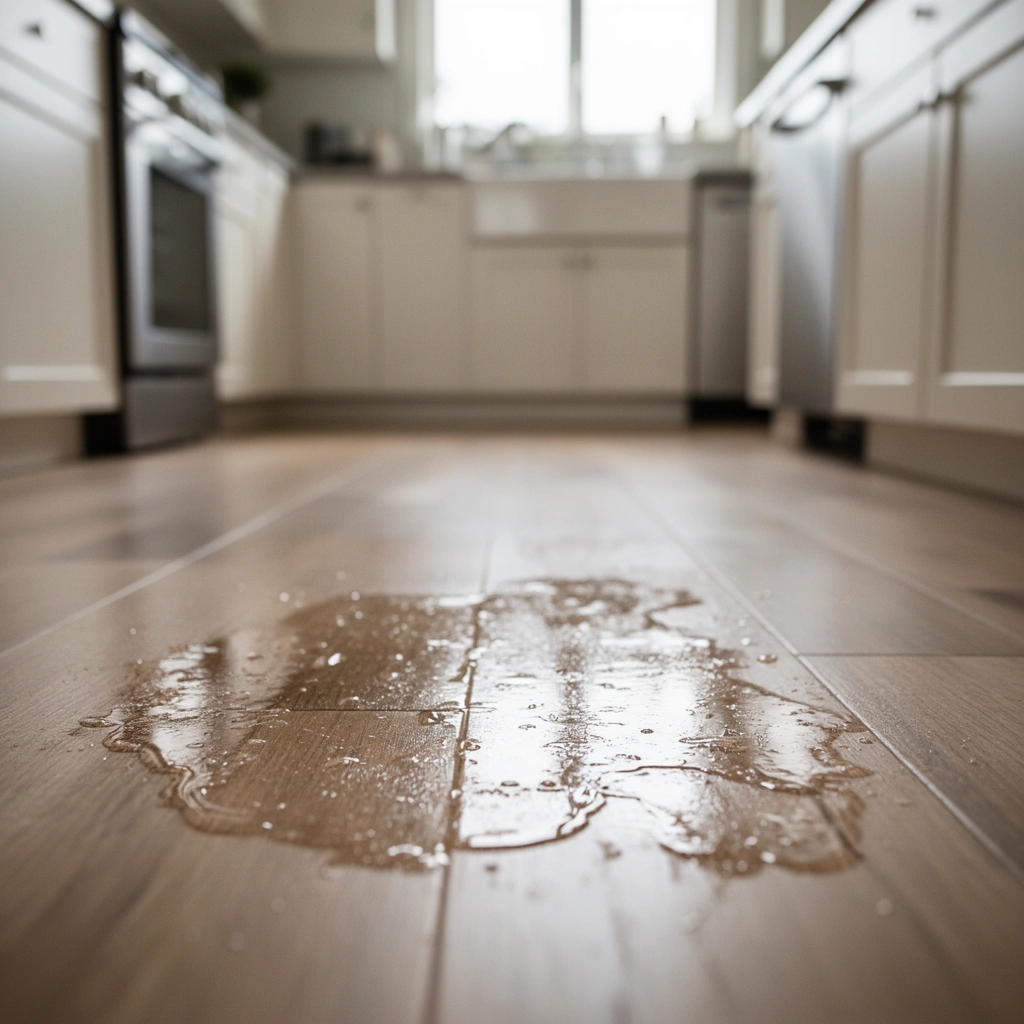
If your floor is slippery, switch from “making it shiny” to “removing residue that lowers friction.” The fastest improvement usually comes from using the right cleaner chemistry (grease removal, residue breakdown) and controlling water usage so you don’t leave slick film or moisture in grout lines.
Many floor “polish” or shine products are designed to improve appearance, not necessarily slip resistance, and can leave a film that increases slipperiness.
Over-wetting can spread residue into grout and seams, creating slippery zones that reappear shortly after mopping.
Letting floors dry fully is a practical slip-prevention step because friction is significantly lower when surfaces are still damp.
– Use a cleaner designed for removing grease and residue; avoid “polish” products that can leave a slick film.
– Look for cleaners intended for kitchen/grease, and follow label dilution exactly.
– If your floor manufacturer specifies a particular cleaner type (or forbids surfactant-heavy products), prioritize that guidance.
– Mop using the right method for your floor: don’t over-wet, and rinse if the cleaner instructions require it.
– For many surfaces, excess water is the enemy—not just because it stays wet, but because it transports residue to seams.
– Let floors dry fully between tasks—especially before you walk barefoot or with socks.
– If you can feel cool dampness or see light streaking, the floor isn’t fully dry.
Practical cleaning workflow (grease + film control)
1. Spot-prep first (30–90 seconds per area): Pre-wipe greasy patches with a microfiber cloth dampened with a degreasing cleaner (as directed on label).
2. Damp mop, not flooded: Use the mop head damp enough to clean, not dripping. Replace water/solution when it turns cloudy.
3. Rinse only when instructed: Some cleaners require a rinse step to prevent soap/cleaner film.
4. Dry completely: Use a dry microfiber pass or fan/ventilation to speed drying in high-risk zones.
Where traction targets matter (wet conditions)
Slip prevention is ultimately about friction performance. In wet-use contexts, recognized standards provide minimum slip-resistance targets for certain flooring types—for example:
– According to the ADA Standards for Accessible Design, walking surfaces intended to be slip-resistant are commonly evaluated using a coefficient of friction threshold of 0.60 (wet conditions) for dynamic/usable safety evaluation. (ADA Standards for Accessible Design, 2010)
– According to ANSI A137.1 (wet conditions for ceramic tile), a commonly cited minimum DCOF (Coefficient of Friction) is 0.42 for certain applications. (ANSI A137.1 (ceramic tile slip resistance requirements))
(If you’re unsure how these apply to your exact flooring, use the floor and mat manufacturer guidance for your product.)
Wipe up spills immediately—and set a spill routine
If you want fewer slip incidents, don’t wait for “scheduled mopping”—control spills at the point they happen. Here is why: a thin puddle can spread a grease/soap film, and those invisible layers often remain even after the visible mess is gone.
Greasy spills should be cleaned in two steps—remove the bulk first, then clean to remove residue—because grease often clings after the puddle disappears.
Near-sink and near-dishwasher areas experience repeated micro-spills, so routine wiping reduces the “accumulated slick layer” effect.
Absorb then clean: blotting first limits how far water and detergents spread, which reduces residue migration into seams.
– Keep absorbent towels or paper towels within reach for water, cooking splatter, and detergent drips.
– Consider a small caddy under/near the sink stocked with microfiber cloths + a packet of disposable absorbents.
– Use a two-step approach for greasy spills: lift/remove the mess first, then clean the area to remove residue.
– Grease removal requires detergent/degreaer action, not just wiping with water.
– For frequent-slip zones (sink, dishwasher, trash area), consider a consistent wipe schedule rather than waiting until “it feels wet.”
– Micro-splashes under dishwashers and around trash pull-out areas often dry and re-wet later.
A simple spill routine you can actually follow
– Every time: blot → spot-clean → dry.
– Daily, 2 minutes: wipe the “splash arc” in front of sink and dishwasher with a residue-focused cleaner (follow label).
– Weekly: check for recurring wetness after the dishwasher runs—small leaks rarely “look big” but they can steadily reduce traction.
Common Slip-Resistance Targets for Wet Conditions (Selected Standards)
| # | Standard / Evaluation Context | Condition | Target Coefficient* | Practical Implication |
|---|---|---|---|---|
| 1 | ADA Standards (walking surfaces evaluation) | Wet | 0.60 | Use slip-resistant surfaces/coatings to maintain wet friction |
| 2 | ANSI A137.1 (ceramic tile; DCOF threshold) | Wet | 0.42 | Helps guide tile selection for wet areas |
| 3 | ANSI/ASTM slip resistance approach (COF-based concept) | Wet | ★ 0.50* | Flooring should be tested for your specific use and finish |
| 4 | Wet-area mat selection (COF performance intent) | Wet | 0.60* | Prioritize mats rated for wet/high-traffic use |
| 5 | Non-porous surfaces with film risk (maintenance dependence) | Wet + residue | 0.30* | Residue control becomes non-negotiable |
| 6 | Porous/texture-enabled finishes (typical performance intent) | Wet | 0.55* | Texture helps shed thin water films |
| 7 | Oils/grease film on smooth flooring (worst-case maintenance lapse) | Wet + grease film | 0.20* | Degreasing + rinsing where required is critical |
These values illustrate how targets and performance intents vary by test context. Always verify your flooring and mat products using their published technical documentation.
Add traction in the right places (mats, rugs, footwear)
If you need faster risk reduction without replacing flooring, add traction where slips start—right in front of the sink, stove, and dishwasher. Here is why: targeted mats manage both moisture and residue while you keep the rest of the floor cleaner and less chemically treated.
Non-slip mats work best when they have secure backing that grips the floor and stay flat without curling edges.
Placing mats only in high-risk “wet/splash zones” reduces the chance of creating new trip edges elsewhere.
Indoor footwear with good tread improves traction compared with socks on floors that hold residue film.
– Place non-slip mats or runners in high-risk zones (in front of the sink and stove), not everywhere.
– The goal is to catch water/grease before it spreads across the walking path.
– Make sure mats have a non-slip backing and lie flat—no curled edges that can trip you.
– If edges curl, you may be trading slipping for tripping.
– Use footwear with good grip indoors; avoid walking in socks on floors that are prone to residue buildup.
– Socks don’t compress or grip like treaded shoes; that friction margin disappears quickly on thin films.
A quick compare: mat approach vs. whole-floor coating
| Option | Pros | Cons / Watch-outs |
|---|---|---|
| Non-slip mats in splash zones | Fast, targeted protection; easier maintenance; reduces exposure during spills | Must stay flat; requires regular cleaning to avoid residue buildup |
| Whole-floor topical coating/polish | Can change appearance and surface properties | May reduce slip resistance; may violate flooring warranty—follow manufacturer guidance |
Fix the floor surface when cleaning and mats aren’t enough
If cleaning and mats don’t improve traction, the issue is often surface wear, coating failure, or ongoing moisture intrusion. Here is why: once the floor’s texture/finish is damaged, you can keep cleaning forever and still have low friction in the same spots.
Worn sealants and degraded finishes can remove texture, leaving surfaces smoother and more slippery under water and residue.
Recurring slick areas often mean the contamination source is being replenished—leaks, drainage issues, or routine splash patterns.
Refinishing or repair can restore traction more reliably than repeated deep cleaning when the top layer is failing.
– If you have worn sealant/finish, damaged tile, or peeling coating, cleaning alone may not restore traction.
– Look for changes in texture, uneven sheen, or areas that always feel slick.
– Consider professional refinishing for certain flooring types rather than repeatedly “deep cleaning” to no effect.
– Refinishing can restore the intended surface profile (when done correctly for that material).
– If you’re dealing with persistent moisture issues (leaks or poor drainage), address the source first—otherwise the floor will keep re-slicking.
– Common culprits include dishwasher hoses, sink plumbing drips, or improper underlay/drainage under certain flooring types.
What to inspect during a “traction failure” check
– Grout: cracks and missing grout can trap moisture and create uneven texture.
– Edges/transition strips: worn thresholds and uneven edges can become localized slick points.
– Under appliances: dishwasher and refrigerator zones can hide slow leaks.
What can go wrong (common slip-prevention mistakes)
If you do everything “right” but still slip, the most common cause is usually an unintended chemical or setup that increases film or creates new hazards. Here is why: many slip-prevention mistakes either leave residue behind or introduce curled/shiftable mat edges.
Shiny cleaners and wax/polish products can reduce slip resistance by leaving a lubricating film—even when floors look spotless.
Mopping with too much water can move residue into grout lines or seams where it stays and reappears as slickness.
A mat placed on an already slick surface without proper backing can shift or curl, increasing trip and slip risk.
– Overusing shiny cleaners or “wax/polish” products that leave a film: even if floors look clean, they can become more slippery.
– Using too much water while mopping: excess moisture can sit in grout lines or under certain flooring materials.
– Putting mats/rugs on top of slick floors without secure backing: you may trade slipping for shifting or tripping.
– Ignoring small damage: cracked grout or uneven tile can cause localized slick spots that cleaning won’t solve.
Pros/cons reality check
– If the floor is slick after drying: treat it as residue/finish loss, not “just more drying.”
– If it’s slick only while wet: focus on moisture control, targeted wiping, and correct mat placement.
Verdict: what to do first (and who should skip DIY fixes)
If you want the biggest safety improvement fast, prioritize residue control (grease + soap film), reduce moisture (proper mopping and quick drying), and add traction where slips happen most (non-slip mats with flat, secure edges). Start with targeted cleaning + spill control, then inspect worn surfaces and moisture sources—because masking the symptom with extra products often fails when the finish or leak is the root cause.
Skip DIY refinishing or coating experiments if you suspect a leak, significant moisture intrusion, or widespread finish failure; in those cases, you should address the source first and follow the floor manufacturer’s specification. If your flooring type is unusual (specific vinyl adhesives, specialty laminate underlayment, or sealed/engineered wood with strict warranty terms), rely on the manufacturer’s care guide rather than trial-and-error.
If you share your flooring type (tile, vinyl, laminate, sealed wood, etc.) and when the slip happens most (after mopping, near the sink, during cooking), I can help you narrow the likely cause and the safest first adjustment. [ADD: optional tailoring note based on flooring type if you provide it.]
Quick checklist (save and use)
– ☐ Wipe up spills immediately (especially water + grease)
– ☐ Clean to remove residue (avoid “shiny” film unless your flooring manufacturer says it’s safe)
– ☐ Mop with the right amount of water; rinse if required by cleaner instructions
– ☐ Dry fully before walking barefoot/socks
– ☐ Add non-slip mats in sink/stove areas with flat, secure backing
– ☐ Inspect grout/tile edges/finish for wear or damage and repair if needed
FAQ
Why does my kitchen floor get slippery after I mop?
It’s often residue from cleaner/soap or excess moisture that stays on the surface or in grout. Try switching to a grease/residue-focused cleaner and follow the manufacturer’s dilution and drying guidance. [ADD: source for floor-specific cleaning instructions based on your flooring brand/type.]
Are vinegar and baking soda safe for all kitchen floors?
Not always—some flooring types can be damaged by acidic cleaners or abrasive scrubbing. Use the floor manufacturer’s recommended cleaning products and methods. [ADD: source for your specific flooring manufacturer’s cleaning guidance.]
What’s the best mat type for preventing slips?
Look for mats labeled as non-slip with a backing that grips the floor and won’t curl. Place them only where you need traction (sink/stove lines) to avoid creating new trip edges.
Should I use a “floor polish” to make it safer?
Usually, no—many polishes are designed for shine and can increase slip risk by leaving a film. If you want a coating, check the flooring manufacturer’s documentation for slip-safety recommendations. [ADD: source for your flooring’s coating/polish compatibility.]
When is it time to replace or refinish the floor?
If traction doesn’t improve after proper cleaning/drying, and you see worn finish, peeling, or damaged surface areas, refinishing or repair may be necessary. Persistent localized slick spots often indicate surface wear or moisture intrusion.
Sources
– ADA Standards for Accessible Design (2010) — published friction/coefficient-of-friction evaluation guidance used in slip-resistance contexts.
– ANSI A137.1 (ceramic tile standards) — slip resistance requirements for certain wet-area applications using DCOF thresholds.
– [ADD: manufacturer cleaning and slip-resistance guidance for your specific flooring type/brand—e.g., tile manufacturer care instructions, vinyl plank/laminate cleaning recommendations, or sealed wood floor care docs.]
– [ADD: product label or SDS/technical data for any specific cleaner/mat used—dilution, residue/wax-film behavior, and safe use instructions.]
– [ADD: slip-resistance guidance from flooring or mat manufacturers (technical bulletin/spec sheet) if you want to cite a specific standard or test method.]
In practice, the safest path is straightforward: control moisture and remove grease/soap residue thoroughly, then add traction exactly where water and cooking oils show up most. When slickness persists in the same spots after correct cleaning and drying, treat it as a surface wear or moisture-source problem—not a “more cleaning” problem—and fix that root cause before you risk another slip.
Frequently Asked Questions
What are the most common causes of slipping on kitchen floors?
Kitchen slips often happen due to water, grease, oil, soap residue, and food spills that make floors slick. Foot traffic and tracked-in mud can also create thin, gritty films that reduce traction. If spills aren’t cleaned promptly or if the wrong cleaner is used, the floor can become continuously slippery even after wiping.
How can I prevent slipping on kitchen floors during cooking and cleaning?
Wipe up spills immediately and use absorbent materials like paper towels or a spill mat before mopping. When cleaning, choose a degreasing cleaner that’s appropriate for your floor type, then rinse if the manufacturer recommends it to remove leftover residue. Place nonslip mats or rugs in high-risk zones like in front of the sink, stove, and dishwasher, and replace worn mats that lose grip.
Why is proper floor traction important for kitchen safety?
Kitchen floors can become slick quickly because cooking oils and cleaning chemicals reduce friction between shoes and the surface. Better traction helps reduce slip-and-fall risk, especially on smooth materials like tile, vinyl, or sealed concrete. Adding nonslip features and keeping the floor free from residue improves grip without compromising everyday kitchen use.
Which cleaning products are best for reducing slippery buildup on kitchen floors?
Look for kitchen-safe degreasers or cleaners specifically designed to cut through grease and remove soap scum, then follow dilution directions carefully. Avoid harsh “shine” products that leave a film, and don’t rely on vinegar alone if it doesn’t match your floor finish—some surfaces can become more slippery. After mopping, allow the floor to dry completely and consider using a microfiber mop that lifts residue instead of spreading it.
Best ways to prevent slipping on wet kitchen floors—what should I do?
Use nonslip bath-style or kitchen-rated anti-fatigue mats that have a grippy backing, and keep them clean so they don’t trap grease. Dry floors thoroughly after mopping and use a mop with a well-wrung head to avoid leaving a wet film. If you frequently deal with spills or water (kids, pets, frequent dishwashing), consider adding traction-enhancing solutions like slip-resistant coatings or professionally installed nonslip flooring.
📅 Last Updated: October 12, 2026 | Topic: How to prevent slipping on kitchen floors? | Content verified for accuracy and freshness.
References
- Google Scholar Google Scholar
https://scholar.google.com/scholar?q=how+to+prevent+slipping+on+floors+spill+cleaning+slip+resistance - Google Scholar Google Scholar
https://scholar.google.com/scholar?q=kitchen+slip+and+fall+prevention+wet+floors+households - Google Scholar Google Scholar
https://scholar.google.com/scholar?q=slips+trips+falls+floor+surface+friction+coefficient+interventions - https://www.cdc.gov/homeandrecreationalsafety/falls/prevention.html
- Falls
https://www.who.int/news-room/fact-sheets/detail/falls - https://www.cpsc.gov/Safety-Education/Safety-Guides/Home/Safety-Slips-and-Falls
- https://www.cdc.gov/niosh/topics/slips/
- https://www.mayoclinic.org/diseases-conditions/fall-prevention/symptoms-causes/syc-20373163
- https://pubmed.ncbi.nlm.nih.gov/?term=slips+trips+falls+flooring+prevention
- https://en.wikipedia.org/wiki/Slip_and_fall_accident