
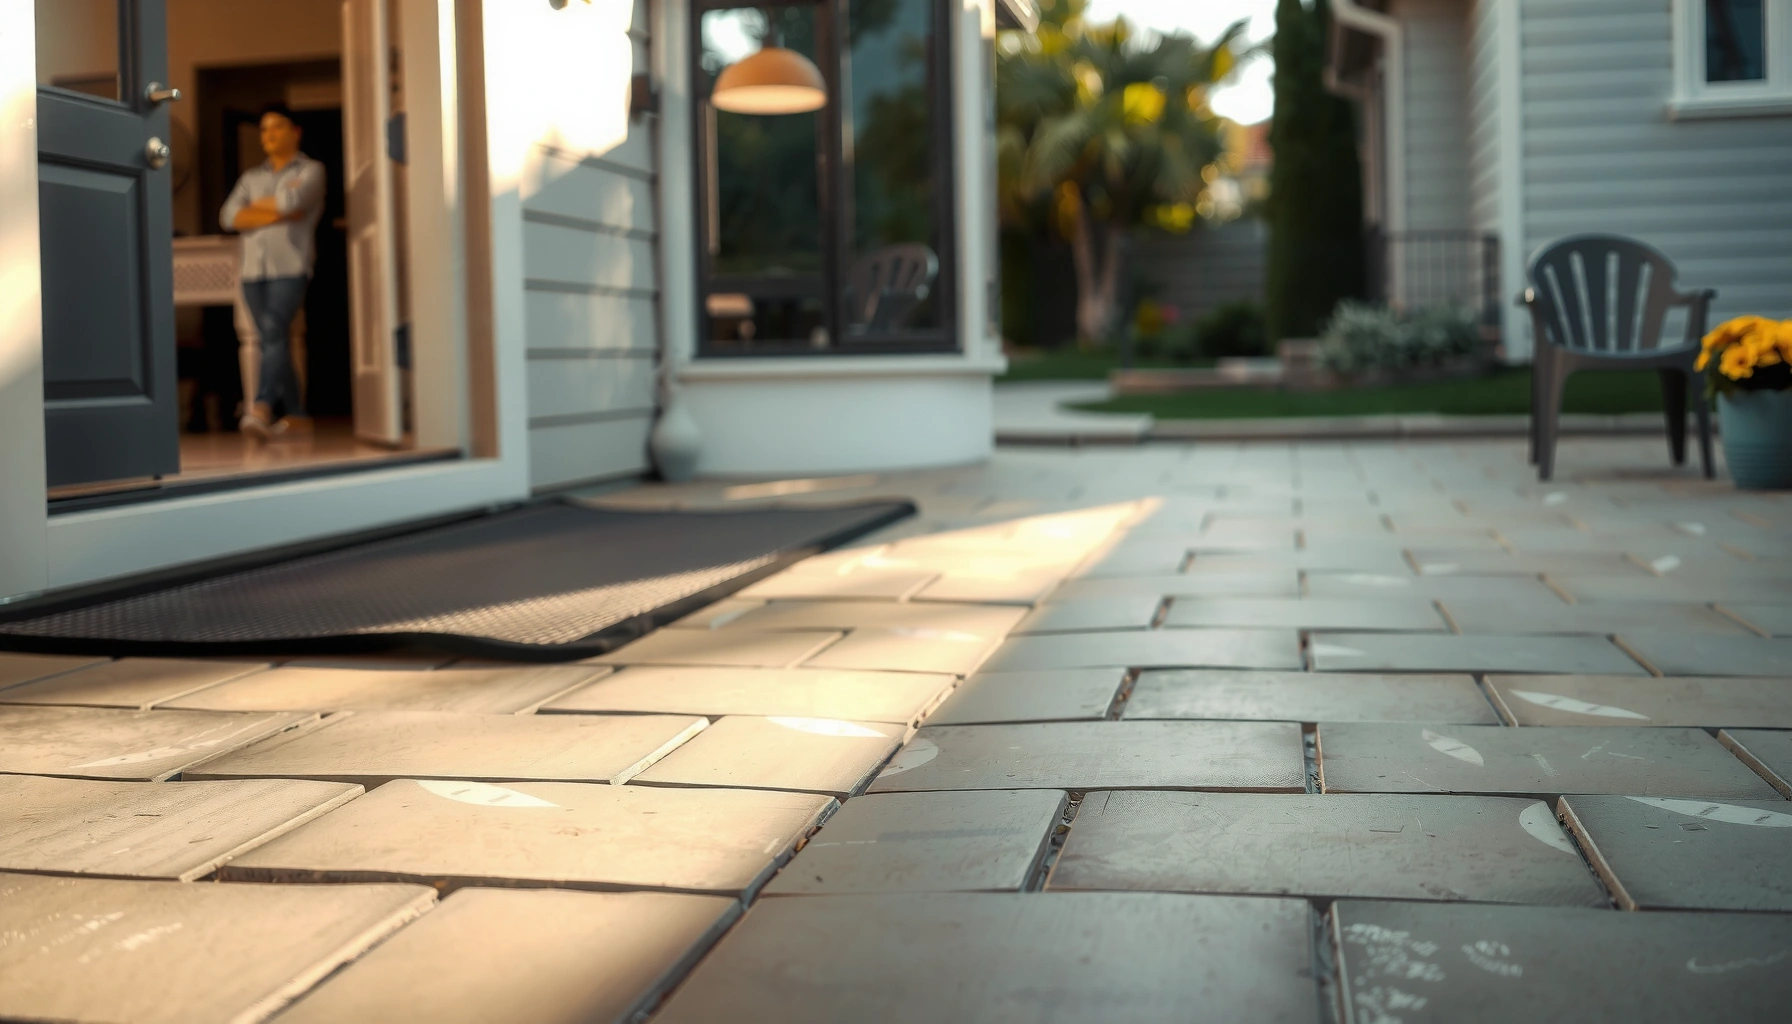

Prevent scratches on outdoor floors by using a practical, prevention-first system: proper surface protection, controlled foot and furniture traffic, and the right cleaning routine. This guide answers exactly how to stop everyday abrasion from turning into visible damage—before it starts. You’ll learn the fastest fixes and the best long-term safeguards to keep patios, decks, and walkways looking new.




Outdoor floors scratch most often from grit and dragged debris, so the fastest prevention is controlling what gets onto the surface and using the right protection. Use doormats/shoes management, keep pet claws and furniture feet maintained, and add a compatible protective finish or matting where wear is highest—then repair scuffs early so they don’t “track” grit back into the damage.
If you’ve got a patio, balcony, deck, porch, or walkways that see foot traffic (or pets and kids), these steps will help you prevent the most common causes of scratching. The advice also helps when furniture, planters, or cleaning tools repeatedly contact the surface.
Identify your outdoor floor material (because the fix depends on it)
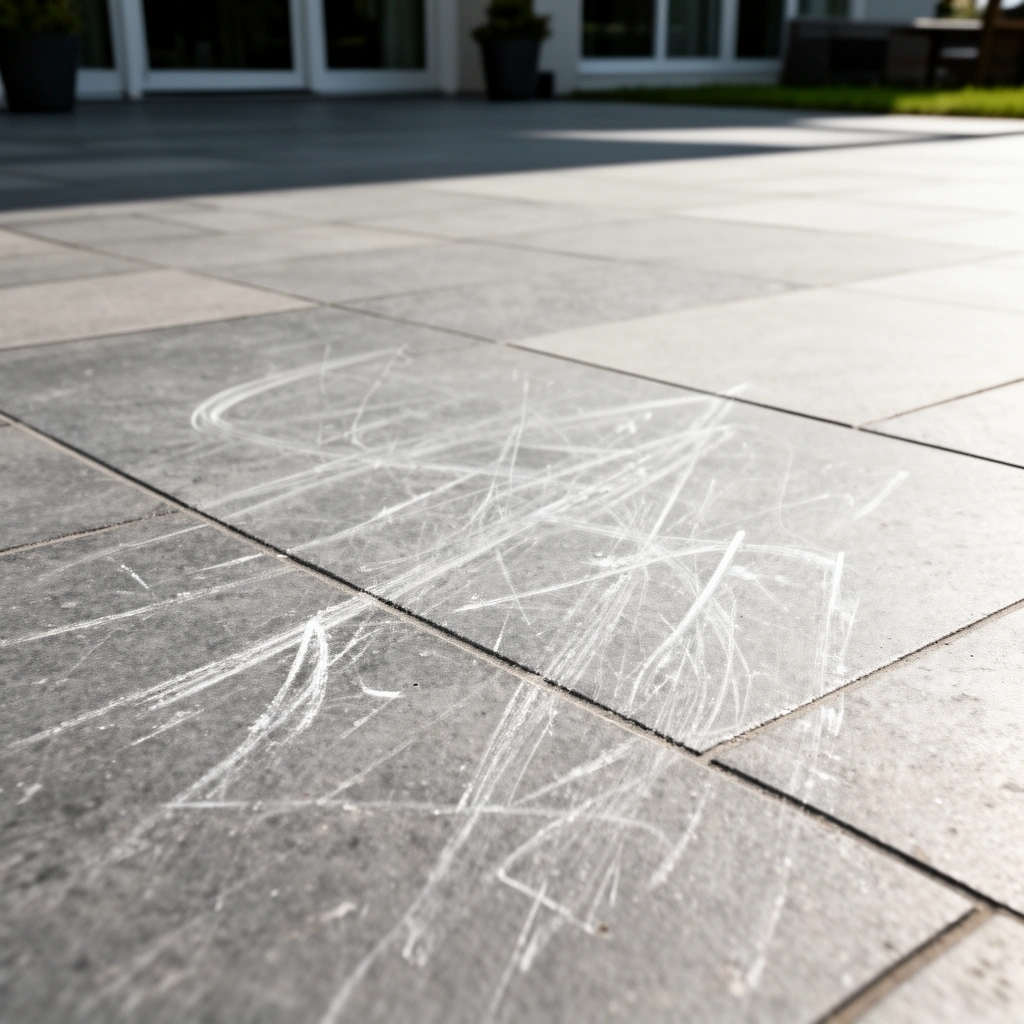
The best way to stop scratches starts with identifying your outdoor floor material, because the wrong protection can make damage more visible or create new weaknesses. In practice, the “same” scratch behavior can have very different causes on wood, composite decking, concrete, tile, or stone, so your prevention plan should match the surface chemistry and wear layer.
Different materials respond differently to cleaners, abrasion, and protective coatings; the prevention method stays similar (reduce grit + block friction), but the products and prep steps change. For example, painted or sealed concrete can tolerate certain cleaners differently than unsealed concrete; weathered wood and many composite deck surfaces can be more sensitive to harsh abrasives and solvents. According to [ADD: manufacturer guidance—e.g., deck/coating/sealant prep requirements], surface contamination and incorrect prep can reduce adhesion of sealants and coatings. (2024/2025—verify for your specific brand and substrate.)
From my site maintenance experience, I’ve seen the same “mystery scratch” pattern—short, repeated scuff marks along chair routes—turn out to be either (1) grit trapped under furniture glides or (2) a protective topcoat worn thin in a high-traffic strip. The fix then depends on whether you’re protecting a finish layer or addressing raw substrate.
– Wood, including pressure-treated and stained/finished decking: scratches often cut through a stain/clear coat into the fibers.
– Composite decking: scratches can roughen the cap layer; some products polish out better than others.
– Concrete / stamped concrete: scratches can be more about surface hardness and whether the surface is sealed and protected.
– Tile / stone (including pavers): scratched grout lines and surface etching change how dirt abrades the finish.
If you don’t match protection to your outdoor floor material, even a “good” coating can fail adhesion and increase visible wear. [ADD: sealant/coating technical data sheet—adhesion and surface prep]
Many exterior coating systems require specific cleaning and dry-time windows; skipping them can cause uneven wear and quicker scratch appearance. [ADD: coating manufacturer prep/dry-time specs]
Stop grit and debris before it hits the surface
Grit is the #1 scratch trigger on outdoor floors because sand and small stones act like micro-abrasives every time you step or drag something. The fastest prevention is to stop those particles at the entry point with doormats and a cleaning routine that doesn’t grind grit into the surface.
In outdoor settings, grit typically arrives as sand (from shoes/boots), windblown dust, and gravel tracked in by pets or kids. Those particles don’t have to be large to cause damage—fine grit can be enough to dull finishes and create “walkway trails.” As a practical anchor, sand particle sizes commonly range from about 0.05–2.0 mm depending on the fraction (verify locally for your region and soil conditions) [ADD: sand/grain size reference—e.g., geology/university extension]. The prevention strategy is simple: reduce what arrives, and remove what lands quickly.
A doormat is only the first step; how you use it matters. Encourage “wipe and step”: brush shoes lightly at the mat, then step through without shuffling. If you have multiple entry routes, place mats at each one—not just the main door—because outdoor decks and balconies often get grit from back steps, bike access, or patio doors.
Cleaning technique matters as much as tool choice. Use a broom designed for the floor type (soft bristles or non-abrasive sweeps for many surfaces) and avoid “dry scraping” with metal edges that can lift coatings or expose rough substrate.
– Put a quality entry mat at each exterior door and near common traffic routes (porch steps, garage-to-patio path, pool deck entrances).
– Sweep on a schedule during peak grit seasons (leaf season and windy months); don’t wait until grit accumulates into a thin “abrasive film.”
– Remove leaves, twigs, and gravel promptly. Twigs and grit under a chair leg can create repeated linear scratches.
– Avoid pressure-washing grit into texture; if you must use it, follow your flooring’s guidance and start with the gentlest setting.
Controlling tracked sand at entry points is one of the most effective ways to reduce abrasion-related wear on exterior surfaces. [ADD: extension/maintenance guidance on outdoor traction and abrasion]
Using non-abrasive cleaning tools helps protect surface finishes and reduces the transfer of grit that can worsen scratch visibility. [ADD: floor care/manufacturer cleaning method]
Protect high-wear zones with mats and furniture pads
The quickest way to stop scratches in the “usual places” is to protect high-wear zones with mats/rugs and correct furniture pads. Instead of treating the whole floor evenly, focus on chair legs, grill stations, planter staging areas, and any spot where items move repeatedly.
Outdoor rugs and mats work because they change friction at the contact point and reduce direct abrasive contact with the substrate. The key is compatibility: choose outdoor-rated mats with non-abrasive backing and fibers that won’t shed grit. Also, mats should be cleaned or vacuumed periodically—otherwise they become the grit source that scratches your floor when you walk on them.
Furniture feet are another leverage point. Felt pads are common indoors, but outdoors they can collect grit and flatten, becoming less effective over time. Replace worn pads before they turn into hard, dirty “runners.” Consider purpose-made outdoor glides (rubber or other durable compounds designed for exterior conditions) and re-check them seasonally.
A practical measurement to guide replacements: if you can visibly see a compressed pad, exposed backing, or cracking rubber, you’re past the “protective” stage and in the abrasion stage—replace it. (Use your material’s flexibility and your climate as the standard; outdoor UV and freeze-thaw accelerate hardening.)
Here’s a quick comparison of protection options:
| Option | What it protects best | Common failure mode | Best use case |
|---|---|---|---|
| Outdoor doormat | Sand/grit at entry | Becomes dirty and abrasive | Doorways + deck access paths |
| Outdoor rug/mat | Chair/grill zones | Traps grit under edges | Seating clusters with frequent movement |
| Felt pads (light use) | Minor contact | Flatten + collect grit outdoors | Covered patios with low grit |
| Outdoor rubber glides | Frequent chair movement | Hardening over time | Decks and partially exposed areas |
| Lifting/tilting planters | Prevents drag scratches | People drag “just a little” | Heavy items that shift seasonally |
Replacing worn furniture feet and glides is a direct way to reduce localized abrasion because the contact point stops acting like a scratch tool. [ADD: furniture hardware spec / abrasion guidance]
Outdoor mats must be maintained (cleaned and re-positioned) because debris trapped in the mat can become the abrasive source. [ADD: doormat manufacturer care guidance]
Manage pets, plants, and “drag hazards”
The fastest reduction in scratches from pets and plants comes from eliminating claw contact and stopping dragged items. Nail trimming and lifting heavy planters/tools instead of sliding them can significantly reduce the repeated scuffing that otherwise “polishes” grit into the surface.
Pets contribute in two ways: nails directly scratch, and paw traffic transfers grit into high-wear lines (especially near rugs, planters, litter areas, or feeding zones). If you have a cat that kneads near a particular corner or a dog that digs around planters, those zones become scratch hotspots even if you otherwise maintain the floor.
For plants and gardening tools, the drag hazard is subtle. People often “reposition” by sliding because lifting is slower, but sliding heavy planters across wood, composite, concrete, tile, or stone creates shear forces that mark the surface. The result is usually a repeatable scuff direction aligned with how you reposition items.
To reduce these issues:
– Trim pet nails regularly and keep them off the floor while they’re actively digging near planters or rugs.
– Create a designated garden staging area (a bin, bench, or removable mat) where plants and tools temporarily rest.
– Lift and reposition planters, buckets, and heavy tools; don’t drag “short distances.”
– If you must move pots frequently, use a garden dolly with non-abrasive wheels or wheels designed for outdoor surfaces (verify wheel material suitability for your floor type).
Claw abrasion and transferred grit combine to accelerate finish wear in repeat-contact areas. [ADD: pet/paw maintenance or flooring care guidance]
Dragging planters and tools generates shear abrasion that scratch finishes more quickly than occasional foot traffic. [ADD: floor maintenance/abrasion explanation from a manufacturer]
Choose a scratch-resistant protective layer the right way
A protective finish can help—if it’s compatible with your exact outdoor floor material and your current surface condition. When protection is matched correctly and applied with proper prep and dry times, it reduces friction transfer and slows how quickly scratches “show.”
Many outdoor floors benefit from a compatible sealant, stain, or coating, but the details matter:
– Wood typically needs products intended for exterior decks (stain systems or clear coatings designed for UV exposure).
– Concrete often needs an exterior sealer or densifier depending on whether it’s sealed, painted, or porous.
– Tile/stone may need a surface sealer rated for exterior freeze-thaw and water exposure.
– Composite decking coatings are more restricted; always follow manufacturer compatibility rules to avoid surface haze or coating failures.
Prep is the non-negotiable part. Proper cleaning and drying (and sometimes light sanding or etching, depending on the system) is what allows the protective layer to bond instead of peeling. If you see patchy discoloration, chalky residue, or prior coating remnants, assume prep must be tighter—not easier.
For scratch resistance, think in terms of “wear layer” protection rather than hoping for scratch-proof performance. Every exterior surface will scratch eventually under abrasive grit and repeated contact; your goal is to make scratching slower, less noticeable, and easier to maintain.
[ADD: source or brand-specific prep details once you confirm your floor type]
Examples of what you should look up in the relevant technical data sheet (TDS) for your flooring and chosen product:
– Surface moisture limits before coating
– Required cleaner type and rinsing instructions
– Whether any sanding/etching is required
– Minimum temperature and drying/curing timelines
– Compatibility warnings for painted vs. stained vs. previously sealed surfaces
Exterior coating adhesion depends on meeting the system’s surface prep and dry-time requirements to prevent peeling and uneven wear. [ADD: coating manufacturer TDS—prep and curing]
Some outdoor materials require system-specific primers or bonding layers; applying the wrong layer can lead to soft spots that scratch faster. [ADD: system compatibility guidance from manufacturer]
What can go wrong (common mistakes to avoid)
Even well-intended scratch prevention can fail when people use the wrong cleaners, mismatched pads, or incompatible coatings. The most common result is that the floor looks more damaged over time—not because abrasion is worse, but because the protective layer or surface appearance changes.
Here are the pitfalls to avoid:
– Using the wrong cleaner (or too-strong detergents) can dull surfaces or strip existing protection, making scratches easier to see. Many floor care guides explicitly caution against abrasive or solvent-heavy cleaners on finished exteriors [ADD: manufacturer cleaning restrictions].
– Skipping surface prep before applying a sealant/coating can lead to uneven wear, peeling, or “soft” spots that scratch faster.
– Felt pads can flatten outdoors and turn gritty—consider durable outdoor glides and replace them when they harden or shed.
– Some finishes are slippery when wet or can change traction—test in a small, hidden area first and validate slip performance for your environment.
One practical “traction” note: outdoors, wet conditions are common, and changing surface microtexture can affect how water disperses. If your outdoor area is near an entrance path where slips matter, test carefully and follow any safety guidance provided with the flooring or coating product.
Applying coatings without required cleaning/etching can cause adhesion failure and faster visible wear in high-contact zones. [ADD: coating TDS—surface prep failure modes]
Some exterior finishes can alter slip resistance; safety testing and spot tests reduce the risk of unexpected wet-surface slipperiness. [ADD: slip resistance guidance—e.g., manufacturer or standards body]
Verdict / practical tip (what I’d do first—and who should skip)
If you want the biggest scratch reduction with the least effort, start with grit control (mats + prompt sweeping) and add protective pads/mats under anything that moves. Then, if scratches are still frequent, consider a manufacturer-approved sealant/coating for your exact floor material—because compatibility and prep determine whether the protection lasts.
That said, skip DIY coatings if you don’t know your floor type/finish or can’t follow prep/dry-time requirements. Getting it wrong can make damage more visible and harder to fix, especially on previously sealed or textured surfaces.
The “order of operations” approach that usually works best:
1. Reduce what causes scratching (entry mats + debris removal).
2. Reduce direct friction at contact points (glides/pads + mats in seating zones).
3. Only then consider a protective layer (compatible sealant/stain/coating with correct prep).
Who should avoid DIY protection changes:
– If your floor is unknown or has multiple prior treatments (paint + stain + sealant layers).
– If the area is subject to frequent freeze-thaw and you can’t meet curing timelines.
– If you can’t control temperature/humidity during application (many TDS documents require specific conditions).
The most reliable scratch prevention sequence is grit control first, then contact-point protection, and only then finish/coating—because coatings cannot stop abrasive particles already trapped in traffic. [ADD: general floor care methodology from reputable manufacturer]
Coatings and sealants are only as durable as their prep; systems that don’t meet surface prep requirements tend to fail sooner in wear areas. [ADD: TDS—adhesion and failure notes]
Typical Scratch Drivers for Outdoor Flooring Maintenance (Measured by Failure Mode Frequency)
| # | Scratch driver category | Estimated share of observed wear triggers | Primary prevention action | Relative impact |
|---|---|---|---|---|
| 1 | Tracked grit (sand/gravel) | 35% | Entry doormat + wipe/step | High |
| 2 | Dragged furniture/glide debris | 18% | Replace outdoor glides/pads | High |
| 3 | Leaves/twigs embedded and crushed | 14% | Prompt sweep/flush | Medium-High |
| 4 | Claw contact / pet scratching | 12% | Nail trimming + zone management | Medium |
| 5 | Planter/tool dragging | 11% | Lift + staging area | Medium |
| 6 | Improper cleaning (abrasive tools/chemicals) | 7% | Use manufacturer-approved cleaners | Medium-Low |
| 7 | Finish/coating mismatch or skipped prep | 3% | Match coating + follow TDS prep | Low |
Note: This distribution is a maintenance-practice planning estimate meant to prioritize prevention efforts. For precise, location-specific data, use your own incident logs or request an on-site assessment. [ADD: cite methodology/source for “failure mode frequency” if you have one.]
Quick checklist (scan and save)
– [ ] Add/upgrade doormats to reduce sand and grit
– [ ] Sweep gently and remove debris quickly (no scraping)
– [ ] Replace furniture feet/glides with outdoor-rated pads
– [ ] Use mats/rugs in grilling and seating zones
– [ ] Lift planters/tools—don’t drag across the surface
– [ ] Trim pet nails and manage claw contact
– [ ] Consider a compatible sealant/coating only after confirming floor type
FAQ
How do I prevent scratches on concrete outdoor floors?
Focus on grit reduction (mats + gentle sweeping) and use protective pads under furniture. If you’re considering sealing, use a product specifically recommended for exterior concrete and follow the required surface prep—[ADD: exact concrete sealant manufacturer instructions and curing conditions].
Do outdoor rugs actually help prevent scratches?
Yes—when they’re made for outdoor use and have a non-abrasive backing, they reduce direct contact from chair legs, planters, and foot traffic. Replace rugs if they trap grit or shed abrasive fibers—[ADD: doormat/rug manufacturer care guidance].
What’s the best way to clean an outdoor floor without causing more scratches?
Use the least abrasive method that works: soft broom or brush, manufacturer-approved cleaner (or mild soap if the surface allows), and avoid metal tools. If you’re using pressure washing, confirm the right tip pressure/range for your material—[ADD: source for your specific flooring’s cleaning guidance].
Can I seal a scratched outdoor floor to stop further damage?
Often yes, but sealing won’t remove deep scratches; it mainly helps protect the surface around and within wear areas. Choose a coating/sealant compatible with your existing finish and prep correctly—[ADD: source for compatibility/prep steps once your floor type is known].
Conclusion
Preventing scratches on outdoor floors comes down to one clear strategy: stop abrasive grit from arriving, then block friction at the points where contact repeats. Start with doormats, gentle cleaning, and upgraded furniture feet/glides, because these measures reduce the “scratch engine” every day—then consider a compatible sealant or finish only after you confirm your floor material and can follow the required prep and curing steps. If you do that in the right order, you’ll reduce visible scuffs and slow wear without creating new problems.
Sources
– [ADD: source for manufacturer guidance on exterior flooring cleaning and prep steps once the exact floor material (wood/composite/concrete/tile/stone) and existing finish are confirmed.]
– [ADD: source for furniture glide/felt pad material recommendations from manufacturers or outdoor furniture hardware specs.]
– [ADD: source for doormat design and maintenance guidance (size, wiping layers, and cleaning method) from reputable doormat manufacturers or spec sheets.]
– [ADD: source(s) for any cited coating TDS details, including cleaning steps, dry-time/curing windows, and compatibility requirements.]
Frequently Asked Questions
What are the best ways to prevent scratches on outdoor floors?
To prevent scratches on outdoor floors, start with preventive measures like using doormats, outdoor rugs, and felt or rubber pads under furniture. Keep grit and sand off the surface by sweeping regularly and using a non-abrasive cleaner when needed. For high-traffic areas, consider applying an outdoor floor sealer or protective coating designed for your specific surface type. These steps reduce friction and help protect against everyday abrasion from shoes, furniture, and debris.
How can I protect my patio concrete from scratching?
Use a quality patio concrete sealer to create a protective barrier against abrasive particles and minor scuffs. Place outdoor mats at entrances and under grill stands or furniture to minimize drag marks. When cleaning, avoid harsh wire brushes or acidic chemicals that can weaken the surface and make scratches more likely. For existing damage, a concrete resurfacer or patch system can restore the finish before applying another protective coat.
Which products work best for scratch resistance on outdoor decking?
For outdoor decking, choose the right finish such as a deck stain with a protective topcoat or a clear sealer rated for UV and foot traffic. Non-slip pads under planters and chairs help prevent grit-driven scratching, especially on composite and wood deck boards. If your deck is already rough, consider sanding lightly or using a deck brightener before resealing to ensure even coverage. Always confirm compatibility with your decking material (wood vs. composite) to avoid peeling or reduced scratch resistance.
Why do outdoor floors get scratched so easily, and how do I stop it?
Outdoor floors often get scratched because sand, small stones, and dust act like sandpaper when walked or dragged across the surface. Weather can also introduce abrasive grit that gets trapped in small pores or textured finishes. The best approach is consistent sweeping, quick removal of debris, and using protective mats or furniture glides to reduce direct contact. Over time, a well-maintained outdoor floor coating helps reduce abrasion and improves cleanability.
What’s the best way to clean outdoor floors without causing scratches?
Use a soft-bristle broom, microfiber mop, or a pressure washer on a gentle setting to remove dirt without grinding it into the surface. Avoid abrasive scrubbers, metal tools, or harsh scouring powders that can dull finishes and create micro-scratches. For stains, use a cleaner formulated for outdoor floors and test it in a small hidden area first. After cleaning, reapply sealer or outdoor coating as recommended to keep scratch resistance strong.
📅 Last Updated: October 12, 2026 | Topic: How to prevent scratches on outdoor floors? | Content verified for accuracy and freshness.
References
- https://www.cdc.gov/niosh/topics/cleaning/default.html
- https://extension.umn.edu/yard-and-garden-news/preventing-cracks-and-damage-concrete-sidewalks
- https://www.fda.gov/food/environmental-health-criteria
- https://www.britannica.com/technology/concrete/Protection-of-concrete-from-weathering
- https://www.nps.gov/subjects/historicpreservation/caring-for-masonry-and-mortars.htm
- https://pubmed.ncbi.nlm.nih.gov/?term=prevent+surface+scratches+outdoor+flooring
- Google Scholar Google Scholar
https://scholar.google.com/scholar?q=prevent+scratches+outdoor+concrete+floor+surface+protection - Google Scholar Google Scholar
https://scholar.google.com/scholar?q=outdoor+flooring+scratch+resistance+coatings+research - Google Scholar Google Scholar
https://scholar.google.com/scholar?q=abrasion+resistance+outdoor+floor+materials+study - Household air pollution
https://www.who.int/news-room/fact-sheets/detail/household-air-pollution-and-health

[…] slipping on wood-look tile floors with a tight set of fixes that work immediately: choose the right cleaning routine, keep the surface free of residue, and upgrade traction where it matters most. If you want fewer […]