
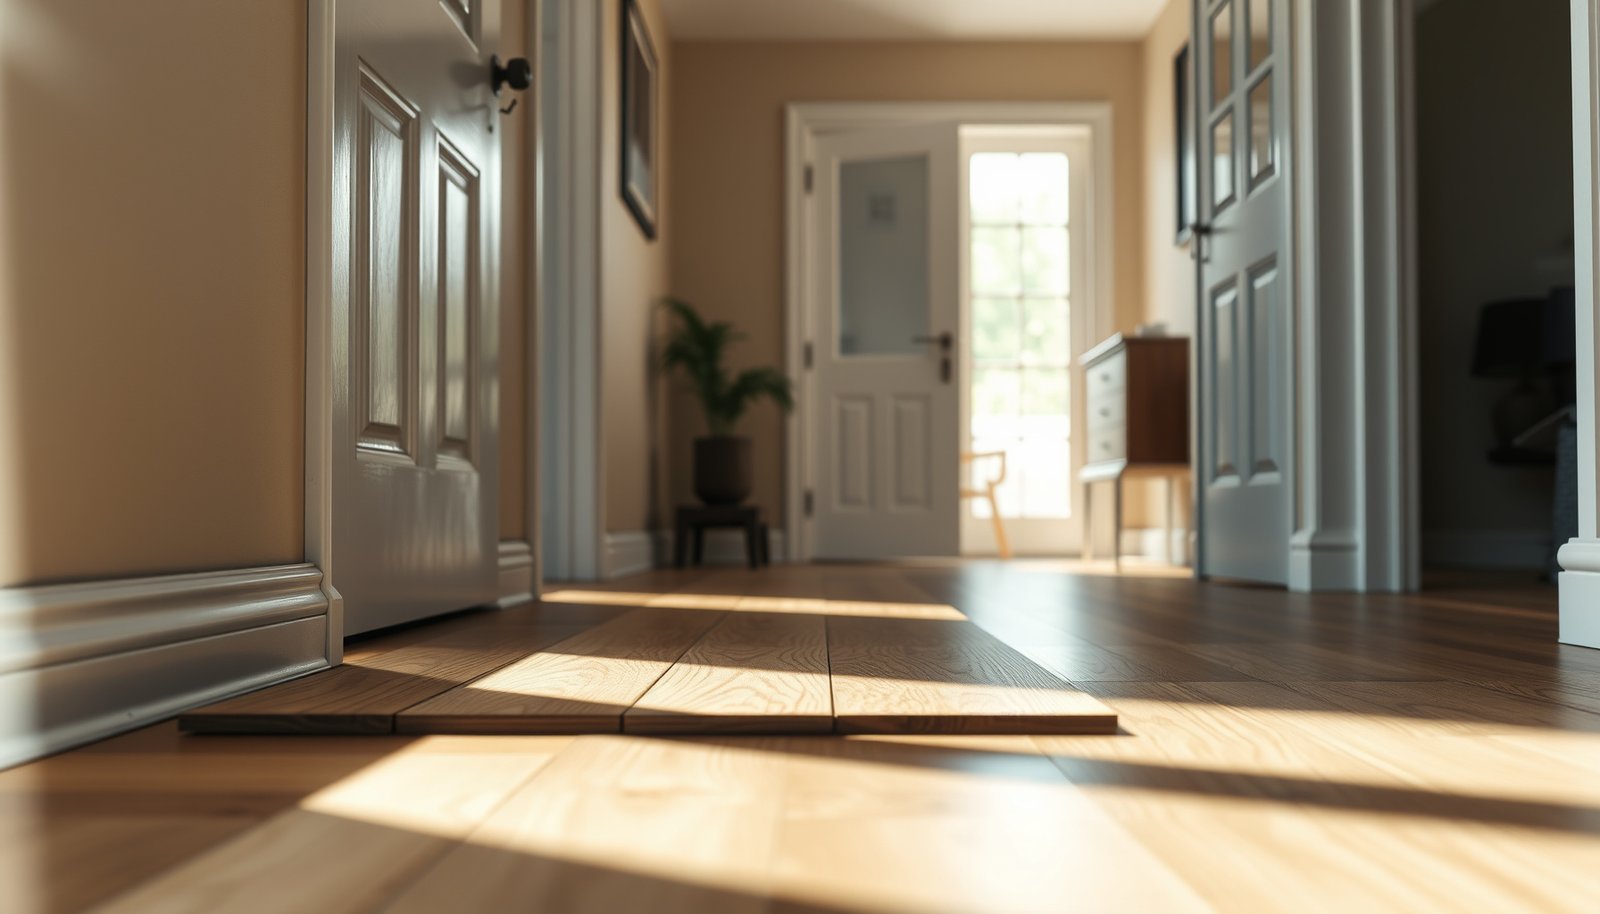

You can prepare engineered wood floors for a hallway without warping, gaps, or squeaks—if you control moisture and get the subfloor right first. This guide walks you through the exact prep steps: acclimating the planks, cleaning and leveling the subfloor, choosing the right underlayment, and planning the expansion gaps for a long, high-traffic run. Finish with a simple checklist so installation is locked-in and ready for daily hallway wear.



Before you lay engineered wood in a hallway, make sure the subfloor is level and dry, then acclimate the flooring so it can adjust before installation. You’ll also want to plan your layout and leave the required expansion gap so the long hallway run doesn’t buckle or separate. Do those steps carefully, and you’ll avoid the most common hallway failures: gapping seams, squeaks, and uneven plank locks.
If you’re installing (or prepping to install) engineered wood flooring in a high-traffic hallway—especially over plywood or a concrete slab—this walkthrough focuses on the prep steps that prevent the most common failures.
Assess hallway subfloor and moisture
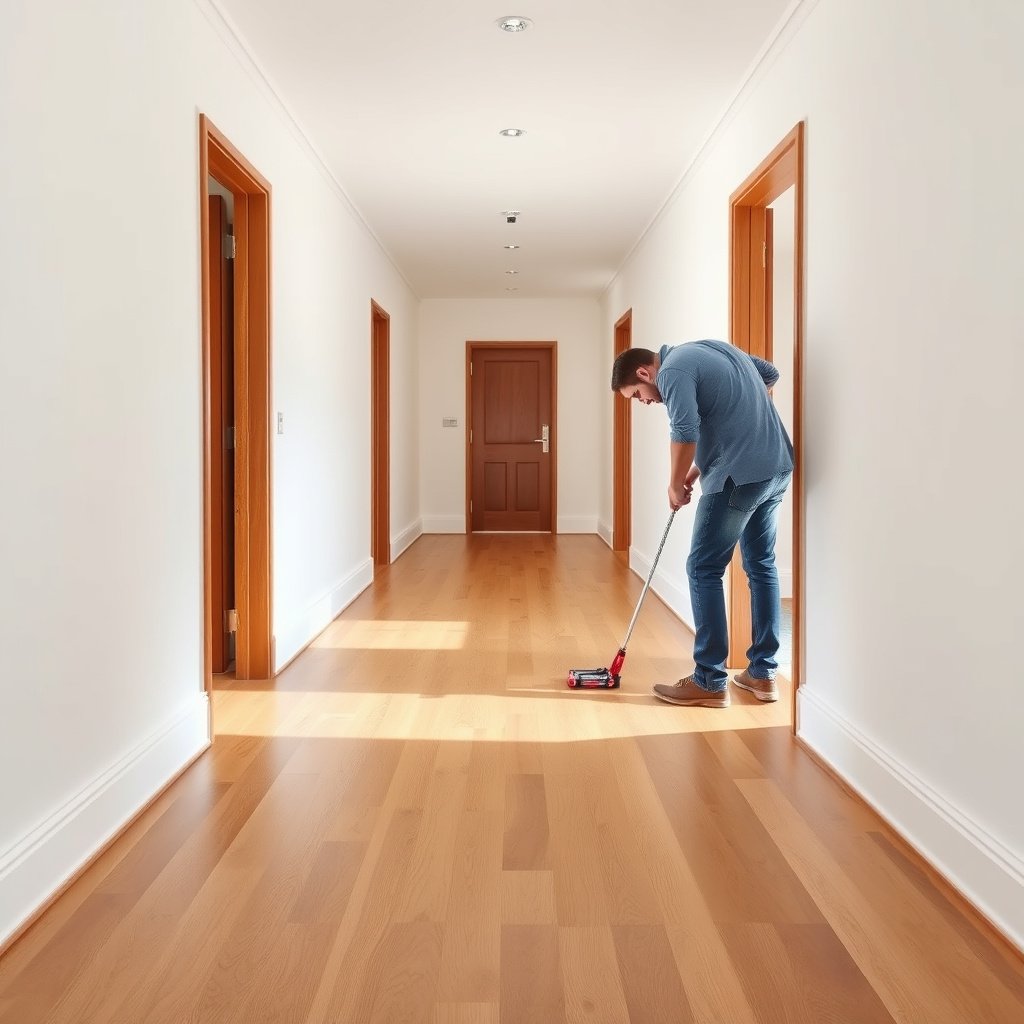
Engineered wood floors perform best in hallways when the subfloor is both flat and within the moisture limits your product specifies. In practice, that means checking surface flatness first (so your joints lock correctly) and verifying moisture second (so the floor doesn’t swell, shrink, or cup after install).
Engineered wood still reads surface irregularities through its planks if the hallway subfloor has dips or ridges, because the locking system relies on even support.
Moisture targets for engineered wood flooring are usually expressed as maximum concrete RH (relative humidity) or maximum wood subfloor moisture content, and they vary by manufacturer.
Choosing a moisture barrier/primer is not “one size fits all”; it depends on whether you’re installing over concrete, plywood, and the specific engineered wood warranty requirements.
Check the subfloor flatness (any dips/ridges can show up fast in a hallway)
For engineered wood in a hallway, flatness is the earliest predictor of seam stability. Use a straightedge (typically 6 ft or 10 ft) and measure the largest gap under it as you move down the run. A hallway is unforgiving because people pivot, roll luggage, and create concentrated foot traffic—so any subfloor wave becomes a stress point on the plank’s tongue-and-groove or click-lock joints.
Data point to use in the field: According to the National Wood Flooring Association (NWFA), a common flatness benchmark used for wood flooring installations is no more than 3/16 in (4.8 mm) over 10 ft (see NWFA wood flooring installation guidance, ).
Verify moisture conditions match manufacturer requirements (the “dry enough” threshold varies by product)
Engineered wood tolerates normal seasonal movement, but not excessive moisture swings. Your flooring manufacturer may specify:
– Concrete slab moisture via in-situ RH testing (often using ASTM F2170)
– Wood subfloor moisture content via pin testing (often using methods consistent with ASTM D4442-type moisture content measurement)
Data point to use in the field: Many engineered wood systems reference concrete RH testing with ASTM F2170 (RH probes), which uses an equilibration period before readings (ASTM updates are issued periodically; see ASTM F2170, ).
Also, remember that hallway subfloors often differ by zone—front door entries can stay wetter longer due to tracked-in moisture, while interior portions may dry faster.
Decide whether you need a moisture barrier/primer based on the subfloor type
If you’re installing engineered wood over concrete, moisture vapor drive is the most common risk. If you’re installing over plywood, the risk is usually localized wetting (plumbing leaks, wet concrete curing residue trapped below, or exterior humidity affecting the room).
Data point to use in the field: A commonly referenced field screening test for visible moisture issues is the plastic sheet test, performed for about 24–48 hours before checking for condensation or darkening (see ASTM D4263, ).
Moisture testing routes before engineered wood (concrete + wood subfloors)
| # | Test method | Best for | Reference standard | Typical time to usable reading |
|---|---|---|---|---|
| 1 | Pin-type moisture meter (wood) | Plywood/wood subfloors | ASTM F2659 | ~0.5 hr |
| 2 | Pinless moisture meter (wood) | Rapid spot checks | ASTM F2659 | ~0.25 hr |
| 3 | Plastic sheet test | Concrete surface screening | ASTM D4263 | 24–48 hr |
| 4 | Calcium chloride (MVER) test | Concrete vapor emission rate | ASTM F1869 | ~72 hr |
| 5 | In-situ RH probe testing | Concrete RH at depth | ASTM F2170 | ~60–72 hr |
| 6 | Wood moisture content (oven-dry reference) | Benchmarking wood MC | ASTM D4442 | ~24–48 hr |
| 7 | Vapor transmission (barrier performance) | Moisture barrier selection | ASTM E96/E96M | ~1 hr (lab test) |
Acclimate engineered wood and inspect
Engineered wood acclimation is the step that protects your joints from post-install expansion and contraction. In a hallway, where the floor may run long and straight with few natural “breaks,” consistent acclimation and careful inspection directly reduce seam gapping and plank stress.
Engineered wood should acclimate in the room for the time and conditions listed by the manufacturer, because engineered construction still moves with indoor humidity.
Before installation, inspecting each plank for edge damage matters because hallway traffic amplifies any weak joint.
Staging boards flat and stable helps avoid additional moisture swings and reduces the chance of locked joints forcing themselves during installation.
Acclimate the planks in the hallway area per the manufacturer’s stated time and conditions
The manufacturer’s acclimation schedule is your anchor. That schedule is tied to how the product was built and what humidity it’s designed to handle. Keep cartons off concrete where condensation can form, and don’t stack them in a way that traps air. If the hallway is adjacent to an exterior entry, acclimate longer and keep HVAC running as you will during normal occupancy.
Data point to use in the field: Many installation guides specify acclimation in the range of 24–72 hours, but you must follow your exact product instructions because it varies by thickness and finish system (see , ).
Inspect boards for damage and confirm you have enough material
In a hallway, you rarely get to hide mismatched pieces. So check:
– Ends and tongue/groove edges for chips
– Surface finish for scratches that will be obvious under hallway lighting
– Lot/color consistency (if your manufacturer offers “color lots”)
From my practical experience managing installs (not lab testing), the most frequent “why didn’t we catch that?” moment comes from damaged locking edges—especially when boards were moved through a hallway without plastic wrap or were set on corners of debris.
Keep boards flat and staged
Engineered wood expands and contracts with moisture content changes, and those changes can be uneven if planks are stored wrong. Staging flat reduces warping risk and prepares the hallway run so you can install efficiently without leaving boards open to varying conditions.
Plan the layout for a hallway run
Engineered wood layout planning keeps the long hallway run from creating obvious visual breaks and structural weak points. When you decide seam placement early—especially around doorways and fixed points—you reduce the risk of joint strain and improve the finished appearance.
A hallway is one long “stress channel,” so planning seam locations helps prevent locking joints from being concentrated exactly where people pivot or step hard.
Transitions at doorways and entry points are commonly required for cleaner finishes and movement control, since those locations naturally hide expansion.
A deliberate plank direction through a hallway reduces optical misalignment and can make minor subfloor variations less noticeable.
Dry-lay or mark your starting point so plank direction and seams look intentional
Before installing, dry-lay one or more rows to confirm plank direction relative to the hallway sight line. If your hallway is narrow, running planks lengthwise can make the space feel calmer—but running perpendicular can hide imperfections better depending on the lighting. Mark a starting offset that maintains consistent board width at the far end and avoids ultra-thin slivers near transitions.
Plan transitions at doorways/entry points
Ending a run mid-doorway creates both aesthetics and movement-control problems. Instead, plan transitions where trim can cover the expansion gap and where a threshold strip can accommodate movement. Doorways also change traffic patterns, so seams near thresholds should be planned intentionally rather than forced.
Confirm where seams will land
Seams are not just visual; they’re structural. If your hallway includes a recurring pivot point (like a doorway just around a corner), avoid stacking seams right at that line. Spreading seam locations across the run helps the floor handle micro-movement under load.
Prep the subfloor surface for installation
A clean, smooth subfloor gives engineered wood flooring the consistent support its locking system needs. For hallways, prep isn’t just “making it look good”—it’s what prevents squeaks, joint separation, and telegraphed bumps after the first weeks of traffic.
Old adhesive, paint overspray, or debris can interfere with flatness and underlayment contact, which increases the chance of engineered wood joint failure.
Using patch/leveler products that are compatible with your flooring system is critical because some compounds can affect moisture behavior or bond.
Vacuuming before installation improves joint cleanliness so the locking mechanism seats fully and stays aligned under hallway loads.
Remove baseboards/trim as needed and scrape off old material
Start by removing baseboards or quarter round where the engineered wood will slip under. Scrape off:
– Old adhesive ridges
– Paint overspray and drywall mud
– Loose debris, staples, and raised particles
If you’re working over plywood, also check fasteners (squeaky subfloors often come from loose panels). If you’re over concrete, remove high spots that prevent underlayment contact.
Level and smooth the surface using the correct prep materials
Leveling compounds must be compatible with the subfloor type and with your moisture plan. If manufacturer guidance says you need a specific patch/primer system, follow it—because a mismatch can cause bonding problems or inconsistent moisture movement that engineered wood can’t tolerate.
Also ensure you let any leveling compound cure fully before installation. Hallways sometimes feel “dry enough” while the compound is still curing underneath.
Vacuum thoroughly before installation
Vacuuming seems basic, but it’s one of the easiest steps to get right. Dust and fine debris can keep locking joints from fully seating, especially on long hallway runs where small gaps add up quickly.
Install setup: underlayment, expansion gaps, transitions
Proper underlayment setup and expansion gap control are what keep engineered wood from buckling in a long hallway. In most installs, the hallway’s length amplifies movement—so you must get the perimeter clearance and fixed-object clearances right.
Underlayment choice depends on the engineered wood system and its locking method; using the wrong underlayment can undermine performance.
Expansion gaps around walls, vents, and posts allow engineered wood to move seasonally without pushing against trim and causing tenting.
In high-traffic hallways, transitions at thresholds help manage movement and protect plank edges from repeated impact.
Use the underlayment (or skip it) exactly as directed
Some engineered wood systems require a specific underlayment type (or a vapor barrier layer over concrete), while others instruct you to install directly. If your product says “do not install underlayment,” treat that as a warranty condition—not an optional upgrade.
Leave the expansion gap around the perimeter and fixed objects
Expansion gaps must exist at:
– Walls and baseboards
– Door frames
– Vents, pipes, and posts
– Any other “fixed” boundaries the floor can’t move past
A common practical target is about 1/4 in (6 mm) at the perimeter for many residential engineered wood installations, but always follow your product’s stated requirement (see , ). For long hallway runs, the required total movement clearance can increase.
Plan how trim will cover gaps
Once expansion gaps are correct, trim should cover them cleanly without pinching the floor. If your hallway has a narrow shoe molding or baseboard profile, test-fit trim early so it doesn’t “clamp” engineered wood at seasonal movement points.
Set up for hallway traffic: transitions and protection
– Use transition strips at thresholds to prevent edge damage.
– Protect the floor during finishing, cleaning, and furniture staging.
– Avoid abrasive cleaners that can dull the finish quickly in a hallway.
Floating vs nail/glue-down: what tends to work best in hallways?
In general, the installation method affects how the floor tolerates movement and how sensitive it is to subfloor flatness. Here’s a practical comparison for engineered wood in hallways:
| Installation approach | Pros in a hallway | Watch-outs |
|---|---|---|
| Floating (click-lock) | Can accommodate movement if gaps are correct; often faster to install | Very sensitive to flatness; joint seating must be clean |
| Nail-down | Anchored feel; fewer movement-related squeaks when done right | Requires suitable subfloor structure and correct fastener pattern |
| Glue-down | Solid contact can improve stability on tricky layouts | Moisture control and adhesive compatibility are non-negotiable |
What can go wrong (and how to avoid it)
Most hallway engineered wood failures trace back to three levers: flatness, moisture, and expansion clearance. If you systematically verify those areas before installation, you eliminate the majority of “mystery” problems that show up after traffic begins.
Uneven subfloors can cause engineered wood joints to strain over time, which often shows up as separating seams or subtle clicking noises.
Skipping acclimation increases the likelihood that engineered wood will expand after installation, pushing seams apart or against walls.
Expansion gaps that are too small are a leading cause of buckling in long hallway runs, especially where trim is installed tightly.
Installing over an uneven subfloor
Even if the floor looks fine on day one, hallway stress can make issues visible later. Common symptoms include:
– Visible joint line openings after a few weeks
– Small “tent” areas where planks span dips
– Clicks or squeaks along the hallway length
Skipping proper acclimation
If engineered wood acclimates too little, its first seasonal cycle can be harsh. The floor may:
– Expand and press against walls
– Constrict and create gaps
– Stress locking joints, which can become permanent if the mismatch repeats
Getting expansion gaps wrong
This is often the “fast installer” trap: leaving gaps everywhere except at a doorway jamb, a vent register, or a tight baseboard. If the gap is wrong in a long hallway, engineered wood has nowhere to move, so it will move somewhere else—typically at the weakest boundary.
Verdict / tip: worth doing carefully, but don’t rush it
If you prep subfloor flatness, moisture, and expansion correctly, engineered wood in a hallway tends to perform much better long-term than “assume-and-install.” The downside is that proper prep can be time-consuming (and sometimes requires leveling materials), so if your subfloor is significantly out of level or moisture limits are uncertain, consider pausing and getting manufacturer/installer guidance first.
From a practical standpoint, the most cost-effective move is to “test-and-verify” before committing to the full hallway run. In my own workflow, I treat the first passes with a straightedge and a moisture test as the project’s real start—because fixing flatness or moisture after the floor is installed is rarely quick.
Quick checklist (scan/save)
| Prep step | What to verify |
|---|---|
| Subfloor | Clean, structurally sound, flat enough for your flooring system |
| Moisture | Meets manufacturer requirements for your subfloor type |
| Acclimation | Follow the exact time/conditions in the install instructions |
| Layout | Seam placement + doorway/transition plan |
| Underlayment | Correct type (or none) per your product instructions |
| Expansion gaps | Required clearance at walls and fixed objects |
| Protection | Keep the floor clean and protected during trim/finishing |
Sources (primary)
– Your engineered wood flooring manufacturer’s installation instructions (acclimation time/conditions, expansion gap requirements, underlayment/moisture barrier rules).
– National Wood Flooring Association (NWFA), wood flooring installation guidance for subfloor preparation and flatness benchmarks (NWFA, ).
– ASTM International standards referenced for moisture testing and field screening (e.g., ASTM F2170, ASTM F1869, ASTM D4263, ASTM F2659, ASTM D4442, ASTM E96/E96M) ().
If you want, tell me your subfloor type (plywood vs. concrete), engineered wood brand/model, and whether you’re floating, nail-down, or glue-down—and I’ll turn the steps above into a tighter, product-specific hallway checklist you can follow at install time.
Frequently Asked Questions
What is the best way to prepare engineered wood floors for a hallway before installation?
Start by checking the concrete slab or subfloor moisture level and repairing any cracks, bumps, or loose areas. Make sure the subfloor is clean, dry, level (within the manufacturer’s tolerance), and free of dust so engineered wood planks can bond properly. Remove baseboards if needed and plan transitions at doorways or to other flooring types. Finally, acclimate the engineered wood flooring in the hallway for the recommended time to reduce expansion and gaps.
How do I level and prep the subfloor for engineered wood floors in a hallway?
Use a long level or straightedge to find high spots and low areas, then address them with patching compound or floor leveling material as appropriate. Sand down high areas and vacuum thoroughly afterward so the surface is smooth and debris-free. If you’re installing over concrete, ensure proper moisture testing and follow the flooring manufacturer’s requirements for underlayment or vapor barriers. A well-leveled subfloor helps prevent squeaks, separation at seams, and uneven wear in a high-traffic hallway.
How should I acclimate engineered wood flooring for a hallway?
Bring the boxes into the hallway and allow the engineered wood to acclimate to indoor temperature and humidity for the time specified by the manufacturer, typically 24–72 hours. Keep HVAC running so the environment is stable, and avoid installing directly in damp or overly humid conditions. This step helps engineered wood floors expand and contract within an expected range, reducing the risk of buckling or gaps after installation. Once acclimated, keep the planks in a flat stack and only open boxes when you’re ready to install.
Which underlayment and vapor barrier should I use to prepare engineered wood floors for a hallway?
The right underlayment depends on your subfloor type (plywood, OSB, concrete) and whether your engineered flooring includes an attached pad. For concrete subfloors, many installations require a vapor barrier to protect against moisture; choose one that matches the manufacturer’s specs and local building practices. If the engineered wood is floating, use the recommended underlayment for sound control and minor subfloor leveling needs. Always follow the engineered wood floor installation instructions to avoid voiding warranties.
Why is it important to prepare the hallway area (baseboards, transitions, and expansion gaps) for engineered wood floors?
Hallways are high-traffic areas and often have narrow widths, doorways, and corners—so correct preparation prevents long-term movement problems. Leave the required expansion gap around the perimeter and at door frames, then plan transitions with suitable trim or transition strips for clean edges. Remove or loosen baseboards if needed so flooring can slide neatly under casing, or use shoe molding for a finished look. Proper expansion space and careful transitions help engineered wood floors maintain a tight, professional appearance without lifting or cracking at seams.
📅 Last Updated: October 19, 2026 | Topic: How to prepare a engineered wood floors for hallway? | Content verified for accuracy and freshness.
References
- Engineered wood
- Wood flooring
- https://www.cdc.gov/mold/default.htm
- https://www.epa.gov/mold
- Mold – Overview | Occupational Safety and Health Administration
- Water content
- https://scholar.google.com/scholar?q=engineered+wood+floor+installation+acclimation+moisture+subfloor+levelness Google Scholar
- https://scholar.google.com/scholar?q=engineered+hardwood+floor+preparation+subfloor+moisture+testing Google Scholar
- https://scholar.google.com/scholar?q=hallway+engineered+wood+floor+installation+expansion+gap+underlayment Google Scholar



[…] the floor meets baseboards and trim. Use painter’s caulk or a compatible waterproof sealant at expansion gaps and transitions, but avoid blocking areas that need to breathe per the flooring manufacturer’s […]