If you’re wondering how to polish reclaimed wood floors, the fastest path to a smooth, high-gloss finish is sanding, stain-matching, then sealing—without skipping the prep that keeps the wood from blotching. This step-by-step guide tells you exactly what to do in order, from cleaning and damage checks to choosing the right grit and final topcoat. Follow these steps and your reclaimed boards will look restored, not just resurfaced.




Polish reclaimed wood floors by cleaning thoroughly, repairing damage, and sanding to a consistent surface before applying a compatible topcoat (if needed), then buffing for a controlled, even sheen. Since polishing can’t close gaps or remove real wear, the prep steps—especially degreasing and surface leveling—determine whether your finish looks bright or patchy.
This guide is for homeowners and DIYers working with reclaimed wood—planks that may already be uneven, weathered, or previously sealed. If your floors are truly unknown (finish type, coating layers, or past repairs), the steps below also show how to proceed safely without making things worse.
Assess the floor first (check wear, finish, and stability)
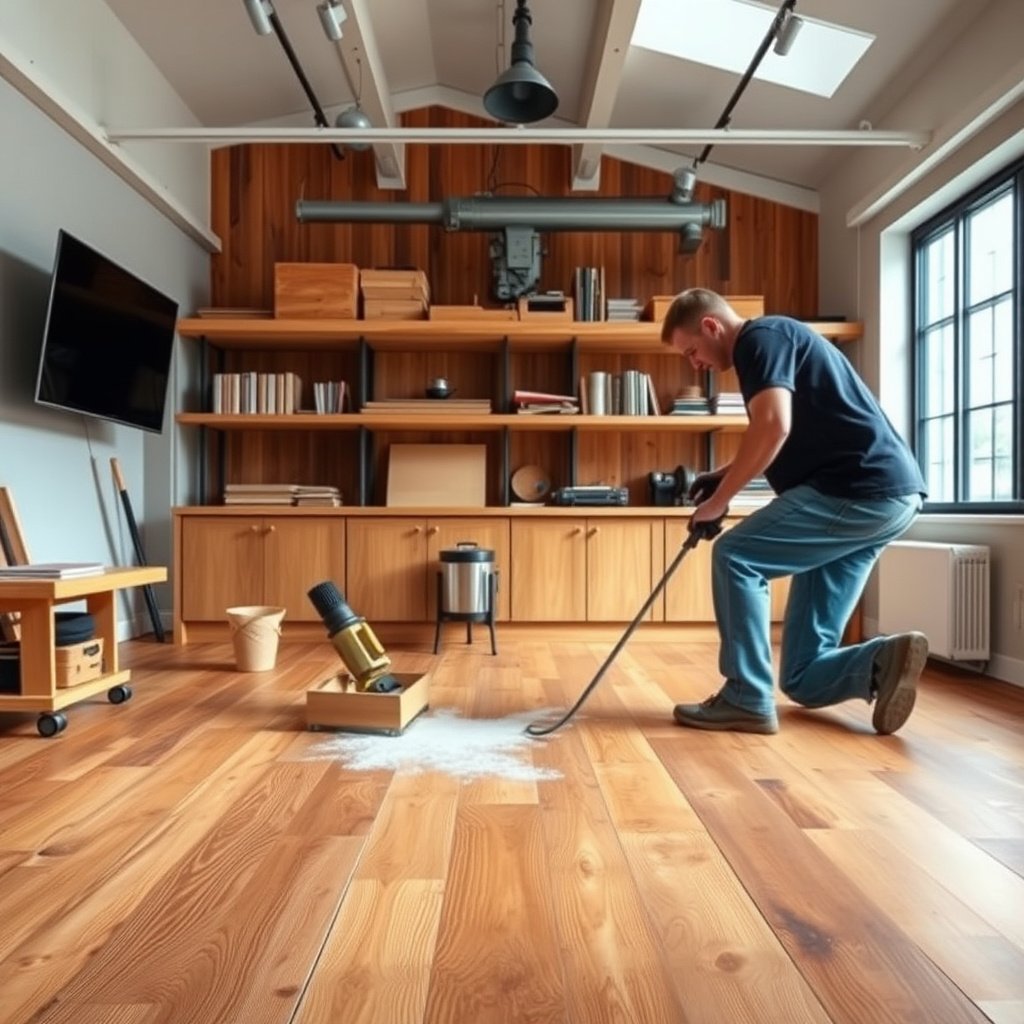
Polishing won’t restore structural integrity; loose boards, cupping, or movement must be corrected before any sanding, coating, or sheen work.
Surface prep and finish compatibility depend on what’s on top (wax, oil, polyurethane, or penetrating stain), so testing a small area is the safest route when the existing finish is unknown.
If residue (especially wax or oily contaminants) remains, many floor coatings won’t bond reliably, leading to peeling, fisheyes, or haze.
– Look for problems that polishing can’t solve: deep scratches, lifting boards, gaps, loose nails/screws, and soft/crumbly areas.
– Identify what’s on top (wax, oil, polyurethane, penetrating stain) because the polishing approach and compatibility depend on the existing finish. If you’re unsure, plan to do a small test patch.
– Confirm the surface is solid—if boards move or the subfloor/fasteners are loose, fix that before sanding or polishing.
Quick “stability reality check” you can do in minutes
Press down along a few boards (near edges and between floor joists if visible) and listen/feel for movement. If the floor flexes, polishing can worsen visual gaps by highlighting edge shadows and thinning fragile high spots. Likewise, any protruding nails should be addressed early—burnishing over metal creates fast pad loading and can mar your surface.
Identify top coatings without guessing (test patches)
If the floor looks “sealed” (uniform gloss, water behavior differences, or film-like feel), treat it as possibly coated until proven otherwise. A conservative approach is to:
1) clean a small area,
2) apply your intended cleaner/polish,
3) wait the full dwell time listed by the product,
4) check for color change, tack, or residue.
According to manufacturer surface-prep guidance, “unknown finish” scenarios require testing to avoid incompatibility symptoms like clouding or peeling .
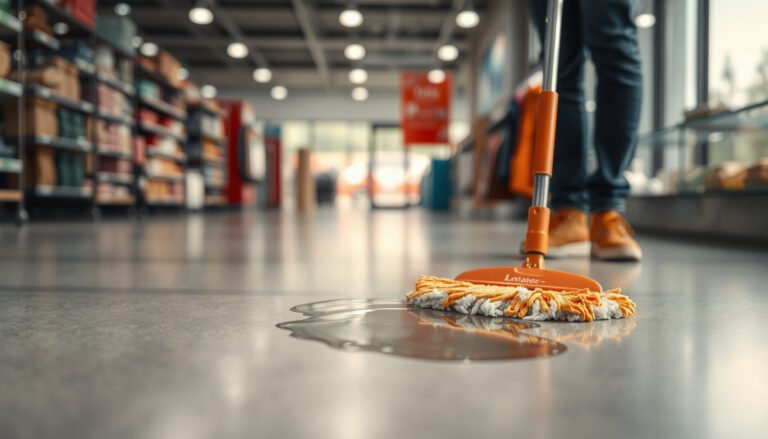
Clean and degrease properly before you touch the finish
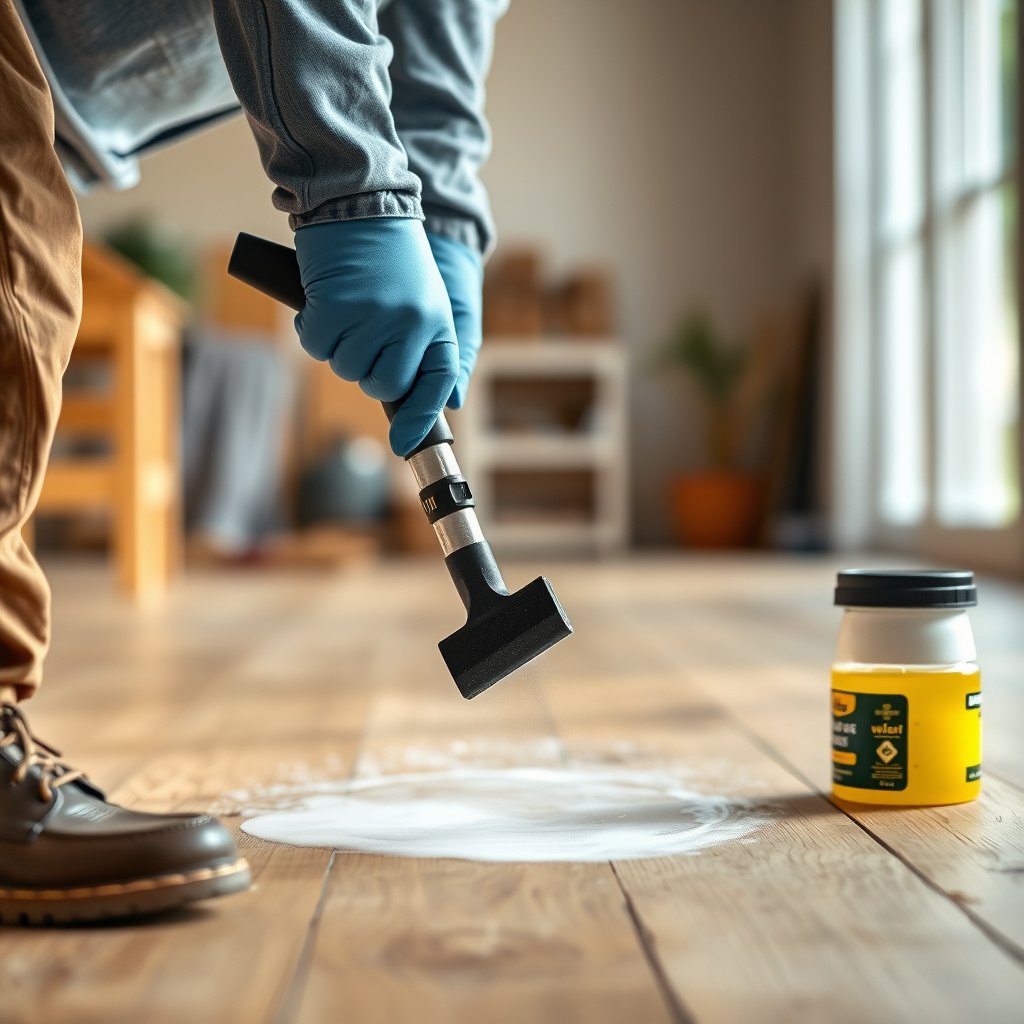
Polishing without degreasing is the fastest way to trap dirt in the gloss and make reclaimed floors look duller, not better. Your goal is a clean, residue-free surface so sanding stays consistent and any topcoat (or maintenance polish) bonds as intended.
Remove all grit before sanding or buffing—embedded particles cause swirl scratches and uneven sheen that polish can’t hide.
Many floor cleaners require dwell time and a final clean-water wipe or neutralization step; skipping rinse/neutralization can leave residue that later turns cloudy.
Oily contaminants can interfere with adhesion of sealers and many polyurethane systems, so degreasing is often necessary before recoat.
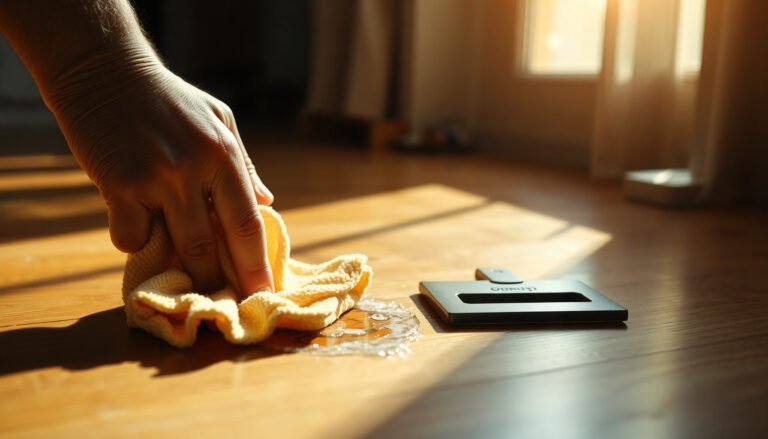
– Sweep/vacuum using a soft attachment, then clean with a wood-appropriate cleaner that won’t leave residue ().
– Remove grit completely—sandpaper and pads wear out fast and can cause swirl scratches if debris remains.
– For heavy build-up (old wax, oily residue), you may need a dedicated stripping/degreasing step—but only use products that won’t damage the wood or the existing finish ().
What “proper cleaning” looks like for reclaimed boards
Reclaimed wood often has:
– embedded sanding dust from prior renovations,
– food/grease film in high-traffic areas,
– patchy old oils or waxes absorbed into pores,
– uneven surface energy (some boards accept products differently).
Plan on cleaning in two phases:
1) General clean (remove everyday soil and dust)
2) Deeper degrease/strip (remove wax films or oily contamination only where needed)
If your goal is just a cosmetic shine on a floor you believe is already sealed, you still need clean water and thorough removal of residue. Cloudiness after “polish” frequently comes from leftover cleaner or buffing compound trapped under a new film layer.
According to surface-prep best practices from professional floor finishing guidance, residue and trapped contaminants can cause haze when coatings cure .
Use the least risky chemical route when the finish is unknown
When the existing coating is unknown, avoid aggressive solvents “just to be safe.” Instead, follow a cleaner/stripper’s compatibility instructions from the product’s documentation. If the documentation doesn’t cover reclaimed/unknown finishes, treat it as a test-patch task.
Repair, sand, and level for an even polish-ready surface
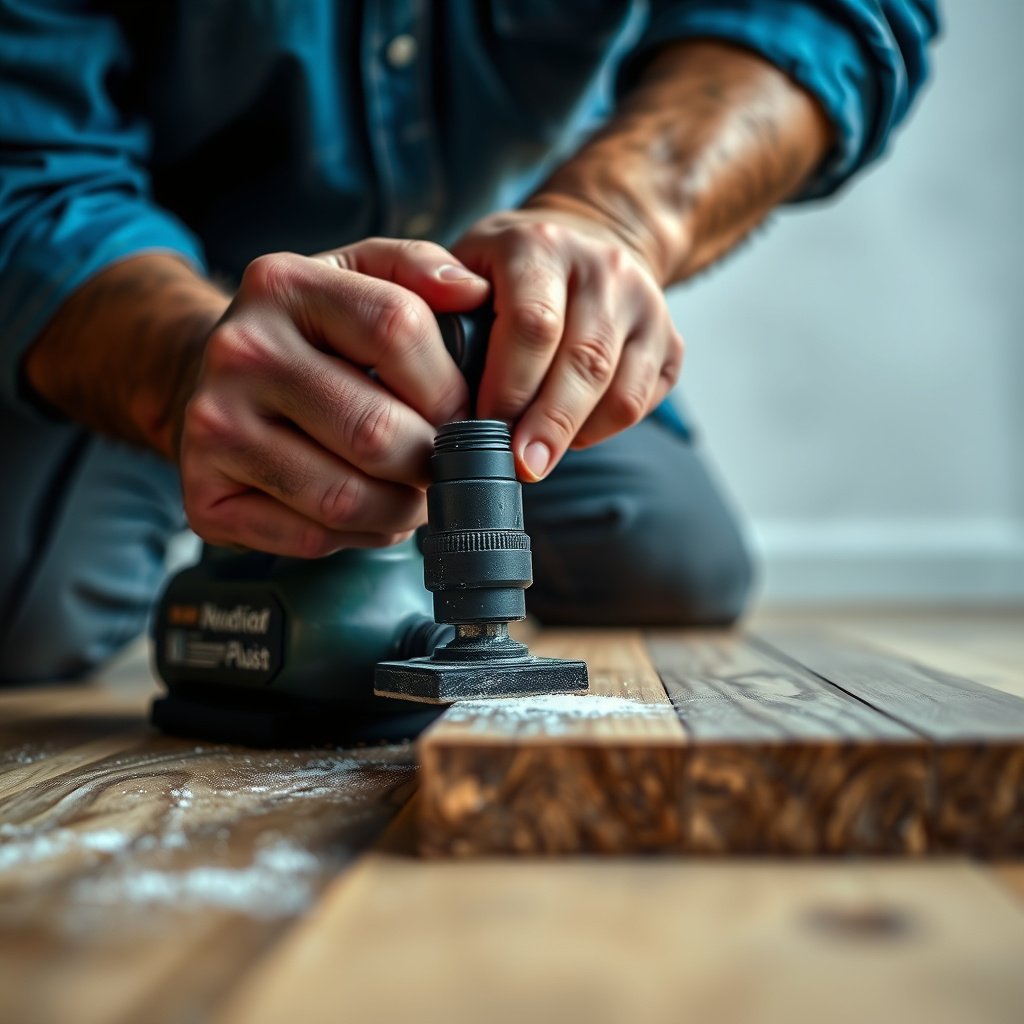
Polishing can enhance a well-prepped surface; it can’t make a rough, dented, or uneven floor look uniformly smooth. Repairing damage and sanding to a consistent surface plane is what prevents blotchy shine and “hot spots” that catch light.
Fill dents and chips, then sand flush—any low spots telegraph through clear coats as dull areas.
Vacuum between sanding stages; dust left behind creates haze and micro-scratches that show strongly once the finish is applied.
Sanding progressively to finer grits reduces visible scratch pattern and improves finish clarity.
– Fill dents and chips with a wood filler matched to the wood tone; let it cure fully, then sand flush.
– Sand progressively to reach a uniform finish plane—start coarser only where needed, then move to finer grits to reduce haze and scratches.
– Vacuum between sanding stages and use a tack cloth if appropriate so the next layer adheres cleanly ().
A practical grit progression for reclaimed wood prep
Even though every floor is different, the logic stays consistent: remove damage at the right level, then refine scratches so the topcoat looks clean instead of textured.
Typical Sanding Grit Progression for Reclaimed Wood Floors (DIY Prep)
| # | Sanding grit | Primary purpose | Scratch refinement | Prep clarity score |
|---|---|---|---|---|
| 1 | 60 | Level severe ridges/damage | High | ★★☆☆☆ |
| 2 | 80 | Remove 60-grit marks | Medium-high | ★★★☆☆ |
| 3 | 100 | Refine surface before finer grits | Medium | ★★★★☆ |
| 4 | 120 | Reduce scratch visibility | Medium-low | ★★★★★ |
| 5 | 150 | Polish-ready refinement | Low | ★★★★☆ |
| 6 | 180 | Light leveling / haze control | Very low | ★★★★☆ |
| 7 | 220 | Final smoothing for high-gloss systems | Minimal | ★★★☆☆ |
Tack cloth: when it helps (and when it doesn’t)
Tack cloth can improve adhesion by removing fine dust, but it also needs to be used correctly. If it leaves fibers or contamination in high-traffic areas, your finish may trap debris and look uneven. Follow the finish manufacturer’s dust-removal guidance .
Choose the right topcoat (and use polish the correct way)
Polishing is not always the “finish,” especially on reclaimed wood floors that need sealing and protection. After sanding, you typically choose a compatible topcoat system; then you use polish or buffing products only after the coating cures fully and per manufacturer directions.
A protective topcoat (polyurethane, varnish, or oil system) is usually what resists everyday abrasion; polishing alone usually doesn’t seal the wood long-term.
Compatibility matters: recoating over an incompatible existing finish can cause clouding, tackiness, or peeling.
Buff/polish products are maintenance tools; they should be used after cure, not as a substitute for proper surface sealing.
– If you need a refreshed, durable surface, plan on applying a compatible finish/topcoat after sanding; polishing alone typically isn’t enough for sealing and protection.
– Use a product system that matches the existing finish type (especially if the floor was previously sealed). Mixing incompatible finishes can turn cloudy, peel, or stay tacky ().
– After the finish cures, buff/polish only as directed—over-polishing can burnish soft areas, highlight unevenness, or create a slippery surface.
Match topcoat chemistry to the existing coating type
In real floors, “finish types” usually fall into categories like:
– Film-forming sealers (often polyurethane/varnish/similar)
– Hardwax/oil systems (penetrating oils with wax top layers)
– Wax-only layers (common on older floors)
– Penetrating stains under a film or oil system
If you don’t know what you have, your safest path is conservative: do minimal exposure to strong solvents, test recoat behavior in an inconspicuous area, and follow manufacturer compatibility charts .
Compatibility guidance you should write down before you start
Before opening multiple products, create a single line plan:
– Existing surface type (unknown until tested)
– Cleaner/degreaser chosen (for that surface)
– Primer/sealer needed (if any)
– Topcoat type
– Maintenance polish type (only if the topcoat documentation allows it)
This reduces the common “it looked fine for a week” scenario that later turns into haze or adhesion failure.
Buffing and polishing: how to get shine without creating scratches
Polishing should refine the cured surface, not erase sanding problems. Use controlled pressure, clean pads, and the manufacturer’s recommended approach so you gain clarity without manufacturing scratches or adding residue.
Clean pads and light pressure reduce swirl scratches; when pads load up with grit, they can burnish contaminants into the finish.
Heat from aggressive buffing can distort or scorch softer woods or partially cured coatings, so follow speed and timing limits.
Edges and corners often show dullness first because pad contact is uneven near baseboards and floor perimeter areas.
– Start with light pressure and work in sections; keep pads clean and change them before grit builds up.
– Avoid high-speed tools on thin or fragile reclaimed boards—heat and aggressive pads can cause scorching or uneven sheen.
– Keep edges and corners in mind: floors often look “done” in the center but dull near baseboards due to uneven pad contact.
A simple, controlled buffing routine
1. Wait for cure (follow the topcoat’s “full cure” time; don’t rush).
2. Use the right pad (the topcoat system’s documentation usually specifies pad type or polishing compound).
3. Work in overlaps (consistent passes prevent striping).
4. Inspect under angled light (you’ll spot haze and uneven sheen faster this way).
According to finish maintenance guidance from coating manufacturers, polishing should be delayed until the coating reaches the cure state required for mechanical abrasion .
What can go wrong (and how to avoid it)
Most reclaimed-floor “polish fails” come from skipped prep, product incompatibility, or sanding that wasn’t consistent. If you see haze, peeling, or blotchy shine, the cause is usually earlier than the final buffing step.
If you polish over residue (wax, oily film, or cleaner left behind), the shine can trap contaminants and look worse after buffing.
Recoating over the wrong existing finish can produce adhesion failure, clouding, or persistent tack.
Uneven sanding shows up immediately once a clear topcoat and polish settle, because light highlights low and high boards.
– “Polishing” old grime: if you skip degreasing, the shine can trap dirt and look worse after buffing.
– Compatibility problems: applying a new finish over the wrong existing coating can cause peeling, clouding, or poor adhesion ().
– Uneven sanding: inconsistent grit or missed spots can cause blotchiness once the topcoat and shine settle.
– Over-waxing/over-buffing: too much residue or repeated buffing can create a hazy film rather than clarity—follow product directions closely.
– Skipping stabilization: if boards are loose or cupped, polishing will not fix the root issue and may worsen perceived gaps.
Pros/cons: polishing-first vs. prep-first
- Polishing-first (only buffing)
- Pros: Fastest for already sealed, clean floors.
Cons: Won’t remove absorbed residue, won’t level dents, and can magnify scratches under gloss. - Prep-first (clean → repair → sand → compatible finish → light buff)
- Pros: More uniform sheen and better long-term protection.
Cons: More time, dust control, and higher risk if you pick an incompatible topcoat system.
If you’re unsure about existing coatings, prep-first still can work—but it requires careful testing and compatibility checks.
Verdict / tip (who should—or shouldn’t—polish reclaimed wood floors this way)
This approach is the safest DIY path when your reclaimed floors are stable and you want improved protection plus a cleaner, brighter look. Skip or pause if you suspect structural movement, uncertain (problematic) old coatings, or severe damage—because polishing over major issues often creates patchy sheen, faster wear, or finish failure.
Polishing can’t correct loose boards or structural movement, so stabilization should happen before sanding or topcoats.
When finish type is unknown, a conservative test patch prevents common failure modes like tackiness, peeling, and persistent haze.
This method is safest when you can:
– clean and degrease successfully,
– repair dents/chips,
– sand to an even plane,
– apply a compatible topcoat system (or follow maintenance polish instructions that match the existing finish).
It’s not the right choice if:
– boards are actively lifting or the subfloor is unstable,
– the surface is severely soft/crumbly (sanding won’t create a durable base),
– previous coatings are likely incompatible and you don’t have time to test safely.
As of 2026, most reputable floor finishing systems still emphasize the same core workflow: surface prep + compatibility + correct cure time + maintenance buffing, not “polish-only recovery” .
Quick scan checklist (save this)
– [ ] Check for loose boards, gaps, lifting, and deep damage
– [ ] Identify what’s on top (wax/oil/sealant/unknown)
– [ ] Sweep/vacuum thoroughly and degrease appropriately
– [ ] Repair dents/chips; sand to an even surface
– [ ] Apply a compatible finish/topcoat (if needed)
– [ ] Let cure fully, then buff/polish lightly per directions
– [ ] Clean pads/tools and work in small sections
Sources
Polishing reclaimed wood floors delivers the best results when you treat it as the final step of a full system—cleaning and degreasing first, repairing damage, sanding to a consistent surface, and using a finish (when needed) that’s compatible with what’s already there. If you do the prep carefully and buff only after full cure, you get a controlled shine that looks even and lasts longer; if you skip stability checks or compatibility testing, the same shine can turn into haze, patchiness, or premature wear.
Frequently Asked Questions
How do I prep reclaimed wood floors before polishing?
Start by thoroughly cleaning the reclaimed wood floor, removing dust, debris, and old wax or sealants. Inspect for protruding nails or staples, and sand those spots down so the surface is level. If the floor has heavy grime or uneven finish, a deeper cleaning or light sanding can help the wood polish absorb evenly. After prep, let the floor fully dry before polishing to avoid hazy results.
What’s the best way to polish reclaimed wood floors without damaging the patina?
Use a step-by-step sanding and finishing approach rather than aggressive polishing alone, since reclaimed wood can be softer and more variable than new lumber. Start with a medium-grit sandpaper to smooth the surface, then progress to finer grits to reduce scratches before applying polish or sealant. Choose a finish designed for reclaimed or hardwood floors, and test in an inconspicuous area to preserve the wood’s character. Avoid high-speed polishing with coarse pads, which can burnish or gouge uneven boards.
Which grit sandpaper should I use to polish a reclaimed wood floor?
A common approach is to begin around 60–80 grit to flatten ridges and remove old finish, then move to 100–120 grit for smoothing. Finish the process with 150–220 grit so the reclaimed wood surface is ready for stain touch-ups (if needed) and a protective topcoat. The goal is consistent leveling between boards and a uniform surface so your polishing compound or floor polish bonds correctly. Always vacuum thoroughly between grits to prevent sandpaper scratches from showing through.
Why do reclaimed wood floors look cloudy after polishing, and how do I fix it?
Cloudiness often comes from trapped moisture, applying polish over dust, or using the wrong product for the existing finish. If the floor looks hazy, let it fully dry and remove the cloudy film with a gentle cleaner or light abrasion, then reapply with a compatible polishing product. For persistent haze, a thin re-sanding and fresh topcoat may be necessary to restore clarity. Testing a small area first is the best way to prevent cloudiness on reclaimed wood.
How do I choose the right polish or finish for reclaimed wood floors?
Choose a product compatible with the floor’s current coating—whether it’s bare wood, an oil-based finish, or an old sealant—because mismatched finishes can peel or haze. For reclaimed wood floors that need warmth and depth, water-based polyurethane or penetrating oil finishes are popular choices, depending on your desired sheen. If you want a low-maintenance solution, select a floor polish or topcoat specifically labeled for hardwood floors and interior traffic. When in doubt, test the product on a hidden section to confirm adhesion, color, and final sheen.
📅 Last Updated: October 15, 2026 | Topic: How to polish reclaimed wood floors? | Content verified for accuracy and freshness.
References
- Wood finishing
- Sandpaper
- https://www.fpl.fs.fed.us/documnts/fplgtr/fplgtr190.pdf
- Lead Renovation, Repair and Painting Program | US EPA
- Lead – Overview | Occupational Safety and Health Administration
- About Childhood Lead Poisoning Prevention | Childhood Lead Poisoning Prevention | CDC
- https://www.cdc.gov/niosh/topics/wooddust/
- https://scholar.google.com/scholar?q=reclaimed+wood+floor+sanding+refinishing Google Scholar
- https://scholar.google.com/scholar?q=wood+floor+surface+preparation+sanding+finishing Google Scholar
- https://scholar.google.com/scholar?q=lead+paint+sanding+wood+floor+work+practices+guidelines Google Scholar