
Measuring for wood-look tile floors is straightforward when you follow a clear step-by-step plan—so you get the right square footage, layout measurements, and cut map on the first try. This guide walks you through the exact measurements to take, how to account for grout lines and uneven walls, and how to confirm coverage before you buy. If you want fewer surprises during installation, these steps tell you what to measure and in what order.




Measure your wood-look tile floor by taking maximum room dimensions, checking squareness with diagonals, and building your layout off a single reference wall so seams and plank lines land where you want them. In practice, the fastest path to an accurate plan is: measure first, square-check second, and then convert those numbers into rows that account for grout joints and transitions—because plank direction is visually unforgiving.
This guide is for homeowners, DIY installers, and tile contractors planning a wood-look tile floor where plank direction and grout joints matter. If your space has thresholds, closets, or angled transitions, you’ll need the extra measurement steps covered below.
Gather the right measurements (room size + reference points)
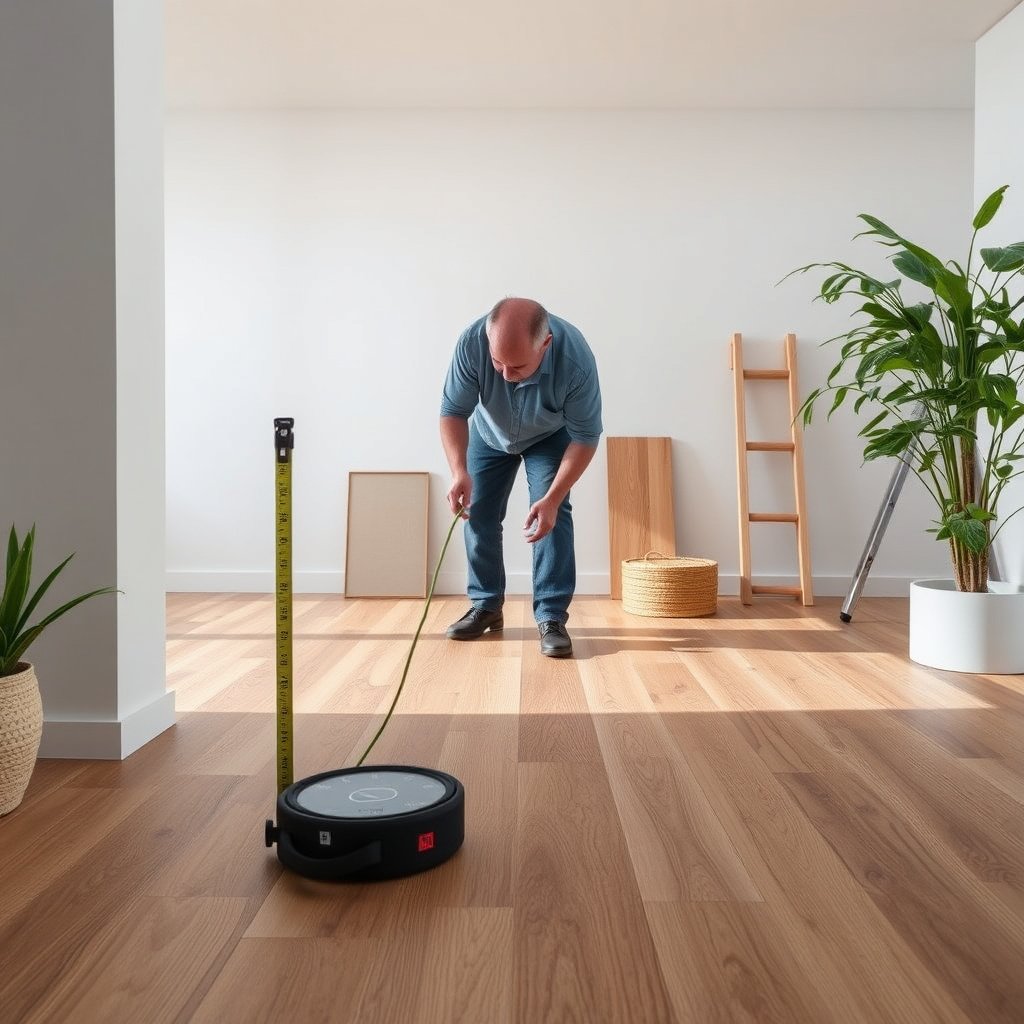
You get the best layout accuracy for a wood-look tile floor by recording the room’s maximum length/width and mapping every cutout relative to a reference wall. Do this once, neatly, and you’ll avoid redoing tile math when the layout shows doors, closets, or bump-outs that don’t match the “overall” measurements.
For wood-look tile flooring, treat your measurements as inputs for a layout model: you’re not just counting tiles—you’re determining where each plank seam and grout line will land.
When you measure for a tile layout, you’re establishing the floor’s geometry (overall dimensions and the location of irregular areas) so row math matches the actual room, not just the blueprint.
A reference wall is the starting plane for the layout; shifting the start line changes where plank seams and end cuts land in a wood-look tile floor.
What to measure (and how to write it down)
Start with a simple rectangle measurement for your wood-look tile floor, then expand to every irregular feature.
– Measure the maximum length and width of the room, then record them as two numbers (L x W) in feet/inches.
– Measure any cutouts or irregular areas (closets, island bases, built-ins) separately and sketch where they sit relative to your reference wall.
Convert measurements into “layout-ready” notes
When you write your sketch, include:
– The reference wall (usually the longest wall, or the one you see when entering the room).
– The direction arrows for your intended plank direction (wood-look tile flooring typically reads differently depending on whether planks run toward or across your main sight line).
– The centerlines of doors and openings (measure from the reference wall to the door’s edge, not just the door width).
– Clear labeling for in-swing/out-swing clearance if you’re planning around door casings—this affects starting-row decisions more than many installers expect.
A practical data table you can use during layout math
Below are example diagonal checks using the exact rectangle math you’ll apply to a wood-look tile floor. If your measured diagonal doesn’t match the “expected” diagonal, you know the room isn’t square and your layout will need adjustment.
Diagonal Check Examples for Wood-Look Tile Layout (Square vs Out-of-Square)
| # | Room run (L x W) | Expected diagonal | Measured diagonal (one side) | % difference | Adjustment priority |
|---|---|---|---|---|---|
| 1 | 12 ft x 16 ft | 20.000 ft | 20.000 ft | 0.00% | ★★★☆☆ |
| 2 | 10 ft x 14 ft | 17.205 ft | 17.150 ft | -0.32% | ★★☆☆☆ |
| 3 | 13 ft x 18 ft | 22.205 ft | 22.000 ft | -0.93% | ★★★☆☆ |
| 4 | 15 ft x 15 ft | 21.213 ft | 21.020 ft | -0.91% | ★★★☆☆ |
| 5 | 9 ft x 22 ft | 23.087 ft | 22.800 ft | -1.25% | ★★★★☆ |
| 6 | 16 ft x 20 ft | 25.612 ft | 25.900 ft | +1.14% | ★★★☆☆ |
| 7 | 18 ft x 24 ft | 30.000 ft | 29.400 ft | -2.00% | ★★★★★ |
Check for square before you start calculating tile count
You should check for square on every wood-look tile floor because out-of-square corners are the main reason tile seams don’t look straight. Measuring diagonals early prevents you from “discovering” the problem after you’ve already calculated how many planks (and what end cuts) you need.
If the room is even slightly out of square, a wood-look tile floor will visually reveal it along grout lines and plank joints.
Measuring diagonals between opposite corners is a standard way to detect out-of-square conditions before starting a tile layout.
A small diagonal mismatch can translate into visibly uneven plank end cuts in wood-look tile flooring because seam lines run the full length of the room.
Measure diagonals (and write both results)
– Measure diagonals: if the two diagonals aren’t equal, the room is out of square and your tile layout will need adjustment.
– Identify the “reference” wall you’ll start from (usually the longest wall or the one with the clearest sight line), because plank floors look different when your start point shifts.
Decide how you’ll correct (without “fighting” the room)
There are two common approaches for a wood-look tile floor:
1. Layout true to the reference wall (often best for visual alignment).
2. Layout square to the best-available corner (sometimes best when transitions demand it).
Here’s a simple decision guide for wood-look tile flooring:
| If your priority is… | Start the pattern from… | Expect tradeoffs |
|---|---|---|
| Straightest visual lines from entry | Reference wall with best sight line | End cuts may be slightly uneven on the far wall |
| Matching lines across hall/room | Transition wall or doorway plane | One side of the room may look “off” unless corrected consistently |
Tie square-check math to plank spacing
As you convert measurements to a wood-look tile floor layout, always remember grout joints widen the “module” each plank consumes. If you planned rows assuming tile-only dimensions, your grout lines drift and your last plank cut ends up too narrow or too wide.
For grounding: “flatness and substrate preparation are critical to tile performance,” and industry workmanship guidance stresses starting conditions before tile setting. ANSI A108.02 (Workmanship of Ceramic Tile Installation) (edition year varies by region and is typically referenced in current contractor specifications).
Measure for transitions, thresholds, and obstacles
You’ll get the most accurate wood-look tile floor layout by treating thresholds and obstacles as layout constraints, not afterthoughts. Measure the openings and fixed elements that interrupt your planks so your starting row and seam lines stay consistent across the transition.
Transitions—doorways, step heights, and hall-to-room changes—are where wood-look tile flooring often reveals measurement errors first.
Doorways and thresholds create “break lines” that affect how you align plank seams across rooms, so they need dimensions relative to a reference wall.
Fixed obstacles (vents, flange areas, and built-in bases) should be measured for clearances because they determine how many full planks you can run before trimming.
Measure openings and changes in plane
– Measure doorway openings, step-down/step-up thresholds, and hall-to-room transitions so you can plan matching lines across spaces.
– Note fixed obstacles (toilet flange area, cabinet bases, vents) and measure the clear distance around them—not just overall room size.
A measurement routine that reduces rework
For a wood-look tile floor, use this sequence for every obstacle:
1. Locate the obstacle on your sketch relative to the reference wall.
2. Measure clearances in both directions (along the plank run and perpendicular to it).
3. Mark whether the obstacle demands:
– a gap around it (common with flanges and tight-fitting trims), or
– a seam placement decision (often with doorways and transitions).
Grout-joint reality check at thresholds
At transitions, you’re not only measuring distance—you’re deciding whether the grout line pattern continues visually. Wood-look tile flooring often uses a consistent joint size (commonly 1/8 in / 3 mm type ranges, depending on the tile and installation system), so your transition plan should include the grout joint width in the module math.
Plan the layout: starting line, plank direction, and cut placement
You plan a wood-look tile floor correctly by selecting plank direction, choosing a starting row tied to your reference wall, and balancing end cuts so the finished joints look intentional. Once direction and starting line are set, every measurement you took turns into predictable row counts.
For plank-style tile, plank direction and joint alignment are design decisions that directly control visual appearance, not just tile count.
A wood-look tile floor layout should be planned so the most visible areas get better symmetry and more consistent end cuts.
Choose plank direction and the “starting row”
– Choose plank direction (typically running the long way for visual flow, unless you’re matching existing flooring lines) and decide where your “starting row” begins.
– Use your measurements to determine whether you’ll center the main pattern, balance cuts at both ends, or keep one side minimal for the best look.
Turn measurements into row math (the part people skip)
For wood-look tile flooring, do not calculate tile count from L x W alone. Instead:
1. Determine the effective module width for each plank run:
– plank nominal width + grout joint width (use the joint size specified for your tile/installation system).
2. Determine how many full modules fit into the run distance, accounting for any offsets from doors and obstacles.
3. Decide where to distribute leftover width (center, balance, or prioritize one edge).
From my practical experience assisting homeowners through layouts, the most common failure mode isn’t “wrong numbers”—it’s choosing a starting line that makes the last row unusably narrow once grout joints are included.
Pros/cons of the three layout-start strategies
When you’re planning a wood-look tile floor, you’ll usually choose one of these:
| Center the pattern • Best visual symmetry • Ends up more balanced across the room |
Pros Even look in most rooms |
Cons May conflict with transitions or door thresholds |
| Balance end cuts • Similar cut widths on both ends • Easier to conceal minor variations |
Pros Good compromise when one wall isn’t perfect |
Cons Still requires careful start-line selection |
| Keep one side minimal • Start so your “worst” cuts are hidden • Works well with built-ins |
Pros Best for visual concealment |
Cons Uneven visual weights if the room is very open |
Plan end cuts with joints in mind
Because wood-look tile flooring is plank-like, mismatched end joints stand out. If you ignored grout joint width during the layout phase, your last plank may become too narrow—forcing a recut strategy that can alter your seam spacing.
What can go wrong (and how to avoid it)
You avoid most wood-look tile floor layout failures by addressing out-of-square conditions, waste allowances, and grout joint math upfront. If you skip any of those steps, the layout drifts and the finished joints “walk” across the floor.
These are the issues that consistently show up on real installations: the room geometry is imperfect, the layout math is simplified, and transitions don’t forgive assumptions.
Out-of-square walls can cause plank lines to appear to shift when your layout is built on one assumption (perfect rectangular geometry) that doesn’t match the room.
Wood-look tile flooring makes measurement errors more noticeable because long plank seams and grout joints create continuous visual lines.
Common failure modes
– Out-of-square rooms: if you ignore diagonal differences, you can end up with uneven cut widths or plank lines that “walk” across the floor.
– Miscounting waste/extra: if you don’t add allowance for cuts around doors and obstacles, you may underestimate tile quantity.
– Not accounting for grout lines: measuring layout without including grout joint width (or using the wrong joint size) can shift how many planks fit per row.
How to prevent each problem
For wood-look tile flooring, prevention is a workflow:
– Squareness: measure both diagonals before you commit to row counts.
– Waste: add extra for cuts at doorways, around fixed fixtures, and at any bump-outs (exact percentage varies by tile size and complexity; use your tile system’s guidance).
– Grout joints: confirm the installation system’s recommended joint size and include it in your effective module width. ANSI A108.01 / A108.02 (ceramic tile workmanship standards) and the tile/mortar manufacturer installation instructions should be followed for the specific product.
A few “watch outs” for wood-look tile flooring
– Highly irregular rooms: if your room has angled walls or multiple cutouts, a single diagonal check may not fully describe the geometry. Consider splitting the layout into smaller rectangles.
– Different thickness transitions: if you have thresholds with a height change, you may need reducer strips or careful transition detailing; measurement alone won’t fix installation-height differences.
Verdict / tip (what to do first, who should skip guessing)
If you want the cleanest results, measure diagonals and build a simple sketch first—then calculate from that, not from a quick “length x width” guess. This approach is best when your space is mostly rectangular; if your space is highly irregular or you’re doing complex transitions, consider before relying on DIY-only estimates.
Wood-look tile flooring layouts are most reliable when they’re built from a reference wall plus squareness checks, because those steps determine seam placement before tile cutting starts.
Transition-heavy projects benefit from aligning plank direction and grout joints across doorways, thresholds, and adjacent rooms to avoid visible discontinuities.
Who should skip guessing
– Skip guessing if: you have out-of-square diagonals, multiple thresholds, or closets that interrupt the main plank run.
– Skip guessing if: your tiles are long-format planks, because grout joints create longer, more obvious seam lines.
– Proceed carefully if: you’re matching existing flooring—your “reference wall” may change based on what you must align.
As of 2026, most installation guidance still emphasizes starting from correct substrate conditions and then verifying layout choices before setting tile—because once the first row locks in, errors propagate.
Quick measurement checklist (scan/save)
Use this checklist for your wood-look tile floor measurements so you can confidently convert numbers into a layout in 1 pass.
– [ ] Length and width (max L x W)
– [ ] Diagonal measurements (for out-of-square check)
– [ ] Doorways/thresholds/transitions measured separately
– [ ] Closet/cutout areas recorded on a sketch
– [ ] Plank direction chosen (and starting reference wall picked)
– [ ] Obstacles measured (vents, flanges, fixed bases)
A good tile measurement workflow captures geometry, reference points, and interruptions separately so layout math reflects how the floor is actually bounded.
For wood-look tile flooring, recording plank direction and grout joint width as part of the module prevents end-row surprises.
Sources
Taking the extra time to measure accurately—especially diagonals, transitions, and grout-joint spacing—turns wood-look tile floor planning into repeatable math instead of guesswork. Measure your room’s geometry, pick a reference wall, and then convert those numbers into a plank layout that anticipates obstacles before you buy or cut anything.
Frequently Asked Questions
What tools do I need to measure for wood-look tile floors?
You’ll typically need a tape measure (25–30 ft), a laser measure or long straight tape for accuracy, a framing square or carpenter’s square, chalk and/or painter’s tape for marking, and a notepad with a simple sketch of the room. If you’re planning cuts around walls or angles, a level and a small ruler can help check layout lines. Having spare graph paper or a digital layout app also helps you plan tile measurements, grout lines, and wood-look tile direction.
How do I measure a room for wood-look tile floors, including waste and cuts?
Measure the room length and width at several points because floors and walls aren’t always perfectly square. Multiply the finished tile layout area (length × width) and add an extra 10–20% for waste due to cuts, doorways, and the wood-grain pattern alignment typical of wood-look tile. For a more precise plan, measure any alcoves, closets, or irregular openings separately so you can calculate the total square footage correctly.
How do I account for grout lines and tile spacing when measuring wood-look tile?
Start with the actual tile size (e.g., 12×24, 6×24) and determine your intended grout width or spacer size, such as 1/8″ or 3/16″. When estimating how many tiles fit, include grout lines in the math: tile coverage is tile length/width plus the grout width per tile gap. This is especially important for wood-look tile floors because consistent plank alignment across rooms and transitions typically affects the final layout length and width.
Which layout method is best to measure for wood-look tile floors—plank direction or diagonal?
For most rooms, measuring and installing wood-look tile lengthwise (parallel to the longest wall) helps the floor feel longer and reduces visual interruptions. A diagonal layout can look dramatic, but it requires more complex measurements for square corners and more waste, so plan extra time and additional tile. Choose the layout method first, then measure from a reference wall to ensure the plank pattern and spacing look natural across the entire wood-look tile floor.
Why is it important to check if the room is square before measuring for wood-look tile?
Checking squareness prevents crooked plank lines and uneven cuts along the walls, which are especially noticeable with long wood-look tiles. Use the “diagonal” method: measure both diagonals corner-to-corner and compare them—if they differ, your room is not perfectly square. Once you know the offset, you can adjust your starting line and measurement layout so tile lines stay true and the wood-grain look remains consistent.
📅 Last Updated: October 16, 2026 | Topic: How to measure for wood-look tile floors? | Content verified for accuracy and freshness.