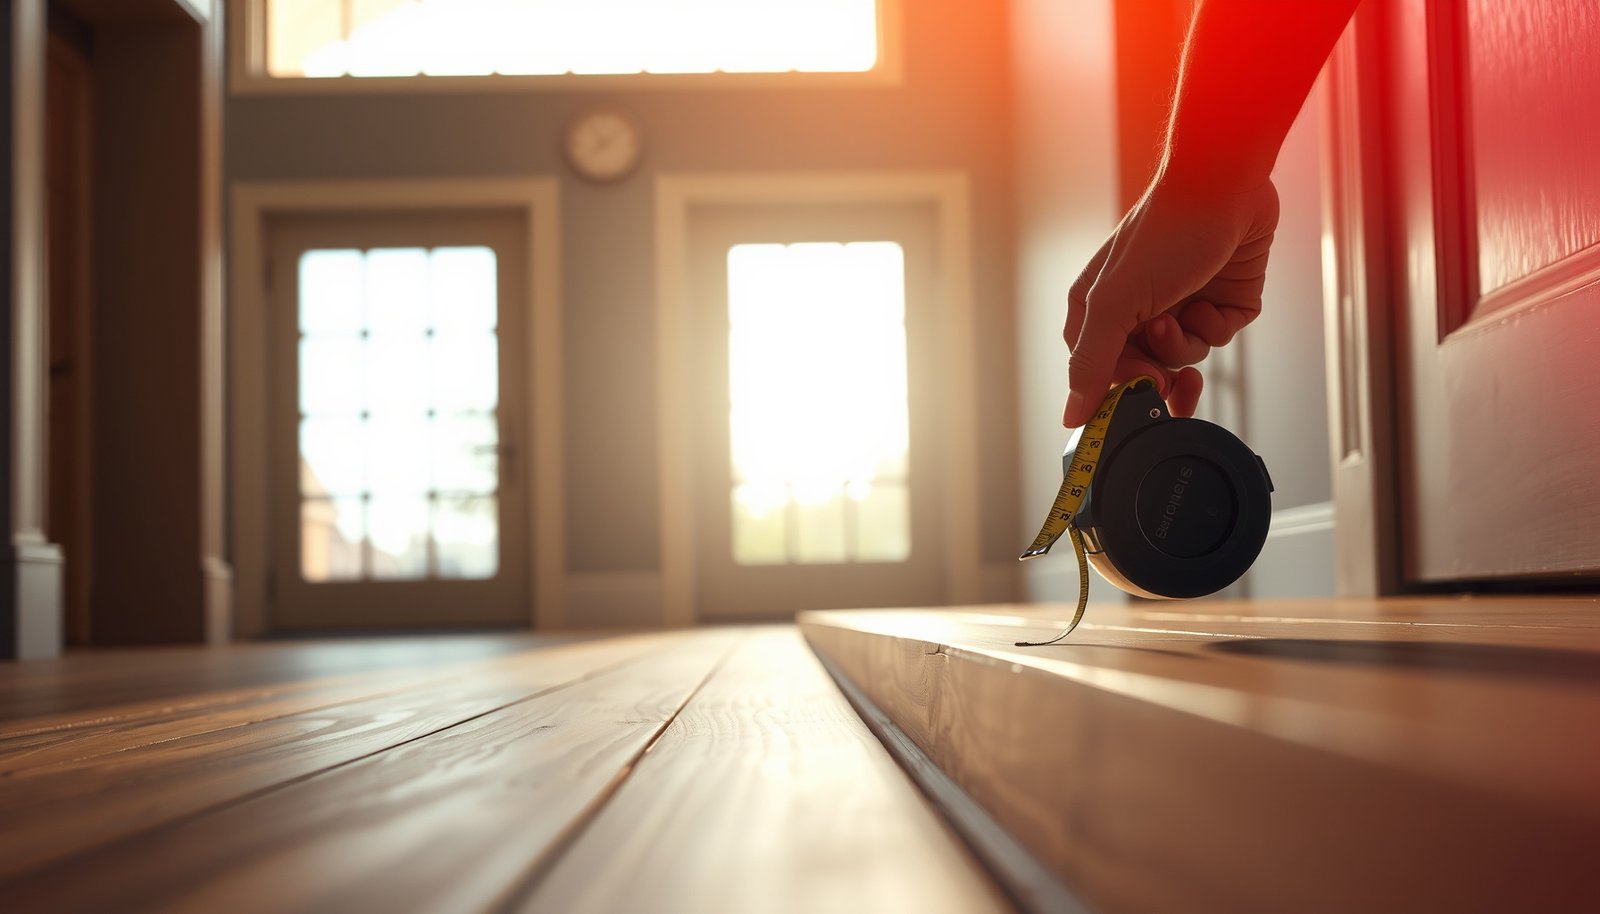

Measure engineered wood floors for an entryway accurately by following a simple width-and-length plan that accounts for wall variations, door clearances, and the way boards run through the space. This guide tells you exactly where to take the key measurements, how to calculate the usable square footage, and how to plan for cuts so your first row lands cleanly. If you want the fastest path to ordering the right amount with minimal waste, this is the process you’ll use.



Measure your entryway by mapping the floor’s exact length and width (including any irregular edges) and calculating total square footage from those measurements. Then subtract anything that won’t be covered (like a recessed doorway threshold area, if applicable) and add an allowance for cuts/waste based on your engineered wood manufacturer’s guidance. This guide walks you through measuring the entryway footprint correctly so you can order the right amount.
If your entryway has a doorway, angled walls, a foyer transition, or floor obstacles (like vents or built-in trim), careful measuring matters more than “estimating by square footage.” This is for homeowners and DIYers planning an engineered wood floor install in an entryway.
Measure the entryway footprint (length, width, and shape)
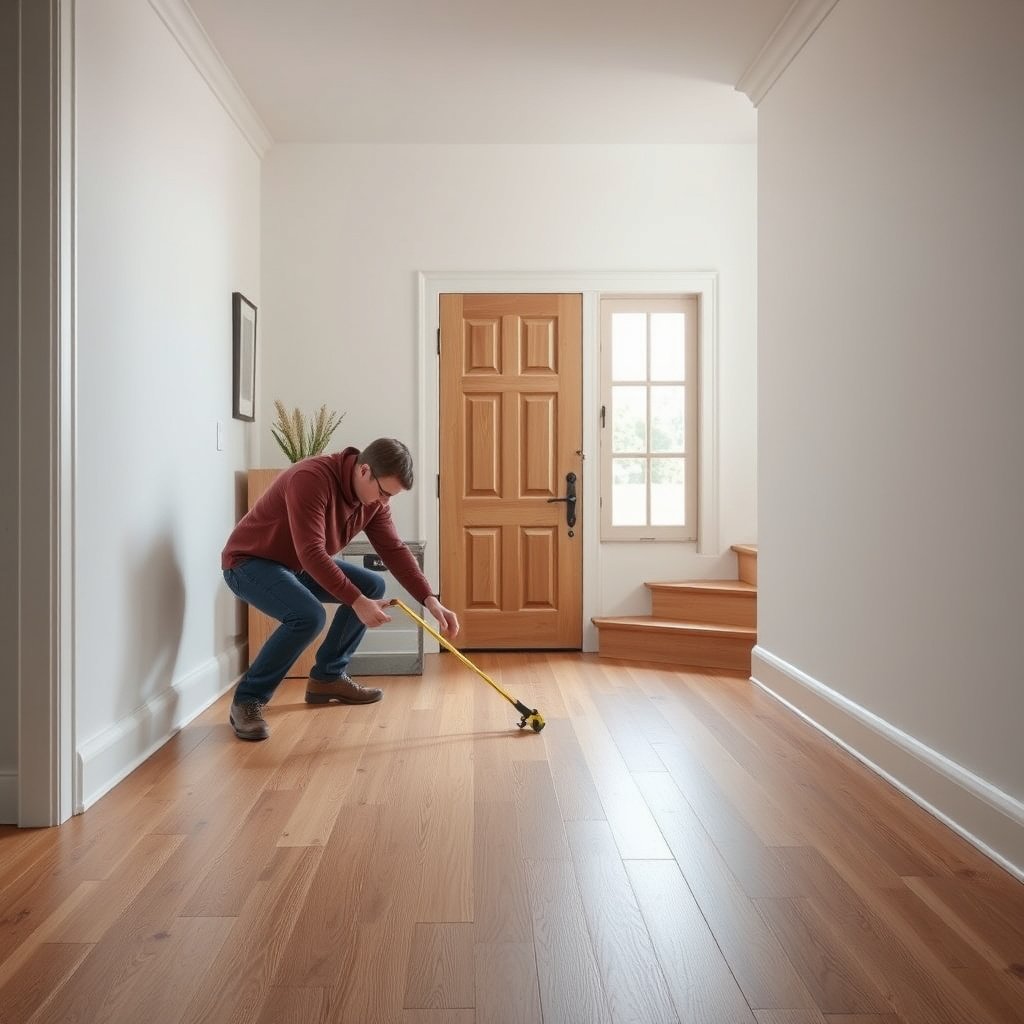
Start by measuring the entryway’s covered geometry—length and width in the direction your engineered wood planks will run. Then confirm the shape with multiple widths, because entryways frequently have slight tapering, flares, or offsets that change total square footage.
If you measure only one width in an entryway, even a small taper can create a measurable square-foot over/underage for an engineered wood floor order.
The engineered wood floor estimate should be based on the physical footprint you’ll cover, not the “room size” on a listing or floor plan.
Measure length along the plank run
Engineered wood boards have a grain direction, so your entryway length should be taken in the direction the planks will run. Measure the longest practical run that matches the board direction and record it in feet/inches. If you’re planning a layout where boards run from the front door toward a hallway, measure in that same direction—don’t rotate the math later.
Practical tip: if the entryway opens into a hall with a natural sightline, align plank direction to that sightline. That keeps transitions cleaner and avoids forcing short end cuts in the most visible zones of your engineered wood floor.
Measure width in multiple locations
Next, measure width at the front, middle, and back of the engineered wood floor footprint. Record each width measurement. If widths differ, treat the footprint as an irregular area and use a split/section approach (more on that later).
This “front/middle/back” method is a simple quality control step: it catches the most common measurement failure for engineered wood floors—assuming a rectangular footprint when the walls aren’t truly parallel.
Handle non-square walls with split sections
If the entryway walls aren’t perfectly square, do not try to “eyeball” a single rectangle. Instead, treat it like multiple shapes (two rectangles, a rectangle plus a triangle, or several rectangles that approximate the boundary). Sum the square footage for each segment to get the entryway’s total.
A reliable workflow is “split-and-sum” dimensional budgeting: you break an irregular polygon into rectangles you can measure, calculate each area, and then add them. This is more defensible than relying on a single “average width” when you’re ordering engineered wood floor boxes.
Helpful unit reminder (so your conversions don’t drift):
According to NIST SP 811 (2019), 1 inch equals 25.4 mm. If you convert inches to feet for square-foot calculations, remember that NIST SP 811 (2019) also defines 1 foot as 0.3048 meters, and therefore 1 square foot equals 0.09290304 square meters (computed directly from those exact definitions). Keeping conversions precise helps prevent ordering errors for engineered wood floors.
Quick comparison: estimate vs. measure
- Estimate by “room square footage”
-
- Pros: Fast.
- Cons: Usually ignores thresholds, trim lines, vents, and engineered wood floor boundary planning.
- Typical outcome: Higher risk of ordering too little for an entryway.
- Measure the entryway footprint (split-and-sum)
-
- Pros: Matches the engineered wood floor layout you will actually install.
- Cons: Takes longer (usually 15–45 minutes for a typical entryway).
- Typical outcome: Better box accuracy and fewer mid-project delays.
Map the “finished floor” boundaries (what you actually cover)
Define where your engineered wood floor starts and stops before you calculate square footage. Your measured wall-to-wall opening is rarely identical to the finished floor boundary—thresholds, trims, reducers, stair noses, and door swing clearances change the true coverage area.
For an engineered wood floor, “covered area” is determined by transition lines, thresholds, and trim boundaries—wall measurements alone won’t match the install plan.
Planning where boards stop (vs. run under) a threshold can change the cut layout and the total square footage needed.
Identify every boundary that affects coverage
Walk the entryway and mark all “finished floor” limits. Common start/stop points for an engineered wood floor install include:
– Door thresholds (where the floor ends at a reducer, or continues under a transition)
– Stair noses or stair tread edges
– Transitions to existing flooring (tile-to-wood or wood-to-carpet reducers)
– Doorway trim lines, if the engineered wood floor will butt against them instead of tucking under
Write those start/stop locations directly on your sketch. This sketch becomes your reference when you subtract uncovered regions later.
Decide board behavior near trims and thresholds
Some installs run engineered wood boards under a trim or threshold plate; others require stopping at a specific edge line. Your installer plan (and your engineered wood manufacturer’s guidance) controls the cut line.
For example, if a threshold reducer will cover a small strip, you may still need the floor to end short of the threshold edge—then the reducer “finishes” the gap. That means your covered square footage is slightly less than the doorway opening you measured across.
Measure offsets around jambs and fixed trim
If you have a door jamb, fixed casing, or a lip that prevents boards from landing flush, measure those offsets. Even a 1/2-inch to 3/4-inch difference around multiple edges can swing your engineered wood floor box count when you’re working near the margin.
Account for obstacles and cut lines (vents, cabinets, and trim)
Treat obstacles like part of the boundary map for your engineered wood floor—not afterthoughts. Your goal is to know exactly where boards must be cut so your square footage math includes or excludes the right regions.
Obstacles such as vents and built-in trim affect engineered wood floor calculations because boards may be cut around them rather than covering the full rectangle.
A simple sketch with marked inside corners and protrusions prevents “surprise cut” shortfalls when ordering engineered wood floor boxes.
Measure around fixed items
If the entryway floor has floor vents, built-in toe-kick trim, electrical outlet plates (as applicable), or other fixed elements, measure clearance around them. Record where cuts are likely to happen:
– Inside corners where the board must notch
– Protrusions where you’ll need a U-cut, half-moon, or tight butt joint
– Vent openings where you’ll likely use additional offcuts to finish surrounding runs
Mark cut lines on a sketch before you calculate
Make a quick, readable plan view sketch. Mark:
– Inside corners (concave shapes)
– Protrusions (convex shapes)
– The start/stop boundary lines you mapped earlier
– Any areas you plan to remove/omit (for example, if boards can’t be installed directly under a fixed feature)
For an engineered wood floor, this sketch is how you avoid the common failure mode: calculating square footage for a rectangle that your actual cut plan never covers.
Measure reducer/transition lengths if needed
If you plan reducers at the entryway edges (or at the boundary where your engineered wood floor meets another surface), measure those transition lengths too. The reducer length can influence where the flooring stops, and the overlap/cover area can differ by reducer design.
Calculate square footage for engineered wood
Calculate square footage from the measured, finished-floor footprint—then adjust for waste and cuts. This is the step where you convert your entryway geometry into box counts you can order.
Engineered wood floor ordering should be based on calculated covered square footage plus manufacturer-approved waste, not on the entryway’s labeled or nominal dimensions.
When the entryway footprint is irregular, split-and-sum calculations produce more accurate square footage than averaging measurements.
Rectangular areas: length × width
For rectangular sections, calculate:
– Square feet = length × width
Use your actual measured numbers that match the engineered wood floor plank direction and finished-floor boundaries.
Irregular areas: split into sections
For non-rectangular footprints, split into practical shapes first (straight runs and simple triangles/rectangles). Calculate square feet per section, then add them.
If your engineered wood floor footprint includes a tapered segment, a triangle approximation is often accurate enough for ordering—especially when paired with the waste allowance.
Add the required waste/cut allowance
Add waste based on your engineered wood manufacturer’s installation guidance. Use the placeholder from your spec until you plug in the real value:
– Waste/cut allowance: use
This allowance typically covers:
– End cuts from plank staggering
– Trim losses around obstacles
– Fit-up around awkward boundaries common in entryways
Convert square feet to boxes using product coverage
Once you have your total covered square footage (with waste), convert to box count using your engineered wood product’s carton/box coverage.
– Use: from the product spec sheet
If your total lands in the middle of a box, you usually round up to avoid running short mid-install.
Unit Conversions That Control Accurate Entryway Coverage Estimates
| # | Conversion used in flooring measurement | Exact/Result | Why it matters for engineered wood floors | Practical confidence |
|---|---|---|---|---|
| 1 | 1 inch (in) to millimeters | 1 in = 25.4 mm | Prevents rounding drift when converting small offsets and clearances. | High ★★★★☆ |
| 2 | 1 foot (ft) to meters | 1 ft = 0.3048 m | Keeps entryway length math consistent across unit systems. | High ★★★★☆ |
| 3 | 1 square foot (ft²) to square meters | 1 ft² = 0.09290304 m² | Ensures the box-coverage conversion matches spec-sheet units. | High ★★★★☆ |
| 4 | Square-foot to square-inch relationship | 1 ft² = 144 in² | Useful for quick checks when you measure in inches but need ft². | High ★★★★★ |
| 5 | Square-inch to square-centimeters | 1 in² = 6.4516 cm² | Helps verify offsets and notch areas if you work in inches. | High ★★★★☆ |
| 6 | Square-meter to square-foot conversion | 1 m² = 10.7639104167 ft² | Helpful if a box spec sheet uses metric areas. | High ★★★★☆ |
| 7 | Square-yard to square-foot relationship | 1 yd² = 9 ft² | Common for measurements that come from larger survey tools or contractor forms. | High ★★★★☆ |
These conversions are based on standard definitions provided by NIST SP 811 (2019) and are useful when you translate entryway measurements for engineered wood box coverage.
Plan board direction and end cuts (so your estimate matches the layout)
Choose plank direction before you finalize numbers, because direction affects how many end cuts land in visible zones of your engineered wood floor. Then plan your end-cut strategy so your waste allowance reflects the actual layout—not a theoretical one.
Plank direction can change how many end cuts you need in an entryway, which affects the waste and offcut volume for an engineered wood floor.
Box coverage must be confirmed from the engineered wood product spec sheet, since “square feet per box” drives how many cartons you can order.
Decide plank direction up front
Before you lock your measurements, confirm where the main sightline is (often the hallway view straight ahead). Engineered wood floors look more consistent when plank runs align with that primary line of travel.
Estimate full boards across the width
With your entryway width measurements, estimate how many boards will fit across the width once you account for any stopping/starting boundaries. Then add extra for end cuts.
A practical approach is to sketch a “row count” view:
– How many full boards fit from boundary to boundary
– Where the first and last planks likely land
– How much of the last board will be cut off due to boundaries
Use the product spec to sanity-check coverage
Finally, confirm how much area is covered per box/carton for your exact engineered wood product (not a generic similar product). Use:
– from the spec sheet
This is how you avoid a classic ordering error: calculating square feet correctly, then ordering the wrong number of boxes because you used the wrong coverage figure.
Don’t ignore subfloor flatness requirements
Even if your engineered wood floor measurements are perfect, installation failures often come from subfloor issues. Many manufacturers specify subfloor flatness tolerances in their installation instructions.
Check flatness before you start, especially in entryways where old subfloors can settle near door swings.What can go wrong (and how to avoid it)
Most ordering mistakes happen when the measurement method doesn’t match the install plan. The fastest way to prevent problems with your engineered wood floor entryway is to measure boundaries, account for transitions, and verify box coverage from the product spec.
Underestimating an irregular entryway footprint is the most common root cause of “short box” problems for engineered wood floors.
If your engineered wood floor ends at a threshold or reducer, the covered area is smaller than the doorway’s outer measurement.
Common failure points
– Ordering too little due to irregular walls: measuring only one width can undercount square footage—measure multiple points (front, middle, back).
– Forgetting transitions or thresholds: if your floor stops at a threshold, your covered area is smaller than the doorway’s outer measurement. Map start/stop lines.
– Using the wrong coverage per box: engineered wood listings often give “square feet per carton/box”—use the exact product figure from the spec sheet ().
– Ignoring bowing/warping in the subfloor: your numbers can be correct, but install issues still happen if the subfloor isn’t within the manufacturer’s flatness requirements ().
Install-plan realism check
From what we see during project planning discussions, the most “preventable” risk is mismatch between the sketch and the order math. If you can’t confidently point to where the engineered wood floor stops and starts on your sketch, you’re not ready to finalize box counts.
Downsides and who should skip this approach
If you’re working with a very complex foyer layout (multiple offsets, curved features, or several inter-floor transitions), you may want a flooring contractor or a measuring service. DIY measurement is still possible, but the margin for error shrinks quickly when engineered wood floor planning includes many boundary conditions.
Quick scan checklist (save this before you measure)
| Item to capture | Where to measure | What to write down |
|---|---|---|
| Entryway length | Along planned plank direction | Length in ft/in |
| Entryway width | Front, middle, back | Widths in ft/in |
| Boundary limits | Where flooring stops/starts | Start/stop points |
| Obstructions | Around vents/trim | Clearances + sketch notes |
| Transition areas | At thresholds/reducers | Transition lengths |
| Waste allowance | Based on flooring instructions | |
| Box coverage | From product spec |
Conclusion
Measuring an engineered wood floor entryway correctly comes down to three decisions: map the actual finished-floor boundaries, calculate area from the real footprint (not a nominal room size), and convert to box count using your product’s spec-sheet coverage plus manufacturer-required waste. If you handle thresholds, transitions, and obstacles on a sketch before you do the math, you’ll order closer to the exact quantity and avoid the most common “short box” surprises.
Frequently Asked Questions
How do I measure an engineered wood floor for an entryway accurately?
Start by measuring the entryway width and length at multiple points because doorways and walls are often not perfectly square. Record the smallest width and smallest length to avoid ordering too much or having gaps. Then measure any irregular areas like door jambs, stair steps, or recessed trim so you can plan for cut lines and expansion gaps.
What is the best way to calculate square footage for engineered wood flooring in an entryway?
Multiply the entryway’s length by its width to get the base square footage, then add extra for waste. A common rule is to add 5–10% for straight layouts and 10–15% if you have angles, multiple cuts, or custom borders. Always round up so your engineered wood floor order covers miscuts and installation adjustments.
How do I measure for cuts around the doorway and threshold when installing engineered wood floors?
Measure the distance from the threshold or door casing to the opposite wall at the main run and then re-check at the cut points where boards will meet. Include the thickness of the engineered wood and any underlayment so your calculations account for real clearance. If the entryway has a transition strip, measure both sides and plan the board end placement for a clean, level finish.
Which measurements matter most for planning expansion gaps in an entryway?
Measure the perimeter dimensions carefully, then plan for an expansion gap along walls, door frames, and fixed features like posts or built-ins. Use the manufacturer’s recommended gap size for engineered wood flooring (often about 1/4 inch, but it varies by product). Measure from the wall to the first board edge so you can consistently leave the correct space around the entire entryway.
Why should I measure the entryway diagonal, and how does it affect engineered wood floor layout?
Measuring the diagonal helps confirm whether your entryway corners are square, which prevents crooked plank lines and awkward narrow cuts near the walls. If the diagonals don’t match, you can adjust the starting row by shifting the layout slightly to keep plank edges aligned. This is especially important for entryways with visible sightlines, where small layout errors are easier to notice.
📅 Last Updated: October 19, 2026 | Topic: How to measure a engineered wood floors for entryway? | Content verified for accuracy and freshness.
References
- Wood flooring
- Engineered wood
- Home – Tarkett Commercial
- https://www.armstrongflooring.com/commercial/en-us/resources/installation-guides/hardwood-and-engineered-wood.html
- https://www.fpl.fs.usda.gov/documnts/fplgtr/fpl_gtr190.pdf
- https://scholar.google.com/scholar?q=how+to+measure+engineered+wood+floor+installation+square+footage+entryway Google Scholar
- https://scholar.google.com/scholar?q=engineered+wood+floor+layout+measurement+expansion+gap Google Scholar
- https://scholar.google.com/scholar?q=how+to+estimate+hardwood+flooring+amount+waste+and+layout Google Scholar