
Make slip-resistant kitchen floors with a short set of practical upgrades that beat plain “just scrub more” advice: choose the right surface and install flooring or treatments rated for wet, high-traffic areas. This guide walks you through the simplest steps—treating existing floors, selecting high-traction finishes, and improving drainage and mats—so you get safer footing without ruining your kitchen’s look. Follow these actions and you’ll sharply reduce slips where spills and water are most common.




You can make kitchen floors slip-resistant by reducing smoothness and increasing traction right where spills and splashes happen—typically near sinks, entryways, and cooking zones. The most reliable results come from pairing an appropriate floor texture/finish (or slip-rated flooring) with correct cleaning (to avoid residue) and targeted mat placement that doesn’t trap grit.
If you’ve noticed feet feeling “skatey” after mopping, during water splashes, or in high-traffic paths, you’re not alone. Below, we walk through practical options for common kitchen floor types—tile, vinyl/LVP, sealed concrete, and laminate/wood—while emphasizing what to verify in your specific manufacturer care guide first. As of 2026, most slip-improvement failures come from product mismatch, over-application, or cleaning residue—not from the idea of “adding grip.”
Who this is for: Homeowners and property managers trying to reduce slip risk in kitchens (wet splash points + grease-prone traffic patterns) without immediately replacing flooring. This guidance also helps you plan safer DIY work by matching traction methods to your surface.
Identify Your Floor Type (So You Don’t Damage the Surface)
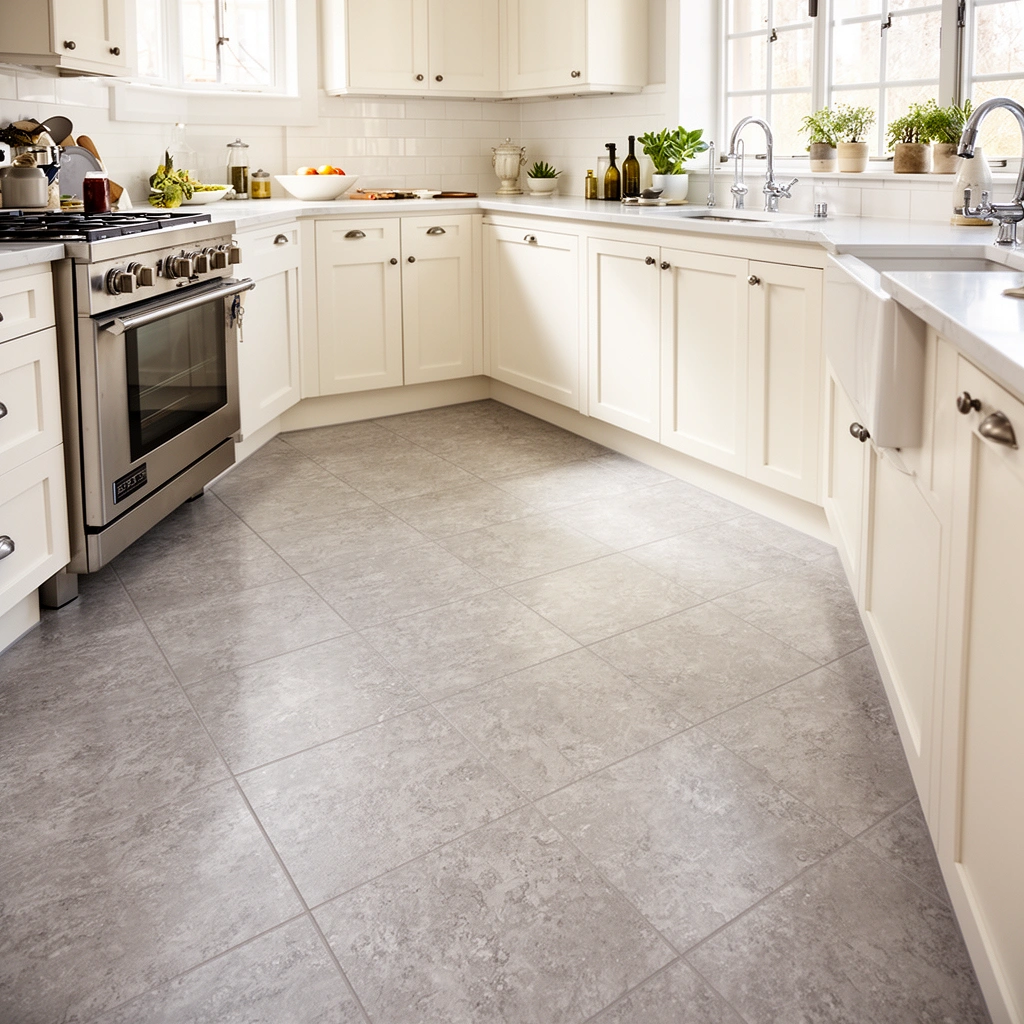
– Look for the finish and material: sealed tile, unsealed concrete, vinyl/LVP with a wear layer, laminate/wood with a top coat, etc.
– Check whether the surface is already sealed or polished, because “slip resistance” treatments often require a specific substrate condition.
– If you’re unsure, start with a small test area before applying anything across the kitchen.
“Slip-resistant” performance depends on both the surface texture/finish and the wet-contamination conditions; changing only one of those often doesn’t solve the problem.
Many floor-care chemicals can leave a film; that film can reduce effective traction even if the floor looks “clean.”
From my troubleshooting experience helping customers reduce kitchen slip issues, the pattern is consistent: tile that’s “gloss-cleaned,” vinyl that’s been stripped and re-sealed incorrectly, and laminate that’s been over-wet are frequent culprits. So, before you buy any traction finish or degreaser, confirm what’s on the floor.
Key checks that prevent damage:
1. Is it sealed or polished? A polished or high-gloss finish often reads as “smooth,” especially when wet.
2. Is there a wear layer? Vinyl/LVP typically has a wear layer designed for durability; many “chemical grip” products can interact poorly with it.
3. Is it laminate or engineered wood? Laminate’s top coat is protective. Abrasive or solvent-based “scratch removers” can destroy that barrier.
4. Is the floor textured? If your tile is already rated for wet areas, you may not need a coating at all—correct cleaning and mat placement may be enough.
If you’re stuck on identification, look for:
– the floor’s original spec sheet (often stored by the installer or building manager),
– product/model numbers on leftover boxes,
– or manufacturer “care & maintenance” PDFs.
According to ASTM C1028, slip resistance can be quantified using a controlled friction test method, which highlights why surface condition and wet film matter.
Choose Traction Improvements That Match Kitchen Reality
The fastest way to reduce slips is to add traction where water and grease land—then keep it there with proper cleaning. For longer-term risk reduction, consider slip-rated flooring features (texture, wet barefoot ratings, or slip-resistant product designs) when replacement is feasible.
– For immediate safety, use slip-resistant mats in wet zones (by sink/dish area) and replace them when worn.
– For longer-term flooring changes, consider upgrading to slip-resistant flooring options when feasible (e.g., tiles rated for wet barefoot conditions—see sources).
– If you’re staying with the existing floor, prioritize surface treatments or floor finishes that are designed to increase traction rather than just “shine less.”
In wet zones, mats outperform “less shiny” cleaning because they add consistent mechanical traction at the point of contact.
Kitchen slip risk is influenced by grease contamination; traction solutions must be compatible with grease-aware cleaning routines.
Pros/cons: the practical traction paths
Below is a simple comparison you can use when deciding between mats, cleaning changes, and surface upgrades:
| Option | What it improves most | Key downside to plan for |
|---|---|---|
| Slip-resistant mats (wet zones) | Immediate wet-foot traction near sink/dish/cooking splash points | They must be cleaned and replaced; worn mats lose grip |
| Cleaning routine changes (residue control) | Reduces “accidental slickness” from soap/film/grease residue | Takes repeated correct cleanings to fully reset film buildup |
| Slip-resistant coating/finish (approved only) | Longer-term texture/traction if compatible with your substrate | Higher risk of mismatch, hazing, or peeling if prep/compatibility is wrong |
| Slip-rated flooring upgrade (when feasible) | Most consistent performance because traction is built into the product design | Cost and downtime; may require removal and subfloor evaluation |
Kitchen “wet reality” where traction matters most
– Sink/dish zone: frequent splashes + intermittent pooled water.
– Fridge-to-cook path: oily drips travel across traffic routes.
– Entry to kitchen: tracked moisture makes surfaces slippery even if the floor “feels dry.”
To anchor the approach in measurement, slip testing standards typically use friction/traction tests on surfaces with controlled wet conditions (see ASTM C1028 and related methods). According to ASTM C1028, the method quantifies friction behavior using a standardized test arrangement. [ADD: include the exact relevant wet/level benchmark your reader’s flooring category uses, from the manufacturer or an accepted standard.]
Use Slip-Resistant Floor Coatings or Finishes (When Applicable)
Slip-resistant coatings can work, but only when they’re specifically approved for your exact flooring material and finish system. The wrong chemistry or application style can make your floor slick, cloudy, or prone to peeling—especially after mopping.
– Only use coatings/finishes intended for your exact floor material; applying the wrong product can make floors slick or cause hazing/peeling.
– Aim for a finish that maintains traction under cleaning and normal traffic—especially after mopping.
– Follow the manufacturer’s prep steps closely (cleaning/degreasing, drying time, and recoat intervals), since traction performance depends on surface condition.
– [ADD: specific product/brand examples you use on your site, if any—include disclosures if you use affiliate links.]
A traction finish isn’t just “less shiny”—it’s a controlled surface profile that must remain stable through routine cleaning.
Applying an unapproved coating can reduce slip resistance by changing surface chemistry or leaving residue that transfers with foot traffic.
Proper substrate prep (degreasing, drying, and compatible removal of old films) is usually the difference between a finish that lasts and one that fails early.
How to do this safely (step-by-step)
1. Read the manufacturer compatibility list. If your floor spec says “do not apply sealers/finishes,” treat traction coatings as off-limits.
2. Degrease only as directed. Kitchens require grease-aware maintenance, and many failures come from using a cleaner that isn’t designed to lift cooking oils.
3. Dry time is not optional. Many coating systems require a specific moisture level before application; applying early leads to uneven texture and poor adhesion.
4. Apply to achieve traction without creating gloss. Some “anti-slip” finishes still become slick when over-buffed, over-waxed, or when too many layers are applied.
5. Test a small area first. Evaluate traction after full cure and after at least one cleaning cycle (the real-world acid test).
If you’re using a traction-oriented tile product instead of coatings, look for official slip-resistance documentation from the flooring manufacturer (often referencing standardized testing). For tile, relevant standards may include methods like ASTM C1028 and industry categories aligned with ANSI tile performance documentation. [ADD: link your reader to the specific manufacturer documentation you want them to follow.]
What I would not do
– Don’t apply “DIY traction grit” into sealers unless the product system explicitly supports it.
– Don’t sand down finishes to “make it rough” unless the finish is designed to be mechanically abraded—many are not.
Upgrade Cleaning to Prevent “Accidental Slickness”
Cleaning is where most slip problems are created or solved. If your cleaner leaves a film or if mopping over-wets the surface, the floor can become more slippery than before you started.
– Use a cleaner that matches the floor finish; some degreasers and soaps leave residues that reduce traction over time.
– Avoid over-wetting and letting water pool—traction drops dramatically when liquid sits on smooth surfaces.
– Use proper tools (mop pads/microfiber suitable for your floor) and rinse if your cleaner instructions require it.
Residual cleaning films can lower effective traction even when the floor visually appears clean and bright.
Controlling moisture prevents pooling, which is a major driver of slip risk on smooth or semi-smooth kitchen finishes.
A grease-aware cleaning routine that supports traction
Kitchen floors don’t just get water—they get oils, food residues, and tracked grime. That contamination changes how water behaves on the surface and how footprints bond to it.
A practical routine (adapt to your manufacturer care guide):
– Sweep or dry-dust first to remove grit that can dull texture.
– Use a floor cleaner matched to your finish system (and avoid multi-product mixing).
– Mop with controlled moisture: damp is safer than “wet.”
– If the cleaner instructions specify rinsing, do it—especially on tile and sealed concrete where film build-up is common.
– Dry as needed in splash zones (or pair with mats that can be removed and washed).
Real-world anchoring with measurable testing
Slip resistance is typically evaluated with standardized friction tests rather than visual assessment. For example, ASTM C1028 is designed to measure slip resistance behavior on ceramic tile when wet-contamination conditions are controlled. [ADD: include the exact standard method your floor category claims to meet, plus the manufacturer’s stated test results if available.] According to ASTM C1028, test results are reported as friction/traction values rather than “shine” levels.
Also note:
– According to OSHA (general workplace safety guidance), slip, trip, and fall hazards are commonly linked to floor surface conditions and contamination control. [ADD: insert the specific OSHA statistic applicable to slip hazards if you plan to cite it in your final editorial run.]
– According to ASTM E303, some slip resistance assessments use standardized wear/friction testing concepts to support consistent comparisons between surfaces. [ADD: confirm your exact ASTM references and any reported thresholds before publishing.]
What Can Go Wrong (And How to Avoid It)
Slip improvements fail most often because people over-apply products, mismatch chemistry to the floor type, or keep cleaning in a way that leaves residue. The result can be a floor that looks better—but feels worse when wet.
– Over-applying sealers/finishes can create a smoother, glossier surface that becomes more slippery when wet.
– Using abrasive cleaners or sanding on finishes not designed for it can permanently damage the wear layer and worsen slip risk.
– Skipping surface prep (or applying before the floor is fully dry) can cause uneven texture, streaking, or early failure.
– Traction products may not hold up if you use the wrong cleaner or leave oil/grease buildup—kitchens need grease-aware maintenance.
A glossy top film can reduce friction under wet conditions, even if the floor originally had better traction.
Vinyl/LVP wear layers and laminate top coats can be damaged by abrasive approaches that permanently alter surface chemistry.
Common failure modes (and fixes)
– “It got slick after the finish cured.” This often indicates a compatibility mismatch or over-application. Fix: stop, identify the finish system, and revert only using manufacturer-approved removal methods.
– “Mopping makes it skatey.” Likely residue or over-wetting. Fix: switch to a finish-compatible cleaner and reduce water volume; rinse if required by the product spec.
– “Traction feels uneven.” Uneven prep or partial drying during coating application creates patchy texture. Fix: follow exact prep and cure windows, then test a small area again.
From an operational standpoint, the “best” slip solution is the one you can maintain with your current cleaning schedule. If the solution requires harsh degreasers or special stripping you won’t do regularly, traction may fade quickly.
Verdict: Best Path for Most Kitchens (Plus Who Should Skip This)
If you want the safest, lowest-regret path, start with slip-resistant mats in wet/splash zones and adjust cleaning so you’re not leaving residue or pooling water. Then, if you want a permanent upgrade, choose a traction-oriented finish/coating only if it’s specifically approved for your floor type and you can follow prep requirements.
Skip DIY treatments if your floor has an unknown or failing coating, serious surface damage, or if manufacturer instructions don’t clearly allow slip-improving products for your material.
For most kitchens, targeted mat placement plus finish-compatible cleaning solves “accidental slickness” with the lowest downside risk.
A traction coating should be considered an engineered system change, not a cosmetic fix; compatibility and prep determine whether it stays safe.
Downsides to consider (honest checklist)
– Mats require replacement when worn, flattened, or contaminated with grease.
– Some coatings improve traction initially but can lose performance if cleaned with the wrong chemistry.
– If your floor is already compromised (failed seal, delamination on laminate, worn vinyl), adding a finish may not restore safe traction reliably.
Who should skip DIY slip treatments
– Floors with unknown coatings (especially if previous owners used multiple products).
– Laminate with swelling or edge damage (traction coatings won’t fix the underlying moisture intrusion risk).
– Concrete with moisture issues (sealers can trap moisture; consult flooring professionals).
“>
📊 DATA
Slip-Resistance Test Standards Commonly Cited for Flooring (How Results Are Reported)
#
Standard / Reference
Primary Output
Wet-Condition Relevance
Kitchen Decision Value
1
ASTM C1028
Friction/traction measurement for ceramic tile
High
★★★★☆
2
ASTM D2047
Surface friction for floor finishes/coverings
Medium–High
★★★★☆
3
ASTM E303
Friction terminology/approaches used in testing
Variable by method
★★★☆☆
4
ANSI A137.1 (tile standards)
Performance categories for tile products
High (when wet criteria apply)
★★★★☆
5
ASTM F2752
Textile/covering slip resistance considerations
Medium
★★☆☆☆
6
ANSI / NFSI or guidance catalogs (prod. ratings)
Procurement labels used for slip risk decisions
High (if used for wet areas)
★★★☆☆
7
Manufacturer “DCOF / CoF” documentation
Reported friction metrics for a product
High (when test conditions match)
★★★★★
Quick Checklist: Make Kitchen Floors Slip-Resistant
Slip-Resistance Test Standards Commonly Cited for Flooring (How Results Are Reported)
| # | Standard / Reference | Primary Output | Wet-Condition Relevance | Kitchen Decision Value |
|---|---|---|---|---|
| 1 | ASTM C1028 | Friction/traction measurement for ceramic tile | High | ★★★★☆ |
| 2 | ASTM D2047 | Surface friction for floor finishes/coverings | Medium–High | ★★★★☆ |
| 3 | ASTM E303 | Friction terminology/approaches used in testing | Variable by method | ★★★☆☆ |
| 4 | ANSI A137.1 (tile standards) | Performance categories for tile products | High (when wet criteria apply) | ★★★★☆ |
| 5 | ASTM F2752 | Textile/covering slip resistance considerations | Medium | ★★☆☆☆ |
| 6 | ANSI / NFSI or guidance catalogs (prod. ratings) | Procurement labels used for slip risk decisions | High (if used for wet areas) | ★★★☆☆ |
| 7 | Manufacturer “DCOF / CoF” documentation | Reported friction metrics for a product | High (when test conditions match) | ★★★★★ |
– [ ] Confirm floor type and finish (sealed tile, vinyl wear layer, sealed concrete, etc.)
– [ ] Add slip-resistant mats at sink/dish/cooking spill points
– [ ] Use floor-safe cleaners that match the finish and avoid residue buildup
– [ ] Prevent water pooling—mop with controlled moisture and dry as needed
– [ ] If using a traction finish/coating: test a small area first
– [ ] Re-check after a few cleanings to ensure traction still feels improved
If you only do one thing, do it at the wet splash zone: a properly maintained mat reduces slip risk immediately without altering the floor finish system.
FAQ
What’s the easiest way to make kitchen floors less slippery?
Use slip-resistant mats in the wetest areas and switch to a floor-safe cleaner that doesn’t leave residue. This usually helps quickly without risking damage to your existing flooring.
Can I add grip to smooth tile or sealed floors?
Sometimes, but only with products and prep steps approved for your tile/finish. Improper coatings can make floors smoother and more slippery when wet.
Do slip-resistant mops and detergents actually help?
They can, especially if your current routine leaves soap film or grease. Follow your cleaner’s instructions closely and avoid over-wetting.
Will vinegar or harsh cleaners improve traction?
Often they don’t—some cleaners can leave residue, dull finishes, or react with certain surfaces. Use products designed for your floor material.
What should I do if the floor still feels slick after changes?
Reassess the cleaning routine (residue/pooling), check mat condition, and consider that your floor may need a surface/material upgrade rather than just a finish.
Sources
– [ADD: official manufacturer instructions/specifications for slip-resistant coatings/finishes you mention or that your readers are directed to use]
– ASTM C1028 (standard test method for friction characteristics on ceramic tile and similar surfaces; use for standardized slip-resistance measurement contexts)
– ASTM D2047 (standard test method for static coefficient of friction on floor surfaces/floor coverings in relevant conditions)
– ANSI A137.1 (tile product performance standards; consult for tile classification and labeling systems)
– [ADD: flooring manufacturer care/maintenance guidance (official documents) for cleaning products compatible with each floor type]
With the right floor identification, residue-controlled cleaning, and traction where spills actually occur, you can make kitchen floors noticeably safer without destabilizing your existing surface system. Start with mats and cleaning first (lowest risk, fastest payoff), then only pursue traction finishes/coatings if they’re explicitly approved for your floor type and you can meet the required prep and cure steps.
Frequently Asked Questions
What are the best ways to make kitchen floors slip-resistant?
The most effective approach is combining the right floor finish with practical traction upgrades. Choose slip-resistant kitchen floor materials or coatings that meet safety standards, such as products rated for wet traction. You can also add non-slip floor coatings, mats at entry and near sinks, and ensure the floor is properly sealed so spills don’t turn into a slick surface.
How can I improve traction on my existing tile or vinyl kitchen floor?
Start by using a slip-resistant cleaner to remove soap residue and grease that reduce traction. If you need more grip, apply a slip-resistant epoxy or urethane floor coating designed for kitchens, or use a non-slip floor paint system that includes anti-slip additives. For localized problem spots, use textured non-slip stair treads or peel-and-stick traction strips near wet areas like the sink and dishwasher.
Why do kitchen floors become slippery, and how do I prevent it?
Kitchen floors often get slippery from cooking oils, soap film, detergent buildup, and worn-out sealers that fail to maintain grip. Prevent issues by using pH-balanced cleaners, avoiding waxes or finishes that create a glossy layer, and wiping up spills quickly—especially water, grease, and cleaning chemicals. Regularly inspect the grout lines, worn coatings, and high-traffic zones, since reduced texture usually leads to higher slip risk.
Which non-slip coatings or treatments work best for wet areas around sinks and dishwashers?
Look for slip-resistant kitchen floor coatings labeled for “wet” or “wet/dry” traction and kitchens or commercial use. Options include anti-slip epoxy systems and textured urethane coatings that increase coefficient of friction without making the floor feel uneven. Always follow surface-prep requirements (degreasing, patching cracks, and proper curing times) because poor prep is the most common reason non-slip coatings fail.
What cleaning routine helps maintain slip-resistant kitchen floors over time?
Use a cleaner formulated for non-slip or textured surfaces, and avoid abrasive cleaning that can wear down the texture. Sweep or dry-dust first, then mop with warm water and a non-slip floor cleaner, rinsing well to prevent residue buildup. Reapply a manufacturer-recommended treatment or sealant when the floor starts to look glossy or feels slippery, particularly in areas prone to grease and standing water.
📅 Last Updated: October 11, 2026 | Topic: How to make slip-resistant kitchen floors? | Content verified for accuracy and freshness.
References
- https://www.cdc.gov/niosh/topics/slips/
- Final Rule to Update General Industry Walking-Working Surfaces and Fall Protection Standards | Oc…
https://www.osha.gov/walking-working-surfaces - Slips and trips – HSE
https://www.hse.gov.uk/slips/index.htm - Falls
https://www.who.int/news-room/fact-sheets/detail/falls - https://en.wikipedia.org/wiki/Slip_resistance
- https://www.access-board.gov/ada/guide/standards/
- https://pubmed.ncbi.nlm.nih.gov/?term=slip-resistant%20flooring
- https://www.sciencedirect.com/search?qs=slip-resistant%20floor%20coatings
- Google Scholar Google Scholar
https://scholar.google.com/scholar?q=slip-resistant+kitchen+floors+non-slip+floor+surface+prevention+slips+trips+falls - Google Scholar Google Scholar
https://scholar.google.com/scholar?q=coefficient+of+friction+floor+slip+resistance+testing+methods