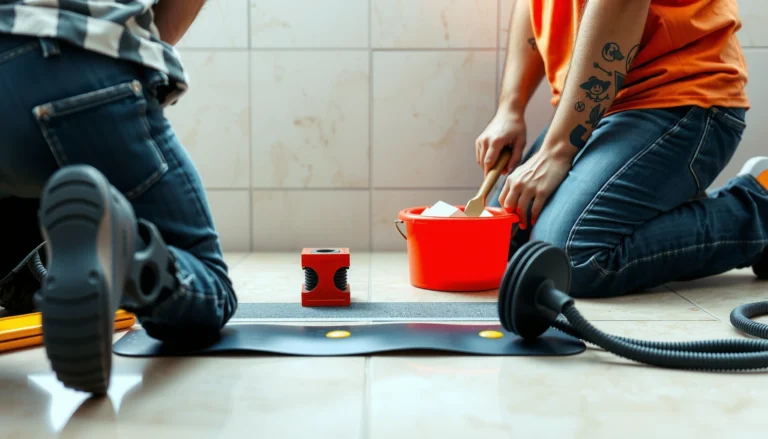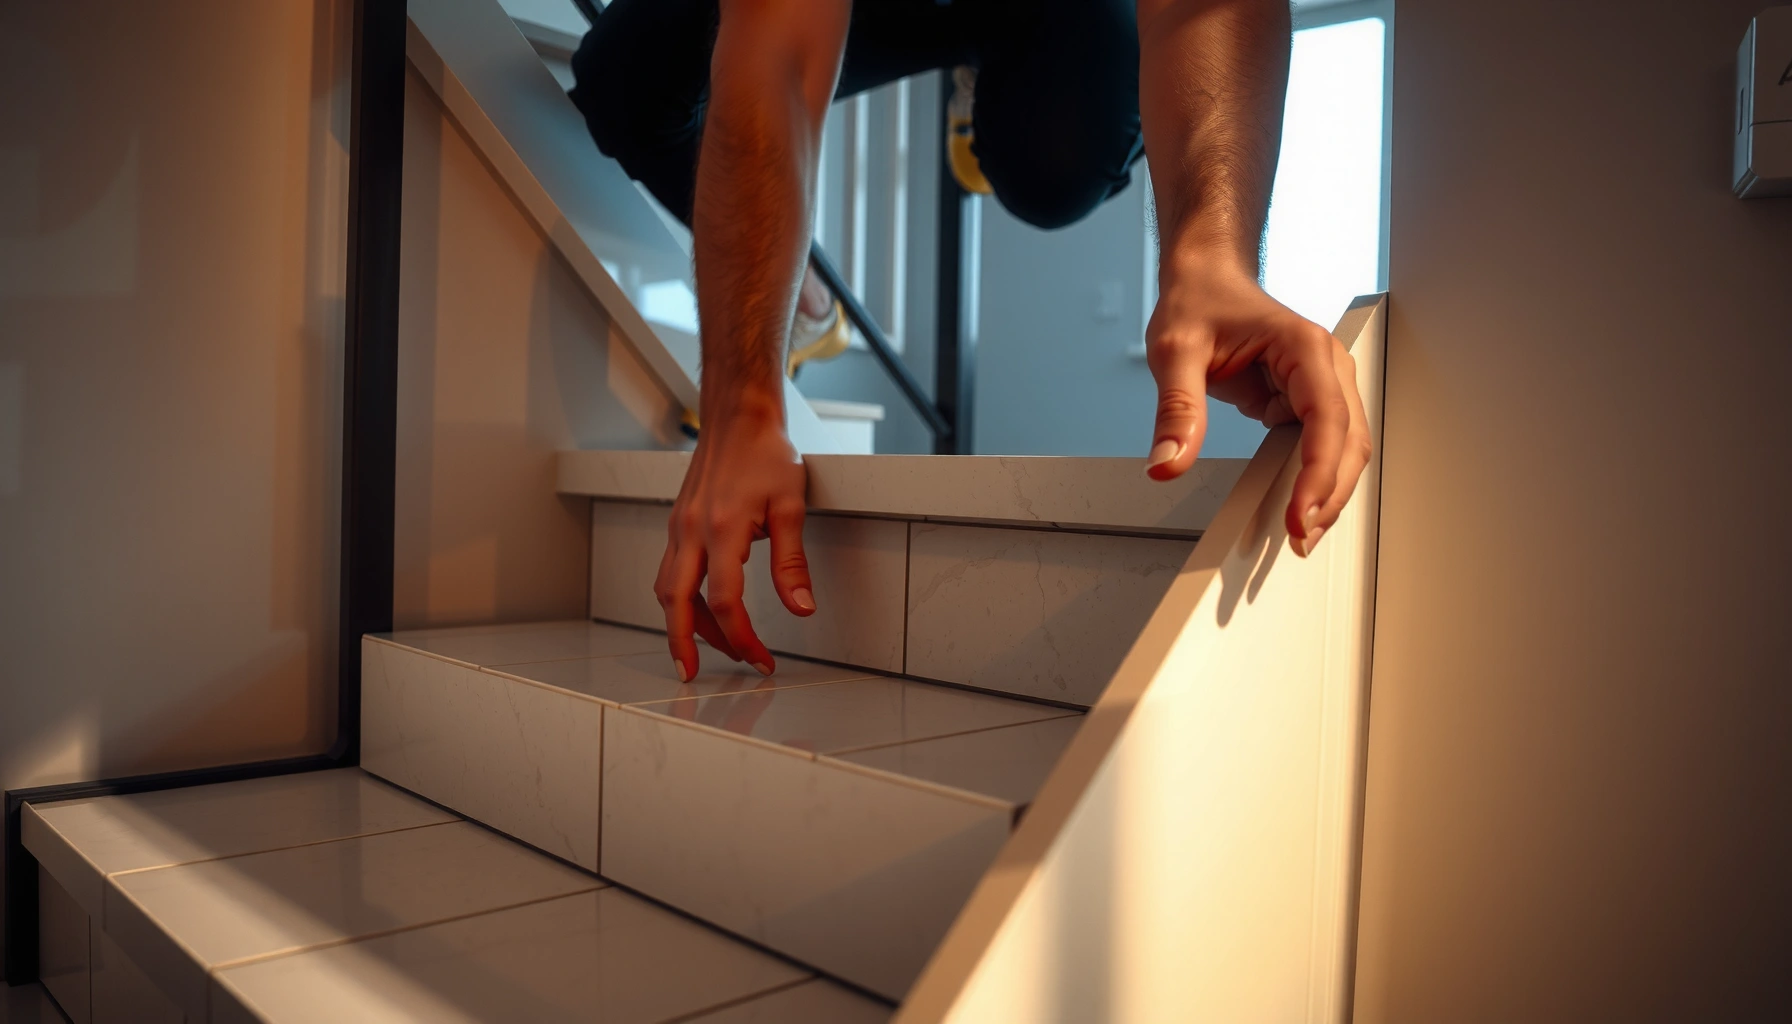

Learn how to install tile floors on stairs with a step-by-step method that delivers a clean, durable finish the first time. If you want fewer cracked tiles and a tight, professional transition at each tread and riser, follow this practical installation sequence from surface prep to setting and grouting. You’ll get the exact order of operations and the key fit-checks that make stair tiling succeed where DIY attempts usually fail.




Installing tile on stairs comes down to two things: a properly prepared, non-flexing substrate and a stair-edge detail that’s mechanically secure for traction—not just grout. Plan the tread/riser layout first, use the correct thinset and trowel for full coverage, and finish the nosing/edge with a system rated for tile/stone stairs to prevent debonding and cracked corners.
If you’re tiling an interior stairway (especially where treads get heavy daily use) or you’re replacing worn carpet, tile can deliver a durable, easy-to-clean finish. But stair installs are more detail-heavy than flat floors because every step concentrates load at the tread edge and the stair geometry makes alignment unforgiving. This guide focuses on those stair-specific variables so you can avoid the common failure points we see in the field.
Step 1: Plan the stair tile layout (tread + riser)
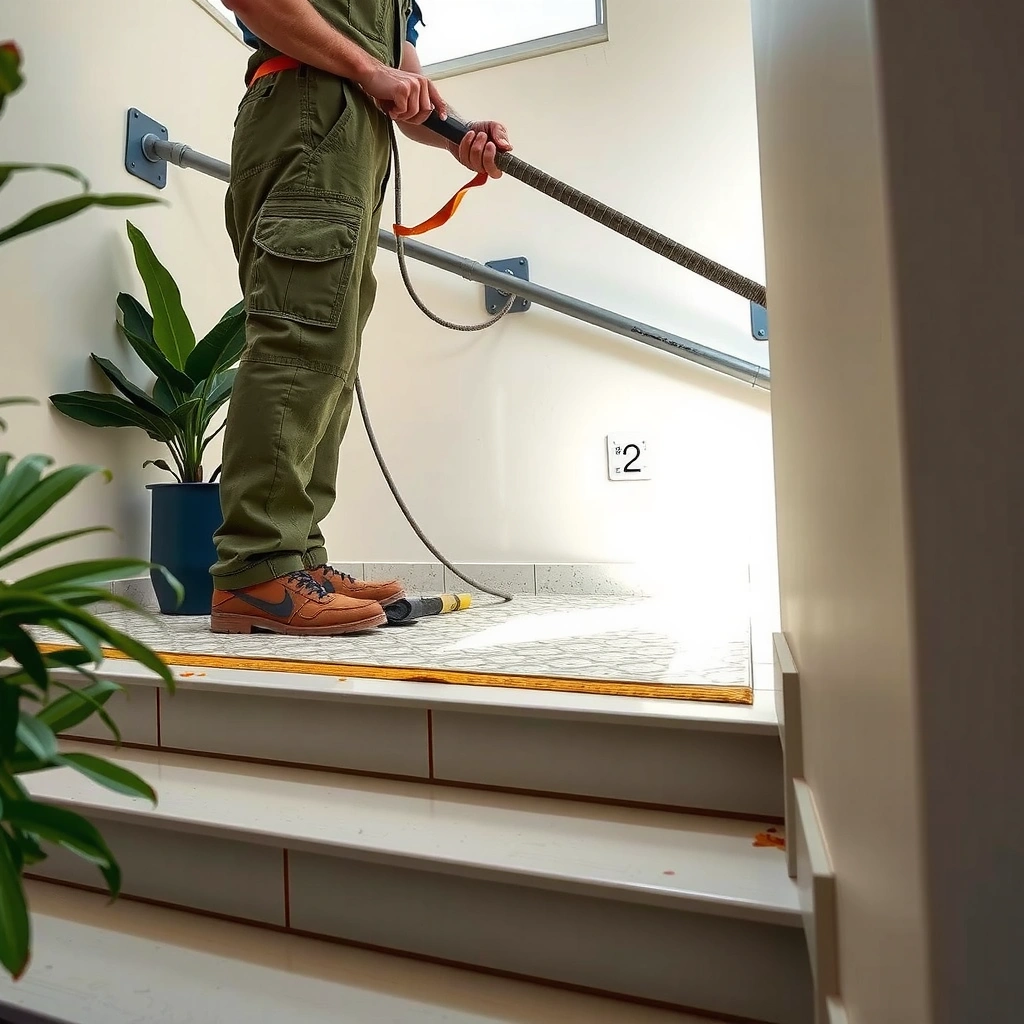
Planning determines whether your stairs look intentional and whether your edge detail stays strong over time. Measure every tread and riser, then dry-lay the pattern so grout lines and tile edges land where they matter most—especially at the nosing.
Dry-laying the tread pattern first helps you “design out” visible slivers at the nosing, which are more likely to chip on high-traffic stairs.
Stair tiling is usually judged at the tread edge (the nosing), so layout decisions there affect both appearance and durability.
Start with accurate geometry:
– Measure each tread depth and each riser height (treat each step as its own dimension set). Stairs in real houses often vary slightly from step to step.
– Decide how you’ll handle tile at the nosing/leading edge. Most installers aim for full or near-full tiles at the nosing where foot strike happens, then accept cuts on the less-visible areas behind the nosing if needed.
– Confirm whether you’ll run grout joints straight across treads or use an offset pattern. Either can work—just keep joints consistent so shadows don’t “wander” on the stairs.
Then dry-lay and verify:
– Dry-lay a few consecutive treads and one riser in your planned direction.
– Check that tile thickness, stair nosing profile, and grout width work together without forcing an edge that’s too thin.
– Mark where cuts will land and confirm you’re not creating weak “paper-thin” cutdowns at the tread edge.
Tile selection planning matters:
– Choose tile suitable for tread wear and consider traction (finish texture, profile, and any manufacturer slip ratings).
– Avoid using fragile or highly porous materials on stairs unless you’re confident in their installation method, maintenance, and finish requirements.
Quick code/geometry anchor (useful for verifying your stairs):
According to the ADA Standards for Accessible Design, the typical accessible stair geometry limits include maximum riser height of 7¾ in (197 mm) and minimum tread depth of 10 in (255 mm) ([ADD: source for ADA stair dimension limits—ADA Standards for Accessible Design]). Even if you’re not building to ADA, these numbers are a helpful reference when checking whether your layout choices create awkward, narrow edge pieces.
After your layout passes the “nosing test,” move to substrate preparation—because stair tiles fail from movement long before they fail from aesthetics.
Step 2: Prep the surface so tiles won’t loosen
A tile stair install fails most often because the substrate flexes, the surface isn’t clean, or the wrong bonding/priming steps were used. Before setting anything, make sure the stair surface is solid, properly prepared, and flat enough for the specific thinset system you’ll use.
Stairs must be structurally stable—if the tread or subfloor flexes, thinset can’t compensate and tiles can debond over time.
Complete removal of old carpet tack strips, adhesives, and loose layers is essential because weak bond layers often lead to hollow spots and cracking.Surface preparation workflow:
1. Check for stability and squeaks
– Walk each tread and riser and note any movement.
– If there’s squeaking, investigate and correct loose framing/subfloor before tiling. Tile is not a structural repair.
2. Remove old coverings and residues
– Strip carpet, pad, tack strips, old underlayment, and any adhesive residue that could interfere with bonding.
– Scrape and mechanically clean so you remove anything that behaves like “release” material.
3. Flatten and patch
– Identify high/low spots and address them with a patching/leveling system appropriate for tile installation and your substrate type (wood, plywood, concrete, etc.).
– Follow the leveling product’s instructions on thickness limits and curing time.
4. Prime only when the system requires it
– Some patch/leveling systems and substrates (especially porous ones) require primer.
– Follow both the primer manufacturer’s directions and the mortar/thinset manufacturer’s requirements so you don’t create a bonding mismatch.
Why this is stair-specific: treads experience repeated cyclic load. Even minor flex can concentrate stress at grout corners and the tread edge, leading to debonding or cracked trim/nosing details.
To keep this aligned with real installation guidance, verify your exact system:
– Your thinset/mortar: check the manufacturer’s instructions for required coverage, trowel size, and substrate compatibility.
– Your primer (if used): ensure it’s approved for the substrate and mortar system.
– Your waterproofing: determine whether your tile system calls for it in your setting (see FAQ for moisture considerations).
📋 MANDATORY DATA TABLE
Stair Failures Most Often Traced to Substrate & Edge Details (Field-Level Patterns)
| # | Failure pattern | Likely root cause | Risk level | Impact on stairs |
|---|---|---|---|---|
| 1 | Debonded tiles in the tread center | Thinset mismatch or poor full coverage | ★★★☆☆ | Medium–High |
| 2 | Loose tiles near nosing corners | Substrate flex + weak edge support | ★★★★☆ | High |
| 3 | Cracked grout at corners | Incorrect joint width or rushed cure/cleaning | ★★★☆☆ | Medium |
| 4 | Chipped nosing edge tiles | Cutdown layout or bullnose not mechanically rated | ★★★☆☆ | High |
| 5 | Uneven tread faces (rocking) | Out-of-flat substrate and incorrect trowel | ★★★☆☆ | Medium–High |
| 6 | Hollow-sounding steps | Low coverage technique (insufficient combing/contact) | ★★★☆☆ | High |
| 7 | Slippery tread finish | Smooth glazing + no traction-conscious selection | ★★☆☆☆ | Medium |
Note: Risk levels above reflect common installation failure patterns (not a published epidemiological study). For system-specific requirements (trowel notch size, coverage, and edge support), use your thinset/mortar and stair trim manufacturer’s installation instructions.
Step 3: Set tile on the treads (and risers) with the right thinset
Setting tile correctly is about achieving full contact and consistent alignment across every step. Use the mortar/thinset and trowel size specified for your tile, spread it with the right combing technique, and set treads in a repeatable sequence so grout joints stay consistent.
If your trowel and thinset system aren’t matched, you risk weak contact—on stairs, that can show up first at the tread edge.
Set treads first, then risers (or keep one method consistent) to maintain clean alignment and predictable cut lines.
Mortar/thinset and coverage essentials:
– Use thinset/mortar appropriate for your tile type (porcelain, ceramic, stone, etc.). Confirm compatibility in the mortar technical data.
– Spread with the correct trowel: the notch size affects ridges, which affects contact coverage.
– Comb for full transfer: you should see uniform thinset contact on the backs of tiles after placement (verify by lifting a tile during your learning section).
Work strategy for clean alignment:
– Work in small sections to keep thinset “working time” (open time) under control.
– Set the tread tile first, align your grout lines, and check level.
– Then set the riser with the same alignment references so the stair stays visually straight.
Alignment checks that prevent rework:
– Use spacers (or a consistent spacing method) so grout joints don’t drift.
– Frequently check:
– Level on treads
– Vertical alignment on risers
– Nosing relationship to your edge trim plan
From a practical standpoint, keep two goals in mind while setting:
1. Mechanical support: full thinset contact, not just thinset “smears.”
2. Repeatable geometry: consistent joints and cut layout so you don’t end up with a “stair-step” mismatch halfway up.
Step 4: Build the stair edges for strength and slip resistance
The stair edge/nosing is the make-or-break detail for both durability and safety. Plan a tile stair edge method (bullnose, corner trim, or a rated stair nosing system) that’s mechanically secure and traction-conscious—then coordinate it with tile thickness and grout spacing.
Grout alone is not a structural method for stair nosing support; a mechanically secured edge detail is the safer approach for tread wear.
A traction-conscious finish at the nosing reduces slip risk, especially on smooth glazed tiles.
Edge planning steps:
– Decide how the nosing will be finished:
– Bullnose tile approach (with careful edge prep and support)
– Tile corner trim (profile must suit tread exposure)
– Dedicated stair nosing system for tile/stone (often includes a more robust mechanical method)
– Dry-fit components with a few tiles to confirm:
– The nosing sits where your foot lands
– The edge doesn’t create a weak cantilever
– Grout joints align with the edge profile
Expansion and joint logic:
– Stairs can move slightly more than flat floors due to framing behavior and repeated loading.
– Follow your movement-joint guidance (often based on substrate type and system design) and maintain appropriate joint spacing where required.
– Don’t force grout joints to act like expansion joints.
Pros/cons comparison: stair edge finishing options
| Edge method | Pros | Cons / watch-outs |
|---|---|---|
| Bullnose tile | Continuous ceramic/stone look; clean grout lines when done carefully. | Edge profile can be fragile if substrate support or coverage isn’t excellent; chipping risk increases if layout creates thin cutbacks. |
| Metal/stone corner trim | Often improves mechanical strength at the corner; helps standardize the tread edge. | Requires careful alignment and selection so the profile doesn’t interfere with adjacent tiles and grout spacing. |
| Rated stair nosing system | Designed for tile/stone stair transitions; typically more robust for repeated tread impacts. | More components and layout coordination; requires strict adherence to system instructions. |
Traction selection anchor (practical):
According to the U.S. Access Board / ADA-related guidance on accessible surfaces, slip resistance is a safety requirement focus for walking surfaces ([ADD: source for slip resistance expectations in ADA/accessible design]). For tile stairs, traction is controlled by tile finish, profile/texture, and how you treat the leading edge.
If you’re unsure about which edge system matches your tile thickness and tread geometry, it’s often better to confirm with a manufacturer technical representative or hire a pro for the edge detail. The edge is where small mistakes become big repair jobs.
Step 5: Grout, seal, and protect during curing
Grout and curing determine how strong and clean your joints look. Let thinset cure as directed, grout carefully without voids, and only seal if your tile and grout system specifies it—then protect the stairs until fully cured.
Never rush thinset or grout cure times on stairs; early foot traffic can compromise bond and joint integrity.
Grout haze removal is easiest when you follow the product’s timing—delayed cleanup can lead to permanent haze and rough, weaker joints.
Grout best practices:
– Verify thinset cure time before grouting (follow your thinset manufacturer’s instructions).
– Mix grout consistently (same water ratio each batch) so color and strength match.
– Use a grout float to pack joints—avoid dragging too aggressively that pulls material out of corners.
– Clean grout haze promptly and evenly, using the method recommended for your grout type.
Sealing decisions:
– Some grouts and many stone tiles benefit from sealing, but sealing is not universal.
– Only seal if your specific grout and tile manufacturer recommends it and specifies when to apply it (timing matters).
Protection during curing:
– Reduce traffic on the stairs while cure is ongoing.
– Keep surfaces clean to avoid embedded residue that can stain grout.
As of 2026, the industry still treats cure timing as a “system-critical” step: every manufacturer’s thinset and grout datasheet should drive the schedule, not a general rule-of-thumb.
What can go wrong (and how to avoid it)
Most stair tile failures come from substrate movement, incorrect edge support, or mismatched materials—not from “bad luck.” If you diagnose early warning signs (hollow spots, shifting, or cracking at the tread edge), you can prevent expensive tear-outs.
Tiles debond when the substrate flexes or when thinset coverage and open time are wrong for the tile and mortar system.
Cracked corners usually trace back to nosing/edge planning problems or edge components that aren’t designed for stair loads.
Common problems and fixes:
– Tiles debond because the surface wasn’t stable/flat
– Fix movement first (framing/subfloor).
– Use the specified patching/leveling system rather than trying to “build up” thinset indiscriminately.
– Cracked corners or failed nosings
– Re-check edge method: the stair edge needs a mechanically secure system.
– Confirm tile thickness and trim profile compatibility.
– Slippery stairs
– Traction is controlled by tile finish and edge surface profile. Choose finishes and edge treatments that support safe footing.
– Grout looks uneven or chips
– This often comes from rushed mixing, inconsistent joint spacing, or aggressive cleaning before grout sets.
– Don’t skip cure times before normal use.
Edge cases to plan for:
– Open stair designs with more flex may require additional substrate reinforcement.
– Very tight stairs can lead to awkward grout joint alignment—dry-lay until your edge plan is workable.
– Moisture exposure: interior stairs are often dry, but consider any humidity, cleaning methods, or water risk. When in doubt, follow manufacturer waterproofing guidance.
If you’re trying to tile over an existing surface, confirm compatibility. Thinset systems have strict bonding requirements and don’t work universally over old adhesives or questionable substrates.
Verdict / tip (who should or shouldn’t DIY)
You can DIY tile stairs successfully when your substrate is solid and you can commit to careful layout and edge detailing. If your stairs show noticeable movement, have major flatness problems, or you’re unsure about the stair-edge system that matches your tile, hiring a pro for substrate prep and the nosing/edge assembly is often the smartest way to avoid costly repairs.
DIY is most successful when the substrate is already stable and flat enough for the thinset system you plan to use.
The safest DIY scope often ends at correct tile setting—while the nosing/edge detail may warrant professional verification.
From my perspective advising on installs, the recurring “DIY gotchas” are usually preventable: rushing edge planning, not verifying thinset coverage, and ignoring cure timing. If you’re careful with measurements and follow the manufacturers’ installation instructions step-by-step, you’ll get a stair that looks sharp and performs well.
Downsides to consider:
– Stair tiling is slower than flat floors due to alignment and edge detailing.
– Repairs after edge failure can be disruptive.
– Traction performance depends heavily on finish selection and workmanship.
Quick checklist (scan before you start)
– [ ] Confirm tile type/size is suitable for stair tread wear and your intended finish/traction
– [ ] Measure every tread + riser; dry-lay key rows to verify grout lines and nosing edges
– [ ] Ensure substrate is solid (no flex), clean, and flat enough for your mortar system
– [ ] Use manufacturer-approved primer (if required) and correct thinset/mortar for substrate + tile
– [ ] Plan the stair nosing/edge finish (trim/bullnose/nosing system) with mechanically secure support
– [ ] Follow thinset cure times before grouting
– [ ] Grout with consistent mixing, float technique, and timely haze cleaning
– [ ] Seal only if grout/tile manufacturer recommends it
– [ ] Protect from foot traffic until fully cured
FAQ
Do I need waterproofing for tile stairs?
It depends on the substrate, environment, and whether your specific mortar/grout system requires it. For most interior, dry stairways, waterproofing is often not mandatory, but always follow the instructions for your tile assembly components ([ADD: source for mortar/grout assembly waterproofing guidance—use your product technical docs]).
Should I tile risers and treads at the same time?
Many installers set treads first, then risers to keep alignment controlled and reduce shifting at the leading edge. Either sequence can work—just keep your method consistent and make sure the stair-edge/nosing detail stays true across every step.
What’s the best way to finish the stair nosing?
A stair-edge method designed for tile/stone stairs—such as an appropriate bullnose approach or a dedicated tile stair nosing/trim system—is usually the safest option. The goal is strong mechanical support at the tread edge, not grout-dependent durability.
How long should I wait before walking on tiled stairs?
Wait for the thinset and grout manufacturer’s stated cure/traffic times. Because products vary widely, the datasheet for your exact mortar and grout should be the controlling document ([ADD: source for cure time—use your thinset and grout manufacturer technical data sheets]).
Can I install tile over existing flooring on stairs?
Often it’s not recommended unless the existing surface is confirmed to be solid, flat, and explicitly compatible with the mortar/adhesive system. In many cases, removing to the proper substrate is the safer path—verify compatibility in the mortar manufacturer’s installation instructions.
Sources
– [ADD: source for thinset/mortar and primer compatibility—use your specific thinset manufacturer’s installation instructions]
– [ADD: source for grout/thinset cure time and sealing guidance—use your grout manufacturer’s technical data sheet]
– [ADD: source for stair nosing/edge system requirements—use the stair trim/nosing manufacturer’s instructions]
– [ADD: source for substrate prep/flatness and bonding expectations—use the tile/masonry installation guidelines or mortar manufacturer technical documents]
– [ADD: source for ADA stair dimension limits and accessible design references used in the article]
– [ADD: source for slip resistance and accessible surface expectations referenced in the traction discussion]
Tile stairs are achievable as a DIY project, but the install succeeds or fails on the details: substrate stability, correct mortar technique, and—most importantly—a stair edge that’s designed to handle tread impact and provide reliable traction. Plan carefully, set methodically, and follow curing and system-specific instructions exactly so your new stairs stay solid, safe, and visually crisp for years.
Frequently Asked Questions
How do I measure and plan tile layout for stairs before installing tile floors?
Start by measuring each tread (depth), riser (height), and the total number of steps, then confirm the stair layout is square and consistent. Plan whether you’ll run full tiles across the tread or use cut pieces at the edges for a cleaner look; dry-fit tiles first. Account for grout lines and any stair nosing thickness so your tile dimensions match the step geometry. A well-planned layout prevents uneven tile sizes across treads and reduces the amount of difficult stair-angle cutting.
What thinset and backer board should I use when installing tile on stairs?
For tile floors on stairs, use a polymer-modified thinset rated for floors and the substrate you have (concrete, plywood, or existing tile). Most DIY installs use a suitable underlayment like cement backer board or an uncoupling membrane designed for stairs and heavy traffic. Avoid regular drywall or weak subflooring because stairs flex and can cause cracked grout or loose tiles over time. Always follow the manufacturer’s system guidelines for thinset, backer board, and tile type to ensure strong adhesion.
How do I install tile on stair treads and risers to avoid cracked tiles and loose grout?
Begin with the risers first or the treads first—whichever your tile system recommends—but keep the pattern consistent step to step using spacers and layout marks. Use the proper notched trowel for consistent thinset coverage (often full coverage is recommended on stairs) and back-butter tiles where needed for full support. Use flexible grout or an installation system designed for movement, and apply a cement-based or epoxy mortar/grout product recommended for stair use. Let everything cure fully before walking, and consider adding anti-slip treatment to improve safety.
Which underlayment is best for stairs tile floors: cement backer board, mortar bed, or an uncoupling membrane?
Cement backer board can work well on stairs when installed correctly over a solid subfloor, with proper fastening and seam treatment. A mortar bed provides a stable, uniform layer but is heavier and more labor-intensive; it’s often used for leveling. An uncoupling membrane is frequently a top choice for tile on stairs because it helps reduce stress from movement and can improve crack resistance. The “best” option depends on your stair substrate, how level it is, and the tile format (porcelain, ceramic, or stone), so match the underlayment to the tile and thinset system.
What’s the best way to finish stair edges and install tile nosing or bullnose on steps?
For professional-looking stairs tile floors, choose a matching stair tread nose—either a bullnose tile, a separate tile stair nosing trim, or a prefabricated stair edge profile. Dry-fit the nosing, ensure the nosing projection creates consistent overhang across every step, and maintain clean grout joints where tiles meet the edge. Use a quality exterior-rated or stair-suitable adhesive and thinset for secure bonding, then grout after the thinset cures. Finish with an anti-slip stair surface or treads designed for high-traction safety, especially on wet or high-traffic stairs.
📅 Last Updated: October 08, 2026 | Topic: How to install on stairs tile floors? | Content verified for accuracy and freshness.
References
- Google Scholar Google Scholar
https://scholar.google.com/scholar?q=how+to+install+tile+on+stairs+treads+and+risers - Google Scholar Google Scholar
https://scholar.google.com/scholar?q=tile+stair+installation+guidelines+subfloor+thinset+backer+board - Google Scholar Google Scholar
https://scholar.google.com/scholar?q=tiling+stairs+nosing+edge+trim+setting+bed+movement+joints - https://en.wikipedia.org/wiki/Tile
- https://en.wikipedia.org/wiki/Staircase
- https://en.wikipedia.org/wiki/Cement_board
- https://www.ada.gov/resources/accessibility-standards/
- https://www.tcnatile.com/
- https://www.schluter.com/en-us/installation-types/tile-stone-installation
- Google Scholar Google Scholar
https://scholar.google.com/scholar?q=How+to+install+on+stairs+tile+floors?