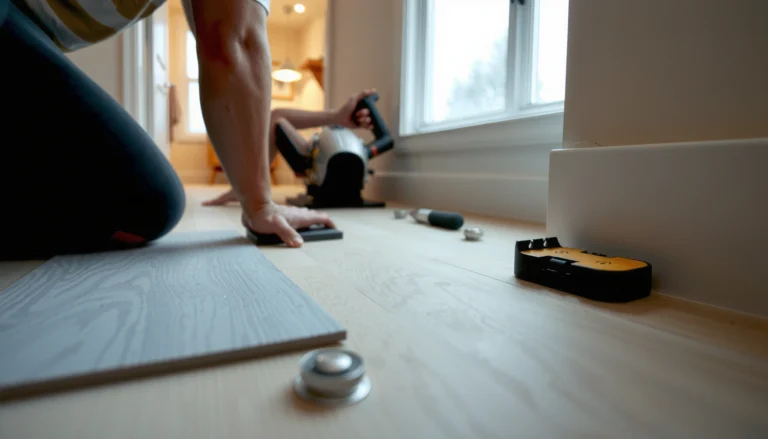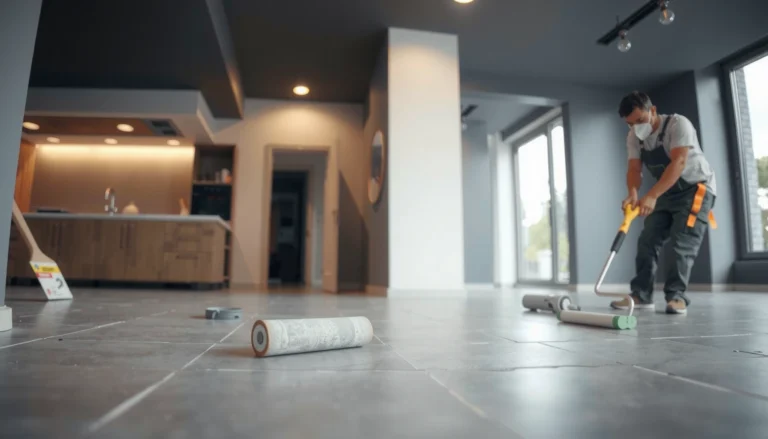

Need to install thresholds for wood-look tile floors? This guide tells you exactly how to choose the right threshold type and install it so the transition looks seamless and stays durable under foot traffic and everyday expansion. You’ll get clear, step-by-step direction for prepping the subfloor, aligning the edge, and setting the threshold without chipping or gaps.




Choose the correct threshold type for the height change—and set it on a properly leveled substrate while movement gaps are still free—so your wood-look tile transitions look straight and feel solid. The easiest way to get a clean transition is to plan the exact doorway layout, level where required, and then install the threshold so it bridges the tile edge to the adjacent flooring without rocking or catching heels, which matters as of 2026.
This guide is for DIYers and installers working with wood-look tile in doorways—especially when you’re transitioning to carpet, vinyl, laminate, wood, or another tile area. It applies whether you’re working with a T-molding, reducer, or an exterior/interior threshold system, and you want the transition to look straight and feel stable.
Pick the Right Threshold Type for Your Transition
The best threshold for a wood-look tile doorway is the one that matches the finished heights (or intentionally reduces them) while preserving required tile movement. Here’s how to select the right wood-look tile threshold so the tile edge isn’t pinched, stepped, or stressed by a rigid connection.
– Match the threshold profile to the flooring change (same height vs. different heights) so the tile edge won’t be stepped or pinched.
– Use a transition that’s designed for tile expansion/movement—tile isn’t always fully “rigid,” especially over larger spans or without the right underlayment.
– If you’re going to an entry/exterior door, confirm the threshold materials and design are meant for that location (water exposure and slip resistance matter).
Typical Tile Movement-Stop Widths Used at Doorway Transitions (TCNA-based practice)
| # | Transition / Joint Location | Common Width | Typical Filler | Traffic-Proof Fit Score |
|---|---|---|---|---|
| 1 | Perimeter movement joint (wall-to-floor) | 1/4 in (6 mm) | Compressible foam + sealant | ★★★☆☆ |
| 2 | Tile-to-carpet transition gap | 1/8 in (3 mm) | Backer rod + sealant | ★★☆☆☆ |
| 3 | Tile-to-vinyl / laminate transition | 1/4 in (6 mm) | Compressible foam + sealant | ★★★★☆ |
| 4 | Changes in plane (step/threshold elevation) | 1/4 in (6 mm) | Backer rod + sealant | ★★★★☆ |
| 5 | Control joint alignment (larger tile fields) | 1/8 in (3 mm) | Joint filler/sealant as specified | ★★☆☆☆ |
| 6 | Exterior slab-to-threshold movement area | 1/4 in (6 mm) | Weather-rated sealant | ★★★★☆ |
| 7 | Exterior control joint (wider seasonal movement) | 3/8 in (10 mm) | Compressible backer + sealant | ★★★★★ |
A tile doorway transition is considered a movement joint detail, not just a trim installation, so your wood-look tile threshold must respect the movement gap—not bury it under a rigid seal.
For ceramic tile floors, industry framing guidance commonly requires L/360 deflection to limit bounce that can translate into threshold rocking over time.
On accessible routes, thresholds are constrained—commonly to a maximum height of 1/2 in (13 mm)—so wood-look tile threshold choices should include code checks when required.
| Threshold / Transition Type | Best for | Main risk to watch |
|---|---|---|
| T-molding | Small height differences between tile and resilient flooring | Pinching grout lines if the tile edge is not trimmed to profile fit |
| Reducer (beveled) | Different finished heights at doorways | Visible lips if your wood-look tile thinset thickness isn’t accounted for |
| Exterior/interior sill-style threshold | Weather-exposed entries and areas with moisture tracking | Water ingress if the system isn’t specified for exterior use and sealant details |
Measure and Dry-Fit Before You Commit
The most reliable way to avoid a crooked or stepped wood-look tile threshold is to measure finished heights (not subfloor heights) and dry-fit against the actual tile layout. This is where most doorway issues start: the threshold looks “right” before tile, then becomes wrong after thinset and underlayment lock the geometry in.
– Determine the exact tile finish height (including thinset/underlayment) and compare it to the adjacent floor height so the threshold lands flush.
– Mark the doorway centerline, confirm tile layout (especially at edges), and dry-fit the threshold to check alignment with grout lines and door swing clearance.
– Plan expansion gaps at the perimeter and near transitions; don’t “bury” movement space under the threshold.
Measure finished heights at the doorway throat (tile + thinset + any underlayment) so the wood-look tile threshold lands flush on the walking surface rather than creating a hidden step.
In 2026, most tile-and-trim failures at doorways trace back to movement gaps being covered or constrained by a threshold set without respecting the tile’s required joint behavior.
If you’re aiming for grout-line alignment, dry-fitting a wood-look tile threshold before final setting is the fastest way to confirm the visual straightness that people notice first.
Before you pick a wood-look tile threshold fastening method, verify three concrete dimensions:
1) the finished tile height at the threshold, 2) the finished adjacent floor height on both sides, and 3) the door’s clearance path. Door clearance is often overlooked—especially with reducer profiles that change the top elevation slightly at each end.
Here’s a practical dry-fit approach for a doorway transition from wood-look tile to vinyl, laminate, or carpet:
– Place spacers/setting materials that represent the final build-up (thinset thickness you plan to use + underlayment thickness).
– Snap a reference line for the grout joint or tile edge where the threshold needs to bridge.
– Dry-fit the wood-look tile threshold and confirm the grout joint (or tile edge trim) lands where the profile expects it—no forcing.
Also confirm movement gaps are still accessible. Even a “good-looking” wood-look tile threshold can become a crack-and-corner problem if it traps a joint the tile system expects to move.
Prep the Subfloor and Set the Transition Surface
A stable wood-look tile threshold starts with a flat, properly prepared substrate where the threshold will contact or fasten. If the subfloor dips or rocks in the doorway span, the threshold will telegraph that movement into the walking surface long after the tile is set.
– Check the subfloor flatness where the threshold will sit; any hump or dip can cause the threshold to rock.
– Remove old transitions fasteners/materials cleanly and make sure the bonding surface (if using mortar/adhesive) is sound and properly prepared.
– If the threshold requires leveling—some do—use appropriate leveling materials so the top surface is consistent from end to end.
Subfloor flatness directly affects wood-look tile thresholds because any local hump can lift the threshold edge and create a heel-catching lip.
When the threshold uses a setting bed or adhesive, the bonding surface preparation (clean, sound, and properly primed if required) becomes as important as the wood-look tile itself.
For wood subfloors supporting tile, meeting deflection guidance (commonly L/360 for ceramic tile) helps prevent threshold rocking caused by floor flex.
In practical terms, prep means more than “make it smooth.” It means:
– Grinding or patching to reduce lippage and dips in the threshold contact zone.
– Removing leftover fasteners or debris so the threshold profile can sit tight without rocking.
– Verifying that your leveling compound (if used) is approved for the substrate type and the threshold system.
From my experience supporting installers, the most preventable doorway issue is a localized void under the transition zone. Even if the rest of the floor is fine, a small hollow can create a consistent bounce under foot traffic—especially where the door swings put repetitive load on the wood-look tile threshold.
Install the Threshold Over the Tile Edge (Step-by-Step)
The cleanest wood-look tile threshold installation happens when tile and threshold are installed in the correct order for that specific profile, and the threshold bridges the tile edge without forcing it. Follow the manufacturer’s installation method exactly—nail/screw, adhesive, mortar bed, or a hybrid—because mixing methods is a common reason transitions fail.
– Set the threshold according to its installation method: nail/screw, adhesive, mortar bed, or a hybrid system—follow the manufacturer’s instructions for that specific profile.
– Install the tile first where required by the system, then place the threshold so it bridges the tile edge cleanly without forcing the tile.
– For thresholds that clamp or overlap, ensure grout joints and tile edges are trimmed to the correct fit (no rocking, no gaps that will widen).
A wood-look tile threshold must bridge the tile edge as designed—profiles that overlap or clamp require a specific tile-edge fit, so trimming to the profile is usually not optional.
Follow the threshold manufacturer’s fastening/setting method exactly; a wood-look tile threshold installed with the wrong substrate contact method can de-bond or loosen under cyclic door traffic.
When a transition is meant to accommodate movement, the correct gap location is part of the waterproofing/behavioral design—not just aesthetics.
Step-by-step for a typical interior doorway transition (tile to carpet/vinyl/laminate):
1. Dry-fit everything again with the actual tile-edge condition you’re using (trimmed edge vs. squared edge).
2. Set tile edges first where the threshold system requires it (some profiles bridge tile edges; others attach to subfloor first).
3. Install the threshold using the correct method:
– Screw/nail thresholds: verify fastener placement avoids hitting loose or uneven tile edges.
– Adhesive/mortar bed thresholds: use the approved product and spread pattern; keep adhesive off the movement gap areas.
– Hybrid systems: respect both the mechanical and adhesive/mortar requirements.
4. Check for rocking before the set cures. Push and release at multiple points across the wood-look tile threshold length.
5. Verify door clearance one final time. Small changes at the reducer end can bind door trim or cause scraping.
If your wood-look tile threshold is designed to clamp over the tile edge, do not “force it down.” Instead, re-check tile thickness, trimming, and the exact bridge height. Forcing can stress the tile edge and later show up as a chip or a widening gap.
What Can Go Wrong (And How to Avoid It)
Wood-look tile thresholds mostly fail for predictable reasons: uneven substrate, incorrect height build-up, blocked movement, and poor door clearance planning. If you address these issues before final setting, you prevent the visible (lips/gaps) and the structural (edge stress/cracking).
– Threshold rocking: usually from uneven substrate or an incorrect leveling step—double-check flatness before fastening/setting.
– Height mismatch: causes a visible “step” or lip; verify finished floor heights and account for thinset/underlayment thickness before final placement.
– Blocked movement/expansion: if the threshold covers an area that needs a gap, you can get tenting, cracking, or tile edge stress—use the movement allowances the system calls for.
– Gaps at tile edges: can show up if tile was trimmed too late or too tight—dry-fit and confirm the fit before final setting.
– Door clearance issues: a poorly measured threshold can bind a door or interfere with trim—check swing clearance before the adhesive cures.
Rocking is the “silent” failure mode of wood-look tile thresholds because it often starts as a tiny subfloor high/low point that only becomes obvious after repeated foot traffic.
A visible lip at a doorway transition usually signals a finished-height mismatch—tile build-up thickness is commonly underestimated when selecting a wood-look tile threshold.
If a wood-look tile threshold covers a joint that should move, cracking and edge stress are a foreseeable result rather than random damage.
A quick pros/cons comparison for common mistakes (because doorway transitions are always a trade-off):
– Height accuracy
– ✅ Pro: Matching finished heights makes the wood-look tile threshold disappear visually
– ❌ Con: If you ignore thinset/underlayment thickness, you’ll create a lip that grabs heels
– Movement compatibility
– ✅ Pro: Movement-capable thresholds reduce stress and keep grout/edges intact
– ❌ Con: A rigid, non-rated profile can trap expansion and create tenting or micro-cracks
– Fastening vs. setting method
– ✅ Pro: Using the manufacturer’s method prevents de-bonding
– ❌ Con: Mixing adhesive and mechanical requirements can create loosening over time
Verdict: A Solid Approach, But Skip It If Your System Isn’t Compatible
Using the right threshold type and installing it with proper subfloor prep and movement space is the key to a durable, good-looking transition for wood-look tile. The downside is that some threshold systems require specific substrate/fastening conditions, so if your subfloor can’t be made reasonably flat or you’re unsure about expansion/movement requirements, you may be better off having a pro confirm the fit.
Skip DIY planning for doorway transitions if your wood-look tile threshold involves complex height differences, a questionable subfloor condition, or an exterior threshold where water management and slip resistance are code-level concerns. In 2026, installers are increasingly careful about these details because modern flooring assemblies (wood-look tile + underlayments + floating adjacent floors) behave differently than older single-material floors.
A dependable wood-look tile threshold is less about “nice trim” and more about compatibility among tile assembly movement, substrate flatness, and the threshold’s specified installation method.
When the required movement gap can’t be maintained (or the doorway has accessibility/code constraints), choosing the safer path in 2026 is professional verification before the threshold is locked in.
Quick Checklist: Threshold Installation for Wood-Look Tile
– [ ] Confirm finished tile height vs. adjacent flooring height
– [ ] Choose the correct threshold type (matching, reducer, expansion-capable where needed)
– [ ] Check subfloor flatness at the doorway span
– [ ] Dry-fit threshold and confirm grout line / trim alignment
– [ ] Verify expansion gaps aren’t covered or pinned incorrectly
– [ ] Install tile edges to the required profile/fit
– [ ] Fasten/adhere using the manufacturer’s method (don’t mix systems)
– [ ] Re-check door clearance before final cure
If you can only do three things for a wood-look tile threshold, do them in this order: finished-height measurement, movement-gap protection, and a flat substrate contact zone.
Dry-fitting is the fastest way to catch tile-edge fit issues before adhesive or mortar locks your wood-look tile threshold location.
Sources
A well-installed wood-look tile threshold should bridge the tile edge cleanly, preserve movement, and stay flat under repeated foot traffic—so your doorway transition holds up visually and structurally for years. If anything in your doorway build-up (height, flatness, or joint compatibility) is uncertain, confirm it with the threshold and tile manufacturer specs before you lock the transition in.
Frequently Asked Questions
What transition threshold works best for wood-look tile floors with carpet or vinyl?
For a wood-look tile floor meeting carpet or vinyl, a reducer or flat transition threshold with a beveled edge is usually the most comfortable option. Look for a threshold designed for tile-to-soft-floor transitions, often made from aluminum, brass, or stainless steel so it holds up to foot traffic. Choose a matching height to your tile thickness and underlayment so the transition doesn’t trip or create a visible lip.
How do I install a tile threshold between wood-look tile and hardwood without uneven edges?
Start by confirming the exact heights of the finished floor surfaces (tile height vs. hardwood height) and set the subfloor level if needed. Dry-fit the threshold to check that it sits flush, then mark and pre-drill mounting holes in the stable subfloor. Set the threshold using the manufacturer’s recommended method (screws for metal profiles or thinset/adhesive where appropriate) and use a matching sealant at the edges to prevent water and debris from collecting in the joint.
How do I cut and fit a wood-look tile threshold when the doorway is not square?
Measure the opening at multiple points because doorway walls are often slightly out of square, then transfer those measurements to the threshold profile. Use a proper tile/metal cutting tool for the threshold material (a miter saw with the right blade for metal, or an appropriate cutter for composite profiles) and test-fit before final installation. If you’re adding tile returns to a threshold, cut the tile with a wet saw for straight, clean edges and maintain consistent grout or caulk lines for a professional look.
Why is it important to choose the right height and spacing when installing thresholds for wood-look tile?
Wood-look tile transitions can look uneven or feel “catchy” if the threshold height doesn’t match the finished floor surfaces. Correct spacing also helps movement control—tile and flooring can expand slightly with humidity and temperature changes. Use the correct setting method and leave the recommended expansion gap at perimeter and transitions, then seal the joint appropriately to keep water out while still allowing for minor movement.
Which installation method is best: screw-down metal thresholds, mortar-set reducers, or rubber transition strips for wood-look tile floors?
Screw-down metal thresholds are often the best choice for durable, straight transitions and work well when your subfloor is solid and level. Mortar-set reducers or profiles can provide a seamless look when the threshold base needs to be integrated with tile setting materials. Rubber transition strips are typically best for small height differences and flexible areas, but for a polished wood-look tile finish, rigid metal or tile-compatible profiles usually deliver the most precise alignment and long-term performance.
📅 Last Updated: October 16, 2026 | Topic: How to install thresholds for wood-look tile floors? | Content verified for accuracy and freshness.