
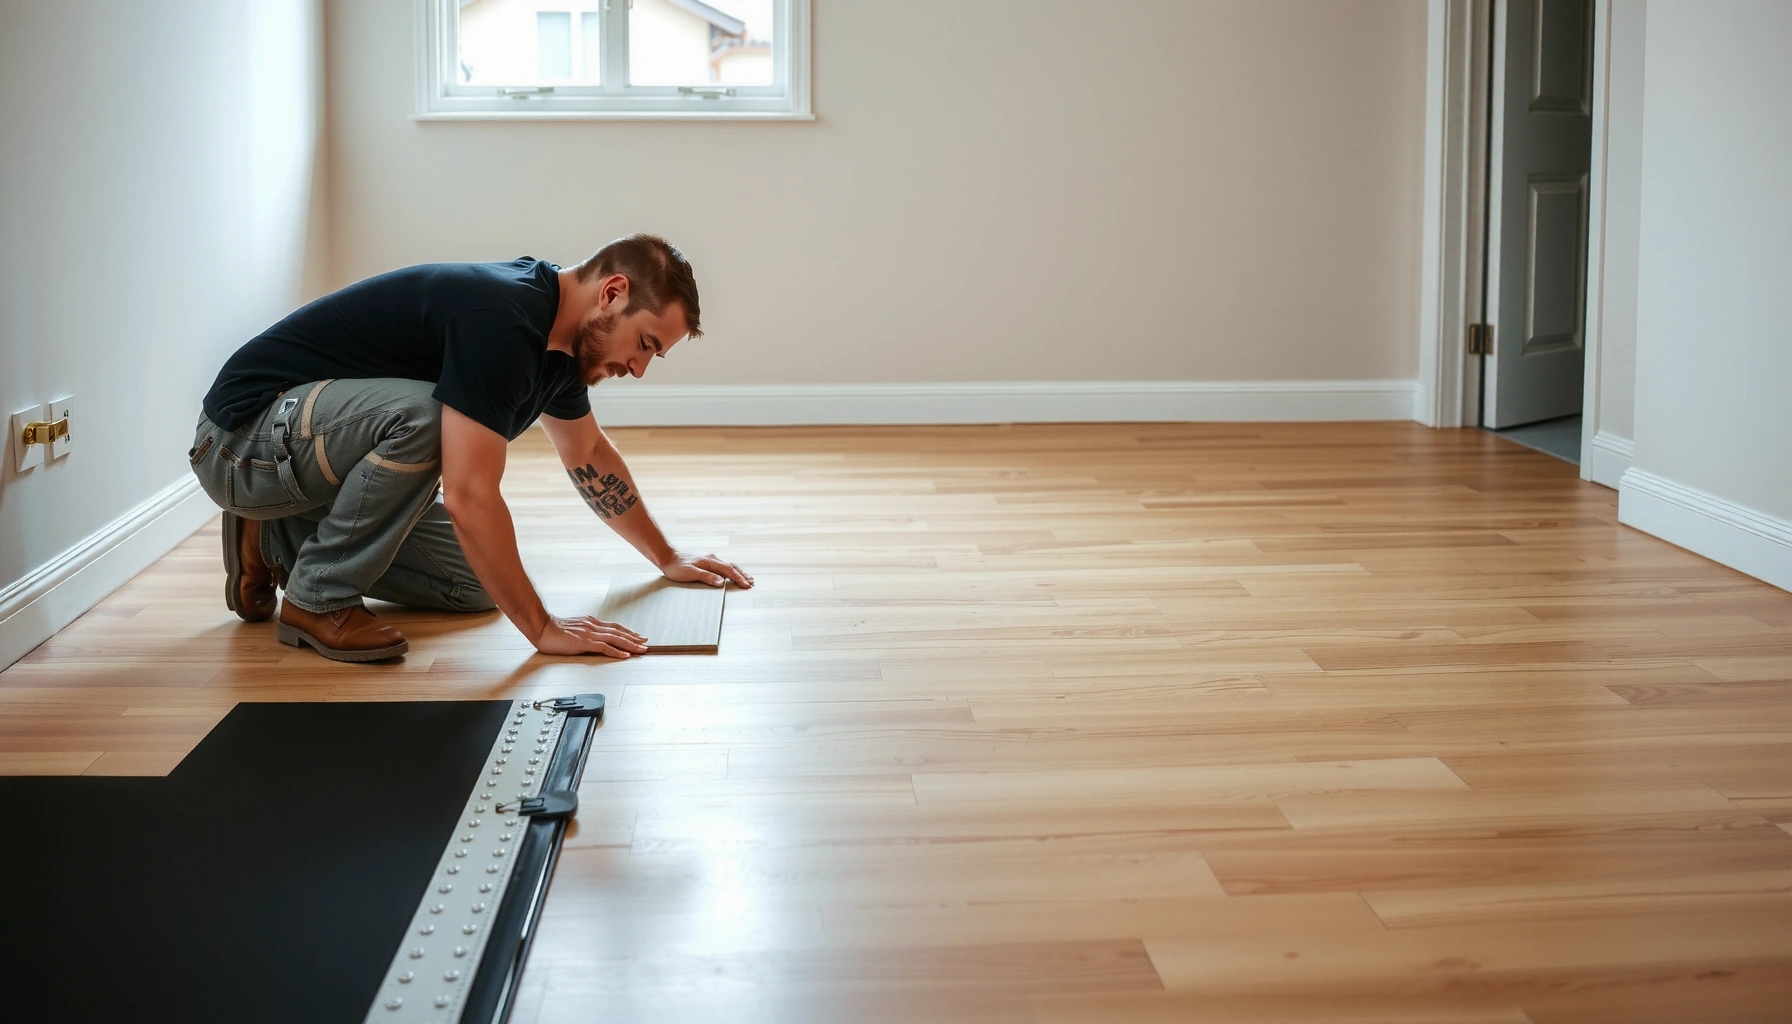

If you’re trying to install LVP floors on uneven floors, the winner is this step-by-step plan: flatten the subfloor correctly and install only after you’ve eliminated the high spots and filled low areas to spec. This guide shows you exactly how to check your floor, what to use to level it, and how to lay LVP so it locks together without gaps, clicking, or premature failure. Follow these fixes and you’ll get a smooth, long-lasting LVP installation even when your subfloor isn’t level.




If your LVP subfloor is uneven, the floor can flex, squeak, or separate at the seams—so your best path is flattening it to your LVP manufacturer’s required flatness before you install. In most cases, you’ll either level low spots with a compatible self-leveling underlayment/patch or correct the base with shims/repairs, then install on the right underlayment for your specific LVP type. The key is matching the fix to the measured flatness problem—so your planks stay tight and your joints don’t reopen.
If you’re planning a floating click-lock or glue-down LVP install over a subfloor that isn’t perfectly flat, this is for you. It’s especially useful when you’ve noticed waves, visible gaps, or doors that don’t latch smoothly—signs your base needs attention first.
Check How Uneven the Floors Really Are

The fastest way to avoid installing on a bad base is to measure flatness across the whole area you’ll cover—not just where it “looks” low. Do this first, because the right leveling approach depends on whether you have localized dips or a broader slope.
Flatness limits for resilient flooring are commonly expressed as “maximum variation over a given distance,” rather than a single overall number.
The most reliable measurement method uses a straightedge or level placed in multiple orientations to detect both dips and humps.
If an installation still has visible lippage or joint strain after leveling, the underlying issue is usually that the real flatness limit wasn’t met for that LVP type.
Measure flatness with a repeatable method
Use a 6–10 ft straightedge (or a long level) and check the subfloor in a grid pattern across the room. Mark:
– High areas (often require grinding/sanding, not filling)
– Low areas (often require patch/feather finish or self-leveler)
– Any wide “wave” pattern that can telegraph through LVP
According to industry guidance for resilient flooring, flatness is often evaluated as a tolerance such as 3/16 in (4.8 mm) over 10 ft (common reference standard used in flooring specs). [ADD: source for flatness tolerance—ideally your LVP manufacturer’s spec or an ASTM/NWFA/RFCI installation standard]
Decide: localized vs system-wide unevenness
Localized problems are usually one dip, a hump around a plumbing penetration, or a spot where old materials were removed. System-wide problems are broader—like subfloor sag, a long slope from one side of the room to the other, or widespread subfloor thickness variation.
This matters because:
– Localized low spots are usually best fixed with patch/feather-finish (you can control edges and avoid overbuilding).
– Broad unevenness is usually best fixed with a self-leveling underlayment/leveler (you can correct a “field” quickly and more consistently).
Confirm your LVP manufacturer’s maximum flatness requirement
Before you buy a leveling product, check your LVP spec sheet for:
– Maximum allowable subfloor flatness
– Whether the measurement is over 2 ft / 6 ft / 10 ft
– Whether that limit differs for floating click-lock vs glue-down
Choose the Right Leveling Approach (Patch vs Level)
The correct approach depends on how wide the low areas are and whether you need feather edges or a full-field correction. Small dips typically respond best to patch/feather-finish; broader unevenness usually requires a self-leveling underlayment/leveler.
Patch/feather-finish products are designed to blend gradually, making them ideal for small localized low spots and controlled edges.
Self-leveling underlayment/leveler products are designed to flow and level across larger areas, but they still require strict thickness and cure limits.
You should only install LVP after the leveling material reaches full cure per the datasheet—partial cure can lead to surface breakdown and joint failures.
When to use patch/feather-finish
Choose a compatible patch/feather-finish compound when:
– The subfloor is mostly flat except for one or two low spots
– You can transition from the repaired area to surrounding flat sections gradually
– You’re dealing with minor depressions (not large “waves”)
Best practice is to feather to surrounding height rather than leaving a hard ridge—ridges can create a pressure point and cause seam stress.
When to use self-leveling underlayment/leveler
Choose a self-leveling underlayment/leveler when:
– Unevenness is broad or widespread
– You measured a consistent slope or multiple low zones across the room
– Patch would require repeated feathering that won’t hold or would exceed patch thickness limits
- Pros of patch/feather-finish
- More control at edges; less mess; easier to target localized dips.
- Cons of patch/feather-finish
- Not practical for large “field” unevenness; repeated feather edges can leave weak transitions.
- Pros of self-leveler
- Efficient for larger areas; smoother, more uniform correction.
- Cons of self-leveler
- Needs careful mixing, priming (often), and strict cure/thickness limits; overpouring can increase floor height and stress transitions.
Don’t start LVP early—respect cure time and max thickness
Only proceed once the leveling material cures to the required time and thickness per the product instructions ([ADD: exact cure time/thickness limits from the leveler’s datasheet you’re using]).
Below is a quick decision reference you can keep while you choose your leveling product.
Uneven-Subfloor Scenarios and Typical LVP Fix Strategy
| # | Measured condition (field check) | Most common correction | Drying/cure priority | Suitability for DIY | Outcome confidence |
|---|---|---|---|---|---|
| 1 | Single small dip (localized) in one corner | Feather-finish patch | High | ★ ★ ★ ★ ★ | Strong |
| 2 | Multiple small low spots across one zone | Patch + grind highs | High | ★ ★ ★ ★ ☆ | Good |
| 3 | Broad low area (wavy look over much of the room) | Self-leveling underlayment | Very high | ★ ★ ★ ☆ ☆ | Strong (if prepped right) |
| 4 | Overall slope from one side to the other | Level the field (not just local) | Very high | ★ ★ ☆ ☆ ☆ | Risky DIY |
| 5 | Loose boards on plywood/OSB (movement when stepped on) | Structural repair + re-fastening | Critical | ★ ★ ★ ★ ☆ | Best fix |
| 6 | High spots (proud edges, not low dips) | Grind/sand highs | High | ★ ★ ★ ★ ☆ | High success |
| 7 | Unevenness plus moisture staining or damp feel | Moisture mitigation first | Critical | ★ ★ ☆ ☆ ☆ | Skip DIY without testing |
Prepare the Subfloor for LVP (Clean, Repair, Prime)
Flattening doesn’t matter if the surface is dirty, loose, or failing—so prep is not optional. Clean, repair structural issues, and use the correct primer (when required) so your leveling material bonds and cures as intended.
Levelling products can fail when applied over loose debris, ridged old adhesive, or protruding fasteners that prevent full contact.
A leveling compound is not a structural repair; when the subfloor moves, you must re-fast or rebuild before installing LVP.
Many self-leveling systems require primer to control absorption and promote bond strength to concrete or porous wood surfaces.
Clean out anything that breaks flatness or bonding
Remove:
– Loose paint, drywall compound ridges, dust, and debris
– Old adhesive ridges (especially on concrete)
– Protruding nails/screws—countersink if needed
When you’re done, vacuum thoroughly and run your straightedge again. If your subfloor changes after cleaning, fix the real surface—not the “hidden” bumps.
Repair moisture/structural issues first
If you have:
– Soft, sagging, or bouncing sections on plywood/OSB
– Cracking or spalling concrete
– Visible moisture staining
…address that first. Levelers can’t make an unstable base stable, and they also won’t permanently stop moisture vapor drive.
Prime only if your system requires it
If your situation requires it, follow the leveler/primer instructions for surface prep (for example, priming concrete or sealing porous areas). [ADD: whether your subfloor needs primer based on your specific leveler’s instructions].
Plan the Layout to Reduce Stress on Uneven Areas
Even after leveling, smart layout reduces seam stress and movement. Start in controlled locations and manage expansion gaps so the floor has room to move without opening joints.
A controlled starting line reduces cumulative alignment errors that can make small flatness issues become obvious seam gaps.
Expansion gaps help floating LVP manage seasonal movement; uneven bases can amplify movement if gaps are ignored.
For floating floors, underlayment seams should not stack thickness in a way that reintroduces “soft spots” under plank locking joints.
Choose a sensible starting point
Start your layout where you can control transitions (hallways, doorways, and main sight lines), and avoid starting with planks directly over the worst low spots.
Maintain proper expansion gap and row control
Use spacers and follow the expansion gap guidance for your product, especially in uneven rooms where movement can be more noticeable.
If you’re doing floating LVP, keep an eye on where underlayment seams land—don’t stack thickness in a way that reintroduces dips. [ADD: manufacturer guidance on underlayment installation].
Install LVP Correctly on a Leveled Base
Once the base is flattened and cured, your installation technique determines whether seams stay tight. Follow click-lock or glue-down instructions exactly—because “close enough” tolerances can create visible gaps and premature failures.
Click-lock floating LVP relies on correct alignment and full engagement of the locking system; uneven subfloors can loosen joints over time.
Glue-down LVP requires adhesive application timing (“open time”) and correct trowel size so the bond is continuous and resilient movement is controlled.
Even small misalignment errors can compound row-by-row and increase seam stress—especially near doorways and transitions.
Click-lock vs glue-down: use the right method end-to-end
Follow the locking/glue instructions exactly for your LVP type (click-lock floating vs glue-down). Mixed methods or “close enough” spacing can lead to seam gaps.
Keep rows straight and manage end joints
Maintain straight rows and manage ends carefully—misalignment can amplify small base irregularities.
Press/roll planks as directed
Roll/press planks as directed (for click-lock floors, follow the manufacturer’s recommended technique; for glue-down, respect open time and adhesive trowel guidance). [ADD: your LVP/adhesive manufacturer installation steps].
What Can Go Wrong (and How to Avoid It)
The most common failures happen when installers skip the flattening step or assume underlayment can “fix” dips. The second biggest failure pattern is moisture and cure-time shortcuts.
Leaving low spots under floating LVP can cause joint loosening because the plank repeatedly flexes at the locking edge.
Overfilling high spots can push LVP out of flatness tolerance elsewhere and create pressure points under foot traffic.
Underlayment is typically for sound/comfort, not for bridging major flatness defects—only use it within its stated unevenness limits.
Common mistakes and how to prevent them
| Problem | What it looks like | Why it fails | Practical fix |
|---|---|---|---|
| Skipping flattening | Flex, squeaks, gaps at seams | Joints take structural loads they weren’t designed for | Re-measure flatness and correct lows/highs within spec |
| Overfilling highs | Uneven “bump” transitions after leveling | You create new variations instead of removing old ones | Grind highs first; use patch only to correct lows |
| Wrong underlayment | Seams telegraph; floor feels “spongy” | Underlayment may not be rated to reduce unevenness | Use underlayment explicitly allowed for your subfloor tolerance |
| Ignoring moisture | Odor, dark staining, floor lifting | Adhesives/levelers and flooring can be compromised | Test moisture and mitigate before leveling and installation |
| Rushing cure | Pinholes/cracks; leveler surface powders | Trapped moisture or weak surface bonds | Respect cure time, temperature, and thickness rules |
Moisture and unevenness often travel together
If your subfloor is uneven, it’s worth checking moisture too. Moisture-driven swelling can create waves, and adhesive systems can fail when moisture conditions exceed the spec.
Cure time is not a suggestion
Rushing cure times can cause pinholes, cracks, or re-leveling failure. Follow the product instructions exactly—especially around temperature and thickness.
Verdict: What’s the Honest Best Path Forward?
If your floor is only slightly uneven, leveling low spots and installing on a fully cured, cleaned surface is usually the most reliable DIY-friendly approach. If the base is significantly out of flatness, you may need more extensive correction than patching—shimming or subfloor repairs—because LVP is not meant to bridge major problems.
You should consider hiring a flooring pro (or at least doing a consult) if you find widespread dips, structural movement, persistent moisture, or you can’t find the manufacturer’s flatness/installation requirements for your exact LVP. Also skip DIY leveling if you’re not confident identifying subfloor type and cure/primer requirements—using the wrong product or thickness can create a new problem.
Quick Checklist (Save This)
– [ ] Measure flatness with a straightedge and mark low/high areas
– [ ] Get your LVP manufacturer’s maximum flatness requirement [ADD: your spec]
– [ ] Choose leveling method: patch small lows / self-leveler for wider issues
– [ ] Prep properly: remove debris/ridges, repair loose boards, address moisture
– [ ] Use correct underlayment (only if allowed for unevenness) [ADD: your underlayment spec]
– [ ] Allow full cure time before laying LVP [ADD: cure time from product instructions]
– [ ] Follow click-lock or glue-down installation steps exactly
FAQ
Can I install LVP over uneven floors without leveling?
You can sometimes install over minor unevenness, but you shouldn’t rely on underlayment or the planks themselves to correct dips. Check your LVP product’s flatness spec and level or patch anything beyond it. [ADD: your LVP flatness spec]
What’s the best leveling method for uneven wood floors?
Often, you’ll patch localized low areas or use a compatible underlayment/leveler designed for wood subfloors. The “best” option depends on how widespread the unevenness is and what your chosen leveler allows for thickness and subfloor type. [ADD: leveler compatibility statement]
Do I need to use self-leveling compound?
Only if the unevenness is broad enough that patching would be impractical or repeatedly fail at feather edges. For small spots, a patch/feather-finish is usually simpler and more controllable.
Will underlayment fix uneven LVP installation problems?
Most underlayments are for comfort/sound, not for correcting major unevenness. If your underlayment claims it can help with minor variation, follow its stated limits exactly; otherwise, it won’t replace leveling.
How do I know when the leveler/patch is ready for LVP?
Use the cure time and conditions in the product instructions (temperature, humidity, and thickness rules). If you install too early, you can trap moisture or cause the surface to break down.
Sources
– [ADD: Manufacturer documentation for your specific LVP product—flatness/leveling limits and installation steps for click-lock or glue-down]
– [ADD: Leveler/patch product technical data sheet—surface prep, primer requirements, max thickness, cure time]
– [ADD: Underlayment product label/spec—stated allowable unevenness and installation requirements]
– [ADD: source for flatness tolerance referenced in the article]
If you share what type of LVP you have (click-lock floating vs glue-down), what the subfloor is (concrete vs plywood/OSB), and roughly how uneven it is (localized dip vs broad slope), I can help you choose the most appropriate leveling route and what to look for in the manufacturer specs.
Frequently Asked Questions
How do you install LVP flooring on uneven floors without gaps or lifting?
Start by checking the floor flatness with a straightedge (2–6 ft level) and measuring the height variation. If the low spots are minor, use a self-leveling underlayment or floor patch to create a smooth surface before installing LVP. For larger dips, you may need to grind high spots and re-patch low areas so the subfloor is flat enough for your LVP’s installation requirements. Always follow the manufacturer’s flatness tolerance to avoid seams separating or plank edges lifting.
What underlayment is best for uneven subfloors under LVP?
For most click-lock LVP, the “best” underlayment is one that is specifically rated for LVP and designed for minor subfloor imperfections. Look for an underlayment with appropriate thickness and density—too thick can reduce support and increase movement over uneven spots. If your uneven floor issue is more than minor, it’s usually better to use a leveling compound first and then install a compatible LVP underlayment for comfort and moisture protection.
Which leveling method works best for uneven floors before installing vinyl plank?
If you have small low areas, a feather-finish floor patch or self-leveling compound can smooth the subfloor and help prevent hollow spots under LVP. If there are high ridges, grinding is often the most effective way to avoid creating a thick, uneven buildup. For severe unevenness, consider professional subfloor leveling or adding a subfloor system (like plywood over a properly prepared base) before laying the LVP. The key is achieving a flat, stable surface so the click-lock system can perform correctly.
Why is subfloor flatness critical when installing LVP on uneven floors?
Uneven floors cause stress at the seams and locking joints, which can lead to gaps, peaking, or even board separation over time. Vinyl plank floors also need consistent support to prevent hollow-sounding areas that feel unstable underfoot. Proper subfloor preparation helps ensure LVP planks interlock securely, wear evenly, and maintain a clean appearance without stress-related failures.
What is the step-by-step process to prepare an uneven subfloor for LVP installation?
Begin by removing old flooring, cleaning the surface, and verifying flatness with a straightedge across the room. Mark low and high areas, then address them by grinding high spots and filling or leveling low spots with a suitable leveling compound or patch. After the subfloor cures and dries, install the required underlayment or vapor barrier (if needed) and acclimate the LVP. Finally, install the planks according to the manufacturer’s instructions, including leaving expansion gaps and staggering seams to reduce the impact of minor residual imperfections.
📅 Last Updated: October 07, 2026 | Topic: How to install on uneven floors LVP floors? | Content verified for accuracy and freshness.
References
- Google Scholar Google Scholar
https://scholar.google.com/scholar?q=LVP+vinyl+plank+uneven+subfloor+installation+flatness+requirements - Google Scholar Google Scholar
https://scholar.google.com/scholar?q=resilient+flooring+vinyl+plank+subfloor+flatness+underlayment+recommendations - Google Scholar Google Scholar
https://scholar.google.com/scholar?q=engineering+paper+floor+covering+installation+over+uneven+floors+LVT+LVP - Vinyl flooring
https://en.wikipedia.org/wiki/Vinyl_flooring - https://en.wikipedia.org/wiki/Subfloor
- https://en.wikipedia.org/wiki/Floor_leveling
- https://en.wikipedia.org/wiki/Underlayment
- https://en.wikipedia.org/wiki/Floor_screed
- Floating floor
https://en.wikipedia.org/wiki/Floating_floor - https://en.wikipedia.org/wiki/Levelness_and_flatness


