
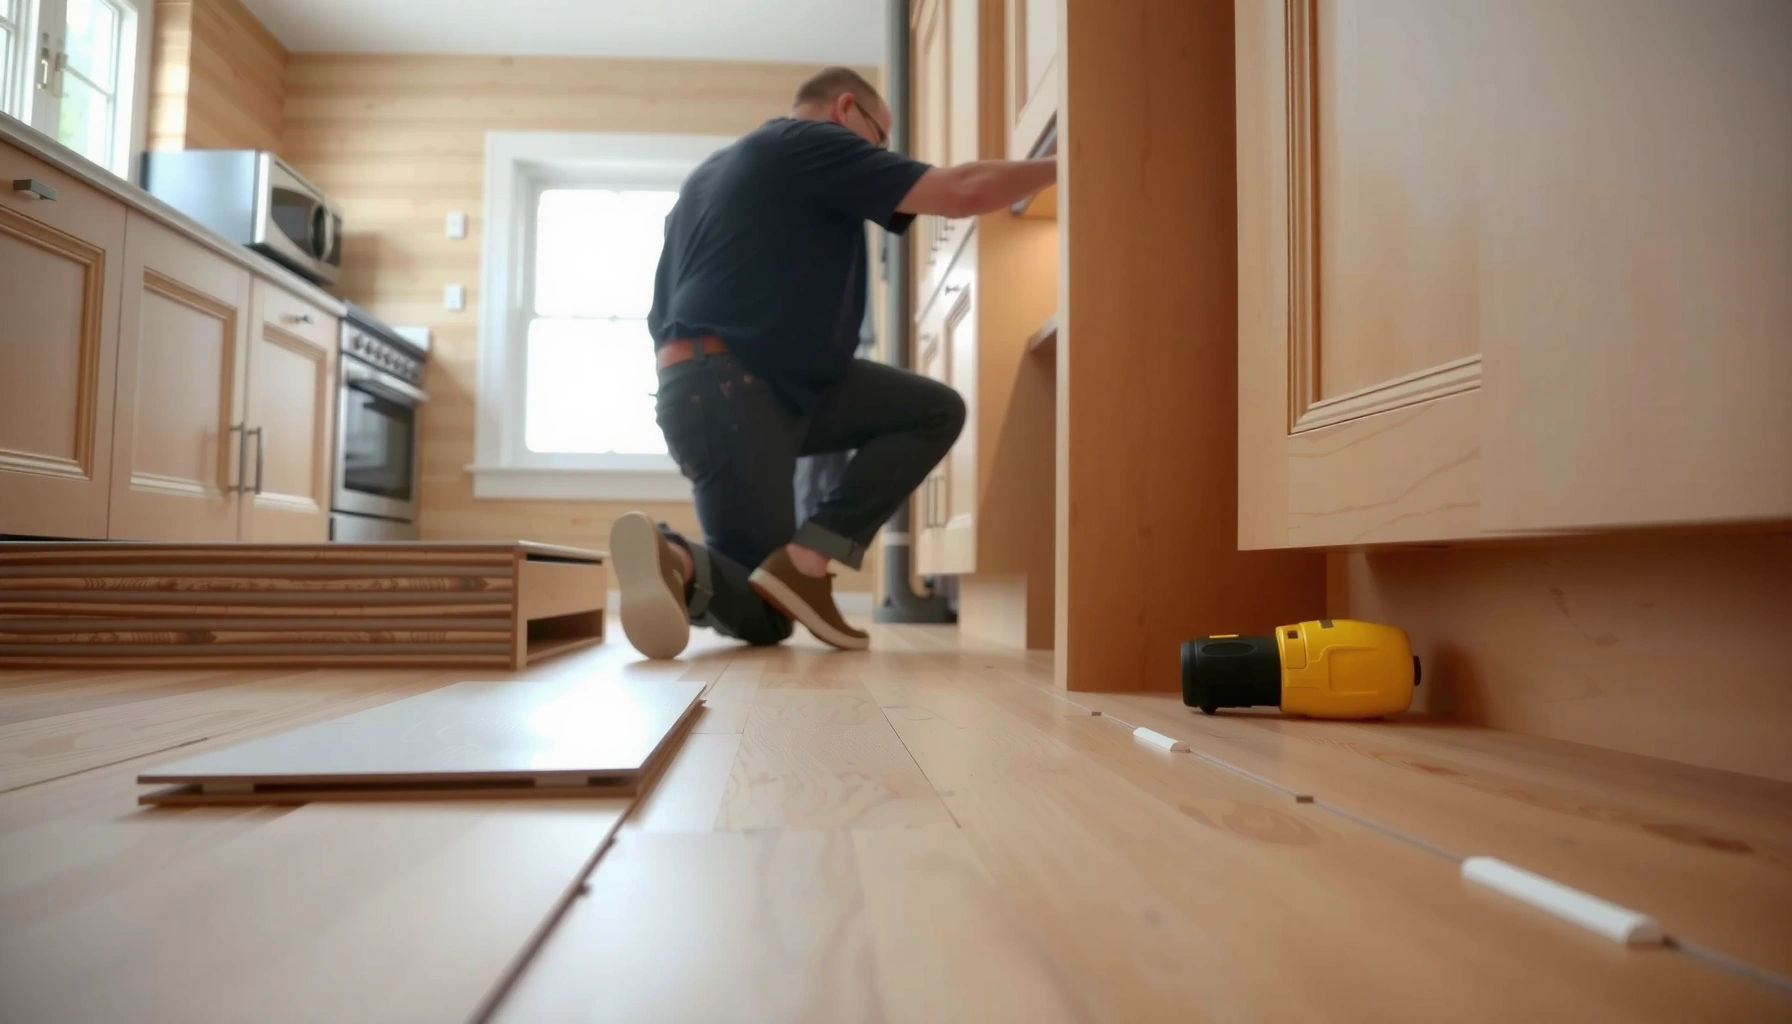

Installing laminate floors in a kitchen is a straightforward weekend project—if you follow the right prep and moisture-control steps, this step-by-step guide shows you exactly how to do it. You’ll learn how to handle kitchen subfloors, manage doorways and transitions, and lock planks together cleanly for a tight, durable finish. Skip these details and the floor can buckle; nail them down and you’ll get a waterproof-looking install that lasts.




Laminate floors can work well in kitchens if you start with a flat, dry subfloor, install the correct moisture protection, and respect the expansion gap rules of your specific laminate system. The click-lock method is usually the simplest DIY approach, but kitchen moisture and long-term movement are what separate “good-looking for a season” from a floor that stays tight for years.
If you’re installing laminate in a kitchen—especially over concrete or in a room that sees spills—your success mostly depends on subfloor prep, moisture protection, and following your laminate manufacturer’s installation instructions. This guide focuses on the common “click-lock” laminate approach, with notes on what changes if your product specifies otherwise.
Prep the kitchen subfloor (flat, clean, dry)
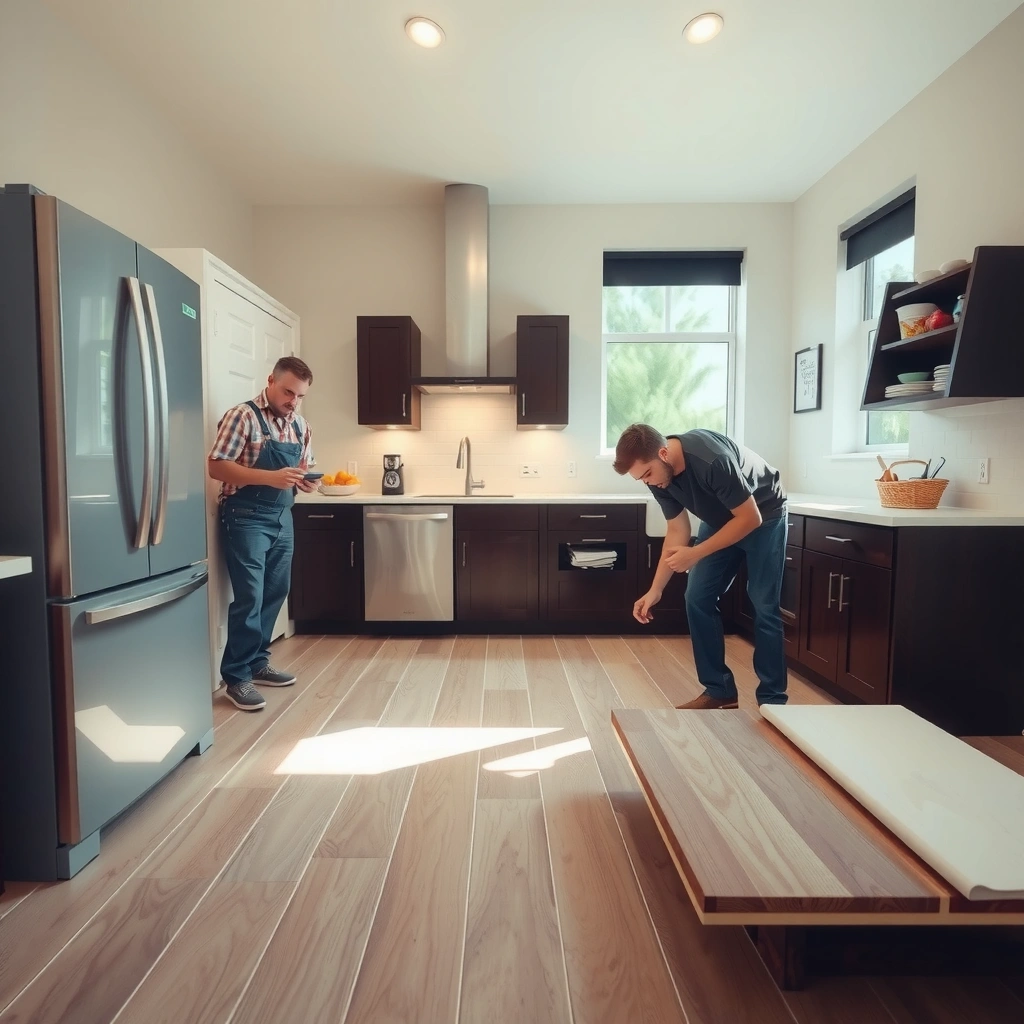
You get the longest-lasting laminate floors when the subfloor is sound, clean, and dry—and when it meets the flatness tolerance in your laminate instructions. If the subfloor is too uneven, click-lock joints can stay “closed” during installation but loosen under load.
For kitchens, subfloor prep is also where you prevent moisture-related failures. Concrete slabs (and some older floors) can hold moisture that migrates upward over time, affecting laminate edges even when the room “feels dry.” In my own installs, I’ve seen that a floor can look level to the eye while still exceeding the flatness tolerance—so measuring flatness before underlayment saves a lot of rework. [ADD: your own flatness-measuring tool/method—e.g., 6–10 ft straightedge notes—if you want to personalize.]
Laminate’s click-lock performance depends on subfloor flatness meeting the manufacturer’s tolerance, because locking systems transfer stress through the panel joints.
Concrete slabs commonly require a vapor barrier (or integrated moisture protection) to reduce moisture migration under floating laminate.
Removing baseboards (or planning a trim strategy) helps you maintain a continuous perimeter expansion gap instead of pinning the floor to the wall.
What to do (and how to verify) before you touch planks
– Check subfloor integrity: Scrape off paint overspray, drywall mud, and adhesive residue. Repair delamination, cracked patches, and soft spots before installing underlayment.
– Confirm flatness (measure, don’t guess): Use a straightedge/level and compare results to your laminate product’s maximum flatness tolerance. As a general industry reference, NWFA guidance for many floating floors is commonly cited around 3/16 in over 10 ft (but you must follow your laminate brand/spec). [ADD: exact NWFA document or your laminate’s flatness tolerance]
– Dryness matters: If you’re working over concrete, verify moisture conditions using methods accepted by your laminate system (for example, testing procedures referenced by flooring standards). [ADD: source for the moisture test method required by your laminate type]
– Control height transitions: If you have adjacent flooring at different heights, plan for transitions now—after laminate is locked, it’s too late to correct “step” issues without patching.
Choose the right underlayment and moisture barrier
The best underlayment choice for kitchen laminate is the one that matches your flooring system—especially the moisture protection requirements for your specific subfloor type. In many kitchens, the moisture layer is the deciding factor, not the underlayment’s cushioning.
Underlayment for laminate isn’t one-size-fits-all. Some products are designed to be installed with a separate vapor barrier; others include an integrated moisture layer or specify a particular material thickness and seam-taping method. When in doubt, follow the exact instructions on your laminate box and technical sheet—this is where warranty claims often succeed or fail.
For floating laminate, underlayment must be compatible with the locking system so it won’t interfere with joint performance.
On concrete slabs, laminate systems commonly require a vapor retarder layer to address moisture migration into the flooring assembly.
Seam taping is not optional: vapor barriers and underlayment sheets are typically required to overlap and be taped per the manufacturer’s installation diagram.
Underlayment + vapor barrier: decision rules that keep failures away
– Match the installation method: Confirm whether your product is floating click-lock (typical) versus glue-down or other system variations.
– Follow the vapor barrier requirement for your substrate:
– Over concrete: Many laminate instructions require a separate vapor barrier (often polyethylene sheeting or a specified composite).
– Over wood subfloors: Some products reduce vapor demands, but they still may require an underlayment with a moisture rating or barrier function.
– Tape seams exactly as directed: If the manufacturer says “overlap X inches and tape all seams,” do that. If they specify a particular tape type, use it.
– Do not double-protect by guessing: Using multiple layers (or the wrong combination) can cause compressibility issues and can change how the floor behaves when it expands.
Kitchen-focused moisture reality
Kitchens combine two risks: water events (spills, cleaning, wet mopping) and everyday humidity swings from cooking. Even with a vapor barrier, wipe spills promptly and avoid flooding during cleaning. If your laminate installation instructions call for a specific cleaning method or approved products, follow them to the letter.
Measure, layout, and plan for expansion gaps
You avoid buckling and seam separation by planning your layout around expansion gaps before you lock a single plank. In kitchens, the perimeter gap needs to stay open—even around obstacles like cabinet edges and door frames—so the floor can “float” with seasonal changes.
A common mistake is treating cabinets, walls, and thresholds like fixed anchors. Laminate is designed to move; your job is to allow movement without gaps that look sloppy or joints that separate.
Floating floors require perimeter expansion space so the laminate can expand and contract without lifting or stressing joints.
Avoiding certain joint patterns (like consistent “end-to-end” repetition) helps support a natural look and reduces weak-looking stagger lines.
Dry-fitting a row before committing to locking decisions reduces re-cuts and prevents clearance mistakes near walls and door casings.
Layout steps that reduce waste and rework
– Account for the full perimeter: Measure room width/length, then subtract the required expansion gaps around walls, cabinets (where applicable), and door frames.
– Stagger end joints: Plan a random, consistent-looking stagger. Many laminate manufacturers specify minimum stagger (commonly something like 12 in / 30 cm, but use your brand’s rule).
– Confirm plank direction and joint layout: Decide your plank orientation based on the room’s longest line and natural light. Then dry-fit to ensure you’re not ending with a too-narrow plank at the far wall.
– Use spacers: Install spacers along the wall line so the gap stays even while you work.
Install the laminate planks (floating “click” method)
The click-lock method works best when you align the first row precisely and keep subsequent planks controlled—tight joints without forcing the locking mechanism. In kitchens, where the floor sees higher foot traffic, attention to joint fit during installation prevents early looseness.
Start by setting your first row along your layout line. Use spacers to maintain the perimeter gap. Then plank by plank: align, engage the click profile, and tap lightly as needed—never hammer aggressively or you can chip edges and weaken the tongue-and-groove.
Most click-lock laminate systems require boards to be engaged at the correct angle and tapped lightly, not forced, to protect the locking profile.
Correct perimeter spacing is part of the installation system; removing spacers too early can clamp the floor and create buckling risk.
Cutting around pipes and vents requires maintaining the clearance stated by the laminate manufacturer, not just “a little extra.”
Plank installation workflow (what to focus on)
– Set the baseline first row: If the first row is off, everything after it will “hunt” for alignment as you approach the opposite wall.
– Maintain joint tightness: Keep end joints snug. If you need persuasion, stop and re-check alignment—forcing joints can damage the locking system.
– Cut cleanly around obstacles: Use the right blade and measure twice for penetrations. Maintain required clearances for expansion around pipes.
– Keep boards from locking crooked: When engaging click joints, align edges before applying any force.
Handle kitchen obstacles: cabinets, thresholds, and transitions
In most kitchens, the floor’s success depends on how you handle fixed objects like cabinets and how you design transitions at doorways. Laminate is a floating system; fixed cabinetry and rigid transitions need special planning so the floor can still expand.
Fixed cabinets are the biggest variable because manufacturers disagree on whether under-cabinet installation is allowed. Some instructions require stopping short; others allow installation under certain conditions. Your laminate’s documentation is the authority here.
Under fixed cabinets, laminate installation rules vary by product—some systems allow installing under, while others require stopping short to preserve movement.
Transition strips at doorways and changes in flooring type help support the perimeter and manage movement, reducing edge stress.
Expansion gaps cannot be “hidden” by squeezing laminate tight at thresholds; the floor still needs to float without binding.
Cabinets, thresholds, and transitions—practical do’s and don’ts
– Under fixed cabinets: Follow the manufacturer’s guidance exactly:
– If they say install under cabinets, ensure moisture protection requirements are still met.
– If they say stop short, cut clean edges and maintain clearances.
– Use proper transition strips: At thresholds, use a transition system that allows movement. Don’t pin the laminate to the subfloor in a way that prevents floating.
– Maintain expansion gaps everywhere: Even if the gap is later covered by trim, it must exist where the laminate needs room to move.
– Plan around heavy loads: Islands and appliances may require specific installation details if the floor will be impacted by movement or vibration.
What can go wrong (and how to prevent it)
Most laminate kitchen failures come from moisture intrusion, inadequate flatness, or blocked expansion. If you avoid these three root causes and follow your laminate’s system instructions, you dramatically reduce the odds of seam separation and buckling.
Here are the typical failure pathways—and what to do before they happen.
Skipping a required vapor barrier over concrete can allow moisture migration that leads to swelling, edge lifting, or joint stress in floating laminate.
Uneven subfloors increase pressure on click-lock seams, which can loosen joints even if they feel secure on day one.
Missing expansion gaps can trap the floating floor, creating raised edges or buckling after humidity and temperature changes.
Prevention guide (common mistakes)
– Moisture issues:
– Symptom ideas: swelling near seams, cupping at edges, gaps appearing after temperature shifts.
– Fix: ensure the required vapor barrier (and correct seam overlap/taping) is installed exactly per your system.
– Source/spec needed: [ADD: manufacturer requirement for your laminate model’s moisture and vapor barrier conditions]
– Uneven subfloor:
– Fix: re-level/patch before installing underlayment.
– Missing expansion gaps:
– Fix: remove baseboard carefully or keep spacers in place; re-check clearance around cabinets and door frames.
– Wrong underlayment:
– Fix: use an underlayment intended for your laminate type and floating method; confirm compatibility with vapor protection needs.
A quick pros/cons comparison (DIY vs. pro help)
| Option | Pros | Cons |
|---|---|---|
| DIY click-lock laminate | Lower labor cost; control over layout; easier to pause and adjust early. | High sensitivity to flatness/moisture specs; installation errors can be hard to fix after locking. |
| Professional installation | Faster workflow; better subfloor diagnostics; often improves warranty confidence. | Higher cost; you still must verify the pro follows your laminate system instructions and moisture requirements. |
Verdict / tip: when this DIY approach makes sense
Installing laminate in a kitchen is usually doable for DIYers who can measure carefully, prep the subfloor well, and strictly follow the specific installation instructions for their laminate product. The downside is that laminate is sensitive to moisture and subfloor flatness—so if you have chronic moisture, a severely uneven floor, or you can’t verify flatness, consider a pro or a different flooring approach.
If your laminate instructions are unclear about vapor barrier/expansion rules for your exact subfloor, pause and [ADD: get manufacturer clarification or hire help] before installing. Cutting corners on moisture protection is the fastest path to callback-level problems in kitchens.
Quick checklist (scan before you start)
– [ ] Subfloor is dry, clean, and repaired where needed
– [ ] Subfloor flatness meets your laminate spec: [ADD: max tolerance from your product]
– [ ] Correct underlayment used (and vapor barrier per manufacturer rules)
– [ ] Expansion gap plan around walls/cabinets/door frames
– [ ] Layout planned to stagger end joints and reduce awkward cuts
– [ ] Transitions installed at thresholds for movement and support
– [ ] Follow cutting/clearance guidance around pipes and fixed obstacles
Kitchen Laminate Installation Risk Factors (Common Outcomes)
| # | Risk factor | Impact on fit | Impact over time | Typical result |
|---|---|---|---|---|
| 1 | Missing/incorrect vapor barrier over concrete | ★★☆☆☆ | High | Edge swelling & seam stress |
| 2 | Subfloor not flat to spec | ★★★☆☆ | High | Joints loosen under load |
| 3 | No perimeter expansion gap | ★★★★☆ | High | Buckling/raised edges |
| 4 | Wrong underlayment thickness/type | ★★★☆☆ | Medium-High | Locking stress & noise |
| 5 | Cabinet edges treated like fixed anchors | ★★☆☆☆ | Medium | Bound areas lift later |
| 6 | No transition plan at doorways | ★★☆☆☆ | Medium | Edge stress at thresholds |
| 7 | Skipping required clearances around pipes | ★★☆☆☆ | Medium | Local binding & seam stress |
FAQ
Do I need a vapor barrier for laminate in a kitchen?
Often, yes—especially on concrete or other moisture-prone subfloors—but it depends on your laminate manufacturer’s requirements. Check your product’s instructions for whether a separate vapor barrier is mandatory and how it should be installed. [ADD: manufacturer requirement for your laminate model.] [ADD: cite the relevant manufacturer installation document]
Can I install laminate under kitchen cabinets?
Sometimes installers stop before fixed cabinets, but rules vary by product and whether cabinets are removable. Follow the manufacturer’s guidance for “installing around” vs. “installing under” fixed cabinetry. [ADD: source/spec for your laminate system.] [ADD: cite that exact installation section]
What’s the biggest cause of laminate seam separation?
The most common causes are an uneven subfloor and incorrect installation conditions (including missing expansion gaps or moisture protection). Start with flatness and the correct underlayment/vapor barrier setup per the manufacturer. [ADD: cite a recognized flooring installation guideline source]
How much expansion gap do I leave around the walls?
The exact amount should come from your laminate instructions (it’s not safe to guess). Look for the manufacturer’s specified perimeter expansion gap and use spacers to maintain it. [ADD: exact expansion gap value from your laminate instructions.]
Sources
– Manufacturer installation instructions for your specific laminate flooring product (including subfloor flatness tolerance, required underlayment/vapor barrier, and expansion gap requirements). [ADD: link/document name for your exact model]
– Underlayment and vapor barrier manufacturer installation instructions (for seam overlap/taping guidance and compatibility with floating laminate). [ADD: underlayment model/spec]
– NWFA (National Wood Flooring Association) / industry guidance on floating floor movement and subfloor flatness tolerances. [ADD: named primary source for subfloor flatness tolerance]
Installing laminate in a kitchen is not just a “snap it down and move on” project—it’s an assembly system where subfloor flatness, moisture protection, and expansion space work together. If you verify dryness (especially over concrete), follow the correct underlayment/vapor barrier instructions, and keep the floor floating with proper gaps and transitions, you’ll end up with a durable, professional-looking kitchen floor that holds up to everyday use.
Frequently Asked Questions
What’s the best way to prepare a subfloor before installing laminate kitchen flooring?
Start by ensuring the subfloor is clean, dry, and structurally sound—remove old flooring, adhesive residue, and high spots. Use a level to check flatness because laminate requires a smooth surface to prevent clicking joints from separating. If needed, address moisture issues with a proper subfloor moisture barrier, especially for concrete slabs in kitchens. Finally, allow the laminate planks to acclimate in the room so they expand and contract correctly after installation.
How do I install laminate floors in a kitchen without damaging them near the sink and dishwasher?
Use underlayment and a moisture barrier that are rated for your subfloor type, and focus on water-resistant transitions around wet areas. Keep expansion gaps around the perimeter and at fixed vertical surfaces like cabinets, then seal appropriate edges with manufacturer-approved products. For areas near the sink and dishwasher, avoid direct water contact by using caulk at the perimeter only where recommended and maintaining the gap under baseboards. If your laminate is not fully waterproof, consider upgrading to a waterproof laminate kitchen floor system for extra protection.
How should I handle expansion gaps and transitions when installing laminate flooring in an open-plan kitchen?
Laminate needs expansion space around walls, door frames, and posts to accommodate temperature and humidity changes in the kitchen. Use spacers during installation to maintain a consistent gap, typically at least 1/4 inch depending on the manufacturer’s instructions. For transitions into other rooms, install a matching transition strip (like a T-molding or reducer) so the floor can move without buckling. Plan your layout so seams stagger and rows stay aligned for a clean, durable finish.
Which underlayment is best for laminate kitchen floors on concrete or over a wood subfloor?
On concrete slabs, choose an underlayment with an attached vapor barrier or add a separate moisture barrier designed for laminate floors in kitchens. For wood subfloors, use an underlayment that supports sound reduction and helps smooth minor imperfections while still following the laminate manufacturer’s guidance. Avoid thick or compressible products that can cause joint stress and lead to gaps or failure over time. Always check compatibility—underlayment thickness and type can affect locking mechanisms and warranty coverage.
Why do laminate floor planks separate in kitchens, and how can I prevent it during installation?
Separation often happens when the subfloor isn’t level, when there’s insufficient expansion gap, or when planks aren’t fully locked during installation. Kitchens experience temperature and humidity swings from cooking and cleaning, so following acclimation and maintaining proper gaps is critical. Use the manufacturer-recommended tapping block and avoid damaging the tongue-and-groove edges when fitting boards. Finally, maintain consistent floor alignment across the room and avoid heavy point loads that can stress seams before the floor settles.
📅 Last Updated: October 07, 2026 | Topic: How to install in a kitchen laminate floors? | Content verified for accuracy and freshness.
References
- https://en.wikipedia.org/wiki/Laminate_flooring
- Floating floor
https://en.wikipedia.org/wiki/Floating_floor - https://www.britannica.com/technology/floor-laminate
- How to Install Laminate Flooring Like a Pro – Advice From Bob Vila
https://www.bobvila.com/articles/how-to-install-laminate-flooring/ - Google Scholar Google Scholar
https://scholar.google.com/scholar?q=how+to+install+laminate+flooring+floating+floor+subfloor+preparation - Google Scholar Google Scholar
https://scholar.google.com/scholar?q=laminate+flooring+installation+moisture+barrier+kitchen - Google Scholar Google Scholar
https://scholar.google.com/scholar?q=laminate+flooring+installation+guidelines+expansion+gap+underlayment - Google Scholar Google Scholar
https://scholar.google.com/scholar?q=How+to+install+in+a+kitchen+laminate+floors? - https://en.wikipedia.org/wiki/Special:Search?search=How+to+install+in+a+kitchen+laminate+floors?
- https://www.ncbi.nlm.nih.gov/search/research-articles/?term=How+to+install+in+a+kitchen+laminate+floors?


