
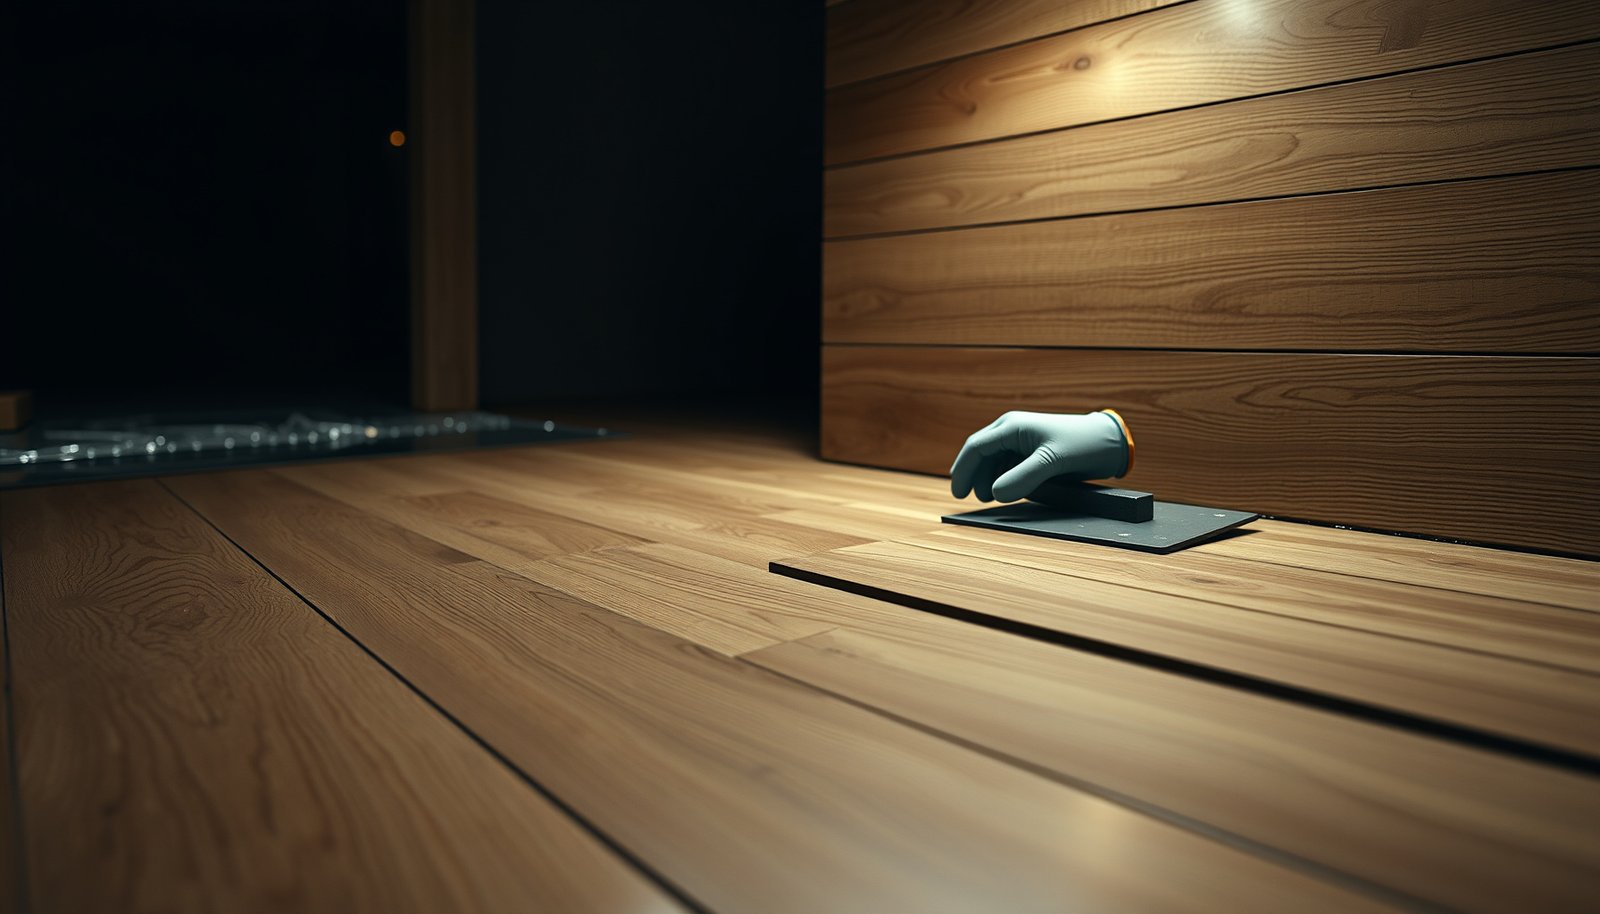

You can install wood-look tile floors in a basement successfully—here’s the straightforward method that delivers a flat, waterproof finish even on concrete. This guide shows exactly what to prepare, which underlayment and adhesive to use for below-grade moisture, and how to lay planks so they stay aligned and don’t lift. If you want the quickest path to durable basement floors, follow these installation steps.




Yes—if you control basement moisture and confirm the slab is flat, wood-look tile can be installed with a straightforward thin-set method. Plan for expansion gaps, use the right underlayment (or none, depending on your system), and tile slowly so the “planks” stay straight and level. This guide walks you through the essentials—from subfloor checks to layout, setting tile, and finishing.
This is for homeowners or DIYers finishing a basement where humidity and temperature swings are common, and you want the look of wood without the maintenance. It also helps if you’re working over concrete and need a clear plan before you start cutting.
Check moisture and subfloor flatness first


According to ASTM F2170, in-slab relative humidity (RH) testing reports concrete moisture conditions as a percentage (RH%), helping installers verify whether their floor system is within spec.
According to ASTM F1869, the calcium chloride test measures moisture vapor emission rate using units of pounds per 1,000 square feet per 24 hours (lb/1000 sq. ft./24 hr).
According to TCNA, tile installations over concrete require honoring movement joints and providing perimeter expansion space to accommodate normal slab and material movement.
Moisture testing: treat the slab, not the symptoms
Basements are “active” environments: humidity rises and falls, and below-grade slabs can transmit moisture even when the room doesn’t look wet. For wood-look tile (often porcelain or ceramic), the goal isn’t just “dry-looking concrete”—it’s meeting the moisture limits of your specific thin-set mortar and any membrane/uncoupling system you use.
Practically, that means choosing a moisture-testing method that your thin-set or underlayment manufacturer recognizes, then documenting results before you install:
– ASTM F2170 (in-slab RH probes): measures in-situ moisture conditions inside the concrete.
– ASTM F1869 (calcium chloride): measures moisture vapor emission rate from the slab surface.
– Visually check for hydrostatic issues (efflorescence, damp spots, past water intrusion)—but don’t treat visual signs as proof for bond readiness.
Flatness: tile hates “almost flat”
Even if the slab feels solid, tile needs the substrate to be flat within the tolerances required by:
– your tile size and tile backing/warpage, and
– your setting material (thin-set mortar) and any uncoupling membrane.
From field experience, one of the most common basement DIY problems is trying to “fight” a lumpy concrete slab by packing thin-set too thick in random spots. That can lead to:
– lippage (edges that don’t sit evenly),
– rocking tiles,
– grout cracking along plank lines.
The fix is usually one of these (as allowed by your system): grinding high spots, patching low areas with approved products, or using a surface-prep system designed for tile.
Clean concrete matters as much as moisture
Before any adhesive goes down, the slab needs to be free of:
– paint, sealers, curing compounds,
– dust, drywall mud, and concrete powdering,
– anything that prevents thin-set from mechanically bonding (thin-set relies on chemical + mechanical adhesion).
Research confirms that bond performance depends heavily on proper surface prep; in practice, a mechanically prepared surface (vacuumed thoroughly) is what most manufacturers mean by “prepared concrete.”
Choose the right materials for wood-look tile
The best basement setup comes from matching the entire system—tile + thin-set + (optional) membrane/underlayment + grout—rather than shopping piece-by-piece. When the system is compatible, your “planks” lock in flat, and your joints stay consistent through humidity swings.
Modified thin-set mortar is commonly required for many porcelain/ceramic tiles, but the exact mortar type (modified vs unmodified) and trowel size must match the tile and substrate per the manufacturer.
Uncoupling membranes are not one-size-fits-all; their use over concrete and the required thin-set are specified in the membrane’s installation instructions.
Wood-look tile installation success depends on grout selection and joint design, because grout is part of how the floor handles minor movement and shrinkage.
Pick a tile system built for floors
Wood-look tile is sold as porcelain/ceramic, and it’s often marketed with “plank” dimensions and a specific joint look (running-bond is common). Before you buy, verify:
– the tile is rated for floor use (not just wall),
– the tile’s coverage/setting guidelines (trowel notch size, minimum coverage expectations),
– whether you need a particular thin-set type (often modified, but not always),
– whether the tile requires 100% mortar coverage (particularly important for larger planks).
Decide whether you need an underlayment or membrane
Over concrete, many systems use one of these paths:
– Direct bond: thin-set directly to properly prepped slab.
– Membrane/uncoupling layer: adds crack isolation and/or movement accommodation.
The correct choice is determined by your product instructions—especially because basements are more likely to have:
– minor slab movement,
– moisture dynamics,
– temperature cycling.
TCNA methods distinguish between direct-bond thin-set installations and those using membranes/uncoupling systems, reflecting that substrate conditions and movement control differ.
Choose grout and spacing that won’t expose imperfections
Wood-look tile visually emphasizes alignment. Your grout strategy can reduce the “highlighting” effect of minor lippage or thin-set squeeze-out differences:
– consistent joint spacing,
– grout color that doesn’t exaggerate unevenness,
– grout type matched to your environment (some systems perform better in damp basements).
If you’re unsure, follow the tile manufacturer’s recommended grout system first—then coordinate with the grout manufacturer’s technical data.
Quick comparison: direct bond vs membrane (over concrete)
| Option | Pros | Cons | Best for |
|---|---|---|---|
| Direct thin-set bond | Simpler build-up; fewer variables; often faster when slab is flat and within moisture specs. | Less forgiving of slab variation or cracks; requires strict surface prep and system match. | Basements with dry, clean, flat concrete and no known movement issues. |
| Uncoupling membrane | Adds movement/crack management; can help accommodate minor substrate irregularities (when installed correctly). | Adds cost/time; requires exact mortar and installation method. | Concrete slabs with concern for microcracking, minor movement, or when the manufacturer requires it. |
Plan the layout before you set the first plank
A good basement layout starts before thin-set ever mixes. You want a starting line that keeps plank joints consistent, reduces awkward slivers, and preserves a clean perimeter reveal with proper movement gaps.
Dry-laying (dry fitting) is the standard way to confirm pattern direction, joint alignment rules, and whether you can avoid narrow edge pieces before you commit to setting mortar.
Many wood-look tile “planks” use a running-bond pattern, so manufacturer guidance for minimum offset and joint placement determines how the floor should be staggered.
Perimeter expansion space must remain ungrouted (typically filled with a compressible material or left as specified), because grout is not designed to accommodate movement.
Start with a dry plan, not a guess
As of 2026, many DIY layouts still fail because installers skip the dry-fit stage and then discover:
– a tile joint lands in an awkward place at the doorway,
– a centerline forces unusably thin pieces at one wall,
– pattern alignment drifts because the starting line wasn’t truly straight.
Do this instead:
1. Measure the room and identify the most visually critical wall.
2. Snap a starting line based on a “best fit” strategy (symmetry or intentional off-center).
3. Dry-lay several rows (and a few columns if needed) to verify how the running-bond offsets land.
4. Adjust so you avoid slivers at walls, columns, and any heavy-traffic focal points.
Plan your expansion gaps and transitions
Wood-look tile systems usually require:
– perimeter expansion gaps around the room perimeter,
– movement joint treatment where required by the floor plan and any existing slab joints.
Also plan transitions early:
– doorways,
– between the basement and adjacent rooms,
– floor height changes at stair treads or raised thresholds.
If you don’t, you’ll end up shaving baseboards or choosing inconsistent trim sizes to hide gaps—often after tile is already installed.
Install the tile: thin-set, spacers, and straight lines
Thin-set installation is where basements either become beautiful and stable—or start showing problems. The winning approach is consistent mortar mixing, correct trowel technique, and constant alignment checks as you set each “plank.”
Correct thin-set mixing (water ratio and mixing method) and respecting the mortar’s working/adjustment time are essential because many failures trace to mortar that skins over or is applied too thick/thin.
Using the exact trowel notch size specified in the tile and thin-set instructions helps achieve the intended mortar coverage and reduces voids under tile.
Spacers or joint systems maintain consistent grout joints, which is critical for wood-look tile where visual lines amplify any irregularity.
Mix thin-set exactly per instructions
Thin-set is not forgiving. Follow your bag for:
– water ratio,
– mixing tool (drill + proper mixing paddle),
– rest (“slake”) time if the product calls for it,
– re-tempering rules (some products require it; others forbid adding extra water).
Spread only what you can set
As a practical rule: spread thin-set only across the area you can tile before it skins over. When thin-set skins, bond quality drops.
Keep ridges uniform:
– use the recommended trowel notch,
– comb in the same direction,
– don’t “recomb” once it starts setting.
Keep planks straight, not just “close enough”
Wood-look tile tends to visually magnify drift. To prevent that:
– establish your starting line,
– use spacers/joint clips if your system uses them,
– check alignment every couple of rows,
– correct early—because once the thin-set grabs, “straightening” later can create lippage or crooked offsets.
From what I’ve seen on jobsite walkthroughs, most “wandering plank” floors come from one early alignment error that wasn’t corrected immediately. Slow down at the beginning; it pays off later.
Manage cutting, transitions, and leveling details
Cutting and leveling details decide whether the floor looks intentional or improvised. In basements, the challenge is often not the cuts themselves—it’s how you keep the pattern consistent around vents, posts, and doorway breaks.
Dry-fitting cut tiles before thin-set is applied helps maintain the running-bond offset rules and prevents accidental joint alignment collisions.
Transition profiles (instead of forcing tile to butt against dissimilar materials) help protect edges and maintain a controlled expansion path.
Floor height planning matters because baseboard depth, door clearances, and undercut thresholds determine how much trim you’ll need after tile is set.
Cut carefully around walls, vents, and posts
Your layout plan should tell you where each cut belongs. Then:
– dry-fit first,
– mark consistently from the same reference edge,
– avoid “pattern-breaking” shortcuts—especially where plank joints fall near structural elements.
If your tile is larger-format, ensure your saw setup is fine-tuned; ragged edges are harder to hide in grout lines.
Use the right transitions at doorways and breaks
At minimum, plan for:
– transitions where the basement floor meets other flooring,
– changes in plane where movement is expected.
Use manufacturer-recommended transition profiles when possible. Forcing tile flush against carpet padding or mismatched thresholds almost always creates edge stress.
Leveling details: prevent lippage from becoming the norm
Even with a flat slab, small subfloor variations or tile bow can cause lippage. Prevent it by:
– pressing tiles evenly into mortar,
– using leveling systems only when the manufacturer and tile format support them,
– cleaning mortar squeeze-out so grout joints stay clear.
What can go wrong in basements (and how to avoid it)
Basement tile failures are usually predictable: moisture and bond issues, wrong material pairing, or a layout that started crooked. If you treat these as “system problems,” you can avoid most long-term defects.
If a concrete slab exceeds the moisture limits of the thin-set and any membrane system, bond degradation risk increases even when the floor looks fine immediately after installation.
Lippage and drifting “plank” lines often result from starting without a true straight reference line or ignoring substrate flatness tolerances before setting tile.
Skipping required membranes/uncoupling layers (when specified) can reduce the system’s ability to handle movement and microcracking in concrete.
Common failure modes
1) Moisture problems
Concrete can transmit moisture without a visible leak. If you skip the moisture solution step, the bond can fail over time. The prevention strategy is clear: follow an approved moisture-testing method, then meet the limits of your thin-set and membrane (if used).
2) Wrong setting system
Thin-set type (modified/unmodified) and membrane requirements are tied to your tile and substrate. Don’t mix brands or substitutions unless both manufacturers explicitly allow it in writing.
3) Uneven layout
A floor can be structurally fine and still look “off.” Starting crooked, ignoring flatness, or failing to check alignment every couple of rows causes visible plank wander.
Fast pros/cons: what you gain (and risk) with DIY
| DIY approach | Pros | Cons / where it breaks |
|---|---|---|
| Careful prep + matched system | Lower material waste; better control of layout accuracy; fewer change-orders. | Requires patience with leveling, straight lines, and documentation of moisture results. |
| Skipping moisture or membrane steps | Lower upfront effort. | Higher risk of bond loss, cracked grout, or delamination—especially in below-grade conditions. |
Verdict: doable DIY, but skip it if you can’t control moisture
Wood-look tile in a basement is a practical upgrade when you can confirm moisture conditions and prep the slab correctly. It’s not a good fit if you’re dealing with active water intrusion, chronic high humidity that you can’t measure or mitigate, or you don’t have a reliable way to verify flatness and follow the exact thin-set/membrane instructions.
If you’re confident you can do careful layout, correct bonding, and proper expansion gaps, go for it—but when in doubt, follow manufacturer guidance for moisture control first and consider a pro for the moisture-control step.
Concrete Moisture Methods Commonly Used Before Tile (2024–2026 practice)
| # | Test method | Primary metric | Result units | Typical install readiness* | Confidence ★ |
|---|---|---|---|---|---|
| 1 | ASTM F2170 (RH probe) | In-slab relative humidity | RH% at depth | Same week | ★★★★★ |
| 2 | ASTM F1869 (calcium chloride) | Moisture vapor emission | lb/1000 sq. ft./24 hr | 3–7 days | ★★★★☆ |
| 3 | ASTM D4263 (plastic sheet) | Surface condensation indicator | Pass/fail (visual) | 24–72 hours | ★★☆☆☆ |
| 4 | Moisture meter (concrete pinless) | Relative surface moisture | Arbitrary meter units | Minutes | ★★★☆☆ |
| 5 | On-site RH strips (comparative) | Room air RH trend | % RH at locations | 1–2 weeks | ★★★☆☆ |
| 6 | Thermal/IR survey (spot checks) | Cold spots / moisture patterns | Temperature delta (°F/°C) | Same day | ★★☆☆☆ |
| 7 | Membrane system requirement validation | Manufacturer-spec compliance | Spec-dependent limits | Before install | ★★★★☆ |
\“Typical install readiness” reflects practical scheduling ranges seen in residential installs; always follow the time requirements specified by the test method and your flooring/tile system documentation.
Quick checklist before you start
Before you open the thin-set bag, confirm the fundamentals that prevent basement problems. This checklist is the fastest way to keep your wood-look tile floor aligned, bonded, and stable as of 2026.
– Moisture: Use a manufacturer-accepted method such as ASTM F2170 (in-slab RH probes) or ASTM F1869 (calcium chloride) before installing tile over concrete.
– Flatness: Slab meets your tile/setting material tolerances; correct high/low spots as needed (per system guidance).
– Materials confirmed: Correct thin-set mortar type + any required uncoupling membrane/underlayment approved for concrete + tile format.
– Layout: Dry-lay plan completed; true starting line established; running-bond offset rules confirmed.
– Perimeter gaps: Expansion gap planned at walls/posts and any movement-joint locations; transition strategy chosen for doorways.
– Installation: Correct trowel notch size; mortar working time window followed exactly.
– Finishing: Grout type/color selected; curing time and protection plan followed (avoid premature traffic).
Sources
If you take moisture control and slab flatness seriously—and you install the tile as a matched system—you can get a basement wood-look floor that looks sharp and holds up. The trade-off is time and attention: careful testing, precise layout, and correct mortar technique matter as much as the tile itself.
Frequently Asked Questions
What type of basement-ready wood-look tile is best for installing on a concrete slab?
For basements, choose wood-look porcelain or a high-quality waterproof vinyl-look tile (porcelain is typically the go-to for durability and moisture resistance). Look for products rated for floor use, with a suitable slip resistance (often DCOF or similar rating), especially if the area is a laundry room or frequently walked. Also verify it’s compatible with thinset installation and can handle subfloor conditions you may have in a basement, such as minor moisture vapor transmission.
How do I prepare a basement concrete slab before installing wood-look tile floors?
Start by confirming the slab is clean, structurally sound, and fully cured, then remove paint, sealers, and debris that can interfere with mortar bonding. Check moisture with a concrete moisture test system and, if needed, use a basement-rated moisture mitigation membrane before setting tiles. Finally, level high spots and fill low areas with an appropriate floor patch or self-leveling underlayment so the tile installation stays flat and prevents grout cracking.
How do I install wood-look tile floors in a basement if there’s humidity or moisture?
Moisture is the biggest basement concern, so begin with moisture testing and address issues before you lay tile. Install a waterproofing or moisture barrier system designed for tile floors, then use the correct thinset mortar (often polymer-modified) that’s approved for your tile type and basement conditions. After installation, allow full cure time and use caulk at changes of plane (like edges and transitions) to help keep moisture managed.
Which underlayment or mortar is best for wood-look tile floors over basement concrete?
In most basement wood-look tile installations over concrete slabs, you’ll use a quality thinset mortar rather than a traditional soft underlayment, because tile needs a rigid, stable base. If you’re using a waterproofing membrane, pair it with a compatible thinset and follow the manufacturer’s bonding requirements. Avoid foam panels or unsuitable underlayments unless the system is specifically rated for porcelain/ceramic tile, as incorrect choices can lead to hollow spots, cracking, or loose tiles.
What installation tips help my wood-look tile floors look like real wood and stay durable in a basement?
Dry-lay several boxes first to plan the plank direction, balance color variation, and stagger seams for a natural “wood” look. Use a consistent layout and spacing method (including spacers if required) so grout lines stay even, then cut carefully around doors, vents, and pipe penetrations using the right wet saw blades. Finish with proper grout selection (water-resistant grout systems for basements are ideal) and seal grout if the manufacturer recommends it for moisture protection.
📅 Last Updated: October 16, 2026 | Topic: How to install in a basement wood-look tile floors? | Content verified for accuracy and freshness.
[…] (more on that under subfloor prep). According to ASTM F1869, the calcium chloride test measures moisture vapor emission rate (MVER) as pounds per 1,000 sq. ft. per 24 hours (). ASTM […]