
Installing concrete floors in a living room is a weekend-scale project only if you plan the subfloor prep, control moisture, and choose the right pour method for your slab type. This step-by-step guide walks you through every decision—surface prep, insulation and vapor barrier, mix selection or topping, pouring or self-leveling, and finishing—so you can get a smooth, durable result. If you follow it in order, you’ll know exactly what to do next and how to avoid the common failures that cause cracking, dusting, and uneven surfaces.




Start by verifying you have a flat, sound, moisture-appropriate subfloor and that you’ll apply the right concrete system for that substrate (slab overlay vs. concrete-look over wood). Once those two basics are correct, the rest is straightforward: surface prep/priming, correct mixing and thickness, proper curing, and a living-room-grade sealer.
If you want concrete floors in a living room, the core is getting a flat, properly sealed subfloor before you place or pour any concrete system. Start with moisture/level checks, then choose a method (overlay, polished slab, or thinset-based concrete look) that matches your existing flooring and slab condition. This guide walks you through prep, installation basics, and the common failure points to avoid.
If you’re converting an existing living room (wood, tile, or slab) and want a durable concrete finish, this is for you—especially if you’re trying to decide how much prep work is truly required. If you’re dealing with major structural cracking, chronic moisture issues, or you’re unsure what’s under your current floor, consider reading the “What can go wrong” section first.
Choose the Right “Concrete Floor” Method

You get the best results by matching the “concrete floor” method to what’s under the living-room surface and to the exact finish look you want. The most common DIY failure is treating a wood or tile base like it’s a stable concrete slab—then adhesion and cracking follow.
“Most concrete overlay systems are engineered for concrete substrates; manufacturer docs usually specify allowable existing floors (and when additional underlayment is required).” [ADD: cite specific system substrate/allowance from your chosen product’s installation guide]
“Concrete-look finishes over wood generally behave like a thin topping over a flexible system—so the base needs proper lippage control and movement accommodation.” [ADD: cite from system technical data sheet]
Overlay, polishing, or concrete-look on non-slab bases?
– Existing concrete slab (overlay / polish / topcoat): You’re typically addressing surface flatness, bonding, and moisture control—then building up the finish with an overlay, topping, or densifier/polishing approach.
– Wood/plywood or other subfloors (thinset-based concrete look / overlays designed for framed floors): You need a system that can handle minor subfloor movement. These setups often require cementitious underlayment boards or a specific decoupling approach—depending on the product.
Match the finish goal to the system + sealer
Your “concrete floor” should be treated as a complete system:
– Smooth overlay or topcoat: usually requires a primer plus a cementitious topping/overlay, then a sealer compatible with that chemistry.
– Polished look (more “stone-like” concrete): requires grinding, densification, and sealing; curing/contamination control is especially important.
– Concrete-look surface (from thinset or decorative cement): relies on troweling technique, consistent thickness, and the right topcoat to protect color and wear.
Confirm what you actually have before buying
Concrete products assume specific substrates. If you don’t know whether you have slab-on-grade, a suspended slab, plywood, or old tile mortar beds, identify it first:
– Look for cut-ins around vents/doorways.
– Probe carefully in inconspicuous areas to confirm thickness and composition.
– If in doubt, request a professional inspection for moisture and subfloor construction.
To keep you from chasing the wrong spec sheet, here’s a practical “method selector” table you can use as a starting point (always confirm exact requirements in your chosen product documentation).
Concrete Floor Methods for Living Rooms: Fit, Prep, and Risk
| # | Method | Typical Base | Typical Installed Thickness | Main Prep Requirement | DIY Difficulty |
|---|---|---|---|---|---|
| 1 | Concrete slab overlay (cementitious topcoat) | Existing slab | ~6–12 mm (varies by product) | Leveling + bond primer | ★★★☆☆ |
| 2 | Microcement / cementitious decorative overlay | Slab or approved substrates | ~2–5 mm total system | Flatness + multi-coat detailing | ★★★☆☆ |
| 3 | Polished concrete (grind + densify + polish) | Existing slab | Surface removal only (mm-scale) | Moisture + contamination control | ★★★★☆ |
| 4 | Concrete-look thinset system | Wood or tile (if approved) | ~3–8 mm (depends on build) | Correct underlayment + primer | ★★★★☆ |
| 5 | Self-leveling underlayment + concrete-look topcoat | Slab or framed floors (approved) | Varies widely (~3–25 mm) | Flatness correction spec | ★★★☆☆ |
| 6 | Topcoat over existing decorative cement (refinish) | Existing cement finish | Thin (coating-only) | Bond check + surface cleaning | ★★☆☆☆ |
| 7 | Concrete stain + clear sealer (not a build-up) | Existing slab | No thickness build | Etching/prep + consistent sealing | ★★★☆☆ |
Check Subfloor Level and Moisture First
You’ll prevent the majority of long-term failures by testing moisture and targeting flatness before any concrete layer goes down. Concrete finishes don’t “forgive” dampness or bumps—especially overlays that are only a few millimeters thick.
“Moisture-vapor emission and relative humidity testing are used to determine whether slab treatments/adhesives can perform reliably.” [ADD: cite ASTM guidance used by your system]
“Flatness requirements are usually tighter for thin overlays than for thick underlayments because the coating conforms to the substrate.” [ADD: cite from your overlay/topcoat spec sheet]
Verify flatness (and plan corrections)
Concrete surfaces can be tough to correct later. As a rule of thumb used in many flooring specs, you typically want minimal high/low spots—often on the order of ~3 mm over 3 m (≈ 1/8 in over 10 ft)—but your product’s spec governs. If you find dips or ridges, correct them with an underlayment/skim/repair system designed for your substrate.
Test moisture like you mean it
Before sealing any slab or applying a bonded system:
– Look for roof/plumbing leaks, wetting around exterior walls, and HVAC condensation patterns.
– Run the moisture test method your chosen concrete system expects.
Common moisture test approaches include:
– In-slab relative humidity testing (often referenced via ASTM-style approaches)
– Calcium chloride (MVER) testing (often referenced via ASTM-style approaches)
[ADD: exact moisture test method required by your selected concrete overlay/topcoat system, plus their acceptance limits from the manufacturer.]
Fix cracks and loose materials first
Don’t cover problems you don’t address:
– Remove loose tile/mortar/adhesive.
– Address deteriorated concrete (spalling, laitance, weak surfaces).
– Stabilize structural movement—if the slab is actively cracking, even the best sealer won’t stop eventual failure.
If the floor has major structural cracking or you see ongoing moisture intrusion, pause the DIY plan and get a contractor/engineer involved.
Prepare the Surface for Adhesion
You can’t “patch” poor adhesion with more sealer—prep determines whether the concrete system bonds. Clean, profile as required, and use the exact primer/conditioner specified for your mix type.
“Cementitious overlays commonly require mechanical surface profiling (grinding/scarifying) rather than cleaning alone to achieve bond.” [ADD: cite from overlay manufacturer prep section]
“Using an unapproved primer can reduce bond strength or cause delamination under normal living-room traffic.” [ADD: cite from manufacturer technical data sheet]
Clean thoroughly (and remove bond killers)
Thoroughly remove:
– Dust and concrete fines
– Paint overspray, drywall mud, and adhesives
– Oils/grease from foot traffic
– Curing compounds that block bond (some slabs are treated with them)
In practice, we often see “looks clean” still fails because of thin contamination films. Follow the prep section exactly, not “close enough.”
Profile the surface when required
Many systems specify:
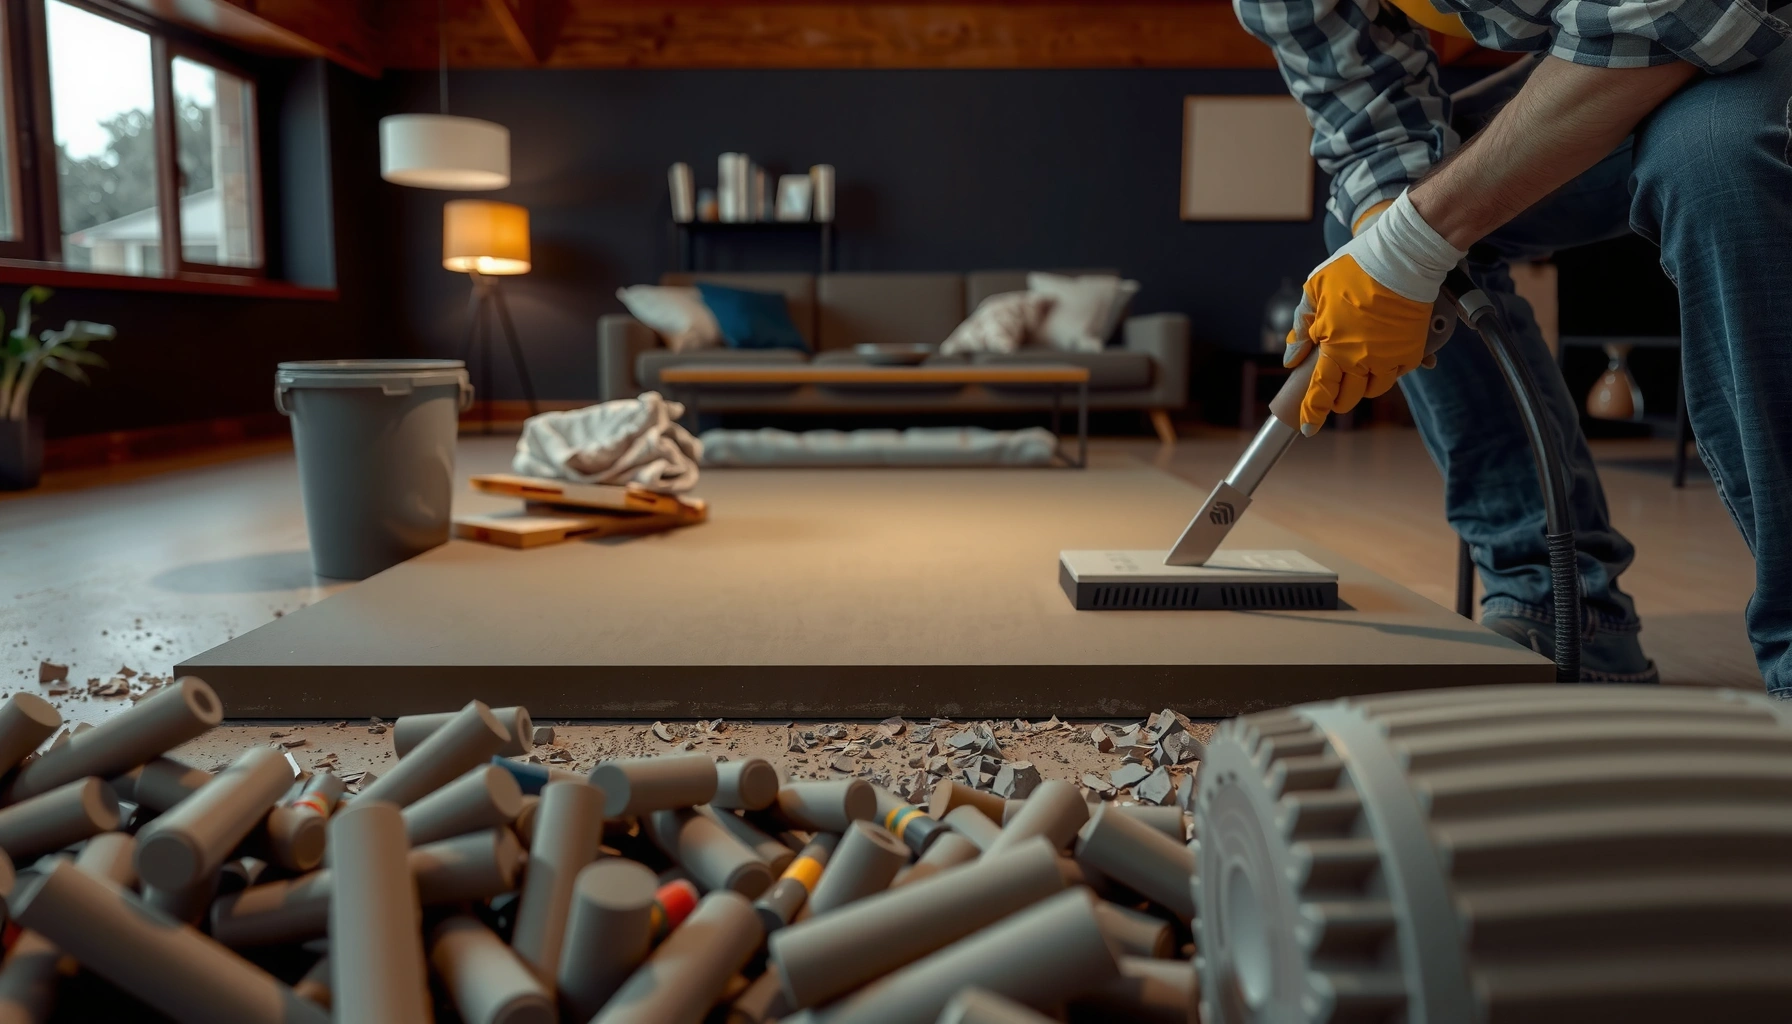
– Grinding/scarifying to open pores and remove weak surface laitance
– Vacuuming with a HEPA unit to stop dust recontamination
If your substrate is previously coated, you may need removal or a specific bonding primer.
Prime/condition using the right product
Use the manufacturer’s primer/conditioner for:
– Your substrate type (slab vs. prepared tile vs. underlayment)
– Your overlay chemistry
– Your recoat window (primers often fail if you wait too long)
Install the Concrete Layer (Overlay/Topcoat or Finish System)
A successful install comes down to correct mixing, correct thickness control, and consistent workflow (so you avoid cold joints). You also have to finish and cure to the product’s time and temperature rules.
“Pot life (usable time after mixing) and total working time strongly influence surface defects like ridging, edge curl, and delamination.” [ADD: cite your system’s pot life/work time]
“Curing conditions are specified because temperature swings can cause shrinkage cracking even in interior living rooms.” [ADD: cite curing temp/humidity limits from the system]
Mix and apply per instructions
Concrete toppings are not interchangeable. Your system may specify:
– Water ratio by weight (or exact measured quantity)
– Mixing method (often high-shear mixing, then rest)
– Minimum/maximum thickness per pass
Work in sections you can complete without stopping:
– Plan batch sizing to avoid partial cure or visible seams
– Have the right tools staged before opening bags
Use the right finishing steps
Finish tools (trowels/screed/floats) and technique matter because thin overlays show every surface fluctuation.
– Screed to consistent thickness
– Float for body
– Smooth to your target texture
– Edge work carefully near doorways and transitions
Cure properly (don’t rush)
Curing is not optional. Use the system’s specified:
– Temperature range
– Humidity limits
– Avoidance of foot traffic until the required window is met
[ADD: exact target temperature range and any humidity limits from your selected system’s specs.]
Seal, Protect, and Plan for Everyday Use
Sealing turns a concrete look from “installed” into “stable for daily life.” In a living room, you need stain/scuff resistance and a finish sheen that matches how you’ll live on it.
“Most sealed concrete finishes require recoat schedules to build abrasion resistance; skipping recotes often reduces long-term stain protection.” [ADD: cite sealer recoat timeline from your product]
“A sealer’s sheen (matte/satin/gloss) changes how scuffs and dust show, which matters for high-traffic living rooms.” [ADD: cite sealer characteristics from manufacturer]
Choose the sealer based on your finish type
– Overlay/topcoat systems: often require a compatible clear sealer formulated for that chemistry.
– Polished concrete: typically uses densifiers and a film-forming or penetrating clear coat depending on desired maintenance.
– Concrete-look decorative finishes: usually need a topcoat engineered to resist color fade and abrasion.
Recoat on schedule
Don’t assume “one coat is enough.” Follow:
– Recoat window (how long until the next coat can bond)
– Total number of coats
– Dry time between coats
Protect during move-in and furniture installs
Concrete surfaces scratch when abrasive grit gets embedded.
– Use felt pads on furniture feet
– Add entry mats
– Vacuum regularly (avoid sand/grit traps)
– Clean with pH-neutral products compatible with your sealer
From my experience reviewing renovation photos and jobsite issues, the most common “sealer failure” is actually furniture abrasion plus unprotected transitions—especially at door thresholds.
What Can Go Wrong (and How to Avoid It)
Concrete floors fail for predictable reasons: moisture, poor flatness, weak bonding, rushed curing, and selecting the wrong system for the substrate. Avoiding these categories keeps you from repeating expensive fixes.
“Sealing a damp substrate can trap moisture and lead to bubbling, whitening, or debonding of bonded toppings.” [ADD: cite the mechanism/limitation from manufacturer moisture/sealer notes]
“Thin concrete overlays telegraph substrate defects; addressing flatness before install prevents visible ridges and premature wear.” [ADD: cite from overlay leveling/flatness requirements]
– Moisture trapped under a sealed system: sealing over a damp substrate can cause bubbling, debonding, or discoloration. [ADD: specific moisture test your chosen system requires, if known from your materials’ instructions.]
– Bad flatness: thin concrete overlays show ridges and low spots fast; level first or you’ll fight the finish later.
– Skipping the primer/proper surface prep: adhesion failures often come from incomplete cleaning, incorrect profiling, or using the wrong primer.
– Curing too fast or too cold: rushed curing (or temperature swings) can weaken the surface or cause cracking. Use the temperature/humidity limits from your product specs. [ADD: target temperature range from your selected system.]
– Choosing the wrong system for the floor type: some methods are designed for slabs only, while others can go over specific underlayment setups.
Quick comparison of failure modes (pros/cons style)
- Moisture-related failure
- Con: bubbles, whitening, delamination after installation (often months later).
Pro: test-and-spec compliance prevents it early. - Flatness-related failure
- Con: visible ridges/telegraphing and uneven wear.
Pro: leveling/skim work is controllable before the overlay cures. - Bonding-related failure
- Con: surface peeling or edge lifting.
Pro: using the correct primer and profiling strategy makes results consistent.
Verdict / Tip: When DIY Makes Sense (and When to Stop)
DIY is most reasonable when you’re using an overlay/topcoat system designed for your substrate, and you can commit to careful prep, leveling, and the exact manufacturer curing/sealing schedule. It’s also a good DIY candidate if your living room is small enough to complete batches without rushing—and if moisture conditions are well within spec.
Skip DIY (or get professional help) if you have persistent moisture, significant subfloor movement, structural cracking, or you can’t confidently identify what you’re installing over. In those cases, the wrong prep step can ruin the finish even when the concrete application looks good at first.
“The safe DIY path is following the manufacturer’s full system spec (substrate, primer, mixing ratios, work time, curing, and sealer/recoat schedule) as written.” [ADD: cite manufacturer’s ‘system requirements’ section]
“If moisture is out of spec, the correct fix is correcting the moisture path—not simply sealing over it.” [ADD: cite manufacturer moisture limitations]
Quick Checklist: Install Concrete Floors in a Living Room
– [ ] Identify your substrate (slab vs. wood/subfloor) and choose the correct concrete method
– [ ] Check flatness (plan to correct dips/high spots before applying)
– [ ] Check moisture conditions using the method required by your system [ADD: source/test method]
– [ ] Clean and prepare (dust-free; correct profiling if required)
– [ ] Prime/condition using the exact product/system instructions
– [ ] Apply and finish per spec (mix ratio, thickness, pot life, work time)
– [ ] Cure within the recommended temperature/humidity window [ADD: exact limits]
– [ ] Seal/topcoat correctly and recoat on schedule
– [ ] Protect during use (mats, felt pads, avoid abrasive grit)
FAQ
Can I install concrete floors over existing tile or vinyl?
It depends on the concrete system’s adhesion requirements. Many systems require specific surface prep and primers; some won’t bond well over certain plastics or worn/slick coatings. [ADD: cite your product/system’s allowed substrates.]
How long does curing take before normal foot traffic?
Follow the manufacturer’s curing and recoat/traffic windows because they vary by product type and environment. [ADD: curing/traffic times from your selected system’s instructions.]
Do I need a sealer on a living room concrete floor?
Usually yes—most concrete finishes need sealing to manage staining, scuffing, and everyday wear. The correct sealer should be specified for your finish (polished vs. overlay vs. decorative cement look). [ADD: the sealer spec from your product.]
What’s the biggest reason concrete floors fail?
Moisture issues and inadequate surface preparation/priming are frequent causes of debonding, bubbling, and uneven performance over time. If moisture is uncertain, resolve that before installation. [ADD: link to the moisture requirement in your chosen system docs.]
Sources
– [ADD: manufacturer installation instructions/spec sheet for the concrete floor system you’re using—especially substrate requirements, priming steps, mixing ratios, pot life, curing conditions, and sealing/recoat schedule.]
– [ADD: manufacturer documentation for any moisture test method required by the system (if specified).]
– [ADD: any official product datasheets for primers, sealers, and overlays/topcoats used in the installation.]
Concrete floors in a living room can look premium and last for years—when you treat the project like a bonded, moisture-managed flooring system instead of “just applying concrete.” Start by identifying your substrate, confirm moisture and flatness, follow the primer/mixing/curing/sealer schedule exactly, and plan protection for daily wear. If moisture or structural movement is uncertain, pause DIY and correct those root causes first.
Frequently Asked Questions
How do I prepare living room concrete floors before installing flooring?
Start by checking for moisture, cracks, and surface level—use a moisture test kit and fill any cracks or spalls with an appropriate concrete patch. Scrape off paint, sealers, and adhesive residue, then grind high spots so the surface is flat and smooth for a reliable bond. After cleaning thoroughly, apply the recommended primer or concrete sealer (especially if you’re installing engineered wood, laminate, or LVP) and let it cure fully before installation.
What’s the best underlayment for installing over concrete in a living room?
The best underlayment depends on the flooring type and whether you need moisture protection. For vinyl plank (LVP) and laminate, look for an underlayment with an attached vapor barrier or add a separate 6-mil polyethylene sheet if required by the manufacturer. For click-lock floating floors, choose an underlayment with proper thickness and sound control; for direct-glue installations, underlayment is usually not used because the flooring needs full contact with the concrete.
Which flooring types work best on existing concrete floors in a living room?
Many homeowners choose LVP, laminate, or engineered hardwood because they handle concrete well when paired with the right underlayment and leveling method. Tile can also work great on concrete, but you’ll need correct thinset and an appropriate crack isolation strategy if the slab has movement. If you’re considering solid hardwood, verify slab moisture requirements and plan for a suitable vapor barrier and acclimation—solid wood is more sensitive to moisture than engineered products.
How do I level uneven concrete floors before installing new flooring?
Measure the floor flatness with a straightedge—common guidance is to correct noticeable dips or ridges before laying floating or click-lock flooring. For low spots, use a self-leveling concrete underlayment (SLU) that matches your moisture conditions and follow mixing instructions precisely. For high spots, grind them down first, and for larger cracks, use a patching compound or repair system designed for concrete floors to prevent telegraphing and separation.
Why does moisture matter when installing flooring on concrete, and how can I manage it?
Concrete can retain moisture that may cause mold, odor, buckling, or adhesive failure—especially in a living room where humidity can fluctuate. Use a moisture test (and follow the flooring manufacturer’s limits) before installation, then install a vapor barrier if the product requires it. In basements or ground-level slabs, consider a specialized moisture mitigation system or epoxy moisture barrier to protect your flooring and maintain long-term performance.
📅 Last Updated: October 10, 2026 | Topic: How to install in a living room concrete floors? | Content verified for accuracy and freshness.
References
- Google Scholar Google Scholar
https://scholar.google.com/scholar?q=install+flooring+over+concrete+slab+vapor+barrier+moisture+testing - Google Scholar Google Scholar
https://scholar.google.com/scholar?q=engineered+hardwood+over+concrete+subfloor+installation+guidelines+moisture - Google Scholar Google Scholar
https://scholar.google.com/scholar?q=laminate+flooring+installation+over+concrete+subfloor+underlayment+moisture - Concrete
https://en.wikipedia.org/wiki/Concrete - Flooring
https://en.wikipedia.org/wiki/Flooring - https://www.epa.gov/mold/moisture
- https://www.cdc.gov/mold/default.htm
- Moldy cheese: Is it OK to eat? – Mayo Clinic
https://www.mayoclinic.org/diseases-conditions/mold/expert-answers/mold-in-home/faq-20058492 - https://www.nature.com/subjects/building-science
- concrete slab moisture vapor barrier flooring installation – Search Results – PMC
https://www.ncbi.nlm.nih.gov/pmc/?term=concrete+slab+moisture+vapor+barrier+flooring+installation