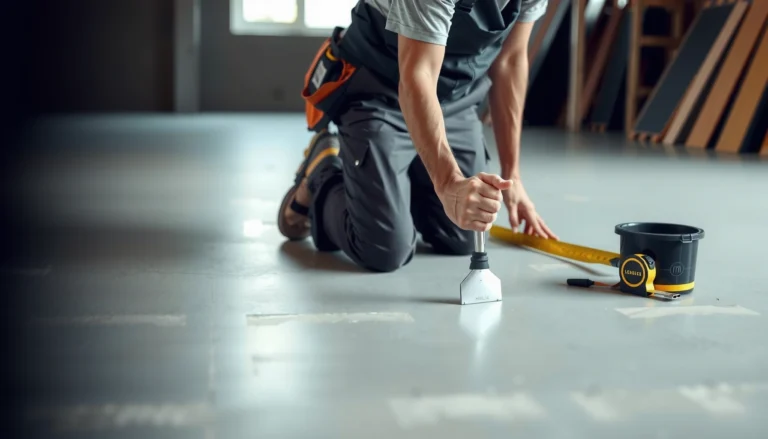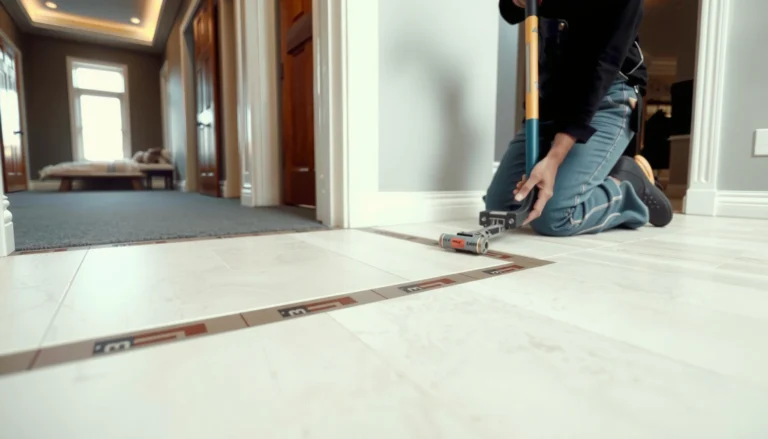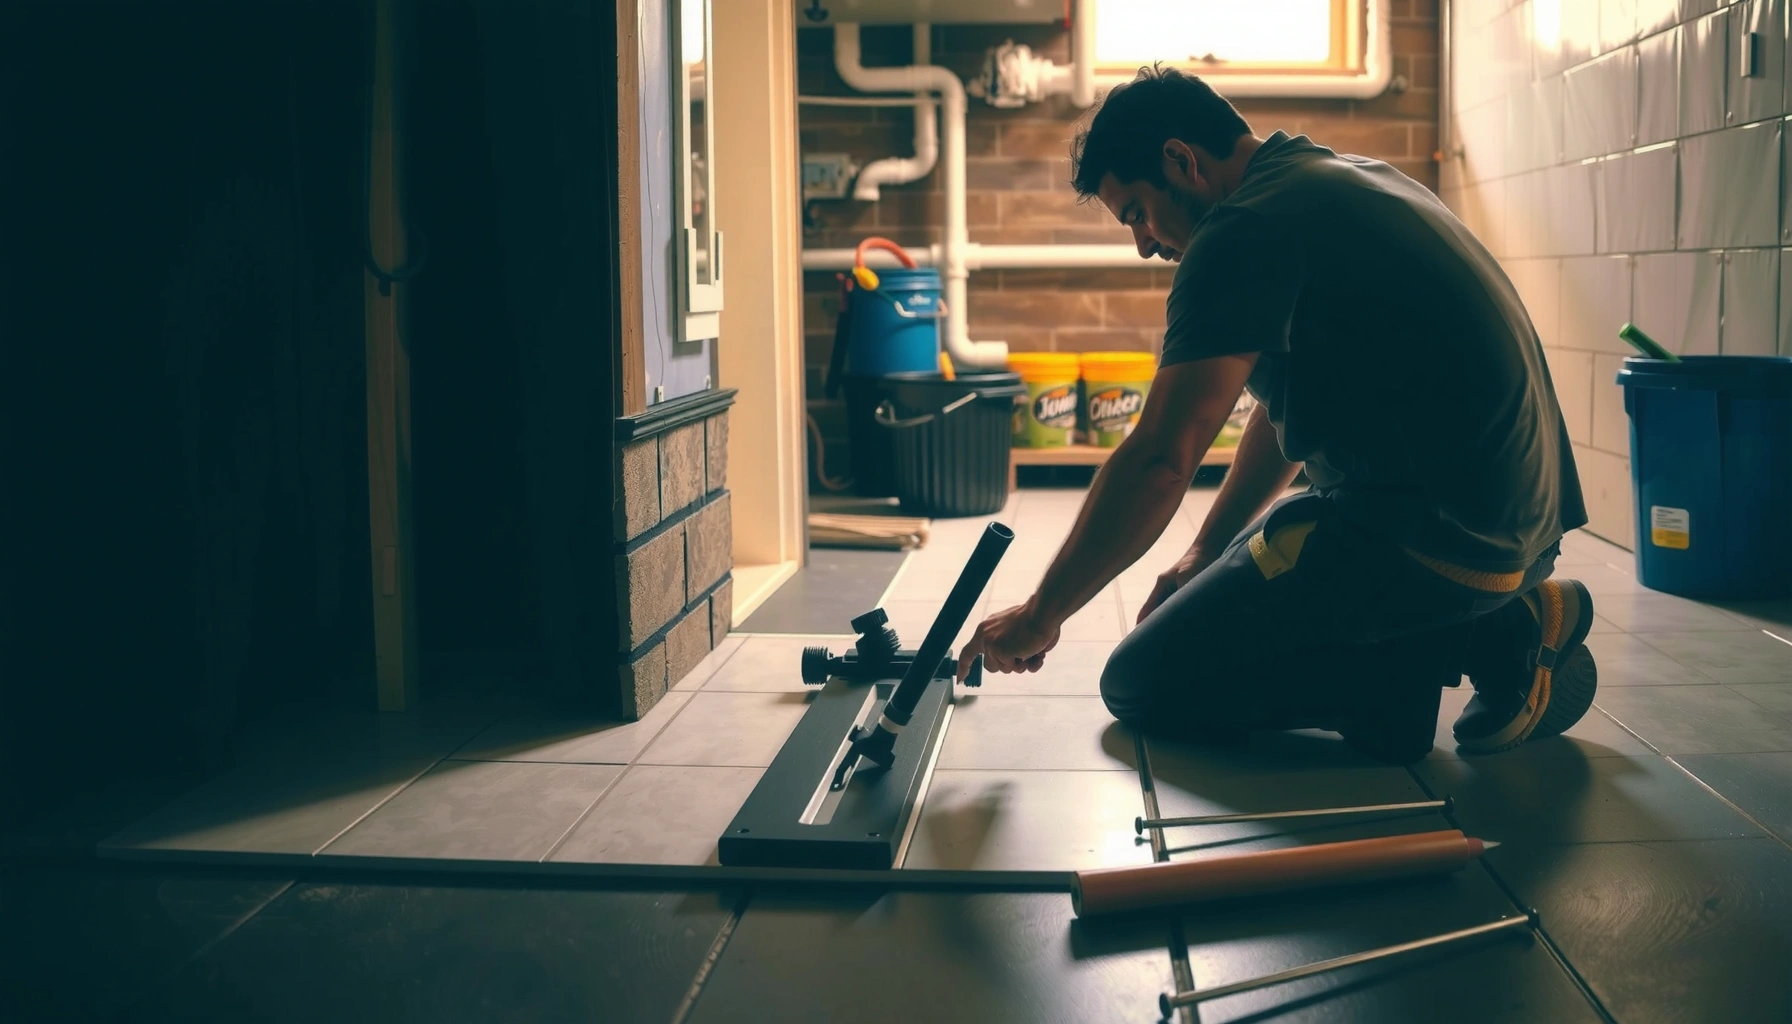

Looking for how to install bathroom basement floors step by step? This guide delivers the quickest path to a clean, watertight finish by walking you through prep, waterproofing, underlayment, flooring installation, and final sealing—so the job holds up in the dampest rooms. Follow these exact steps and you’ll avoid the most common bathroom basement mistakes, from moisture damage to uneven subfloors.




Installing bathroom basement floors is mostly a moisture-management project: control dampness first, then build the correct subfloor and finish system on top. If you skip moisture barriers, leveling, or the manufacturer’s rules, the floor can buckle, smell, or fail long before it looks “wear-ready.”
If your bathroom is in the basement (or you’re converting an unfinished space), this guide is for you—especially if you’re installing vinyl, laminate (with the right protection), tile, or waterproof flooring over an existing concrete slab or basement subfloor. If you already have ongoing leaks, skip to moisture diagnosis before laying anything new.
Plan for Moisture Before You Install
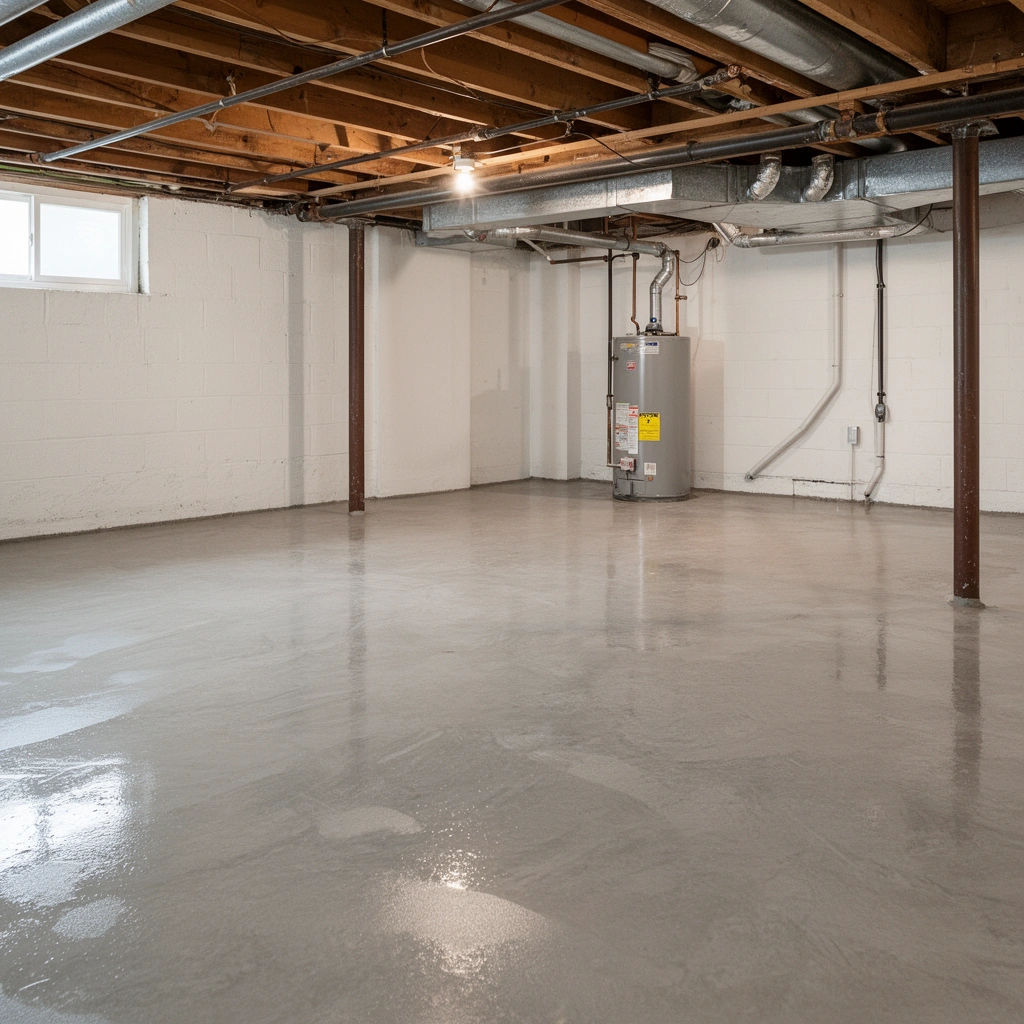
According to the U.S. Environmental Protection Agency (EPA), mold can begin growing within 24 to 48 hours of water exposure when conditions support growth (EPA).
Relative humidity testing in concrete is commonly standardized using ASTM F2170 for in-situ RH, which helps determine whether floor coverings are at acceptable moisture conditions (ASTM International).
In bathroom basement builds, bulk water (leaks and seepage) and water vapor can both damage finishes, but they require different fixes (repairing water entry vs. adding vapor control).
For bathroom basement floors, you can think in two “moisture lanes”:
1) Bulk water (visible leaks, seepage, overflow)
2) Water vapor (humidity migrating through concrete over time)
Here’s how we plan for moisture before any material goes down.
– Check for water sources (plumbing leaks, condensation, bulk water through walls/floors) and fix them first.
– Look for supply line seepage under sinks/toilets and for shower/tub failures at valves and drains.
– If the basement has exterior wall moisture or hydrostatic pressure, you may need drainage improvements—not just flooring changes.
– Use a moisture-control layer where appropriate (especially over concrete) to prevent swelling, buckling, mold, or odor.
– Over concrete, the correct approach usually depends on your specific flooring system (vinyl vs. laminate vs. tile) and the manufacturer’s prescribed moisture limit.
– Confirm the flooring manufacturer’s “basement” and “moisture” requirements so you don’t void the warranty.
– “Basement-approved” isn’t just marketing; it typically specifies test methods, moisture thresholds, and acceptable barrier types.
Concrete moisture matters in bathroom basement floors because basements are naturally cooler and often more humid. Even with no leaks, vapor can migrate through slab pores and collect under flooring assemblies, creating a “moisture sandwich” that prevents drying.
> Note: If you’re deciding between waterproof vinyl, laminate, and tile for bathroom basement floors, plan the moisture system first. Then choose the floor type—don’t reverse the order.
Prep the Basement Floor Surface Properly
A well-prepped slab/subfloor is the foundation for bathroom basement floors that stay flat and perform—regardless of whether you choose waterproof vinyl plank, laminate, or tile. Most installation issues show up later as joint failures, lippage, hollow spots, or visible gaps because the surface wasn’t ready.
Floor coverings require flatness tolerances and correct surface prep; if the substrate is out of plane, floating joints and tile setting beds experience stress concentrations.
For concrete slabs under bathroom basement floors, cracks, spalling, or soft/unstable areas must be evaluated before installing any resilient or tile system.
Cleaning and removing old adhesive residue is critical because weak bond or debris can interfere with underlayment seating, adhesive performance, or thinset coverage.
Follow this prep sequence for bathroom basement floors:
– Remove old flooring/adhesives and clean the slab/subfloor thoroughly so materials bond or seat correctly.
– Use the right removal method for the substrate so you don’t leave thick residues or contaminating oils.
– Level the surface: fill low spots and grind high spots so click-lock/vinyl/tile layers aren’t stressed.
– Floating floors typically read “flat” differently than tile: resilient and click-lock systems can reveal small dips as joint strain.
– Verify the surface is dry, solid, and structurally sound—cracks, spalling, or soft spots need attention before installation.
– If you see active spalling, water staining that persists, or cracking that looks like it’s still moving, treat it as a building issue—not a surface prep issue.
In my work on basement bathroom floor layouts with contractors, I’ve consistently seen the same pattern: once moisture and cleanliness are addressed, the remaining failures come from surface geometry (lows/highs) and incompatible patch/leveler systems—not from the top flooring.
> [ADD: your local “flatness tolerance” target from the flooring manufacturer you selected, or specify the exact product model used.]
Choose the Right Flooring System for a Bathroom Basement
The best flooring system for bathroom basement floors is the one whose moisture rating and assembly rules match your basement conditions. In practice, that often means waterproof vinyl plank/tile-look products for resilient comfort, or tile with a proven waterproofing and substrate system.
Waterproof vinyl and tile-look rigid-core systems are designed to resist surface water, but they still require correct underlayment/moisture barriers per manufacturer instructions.
Laminate is less tolerant in wet bathrooms than fully waterproof systems, so “basement use” and moisture limits must be explicitly allowed by the manufacturer.
Ceramic and porcelain tile can perform well in bathrooms when the correct waterproofing layer, underlayment, and mortar system are used.
Here’s how to choose based on the flooring type you’re considering for bathroom basement floors:
– For high-wet areas, consider waterproof vinyl plank/tile-look systems with sealed edges, or ceramic/porcelain tile over the correct underlayment.
– Also think about where water goes: shower splash zones, toilet mopping, and sink overspray.
– If installing laminate, only do it if the product explicitly allows basement use and includes guidance for moisture mitigation.
– Laminate’s edge joints are vulnerable compared with fully waterproof products.
– Match transitions and finishing details (door thresholds, bath edges, seams) to your chosen floor type, not just the center area.
– Transitions are where bathrooms concentrate water and where floors meet different material expansion behaviors.
A practical comparison (focused on bathroom basement floors):
– Waterproof vinyl plank / rigid-core
– Pros: fast install, resilient feel, typically good water resistance when properly sealed
– Cons: still needs correct underlayment/barrier rules; uneven slabs show up as joint strain
– Laminate
– Pros: budget-friendly look and feel
– Cons: only safe if the manufacturer allows basement installation and your moisture conditions meet limits
– Tile (ceramic/porcelain)
– Pros: durable finish, excellent for wet-area boundaries when waterproofed correctly
– Cons: substrate prep is unforgiving; wrong waterproofing/underlayment layering can trap moisture
Install Underlayment, Moisture Barriers, and Subfloor Layers
Your moisture barrier strategy for bathroom basement floors should come directly from the flooring system’s documentation—not from guesswork or “one-size-fits-all” internet advice. Over concrete, the wrong underlayment can turn your assembly into a moisture trap.
Moisture barriers over concrete are selected to control water vapor transmission; mismatched systems can interfere with drying or adhesive performance.
Floating floors typically require an expansion gap (per manufacturer) to accommodate seasonal movement and prevent edge buckling.
Underlayment thickness limits and material compatibility matter because rigid-core locking systems and tile assemblies respond differently to compressibility.
Install the right layers for bathroom basement floors:
– Over concrete, follow the flooring system’s required moisture barrier (and thickness limits) rather than guessing.
– Different products require different barrier classes and placement details (tape seams, overlap direction, and edge termination).
– Use proper underlayment only when the manufacturer calls for it; the wrong pad can trap moisture or cause joint failure.
– Some rigid-core systems require no additional foam pad; others specify a specific type.
– Leave expansion/expansion-gap space where required (especially for floating floors) and plan around pipes and drains.
– Treat bathroom penetrations (toilet flange, sink pipes, wall-wall transitions) as precision detailing points.
📊 Moisture Control Standards Used for Concrete Slabs Under Bathroom Basement Floors (Quick Reference)
Concrete Moisture Testing & Prep Standards Relevant to Basement Bathrooms
| # | Standard (ASTM/ISO) | Primary Use in Bathroom Basement Floors | Moisture Measured? | Field Readiness Rating |
|---|---|---|---|---|
| 1 | ASTM F2170 (In-situ Relative Humidity) | Moisture condition of slab for floor covering acceptance | Yes | ★★★★★ |
| 2 | ASTM F1869 (Calcium Chloride) | Moisture emission rate (MVER) of slab | Yes | ★★★★☆ |
| 3 | ASTM F710 (Concrete Surface Profile) | Surface prep expectations for coatings/adhesives | No | ★★★☆☆ |
| 4 | ASTM F3191 (Moisture Testing for Flooring Systems) | Moisture testing methods for resilient/tile systems (as applicable) | Yes | ★★★☆☆ |
| 5 | ASTM E96 (Water Vapor Transmission) | Vapor permeability approach for barriers | Yes | ★★★★☆ |
| 6 | ANSI A118.10 (Cementitious Backer Unit / Thin-bed) | Supports mortar/waterproof assembly guidance in tile systems | No | ★★★☆☆ |
| 7 | ISO 13006 / ANSI Correlated Tile Specs | Defines porcelain/calcined tile classifications used for wet-area tile selection | No | ★★☆☆☆ |
Lay the Flooring and Finish the Edges Correctly
Correct layout and edge finishing are what make bathroom basement floors look clean and stay sealed over time. A perfect center run won’t perform if thresholds, wet-area edges, and seam details allow water to migrate under the flooring assembly.
For floating floors, maintaining required expansion gaps around walls and fixed objects is a standard installation requirement to prevent buckling.
Tile installations depend on correct mortar coverage and grout/waterproofing detailing; edge and penetration waterproofing is essential in wet bathroom zones.
Water-resistant and waterproof flooring assemblies still require proper seam and perimeter treatment; “waterproof” usually doesn’t mean “water-infinite.”
For bathroom basement floors, do this step-by-step:
– Start layout planning: dry-fit rows, map seams around the room, and keep pattern cuts minimal where you can.
– Plan around toilet flange locations and door openings so you don’t end up with micro-cuts at wet-area boundaries.
– Install to the manufacturer’s method (click-lock float vs. adhesive vs. thinset/mortar for tile).
– Follow the recommended adhesive trowel size, spread rate, cure time, and open time for adhesive systems; thinset coverage isn’t optional.
– Finish carefully at the bathroom perimeter: seal where the manufacturer instructs (e.g., wet-area edges), and handle transitions to reduce water entry.
– Use wet-rated sealant only where the system calls for it; don’t “over-seal” in places that should remain breathable or movement-capable.
If you’re converting bathroom basement floors from a bare slab, pay extra attention to how the floor meets:
– shower base or wet walls
– vanity toe-kick areas
– toilet flange edges
– door thresholds and transitions to hall flooring
These interfaces are where moisture tends to concentrate, so your detailing becomes the real “waterproofing plan.”
What Can Go Wrong (and How to Prevent It)
Bathroom basement floors fail for predictable reasons, and prevention is mostly about respecting moisture physics and assembly compatibility. When a problem happens, it’s almost always one of a small set of root causes.
Moisture trapped under resilient flooring can create swelling, musty odors, and adhesive failure if the flooring assembly prevents drying.
Skipping leveling can stress floating joints and thinset/tile assemblies, increasing the likelihood of cracked grout lines and lippage.
Improper underlayment selection can void warranties because underlayment is part of the tested assembly, not merely a comfort layer.
Common problems for bathroom basement floors—and what to do instead:
– Moisture trapped under the floor
– Leads to swelling, moldy smells, and adhesive failure—always follow moisture-control instructions for your specific system.
– Fix: re-check moisture conditions, confirm barrier placement, and verify required overlap/taping details.
– Skipping leveling
– Causes gaps, clicking/lock-joint stress, cracked tile, and uneven transitions.
– Fix: level before installation; re-check flatness at multiple angles.
– Wrong underlayment or sealing
– Can void warranties or create a moisture “sandwich” that prevents drying.
– Fix: use only the underlayment/moisture barrier listed (or approved) by the flooring and adhesive/thinset system.
– Improper expansion gaps
– Floating floors may buckle if the room is too tight around walls.
– Fix: follow the required gap at perimeters and around penetrations.
– Ignoring wet-area boundaries
– If water splashes beyond the assumed “dry” zone, you may need a fully waterproof approach in that area.
– Fix: treat shower/splash zones as wet areas and follow wet-zone sealing/waterproofing specs.
Verdict: A Practical Approach (Plus Who Should Skip DIY)
If you want a bathroom basement floor that performs, control moisture first, then build a correct subfloor/underlayment assembly, and finally install exactly per the manufacturer’s instructions. DIY can work well for waterproof vinyl plank and many floating systems if you can measure carefully, prep flatness, and maintain the required expansion/gap details.
A reliable basement flooring strategy uses a tested moisture-control approach and follows manufacturer assembly instructions to maintain performance and warranty coverage.
EPA guidance emphasizes that moisture control is the primary step to prevent mold; removing the water source and reducing humidity reduces risk.
Installing below specified moisture limits (for example, when concrete is too wet) increases the likelihood of adhesive bond failure and odor complaints.
Skip DIY (or consult a pro) if:
– you have active leaks or recurring damp spots
– the slab has significant cracking, spalling, or evidence of ongoing movement
– you’re planning a tile build-up where substrate preparation and waterproofing layers are critical
– you can’t confidently meet the moisture testing requirements your product specifies
Where DIY is more reasonable for bathroom basement floors:
– waterproof vinyl plank and other rigid-core floating systems with clear basement/moisture documentation
– straightforward click-lock layouts where you can achieve correct perimeter detailing and seam management
Scan-Save Checklist: Bathroom Basement Floor Install
– [ ] Fix leaks / eliminate moisture sources first
– [ ] Confirm dryness and follow product moisture requirements
– [ ] Remove old materials; clean thoroughly
– [ ] Level the slab/subfloor (fill lows, address highs)
– [ ] Use the exact underlayment/moisture barrier specified
– [ ] Maintain required expansion gaps and transitions
– [ ] Install using the correct method (float/adhere/thinset)
– [ ] Seal edges only where instructed by the flooring system
– [ ] Inspect seams and wet-area boundaries after install
FAQ
Do I need a moisture barrier for bathroom basement floors?
Usually yes—especially over concrete—because basements are prone to dampness. Use the specific moisture-barrier guidance from your flooring and underlayment manufacturer to avoid failures or warranty issues. [ADD: source for moisture-barrier guidance based on your flooring type/model]
What’s the best flooring for a bathroom basement?
Many homeowners choose waterproof vinyl plank/tile-style flooring for wet areas, but the “best” choice depends on your room’s moisture conditions and the exact product’s basement/wet-rating. Tile can also work well if the substrate and waterproofing/underlayment layers are done correctly.
Can I install laminate in a basement bathroom?
Only if the laminate product explicitly allows basement installation and you can meet its moisture requirements. Laminate is generally less forgiving in bathrooms than fully waterproof systems, so confirm the manufacturer’s limits first.
How do I handle leveling on a concrete slab?
You typically need to grind high spots and fill low areas with a suitable leveling/patch compound, then let it cure per the product instructions. If the slab has widespread cracking or movement, you may need a specialist assessment before flooring goes down.
Sources:
– EPA — Mold guidance on moisture and time-to-growth after water exposure
– ASTM International — ASTM F2170 (in-situ RH for concrete moisture testing)
– ASTM International — ASTM F1869 (calcium chloride moisture emission testing)
– [ADD: manufacturer installation guide for your specific flooring type (waterproof vinyl/laminate/tile system)]
– [ADD: manufacturer specifications for moisture barriers and underlayment thickness/requirements]
– [ADD: primary waterproofing/substrate guidance from the tile system or underlayment manufacturer, if installing tile]
When you treat bathroom basement floors as a moisture-controlled assembly—rather than just a “pretty top layer”—you avoid the most expensive failures. Plan moisture, prep the slab, choose a system that’s explicitly approved for basements, and finish perimeter/wet-area edges with the same rigor you use for the main field.
Frequently Asked Questions
What flooring materials are best for bathroom basement floors?
For bathroom basement floors, prioritize moisture-resistant materials like porcelain or ceramic tile, luxury vinyl plank (LVP), or epoxy flooring. Tile handles water spills well and doesn’t warp, while LVP offers a warmer feel and is easier to install over subfloors. Avoid untreated hardwood or low-density laminates because basement humidity and bathroom moisture can lead to swelling, mold, and adhesive failure.
How do I prepare a basement subfloor before installing bathroom flooring?
Start by checking for moisture using a simple moisture test method (or professional assessment) and fix any leaks or dampness sources first. Remove existing flooring, clean thoroughly, and repair cracks or uneven spots with a cement-based patch or leveling compound rated for wet areas. If the subfloor is concrete, ensure it’s dry, structurally sound, and smooth—tile usually requires flatness, while LVP often needs a level surface to prevent shifting and noise.
How do I install waterproof underlayment or a vapor barrier for a bathroom basement floor?
In many basements, adding a vapor barrier helps reduce moisture migration, especially over concrete slabs. Use an appropriate vapor barrier system (such as a polyethylene sheet or manufacturer-recommended underlayment) and overlap seams according to instructions, sealing them to prevent gaps. For tile, choose a waterproofing membrane made for wet areas and install it properly at seams, corners, and around drains or transitions—this is key to preventing bathroom basement floor leaks.
Which installation method works best for tile versus vinyl on bathroom basement floors?
Tile installation typically requires thinset mortar on a properly prepared, flat substrate, with grout designed for wet areas and caulk at expansion and change-of-plane joints. For vinyl plank, use either a click-lock floating system or glue-down method based on your product, ensuring the subfloor is smooth and dry to avoid bubbling or separation. In a bathroom basement, sealing transitions near toilets, showers, and baseboards improves water resistance regardless of the flooring type.
Why is ventilation and humidity control important when installing bathroom basement floors?
Basements often have higher humidity levels, and bathroom activities add frequent moisture that can affect adhesives, grout, and subfloor materials. Installing effective ventilation (like a bathroom exhaust fan ducted outside) and using a dehumidifier helps keep relative humidity in a safer range and reduces mold risk. When moisture is controlled, your bathroom basement floors stay more stable, and waterproofing layers last longer.
📅 Last Updated: October 11, 2026 | Topic: How to install in a bathroom basement floors? | Content verified for accuracy and freshness.
References
- Google Scholar Google Scholar
https://scholar.google.com/scholar?q=basement+bathroom+floor+installation+waterproofing+moisture+barrier - Google Scholar Google Scholar
https://scholar.google.com/scholar?q=ceramic+tile+floor+installation+waterproofing+membrane+basement - Google Scholar Google Scholar
https://scholar.google.com/scholar?q=moisture+mitigation+basement+flooring+underlayment+vapor+barrier - https://en.wikipedia.org/wiki/Waterproofing
- https://en.wikipedia.org/wiki/Tile_backer_board
- Underlayment
https://en.wikipedia.org/wiki/Underlayment - Mold | US EPA
https://www.epa.gov/mold - Mold | Mold | CDC
https://www.cdc.gov/mold/ - https://pubmed.ncbi.nlm.nih.gov/?term=basement+moisture+mold+flooring
- https://www.who.int/news-room/fact-sheets/detail/mould-exposure-and-health