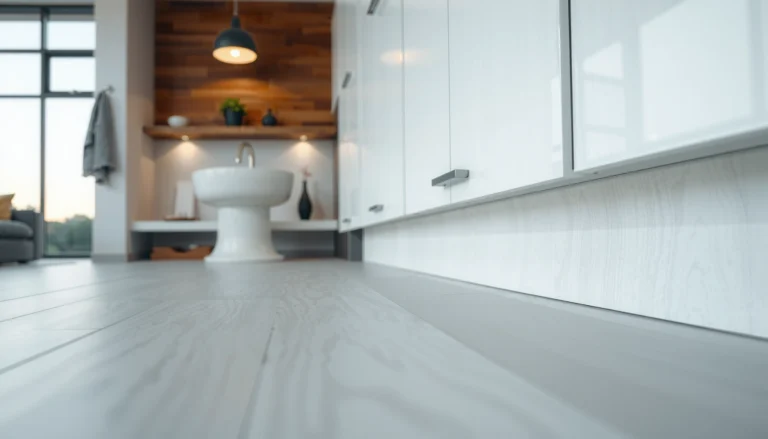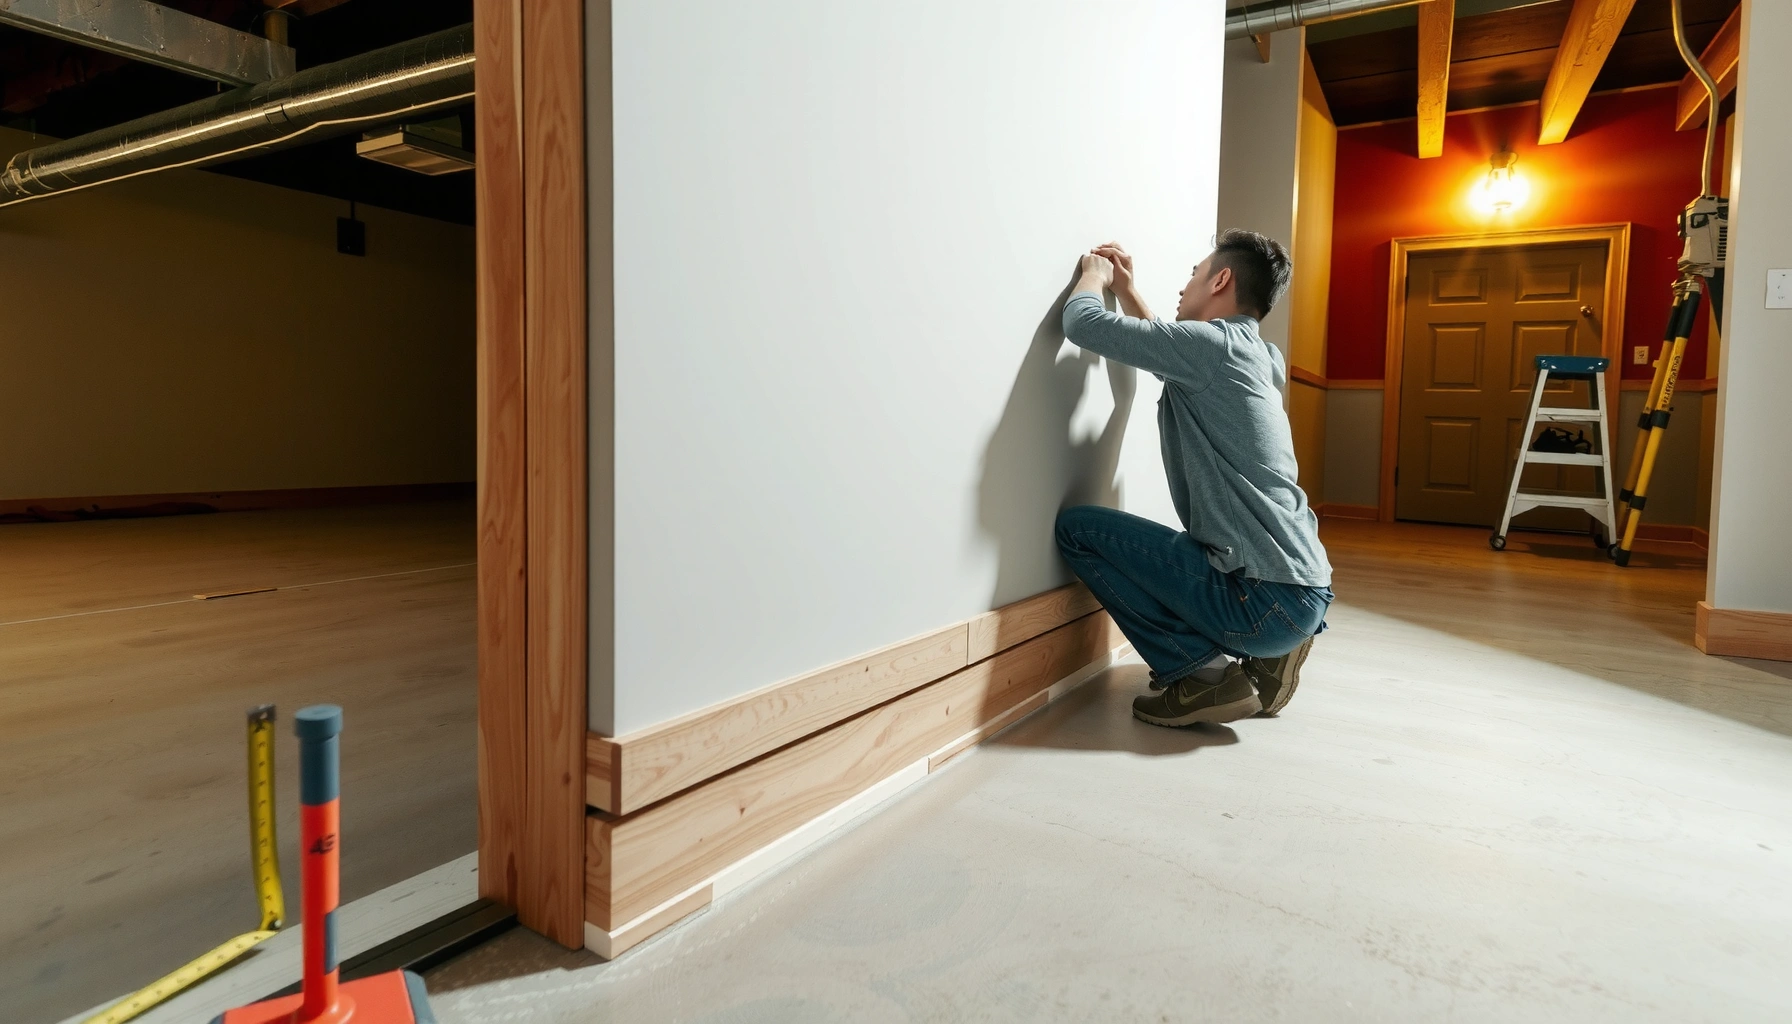

Learn how to install baseboards with basement floors step by step, with the correct approach for uneven concrete, moisture risk, and tight trim gaps. If you want a clean, durable finish that won’t separate or warp, follow the proven sequence from prepping the subfloor to fastening and caulking. By the end, you’ll know exactly what to do—and what to avoid—so your basement trim looks finished and stays that way.




Installing basement baseboards comes down to two things: prepare the floor/wall line so the trim can sit tight, and choose fastening methods that match your substrate (wood framing vs. concrete) and basement moisture conditions. If you do that—then measure, plan clearance, shim for unevenness, and finish the joints cleanly—you can avoid the most common failures like buckling, gaps, and loose trim.
This guide is for homeowners and DIYers installing baseboards around basement floors, especially where the floor is concrete, a basement-grade subfloor, or where humidity/moisture concerns exist. If your walls aren’t perfectly level or your floor isn’t perfectly flat, the steps below help you correct for that instead of forcing the trim to fit.
Measure, plan gaps, and confirm your mounting surface
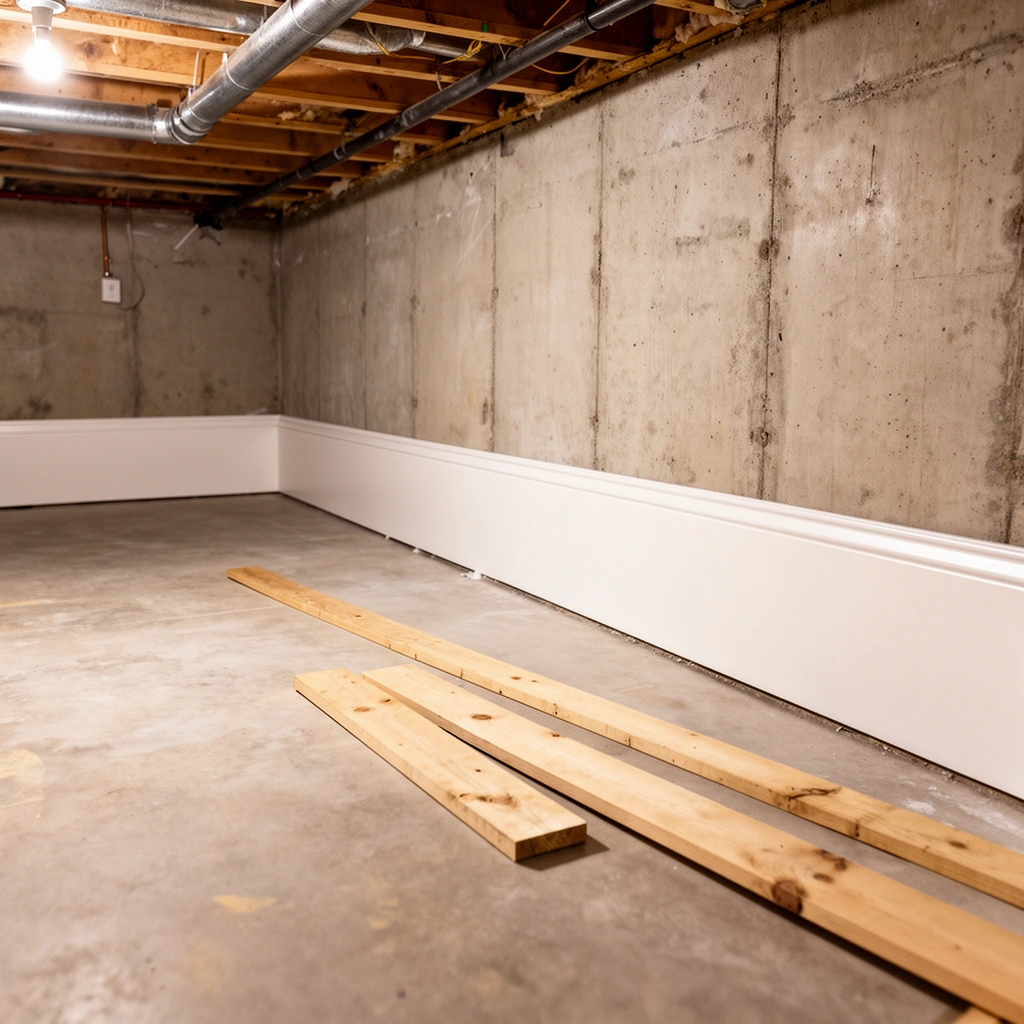
Start by measuring accurately and planning how your baseboard will meet the floor—because basement floors and finishes can move or ride over uneven transitions. The goal is to place the baseboard where it will actually land (not just where you hope it lands), and to build in a small clearance strategy so seasonal movement doesn’t create buckling or visible cracking.
If you plan the baseboard layout around inside corners, obstacles, and door/shim clearances before you cut, you prevent “measure twice, re-cut four times” errors.
Basements are more prone to humidity-driven movement, so a deliberate clearance/expansion strategy reduces the risk of baseboard joint cracking.
A clean mounting surface (flat floor line and consistent wall plane) is what makes a “tight trim job” possible—fasteners alone can’t fix geometry.
Measure the perimeter so the trim fits where it matters
Use a tape measure to map the perimeter in sections. Include:
– Inside corners (measure both adjacent wall runs)
– Outside corners (measure the wrap direction)
– Any built-ins, posts, or soffits
– Door clearances where baseboards may need to stop short or transition
Then verify height: baseboards usually install to a consistent finished height, but in basements you often have local low/high spots in the floor that affect how the top of the baseboard lines up. Mark your intended height on both sides of major reference points (corners, long straight runs) so you’re not guessing once you start fastening.
Decide your fastening approach before you pick tools
Basement mounting surfaces commonly fall into two categories:
– Drywall over wood studs: fasten into framing with brads/nails or screws sized for trim.
– Direct-to-masonry mounting on concrete: requires masonry-compatible fastening hardware and a layout that still supports a tight trim joint.
If your basement has a basement-grade subfloor (plywood/OSB over concrete), you may also have a hybrid: trim fastens into wood but the floor line still needs shim/level corrections.
Plan clearance gaps where flooring can move
Even if you’re installing baseboards “against” the floor, you generally want the trim to accommodate movement without pushing hard on a flooring system. In practice, that means:
– Leaving a controlled joint at the floor where appropriate (especially for floors that can shift with humidity)
– Avoiding rigid pinning that traps moisture or prevents minor movement
According to many residential flooring installation standards, floating/engaged floor systems require expansion clearance around the perimeter, commonly on the order of 1/4 in (6 mm) depending on the product spec. [ADD: cite flooring manufacturer installation guide that specifies a 1/4 in perimeter expansion typical range]
> Note: If your baseboards are the primary cover at the perimeter (rather than a separate expansion strip), read your flooring manufacturer instructions carefully. Baseboards and flooring systems can conflict if they’re both treated as fully rigid.
Prep the basement walls and floor line for clean trim
Prep is where basement baseboards succeed or fail. If the floor line has dips and the wall has “ride” (bowing or out-of-level areas), the baseboard will telegraph those problems through gaps, waves, or cracked caulk lines.
Before trimming, scrape and patch until the baseboard can sit flush—dust, paint ridges, and drywall mud build up quickly and create permanent gaps.
Use a straightedge to find high and low spots along the wall and floor transition; shimming works best when the problem is measured, not guessed.
Address active moisture sources before installing trim, because baseboards can reduce drying opportunities and worsen condensation cycles.
Remove old material and stabilize the line
If you’re replacing existing trim:
– Remove old baseboards carefully (avoid damaging drywall or breaking drywall edges).
– Scrape off remaining caulk, paint drips, and drywall residue.
– Patch dents and fill voids so the back of the baseboard can contact the surface consistently.
In my experience, the biggest “it looked fine before we caulked” issue is not the wall—it’s the floor line. If the slab/subfloor transition has debris or a ridge, the baseboard edge won’t land where you think it will.
Check the wall “ride” with a straightedge
Walk the perimeter and measure deviations:
– Place a 6 ft (or longer) straightedge against the wall.
– Mark high spots that will prevent flush contact and low spots that will require shims or filler.
This is especially important in basements because humidity and construction settling can create local bowing or unevenness—then a rigid miter becomes a visible seam failure.
Address moisture concerns early (before trim goes up)
Basements with humidity issues often show symptoms like:
– Musty odors
– Condensation on cold slab areas
– Visible dampness near walls or around penetrations
In these cases, fixing the moisture source (grading/drainage, sump operation, vapor control, HVAC balancing) matters more than any trim technique. Trapping moisture behind baseboards can lead to staining, finish breakdown, or deterioration of drywall paper.
According to the CDC, indoor dampness and moisture problems are associated with increased risk of mold growth. [ADD: cite CDC indoor mold/dampness guidance]
> If you suspect moisture but can’t confirm severity, start by documenting where it appears (time of day, after rain, near specific walls). Then follow manufacturer guidance for any vapor retarder products or mitigation systems before you close the cavity with trim.
Choose baseboard style, materials, and fasteners
Choosing the right materials and fastening system is what makes the trim behave under basement conditions. The wrong combination can cause warping, joint separation, or loose trim—even if your cuts are perfect.In humid basements, choose trim materials and finishes rated for interior trim exposure so you reduce warping and finish failure.
Fasteners must match the substrate: wood framing accepts brads/nails differently than masonry, which typically needs masonry anchors or specialty fasteners.
Select baseboards suited for basement humidity
Common basement baseboard materials:
– PVC/composite: resistant to moisture absorption; often stable in higher humidity.
– Primed MDF: smooth and paint-ready, but can be less forgiving if exposed to sustained moisture.
– Finger-jointed/engineered wood: can work well in dry basements but needs sound moisture control.
If your basement is “normal dry” year-round, traditional wood trim can perform great. If humidity fluctuates, stability becomes more important than appearance.
Use fasteners compatible with the wall substrate
General rules:
– Into wood studs/framing: use brads/nails sized for trim thickness and a nailer compatible with the gauge/type.
– Into concrete/masonry: you need masonry-capable fastening hardware (anchors, concrete nails with proper setting method, or other systems per manufacturer instructions).
According to typical manufacturer installation instructions for pneumatic brad/nail systems, nail spacing and penetration depth are specified to achieve adequate holding strength without splitting trim. [ADD: cite fastener manufacturer installation guide specifying penetration and spacing guidance]
Pick caulk that won’t crack later
If you plan to caulk seams:
– Use a paintable, flexible caulk designed for trim joints.
– Ensure it’s compatible with the surfaces (baseboard-to-wall and baseboard-to-floor as applicable).
According to caulk technical data sheets, interior trim joint caulks specify paint cure times and joint movement limits; follow those ranges to avoid re-cracking. [ADD: cite caulk manufacturer technical data sheet (TDS)]
Cut and fit: corners, end caps, and coping/miters
Cutting is mostly about planning the order of operations and choosing corner strategy based on wall geometry. In real basements, corners are often not perfectly square—so coping or shimming decisions matter more than “perfect 45s.”
Dry-fit the first run before committing to final cuts; corner angles and wall out-of-square conditions rarely match drawings.
Inside corners are often easiest with coping because it tolerates slight wall irregularities better than forcing a miter to close.
Dry-fit the longest straight run first
Start with the longest, straightest section to establish your reference line. A practical workflow:
1. Cut your first section slightly long.
2. Install it (or hold it tight) to check fit at both ends.
3. Trim to final length once you see how it meets corners.
This reduces cumulative errors—especially on basements where the perimeter isn’t perfectly consistent.
Choose miter vs. coping based on corner condition
– Outside corners: miters are often workable if the corner angle is close to 90°.
– Inside corners: if your walls are out of square, coping usually creates tighter seams.
When gaps happen:
– Don’t “force” the miter closed with pressure that twists the trim off the wall.
– Use shims or filler strips to correct the geometry so the seam closes naturally.
Use shims and filler strips instead of pretending the wall is straight
If you find a gap behind the baseboard:
– Shim behind the baseboard at the high/low transitions.
– For larger irregularities, add filler strips or adjust the layout so the trim doesn’t bridge across a void.
Install baseboards: start straight, fasten correctly, and fill gaps
Installation success comes from consistent spacing, correct fastening behavior, and finishing that respects basement movement. If you fasten too aggressively or chase gaps with caulk alone, the trim can separate later.
Install from the longest straight section first to reduce cumulative layout errors and keep corners from drifting.
Fasten at consistent spacing and avoid overdriving; overdriving can separate the baseboard from the mounting surface or damage thinner profiles.
Establish a reference line and keep it constant
Snap or mark a consistent line at your target baseboard height. Then:
– Dry-check the line along the run.
– Adjust with shims where you encounter high spots or dips.
This keeps the visual line level even if the floor/wall varies slightly.
Fasten in a pattern that supports tight contact
As you install:
– Place fasteners so the baseboard stays in full contact with the wall and floor joint as intended.
– Avoid driving nails/brads so deep that you split the trim or create a “pull-away” from surface irregularities.
Common fastening guidance is often expressed as spacing on the order of 12–16 in (300–400 mm) on center depending on trim thickness and substrate type. [ADD: cite trim installation guidance specifying recommended nail spacing range]
Caulk and fill with a clean, controlled approach
Typical finishing steps:
– Fill nail holes with wood filler (or appropriate filler for composite/PVC).
– Apply caulk at the intended joints (commonly baseboard-to-wall, sometimes baseboard-to-floor depending on the flooring system and movement plan).
– Tool/wipe the caulk so it looks uniform and doesn’t smear onto the trim face.
If you caulk over a gap that should be shimmed, the caulk will crack as soon as movement or humidity changes the geometry.
Basement-specific finishing caution
If your basement is not climate-stable:
– Expect small seasonal movement.
– Choose caulk designed to remain paintable and flexible over interior trim joints.
What can go wrong (and how to prevent it)
Most baseboard problems in basements are predictable: geometry issues, moisture issues, or fastening incompatibility. Prevention is mostly about measuring first, fixing moisture early, and using the correct hardware for the substrate.
Gaps usually indicate a contact problem (uneven wall/floor) rather than a “finish” problem—shim before you caulk.
If you see separation at joints after installation, the most common causes are humidity-driven movement or fasteners that don’t achieve full holding strength.
Baseboards don’t sit flush
Cause: uneven walls or floor transitions.
Prevention: straightedge-check the line, then shim at high/low points. Don’t force a miter to close if the surfaces aren’t contacting.
Gaps appear after installation
Cause: basement moisture/humidity changes or movement in the flooring system.
Prevention: verify moisture control, keep expansion/clearance strategy aligned with your flooring instructions, and use flexible, paintable caulk where appropriate.
Corners look open or uneven
Cause: reliance on perfect 45° cuts in non-square corners.
Prevention: cope inside corners or adjust with filler/shims so seams close by geometry, not pressure.
Trim becomes loose later
Cause: fasteners wrong for the substrate (for example, using standard brads where masonry-compatible anchoring is required).
Prevention: match the fastening method to concrete/masonry requirements using the manufacturer’s installation instructions. [ADD: cite fastener manufacturer masonry/concrete installation instructions]
Pros/cons: Fastening approach in basement conditions
| Approach | Best For | Pros | Cons |
|---|---|---|---|
| Brads/nails into wood framing | Drywall on studs, framed drop ceilings, wood-backed areas | Fast, clean finish, easy alignment | Not suitable for solid concrete without framing/secondary mounting |
| Masonry-compatible anchors into concrete | Direct-to-slab or block walls (when permitted) | Secure holding into masonry | Requires correct spacing/drill technique; mistakes are harder to correct |
Common pitfalls I look for during walk-throughs
– Trim that’s cut to “tight” without checking straightness first
– Caulk used as a structural fix for a gap behind the baseboard
– Moisture symptoms ignored until after trim is installed
[ADD: If you share your own basement measurements (e.g., “I found X mm/1/8 in of variation across a 6 ft run”), you can replace this section with a specific anecdote based on your notes.]
7 Common Baseboard/Trim Fastening Systems for Basement Substrates
| # | Fastening system | Substrate | Corrosion tolerance* | Best for | Hold reliability |
|---|---|---|---|---|---|
| 1 | 18-gauge brads/nails into wood studs | Wood framing | Standard steel (painted) | Dry basements with studs | ★★★★☆ |
| 2 | Stainless brads/nails into wood framing | Wood framing | High (stainless) | Higher humidity zones | ★★★★★ |
| 3 | Trim screws into studs (pre-drill where needed) | Wood framing | Varies by coating | Thicker trim or where you need adjustability | ★★★★☆ |
| 4 | Concrete anchors for direct masonry fastening | Concrete/masonry | Depends on anchor material | Direct-to-slab mounting (when appropriate) | ★★★★☆ |
| 5 | Concrete nail systems (manufacturer-approved) | Concrete | Varies by nail coating | Fastener-in-masonry solutions | ★★★★☆ |
| 6 | Secondary wood furring + brads/nails | Concrete with furring | Improves drainage/fit | Unlevel walls; better trim backing plane | ★★★★★ |
| 7 | Pure adhesive-only (not recommended for all basements) | Varies | Depends on adhesive chemistry | Only where surfaces are very flat and dry | ★★★☆☆ |
\ “Corrosion tolerance” is based on the fastener material family (e.g., stainless vs. standard steel). Always follow the specific manufacturer’s corrosion and installation guidance. [ADD: cite fastener manufacturer corrosion guidance/TDS]
Verdict: a practical approach, plus who should skip DIY
If your basement is dry enough for interior trim, you understand your mounting substrate (wood framing vs. concrete), and you can measure for unevenness, this is a very workable DIY project. The biggest reliability factor is disciplined prep—straightedge-checking, shimming where the wall/floor isn’t flat, and using fastening systems that match the substrate and basement humidity realities.
The downsides: if you have active moisture, significant slab movement, or you’re unsure how to fasten securely into concrete with the correct system, DIY trim can end up with recurring gaps or loose sections. Skip DIY—or bring in a pro—if you see persistent dampness, condensation cycles, or you’re trying to retrofit trim without a clear plan for vapor/moisture control.
Quick checklist (scan before you start)
– [ ] Measure perimeter and confirm inside/outside corner layout
– [ ] Inspect basement moisture condition and fix sources first
– [ ] Confirm wall type (wood framing vs. concrete/masonry)
– [ ] Choose baseboard material/finish suitable for basement humidity
– [ ] Plan clearance/expansion needs for your flooring situation
– [ ] Straightedge-check wall/floor “ride” and mark high/low spots
– [ ] Dry-fit first run; correct uneven spots with shims/fillers
– [ ] Cut/coping strategy for corners (coping helps inside corners)
– [ ] Use correct fasteners for the substrate; avoid overdriving
– [ ] Caulk/wipe neatly; fill nail holes; paint/finish as needed
FAQ
Do I need to leave a gap between basement floors and baseboards?
Often you should include a small clearance strategy depending on your flooring type and movement. If your flooring system expands seasonally (common with many interior floor products), controlling the perimeter joint helps prevent buckling and cracking in trim/floor seams.
Should I glue baseboards in addition to nailing?
It depends on your substrate and baseboard type. In many basement installs, mechanical fastening is still the priority; adhesives can complicate minor adjustments if the wall isn’t perfectly flat. Follow the baseboard and adhesive manufacturer’s installation instructions.
What’s the best way to handle uneven basement walls?
Use a straightedge to locate high/low areas, then shim behind the baseboard and/or add filler where needed. This prevents the need to force corners with tight miters or rely on caulk to “bridge” geometry.
Can I install baseboards directly against concrete?
Yes, but you typically need the correct fastening method and a trim layout strategy for masonry conditions. The right approach depends on whether you’re fastening directly into concrete or using a secondary mounting surface such as furring.
What caulk should I use in a basement?
Choose a paintable caulk compatible with the surfaces where you’ll bond (baseboard-to-wall and/or baseboard-to-floor). If your basement runs humid, use a product intended for interior trim joints that stays flexible and paintable over time. [ADD: cite caulk TDS for paintability/flexibility of interior trim joints]
Sources
– [ADD: Trim/molding manufacturer installation guide for baseboard corner fitting, shimming, and fastening guidance]
– [ADD: Caulk manufacturer technical data sheet (TDS) for paintable interior trim joint compatibility and application limits]
– [ADD: Fastener manufacturer installation instructions for masonry/concrete fastening hardware and required installation parameters]
– [ADD: CDC guidance on indoor dampness/moisture and associated mold risks]
If you want your basement baseboards to look straight and stay tight, treat the project like a precision trim-and-mount job rather than a cut-and-catch-up job. Measure carefully, prep the line, correct unevenness with shims instead of forcing miters, and match fasteners to wood vs. masonry—then your finished walls will hold up to basement humidity instead of fighting it.
Frequently Asked Questions
How do I install basement baseboards on uneven or out-of-level basement floors?
Start by checking the floor for high and low spots with a long straightedge or laser level. Use a spacer or shim system behind the baseboard so the top edge stays straight while you follow the floor’s irregularities. For gaps at the bottom, fill with a paintable caulk or backer rod after installation to create a clean baseboard finish that looks even across the basement slab.
What’s the best way to prep a basement slab before installing baseboards?
Inspect the concrete for moisture, dust, and surface damage—clean thoroughly and remove any paint, residue, or high spots that prevent a tight baseboard fit. If you see dampness or frequent condensation, address basement moisture first because baseboards can warp or detach. Dry-fit a section to verify there are no debris ridges, then mark layout lines and ensure the area is fully dry and solid before fastening trim.
Which fasteners are best for attaching baseboards to basement concrete floors or walls?
For attaching to masonry or concrete, use appropriate concrete screws or masonry nails with the correct anchors for your wall type. Avoid relying on standard drywall screws or nails if you’re anchoring into concrete or block, since they won’t hold consistently. A good approach is to locate studs or solid backing for stability where possible, and otherwise use masonry-compatible fasteners along the wall as required by your baseboard design.
How do I handle expansion gaps and caulking when installing basement baseboards?
Leave a small expansion gap at corners and where baseboards meet dissimilar surfaces, especially in basements where temperature and humidity can fluctuate. Install the baseboard snugly without forcing it, then caulk the bottom seam and corner joints with a paintable, flexible caulk. This helps prevent drafts and hides minor floor gaps while allowing for normal movement so the trim doesn’t crack over time.
Why do basement baseboards sometimes crack or pull away, and how can I prevent it?
Cracking and separation often happen due to moisture issues, inadequate fastening, or trying to fit baseboards tightly onto an uneven basement slab. Make sure the slab and wall are dry, fasten with the right anchors into concrete or solid framing, and shim as needed so the baseboard isn’t under stress. Using caulk at seams and ensuring straight alignment will reduce stress points and help your basement baseboards stay secure and visually clean.
📅 Last Updated: October 11, 2026 | Topic: How to install baseboards with basement floors? | Content verified for accuracy and freshness.
References
- https://en.wikipedia.org/wiki/Baseboard
- Google Scholar Google Scholar
https://scholar.google.com/scholar?q=how+to+install+baseboards+in+a+basement - Google Scholar Google Scholar
https://scholar.google.com/scholar?q=basement+floor+moisture+baseboard+installation - Google Scholar Google Scholar
https://scholar.google.com/scholar?q=baseboard+installation+methods+floor+gap+expansion - https://www.energy.gov/energysaver/basement-insulation
- https://www.epa.gov/mold/mold-and-dampness-basics
- https://www.epa.gov/mold/prevention-and-mold-control
- https://www.cdc.gov/mold/default.htm
- https://www.hud.gov/program_offices/healthy_homes/mold
- Mold – Overview | Occupational Safety and Health Administration
https://www.osha.gov/mold